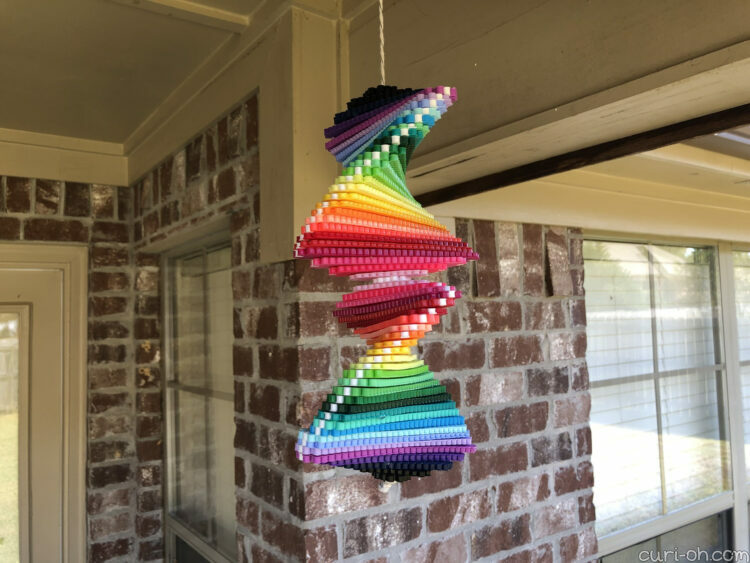
Perler Bead Rainbow Spinner
Back in the spring, a Perler email I received included this new pattern for a fun rainbow spinner project. For me I thought, “What a fantastic way to use up some beads!” Why would I want to do that though?
Well, when I began working with fuse beads, I bought a lot of kits and multipacks which I combined to acquire a variety of colors without investing too heavily into a hobby I wasn’t sure I would be interested in later. Though they are all the same brand, I have noticed in some of my projects that one bead in a color will be slightly lighter or darker than another and I’m not sure if that’s because I mixed colors incorrectly when matching from different kits, or if it’s a type of dye lot issue where by mixing from different sources, dyed at different times, there may be slight variations.
SIDE NOTE: You should not mix fuse bead brands as a general rule. They can have different melting points. Some brands can be compatible, but you should do your research or own testing first.
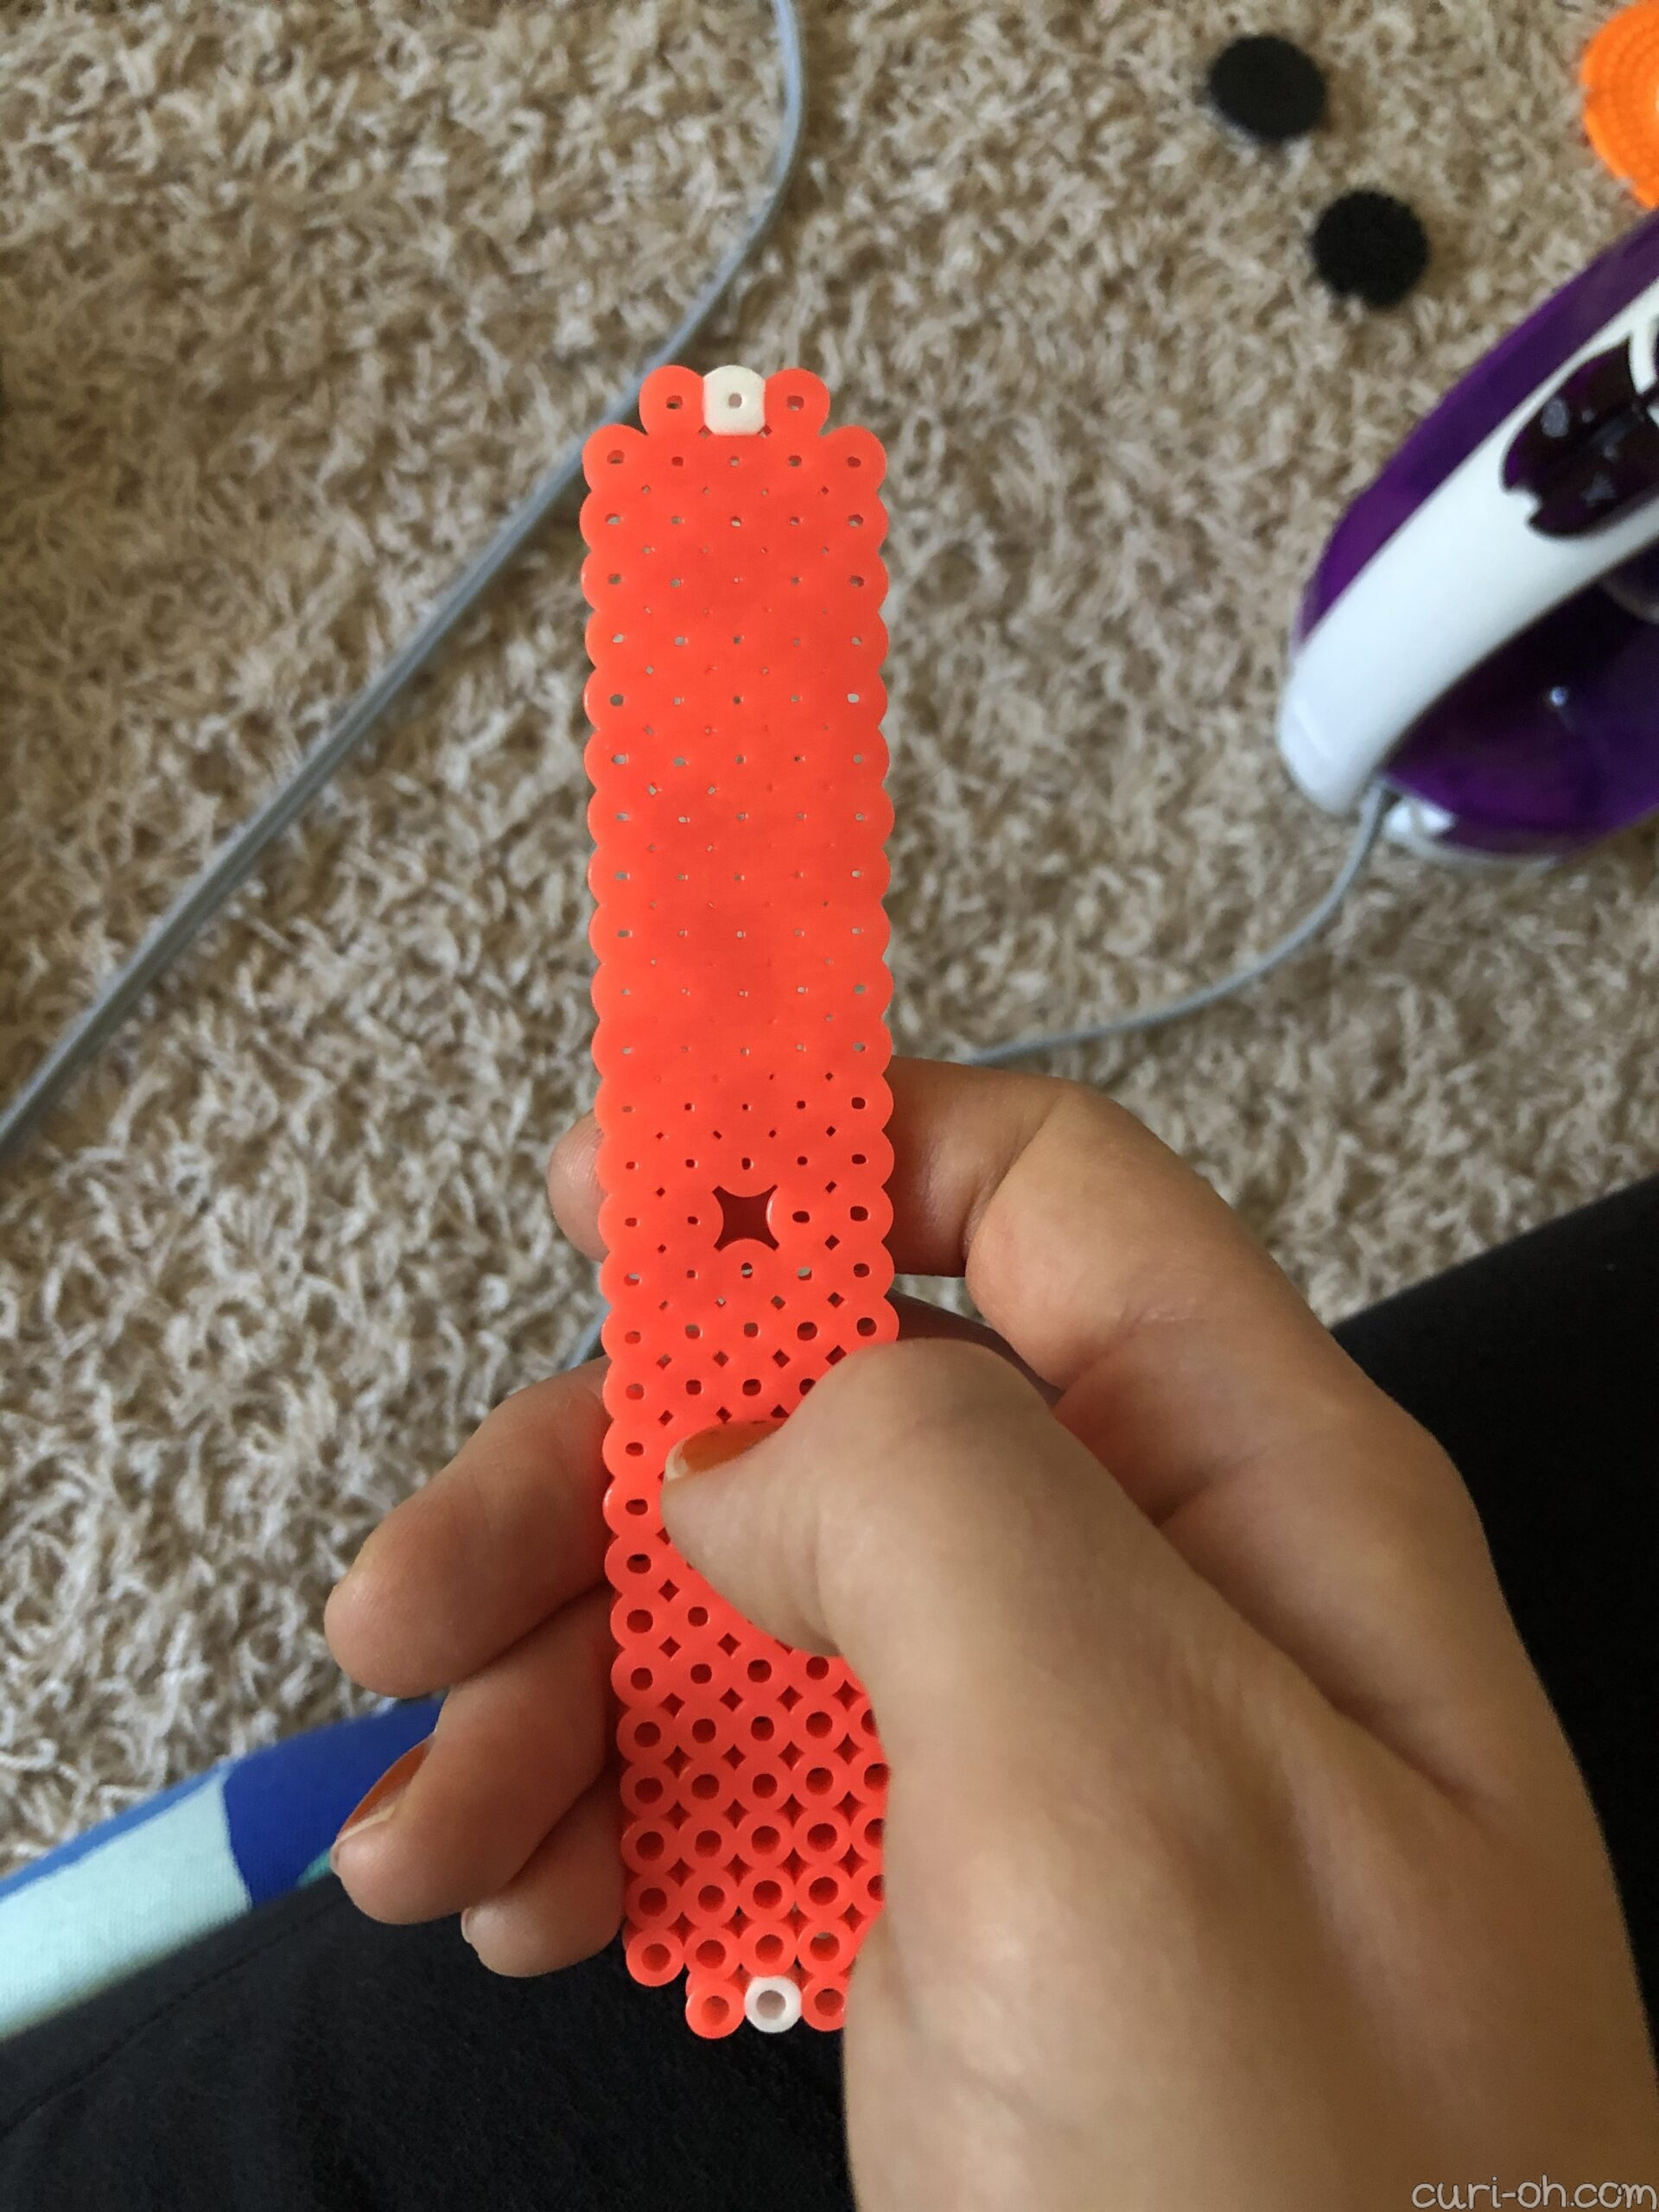
Now that I’m sure I will be sticking with the craft, I would like to do things more purposefully going forward. It seems the best solution to my problem is to use up one source completely before moving to the next. With that in mind, I decided to do this project – the double version specifically – as a means of working through a lot of beads. Plus, I just adored it! What’s not to love?! Over the past several months I’ve been making all these little strips here and there between other projects and storing them on a pipe cleaner as I completed them. I didn’t have all the colors they mention in the pattern, so I just matched as closely as I could.

Once I finally finished making the pieces, I strung them in the proper order on twine and tied a fat knot at the bottom.

The hard part was gluing them together. At first I tried using wire instead, many different ways, but I just couldn’t get it to work. Then I tried different glues, because I really wanted to avoid hot glue. That’s what I ended up using though, despite myself. I hung the spinner from a garment rack and glued from the bottom upward. My husband helped and I don’t think I could have done it without the extra pair of hands. He held the top pieces above and fed them down to me as I worked my way up.
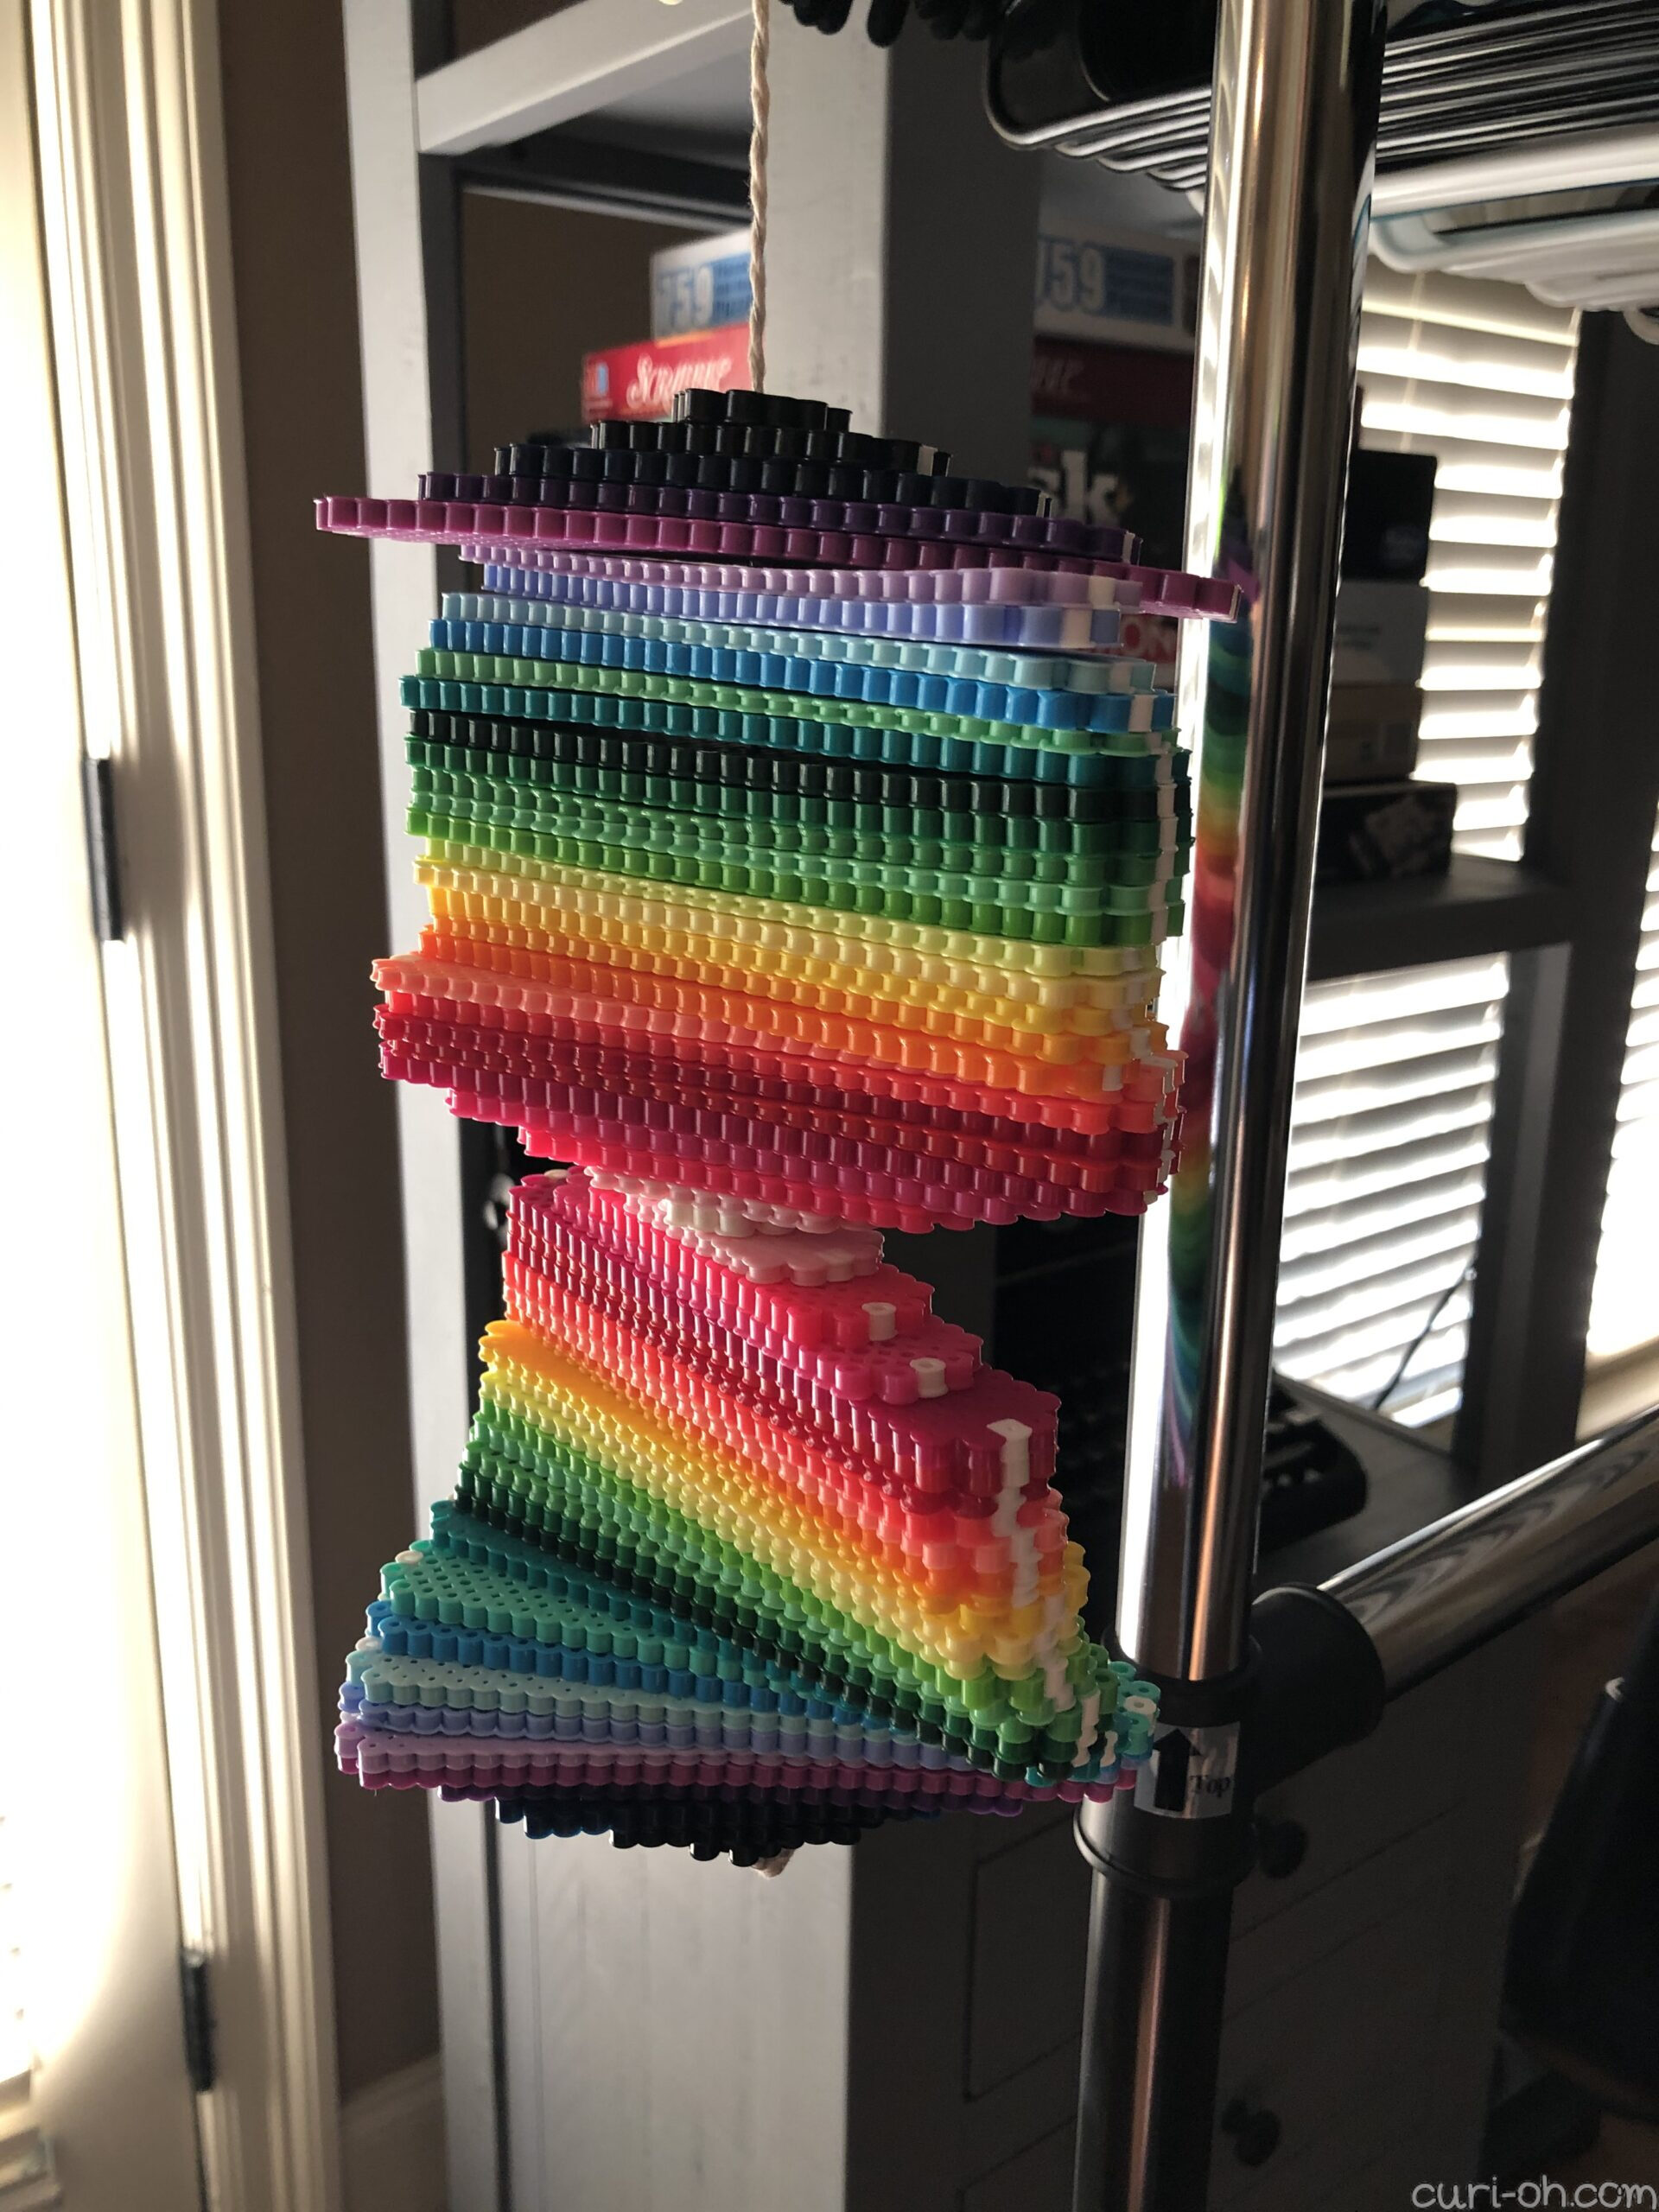
I couldn’t really take pictures of that process – it involved working quickly and trying not to burn my fingers. And the webby hot glue strings were getting everywhere. I also had to straighten out some of the pieces as I went. Basically though, you just find the positioning you like and then glue consistently.
Be sure to leave enough string at the top for creating the loop and hanging!
Though this project took so much work, I would highly recommend it. What bugged me though was that my iron seemed intent on showing its heating inconsistencies throughout this project, but it didn’t matter so much since the pieces are mostly covered up. It was a very forgiving pattern in so many ways, and I love the way it turned out.
I hung mine under my covered patio. I’m not sure how it would hold up in direct sun and exposed to rain. If you have subjected fuse beads to the outdoor elements, please share your experience in the comments below!
Again, here’s a link to the pattern so you can check it out for more information or to make it yourself.
Cheers!