Soot Sprite Keychain
I’m a big fan of Studio Ghibli. Their movies are drawn in the most breathtakingly beautiful art style, where the attention to detail brings the landscape to life even in the tiniest blade of grass. The protagonists are usually relatable and realistic in their behaviors and motivations even as they navigate through a magical world of whimsy, and the stories tackle important issues organically and with subtlety. I always feel at peace while watching the films thanks to the undercurrent of calm running through each, even during their most tense scenes.
Kiki's Delivery Service, Howl's Moving Castle, and My Neighbor Totoro are my favorites. I would love to hear yours in the comments!
Soot sprites are featured in both My Neighbor Totoro and in Spirited Away. In Totoro, they are portrayed as spirits made of soot who dwell in old vacant houses, while in Spirited Away they are presented as beings magically conjured to perform tasks – which will disappear without work to do! Spirited Away honestly isn’t among my favorites (even though it is often the studio’s most celebrated) but I do love Totoro!
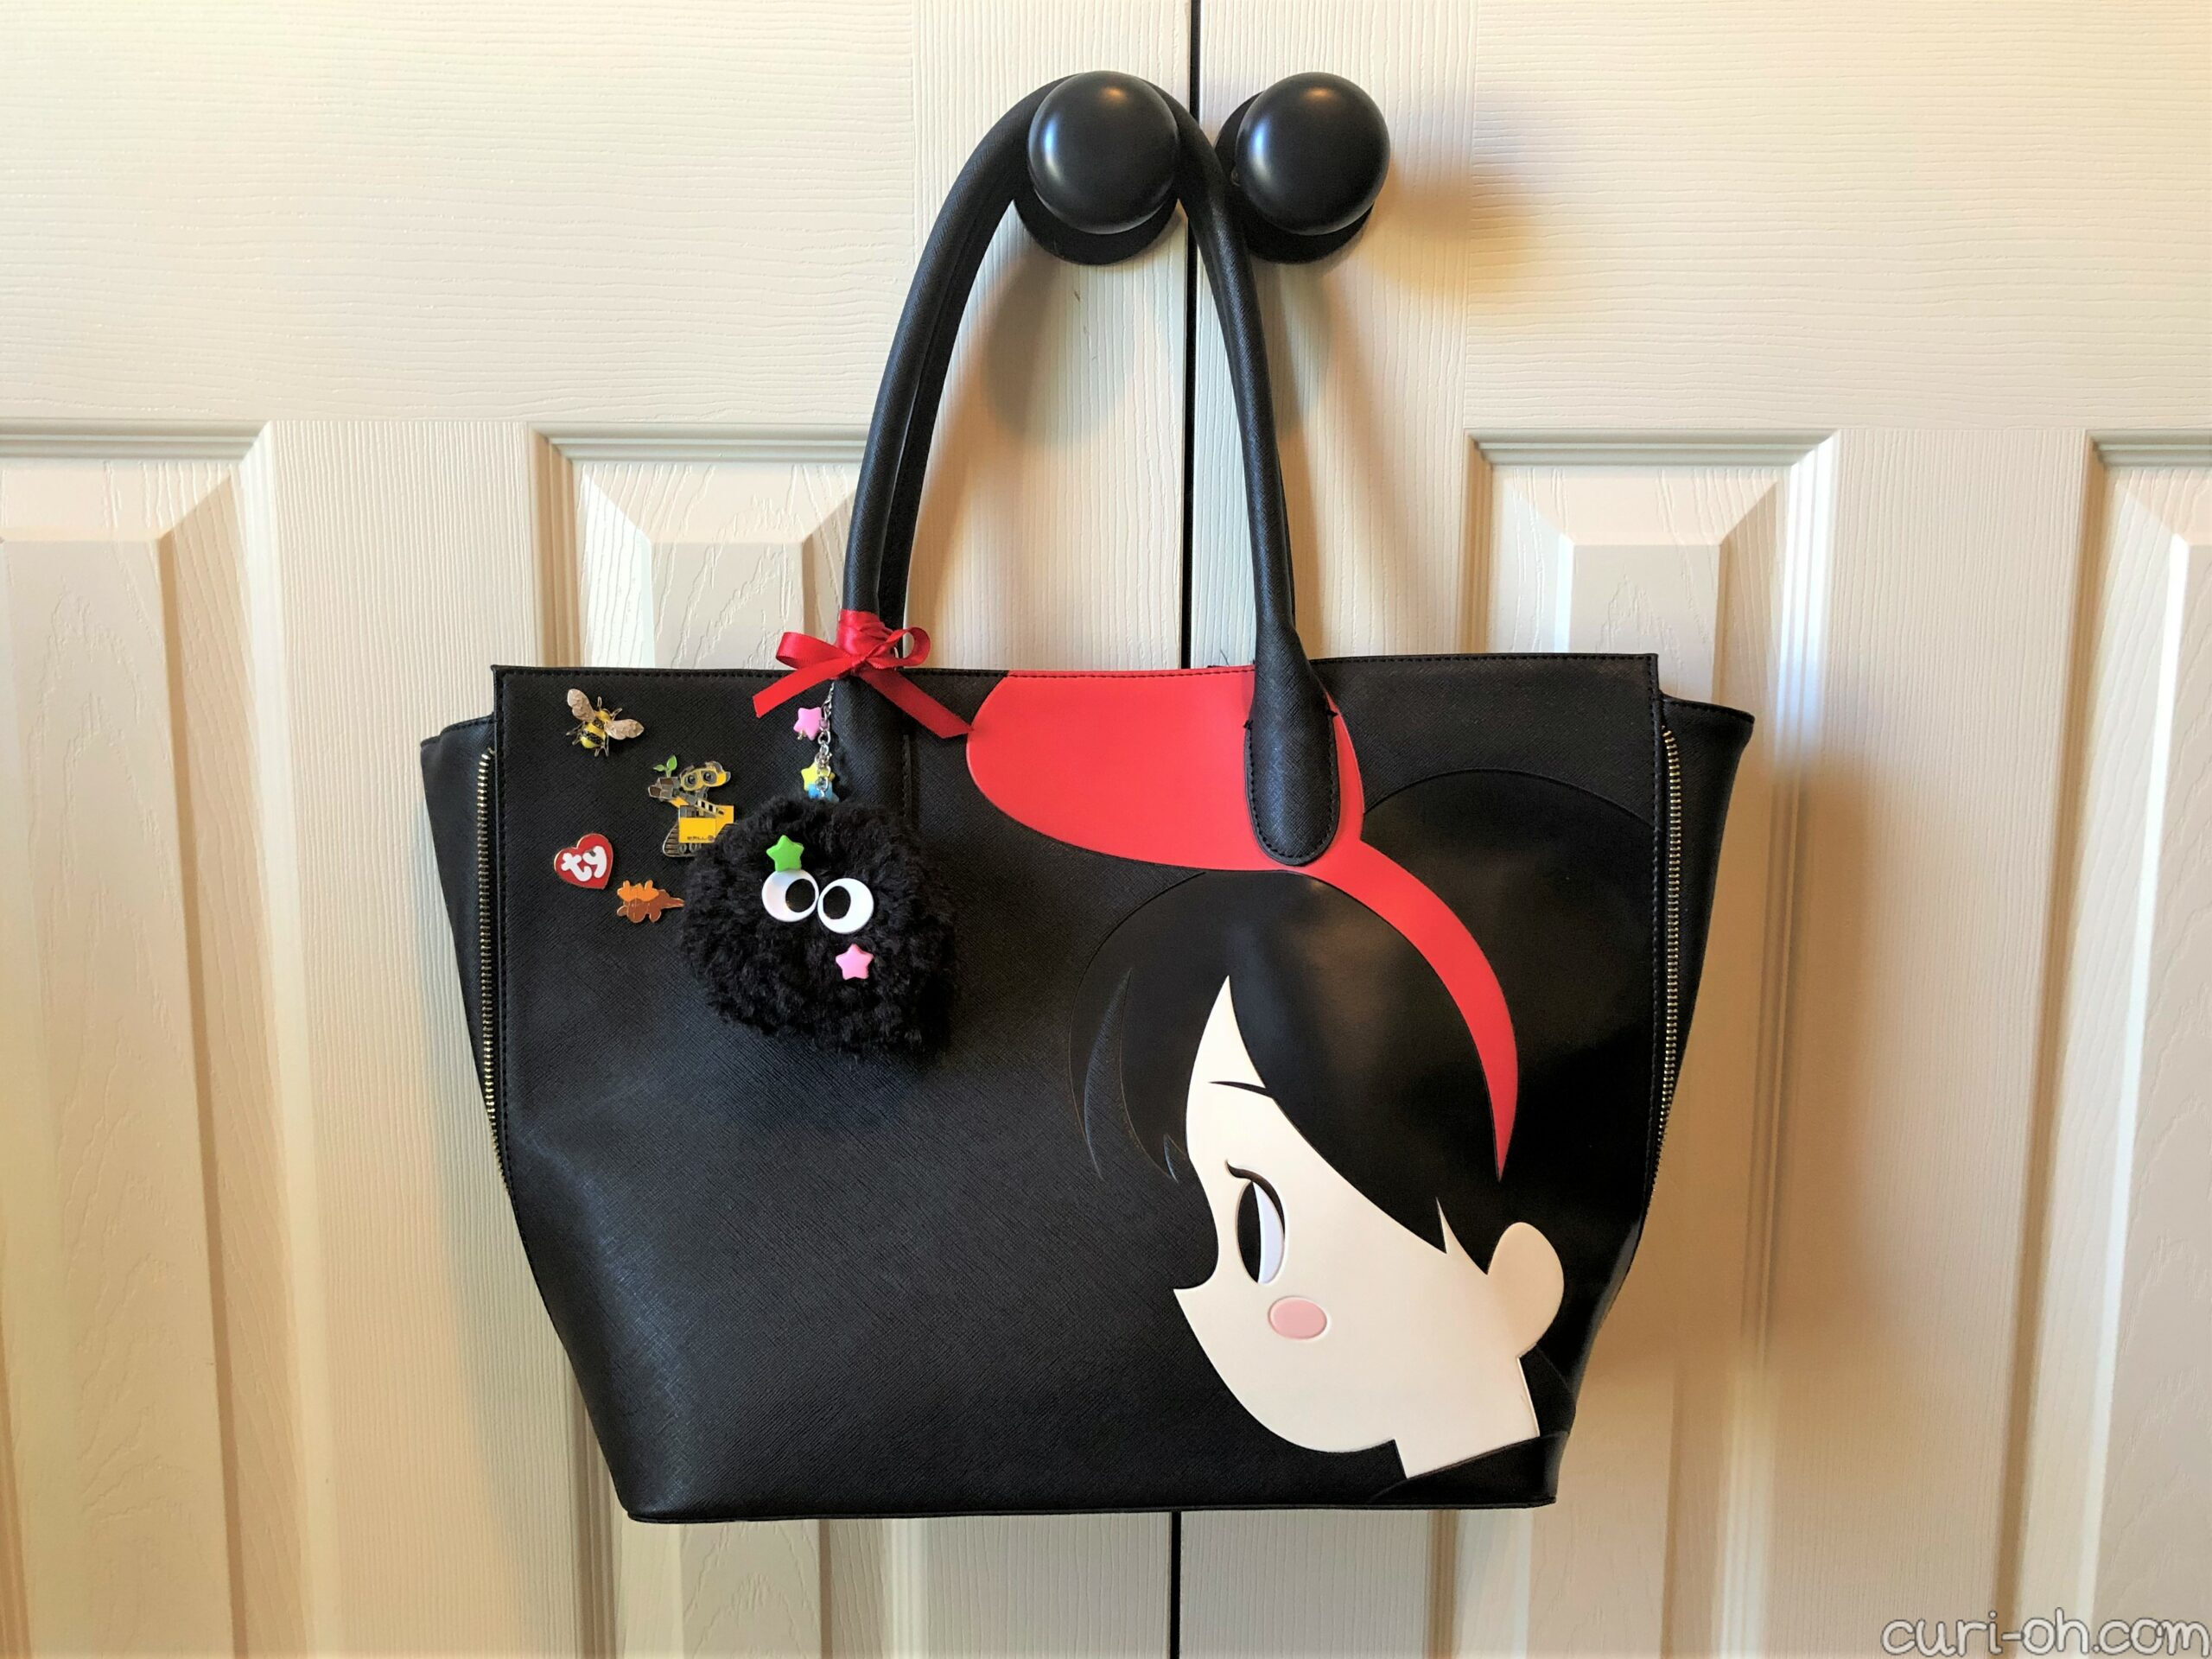
I own this Loungefly handbag featuring Kiki and I’ve had the idea to make a soot sprite keychain to attach to it for some time. There are a few out there you can buy (for example), but I don’t like the ones I have seen. I thought, why not make my own anyway? It’s a fairly simple concept: a fuzzball with eyes! Oh boy, did this involve a lot of trial and error though…
I apologize in advance for the length of this walk-through, but if you are interested in making one for yourself, there are a surprising amount of things to consider with these deceptively simple soot sprites. Don’t let that deter you though! It’s not difficult to do; it just requires some consideration. I’ll go over my creation process and experimentation – the why’s and lessons learned – with suggestions to help you through your own. (Supply list at the end.)
Body Material Selection
First I tried to sew a fur ball. I used “craft fur” because that seemed like the obvious choice. You know those fur ball keychains that have experienced a recent resurgence? I thought I would make one of those and that would be it. But no, the hair was just too long. It looked like – hair! – and was not fuzzy enough. You can get the general idea from the one I linked on Amazon above. Next I tried a shorter, more standard length faux fur for less of a shag carpet look. That didn’t work either! It wasn’t long enough or fuzzy enough.
I was feeling very Goldilocks about the whole thing at this point: I needed something in between. I thought I had to sew some sort of ball so that I would be able to attach the button eyes, but the only other thing I could think of for the body was to make the soot sprite as a pom-pom. You can’t sew buttons on a pom-pom though! I decided to try it first and tackle the issue of the eyes later.
I did not have any black yarn, but I experimented with what I had available to make some textural determinations. I tried Bernat blanket yarn, which looked a bit like one of those sponge-head brushes when made into a pom-pom. Then I tried some standard sized yarn, which looked a little too perfect. Feeling like Goldilocks again, I headed to the store knowing I needed to find something in-between these two ends of the spectrum.
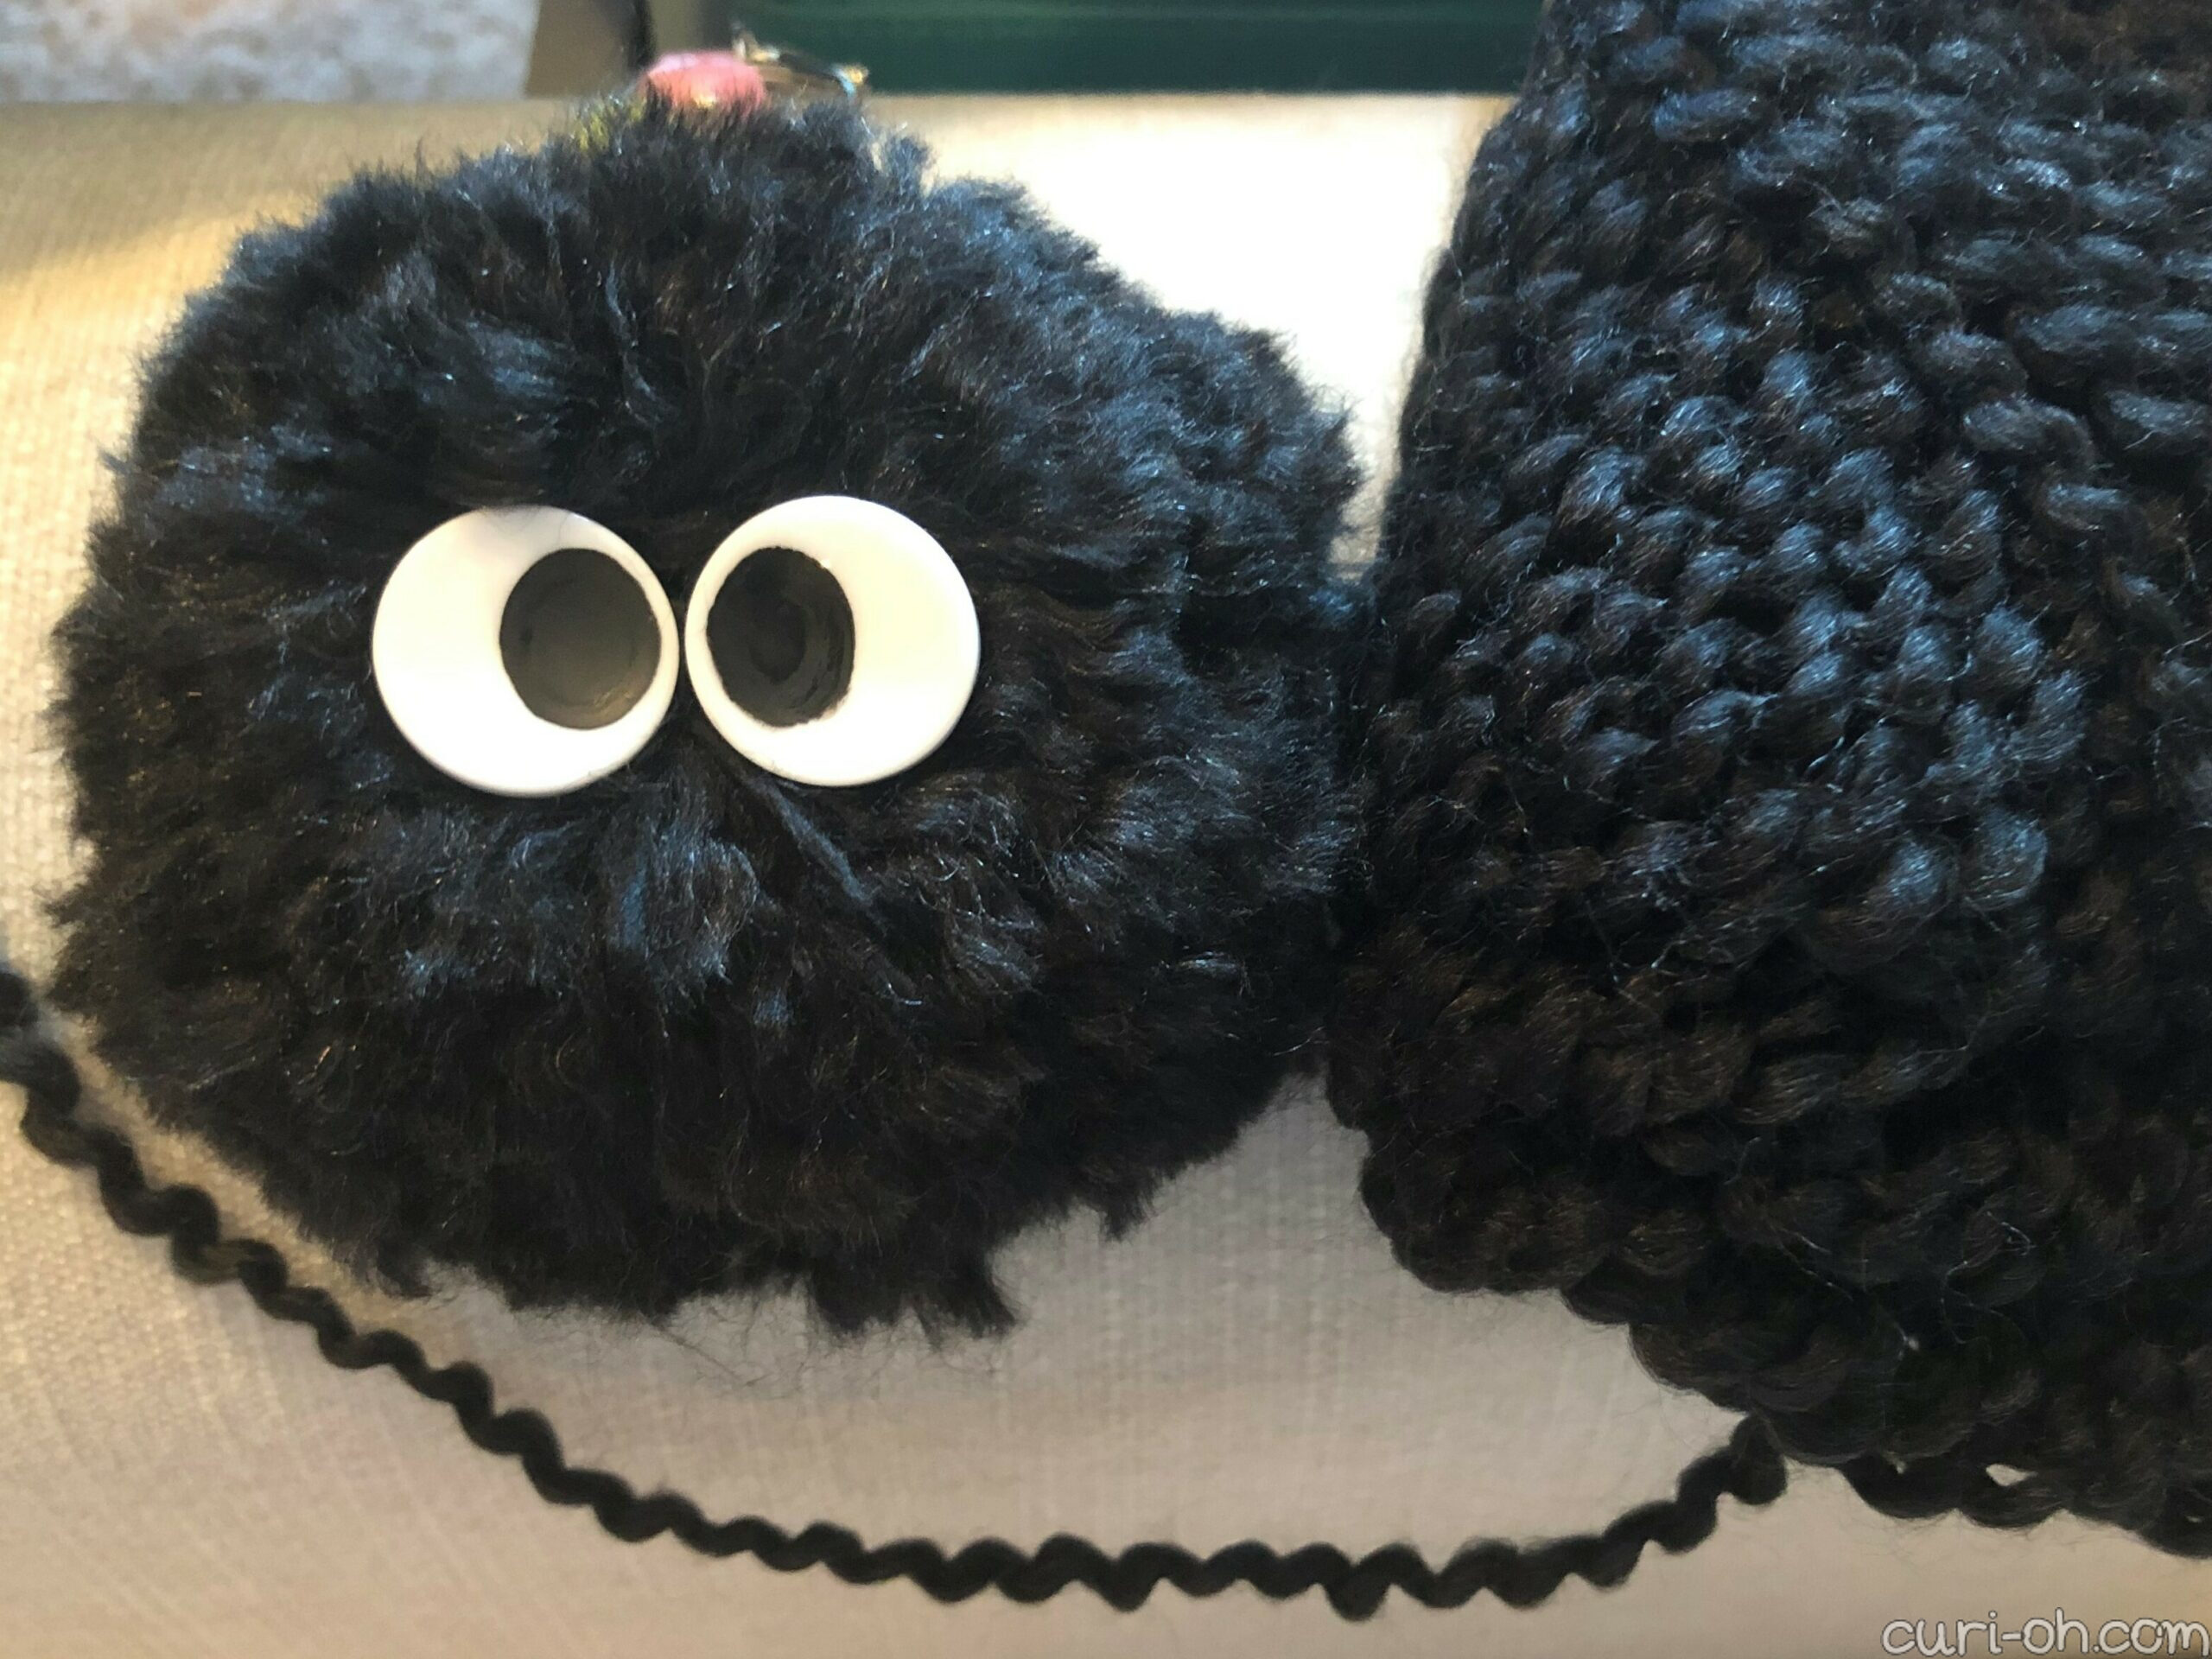
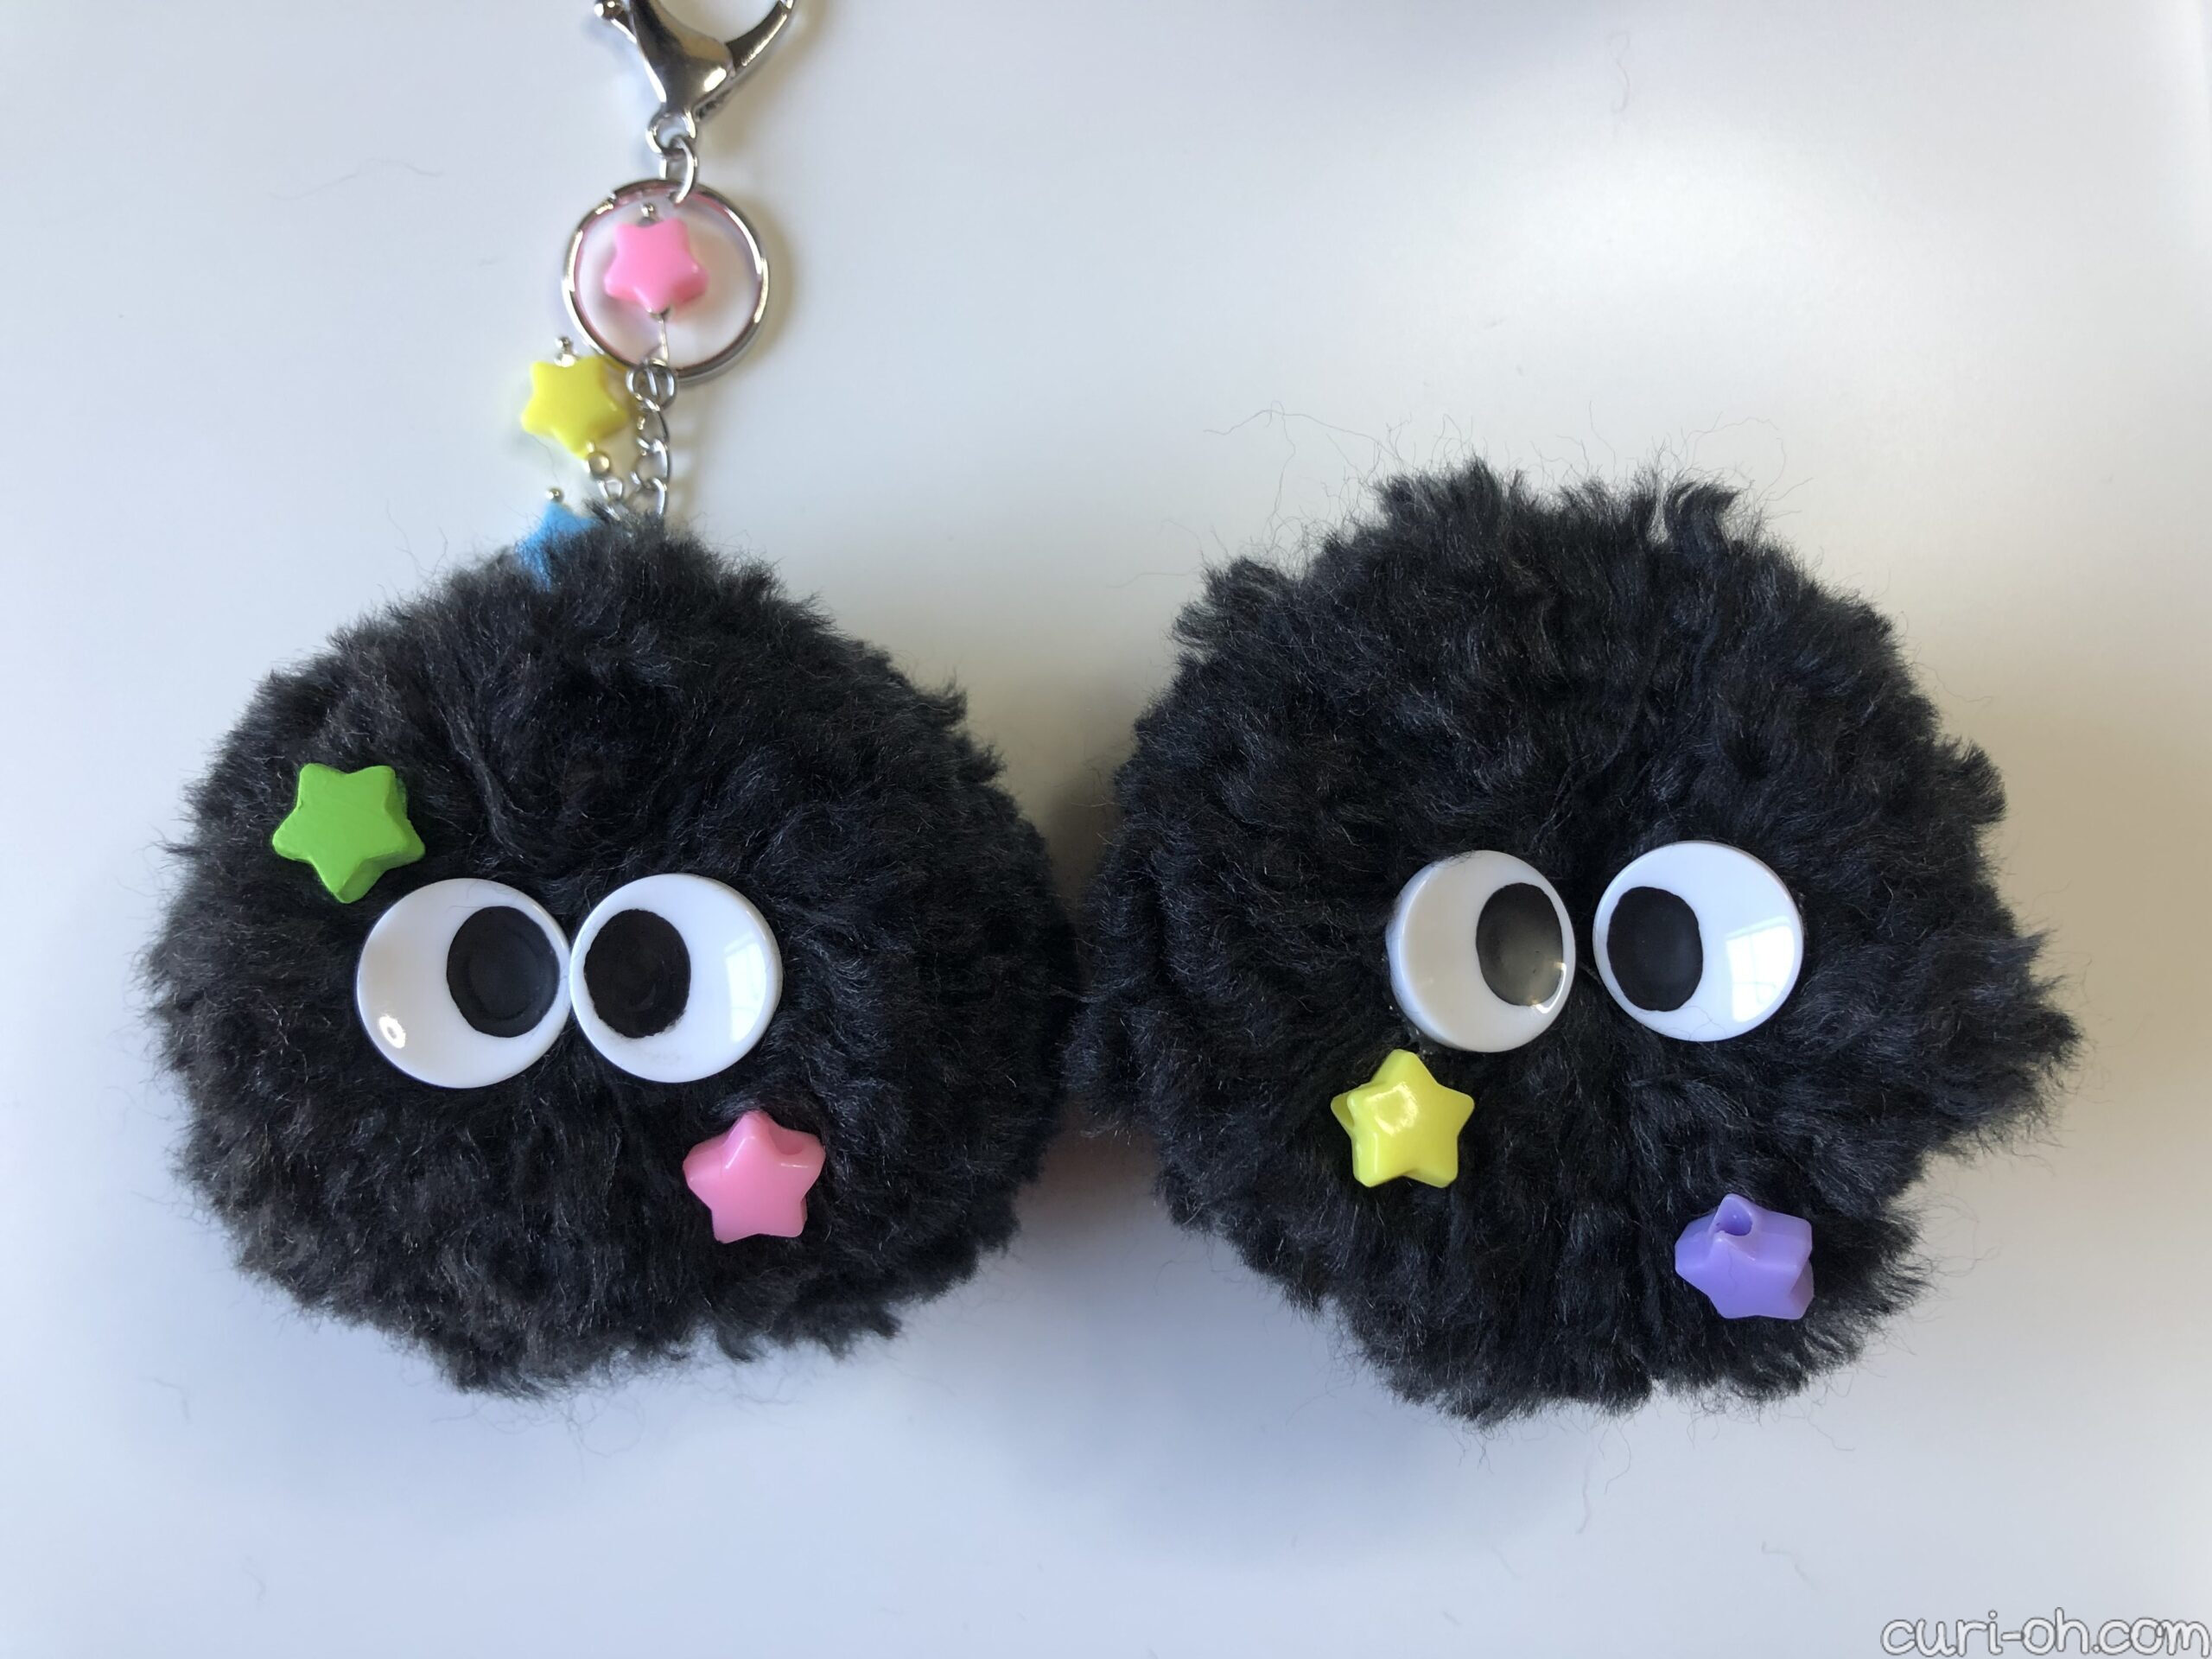
I bought a couple of different wiry looking yarns and in the end settled on Lion Brand “Homespun” yarn in black as the one I liked best. It’s described as a bulky yarn, but it’s mostly fuzzy without being thick which made a great texture for this purpose. It’s also not a solid jet black. You can see bits of gray here and there, probably to give it a rustic look, but that made the soot sprite look more “realistic” to me.
Pom-Pom Size
I have the Clover Pom-Pom Maker set in large and I used the green maker from that, which has an approximately 2.5″ diameter. I tried the larger one first, but it was too big. My finished pom-pom with the green maker and the Homespun yarn is about 3.5″. Honestly the instructions that came with the maker were fairly unclear, so I have linked the video I used to figure it out here in case you are following along and may find it useful too. I did a ton of wraps on the maker – I think probably about seven per side. It could not have been any thicker! There are of course, other ways to make a pom-pom, so you don’t have to use this tool; it’s just handy.
A WORD OF CAUTION: Making this pom-pom creates a TON of fuzz. So much fuzz you wouldn’t believe it! If you’re making one I highly recommend cutting it outside and fluffing it out to loosen as much of the fuzz away as possible. You’re going to want to give the pom-pom a trim to clean it up here and there too so it looks nice and even. Don’t go overboard though; it shouldn’t look perfect. Leave the long strings where you tied it off attached so it’s easy to find the top and center later.
Eyes
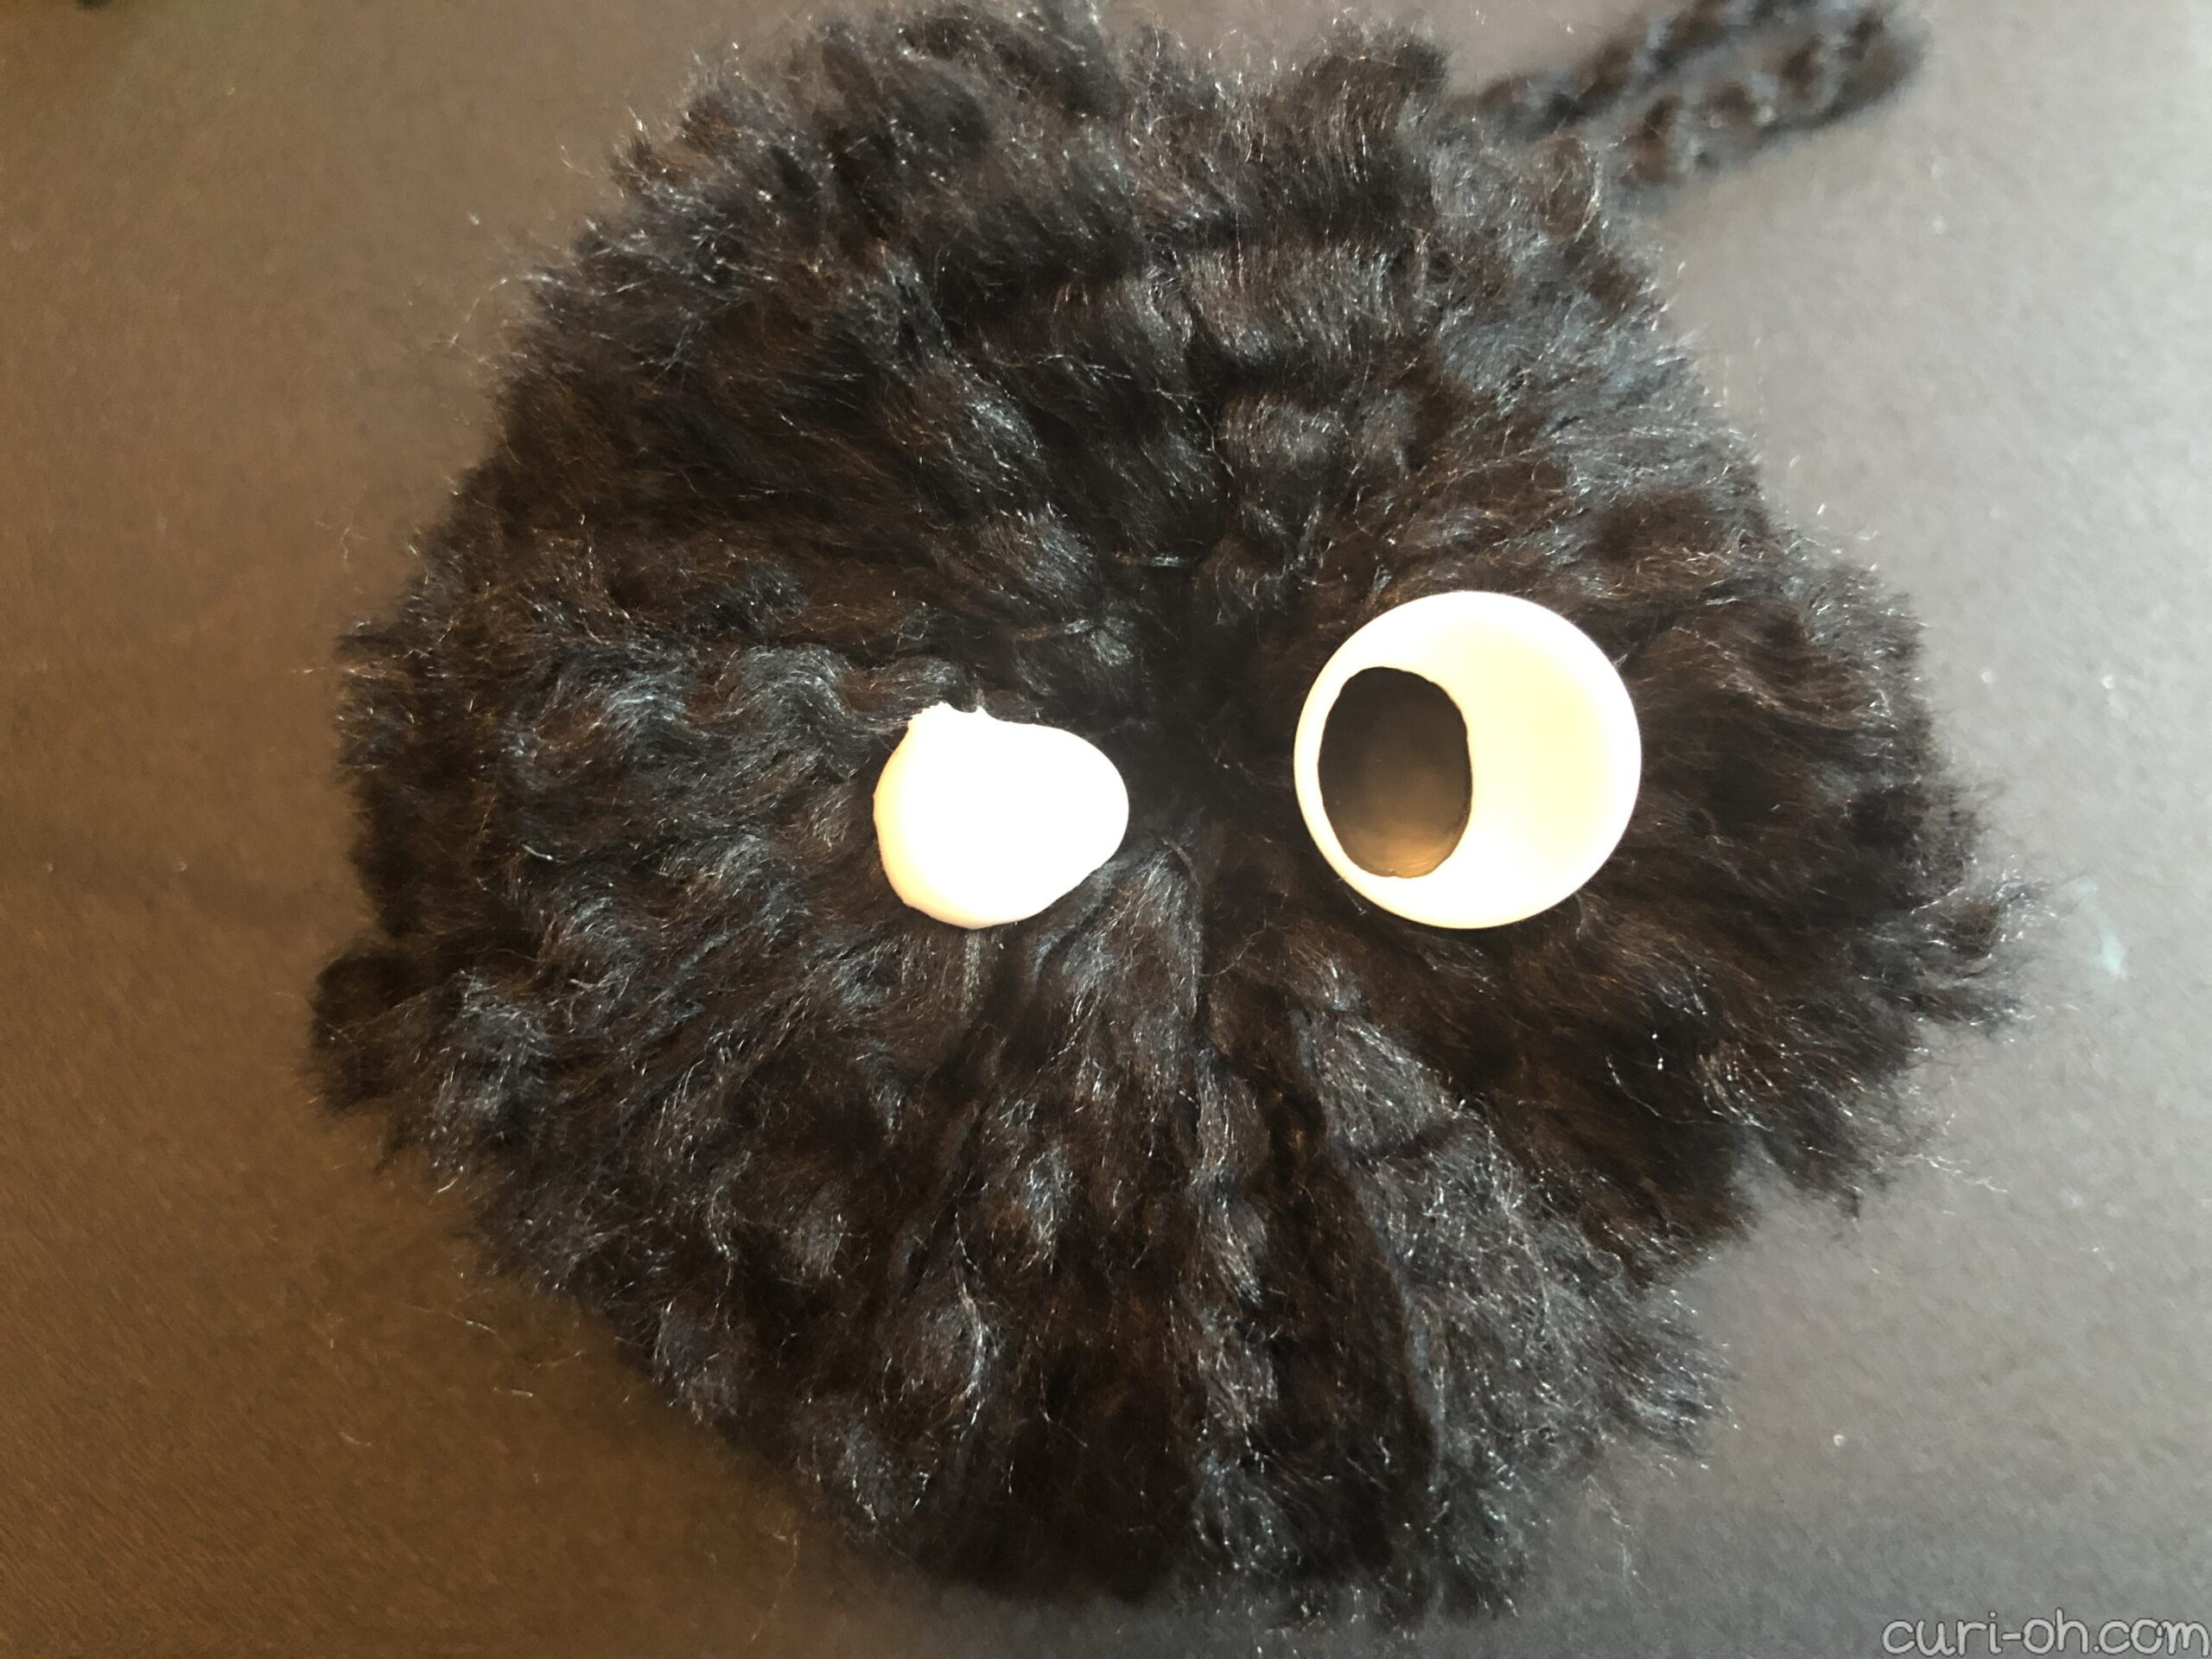
Originally I purchased white round shank buttons to sew onto the ball, but after settling on the pom-pom design, I had nothing to sew onto! That’s okay though because clear craft glue worked just fine.
Soot sprites actually have oval shaped eyes, but I could not find an oval white shank button, so I just went with round. I purchased a two-pack that had a couple of larger convex buttons and a four-pack of concave buttons that were not quite as large. Both presented different challenges.

I used a black paint pen for the pupils. On the concave button, the paint would pool a bit, which wasn’t really a big deal; it just took a little longer to dry. On the convex button though it made the paint run and the pupil ended up larger than I wanted. This might not have been an issue if I had used a fine tip paintbrush and paint or an even finer tipped paint pen, but this was what I had available. I preferred the concave buttons, but these are minor issues and differences ultimately.
I did go back and add a coat of clear Mod Podge to the eyes to help cover up some of the ringed appearance the pooling paint created in the pupil. This helps protect the paint as well – important if it will see heavy use banging around on a keyring or a bag.
I do recommend painting the eyes completely, Mod Podge and everything, before attaching them to the pom-pom. The fuzz fibers really, really want to get stuck in the paint.
Positioning
When you create the pom-pom, there is a string running through the middle. If you position the face parallel to the string then it will look like the soot sprite on the right below. If you position the face perpendicular to the string, it will look like the one on the left. I tried it both ways twice and I much prefer to position it perpendicular to the center string. The pom-pom just keeps its shape better this way. It ends up with a weird elongated shape and taller face if you do it parallel, as you can see in the pictures below.
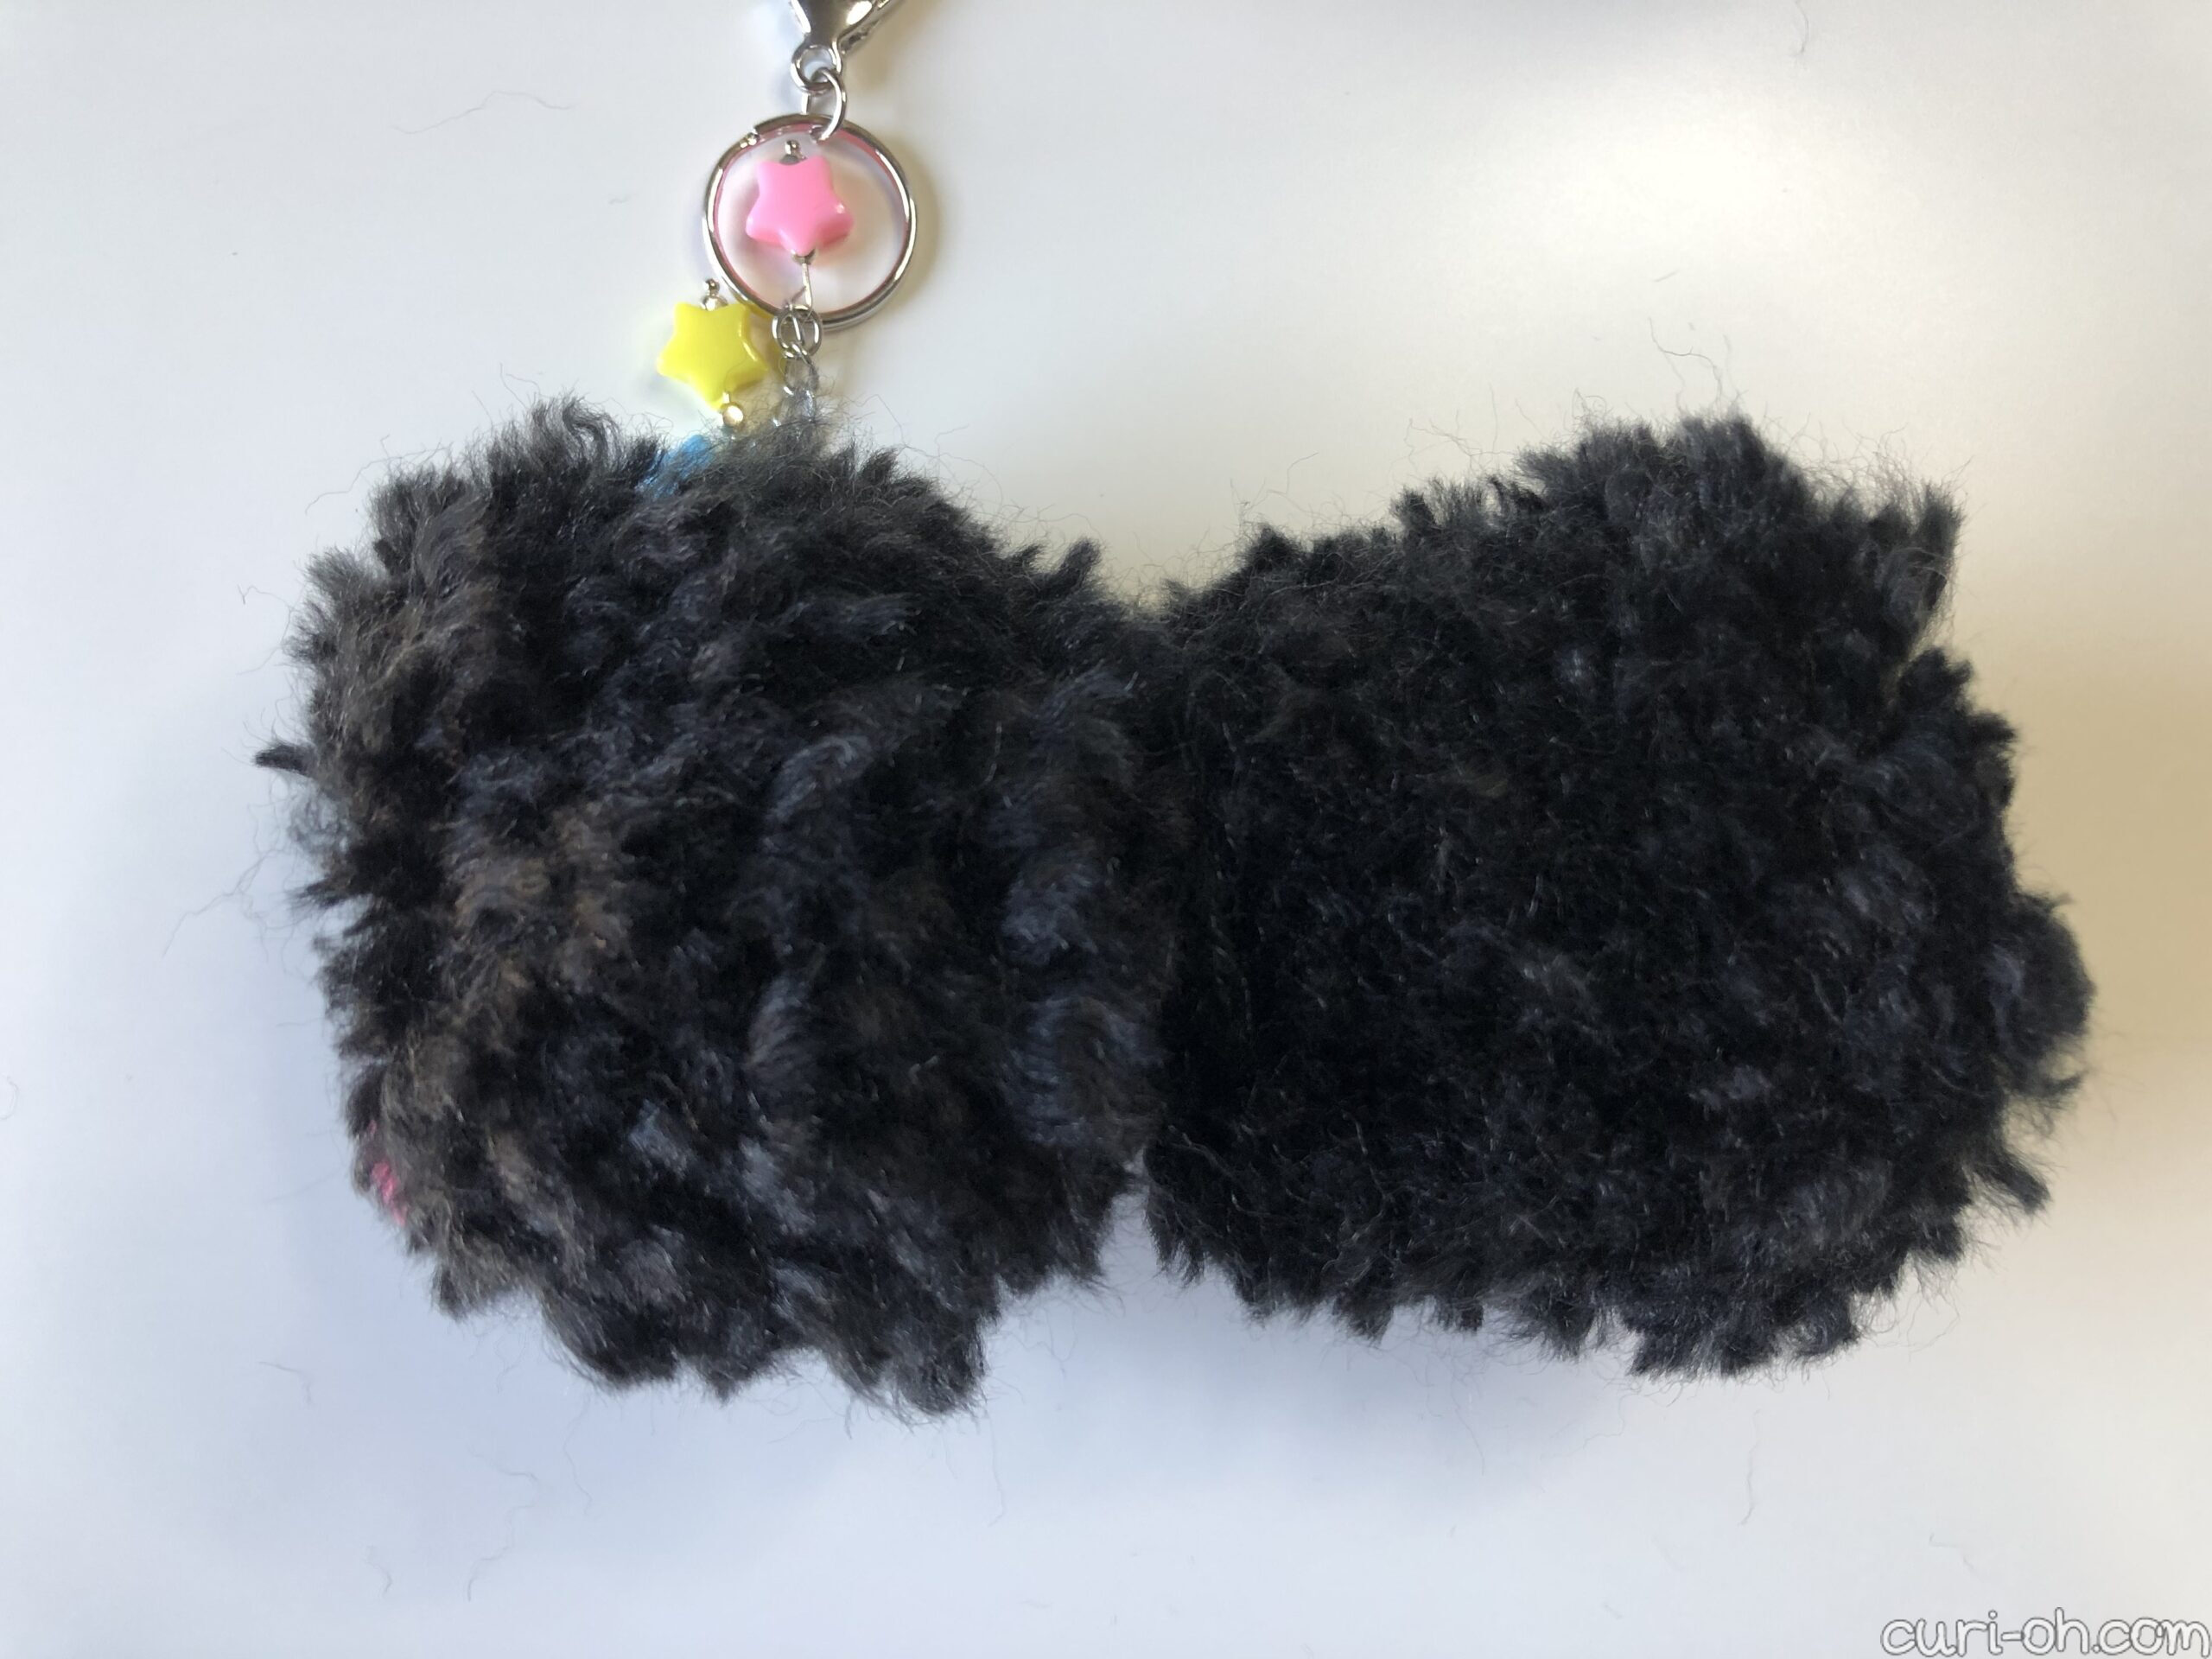
Once I selected where I wanted to position the face in relation to the string, I located the center of the pom-pom by flattening out the yarn, like so:

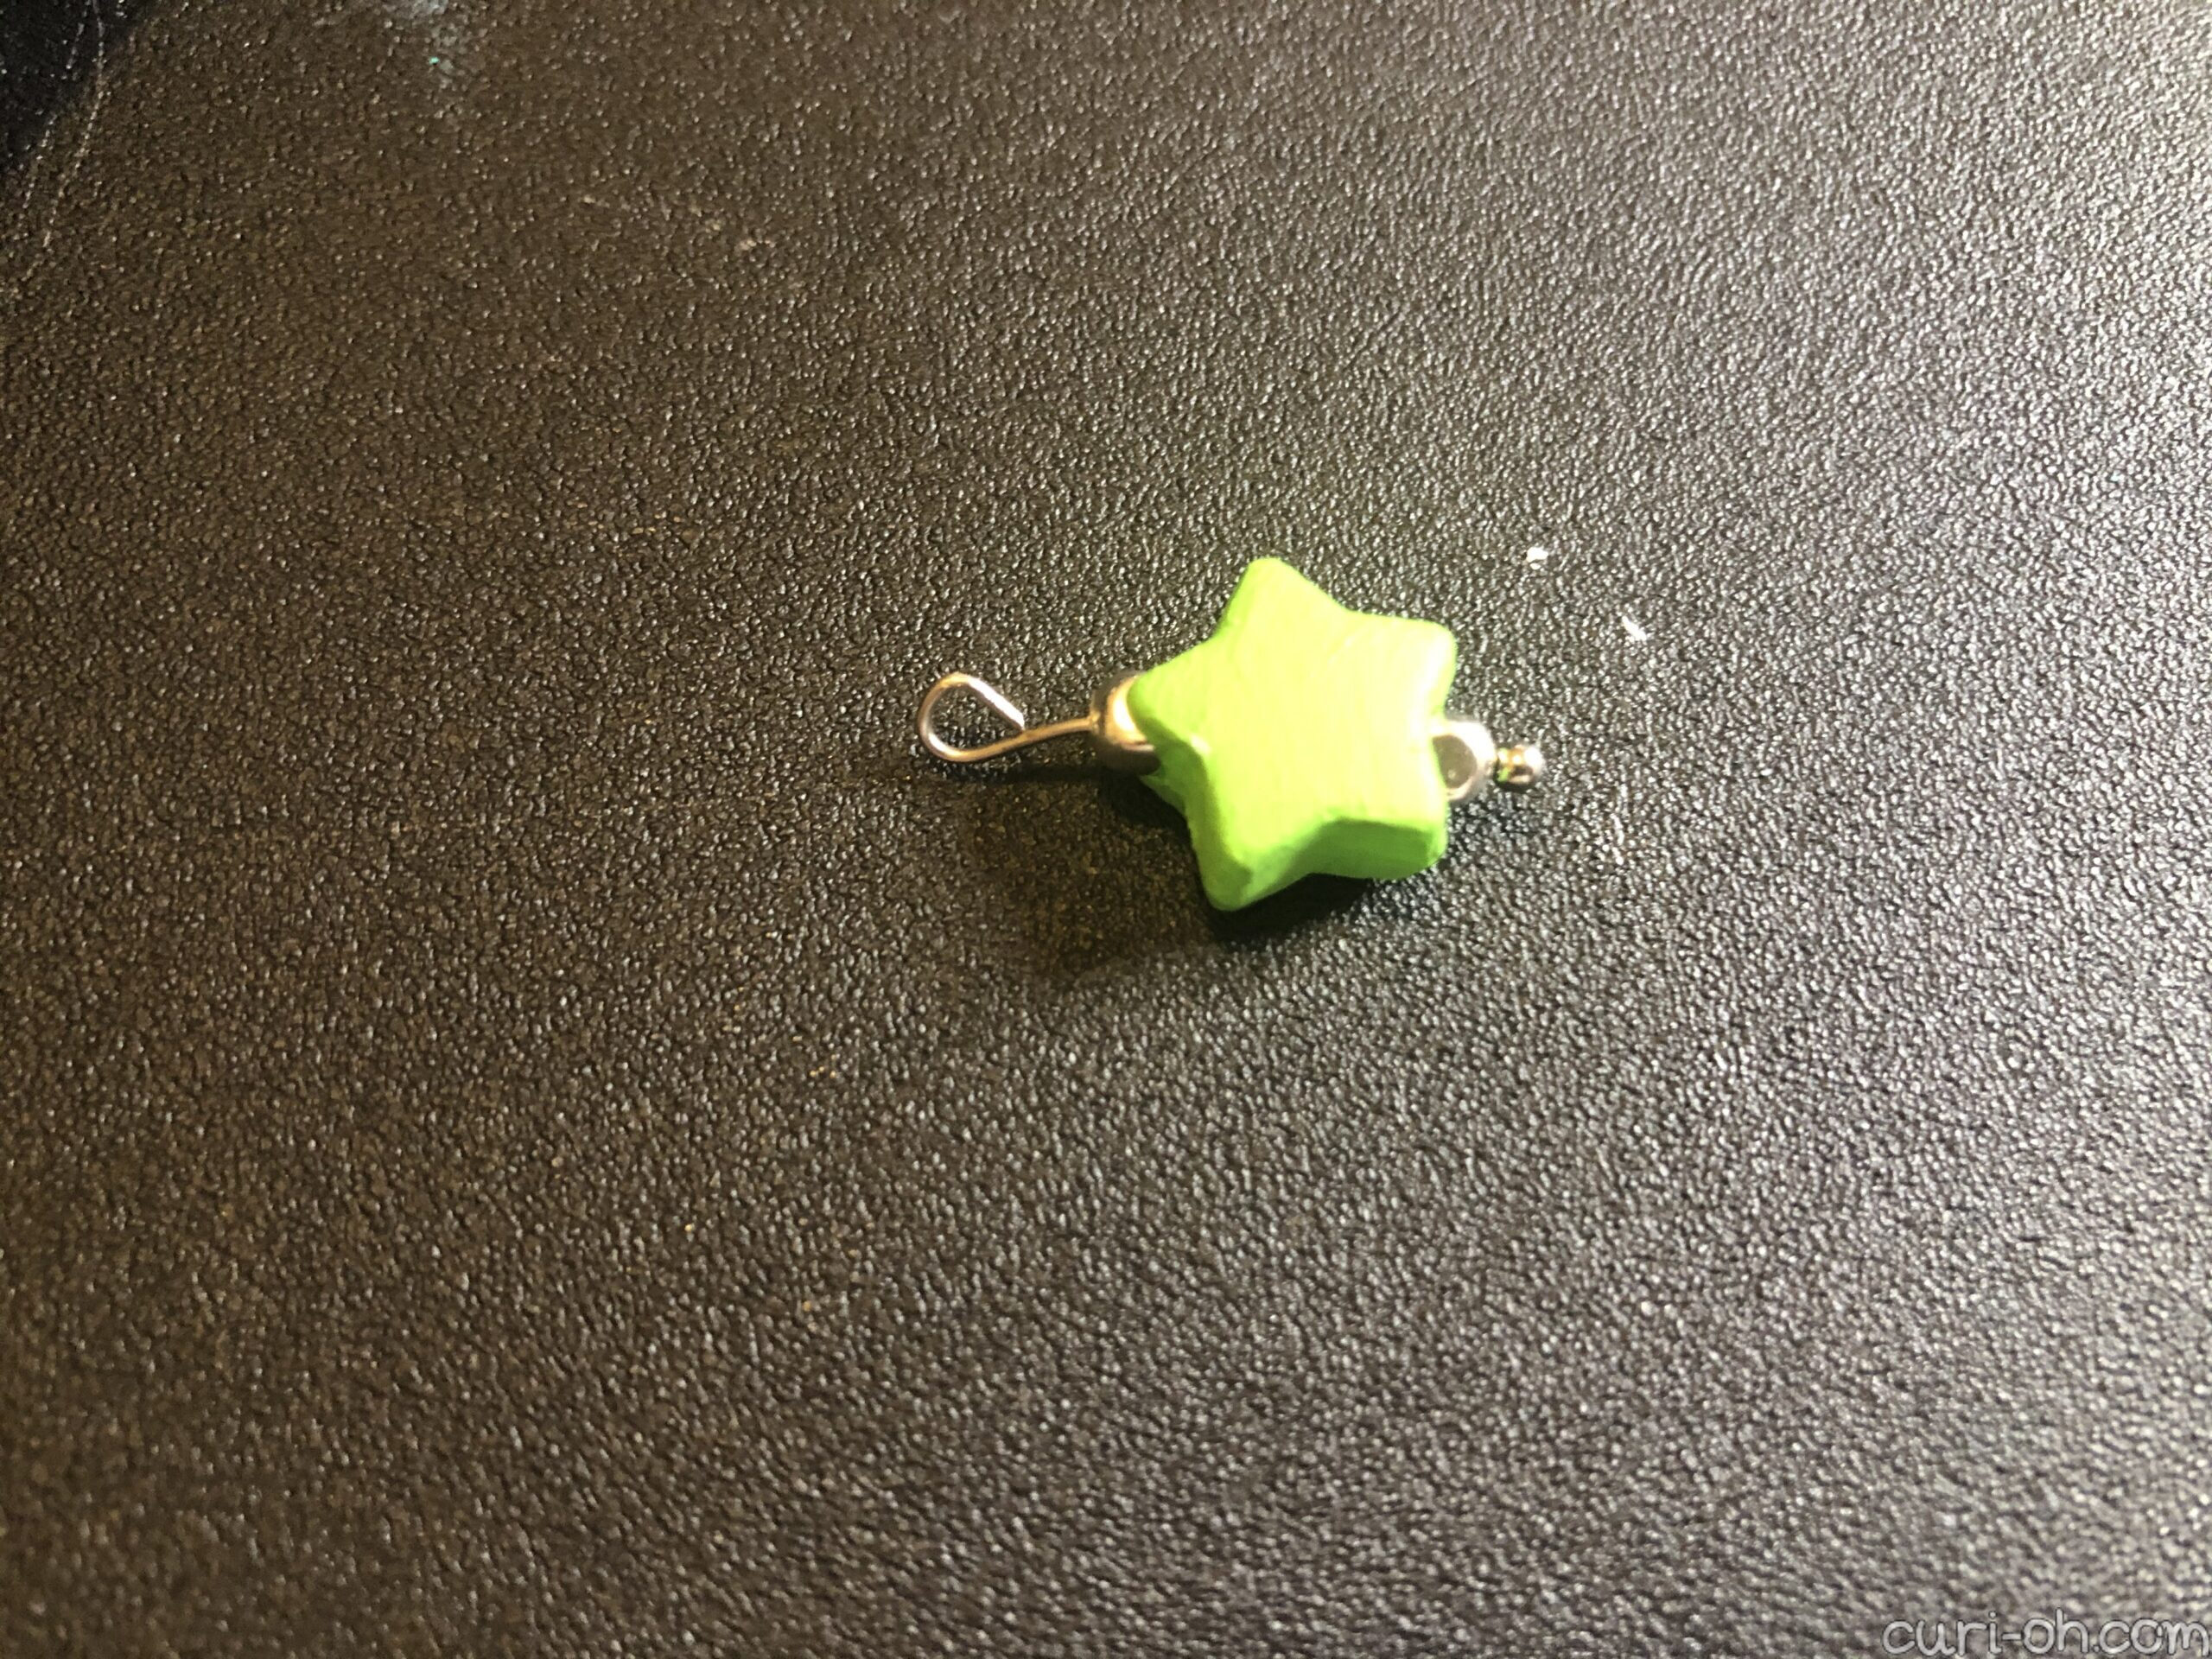
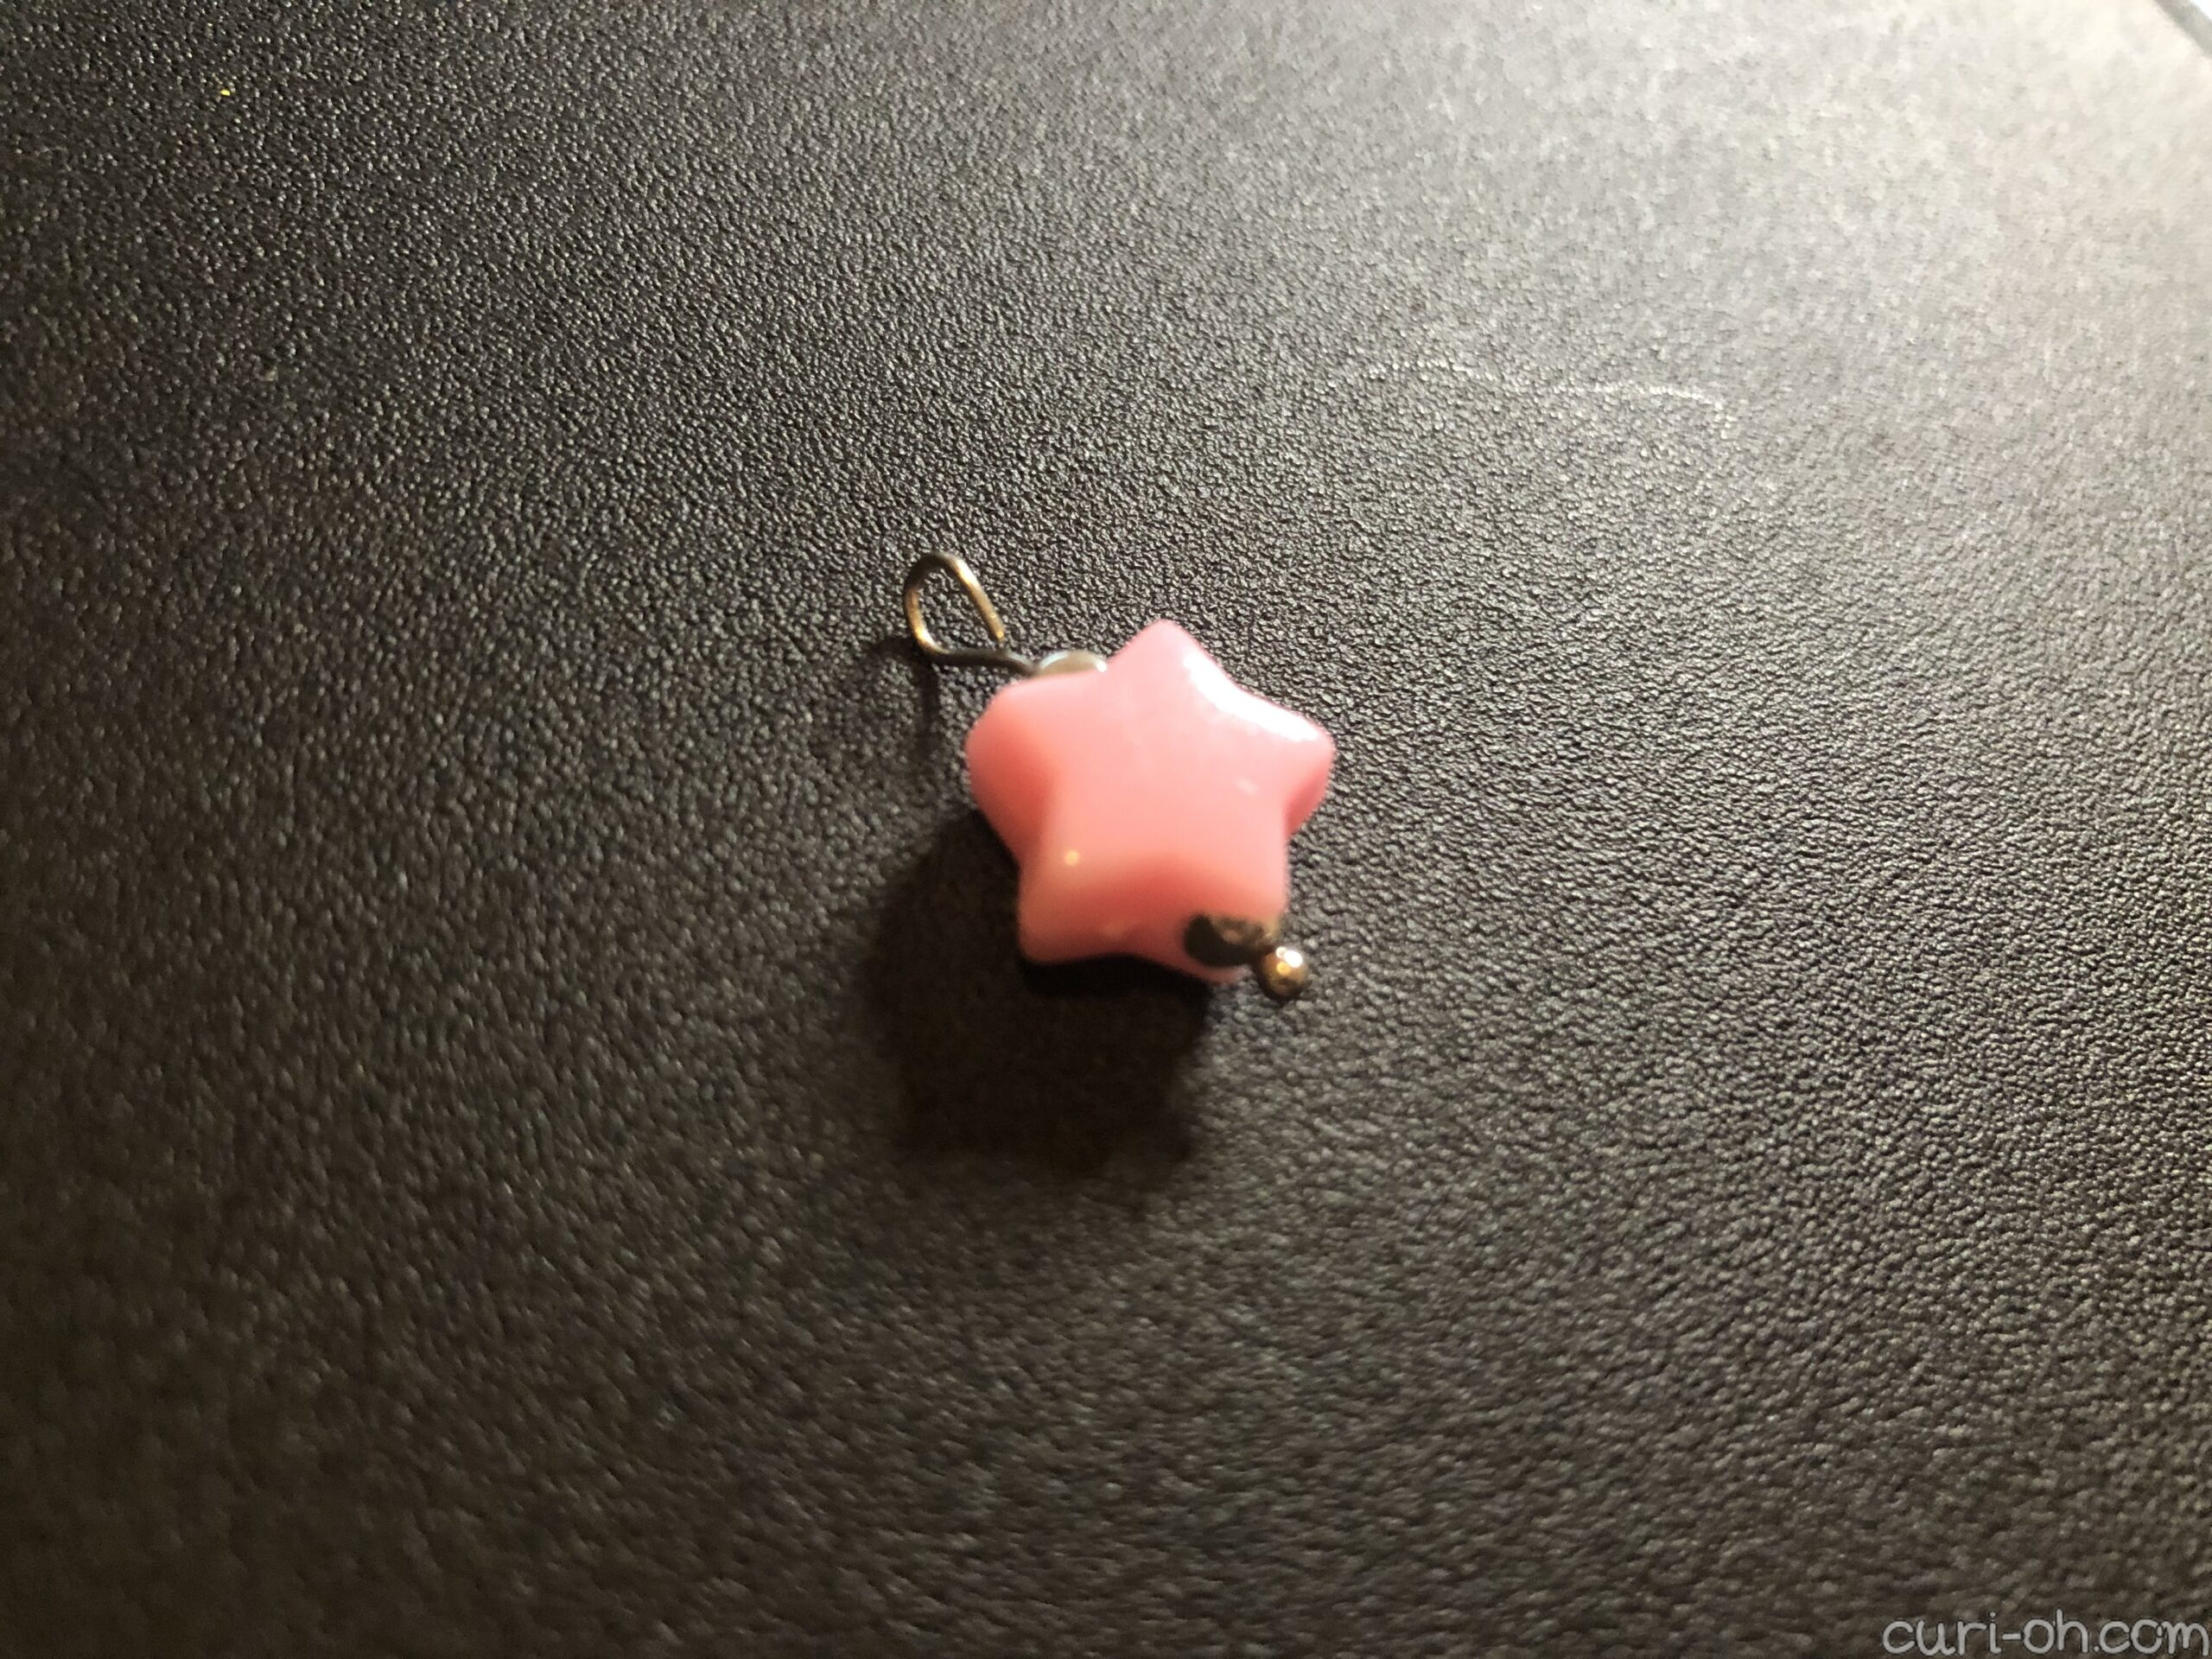
I used a clear drying craft glue to attach the eyes and the star pony beads. These are the beads from my post about the unicorn jar I made – this is what I bought them for! My bag did not come with a lime green star so I had to paint a few white ones. I used a generous glob of glue for each since it is clear-drying and there are a lot of fibers it needs to stick to.
It’s best not to glue the eyes too close together because when everything is laying flat it is further apart than it will be upright and in use. They will shift together a bit more then. If you choose to place a star above the eye and you don’t glue it fairly close to the eye, gravity will pull it down. I also preferred positioning the eyes very slightly above dead center.
Making the Keychain
Alright if you have any experience jewelry-making at all you are going to think UGH this girl does not know what she is doing. And you are right! This is the closest I have ever come to anything in the jewelry-making arena, so take this for what it is, ha!
For jewelry-making supplies, I used: keyrings with lobster clasps, jewelry chain, headpins, jump rings, and spacer beads.
For the stars…
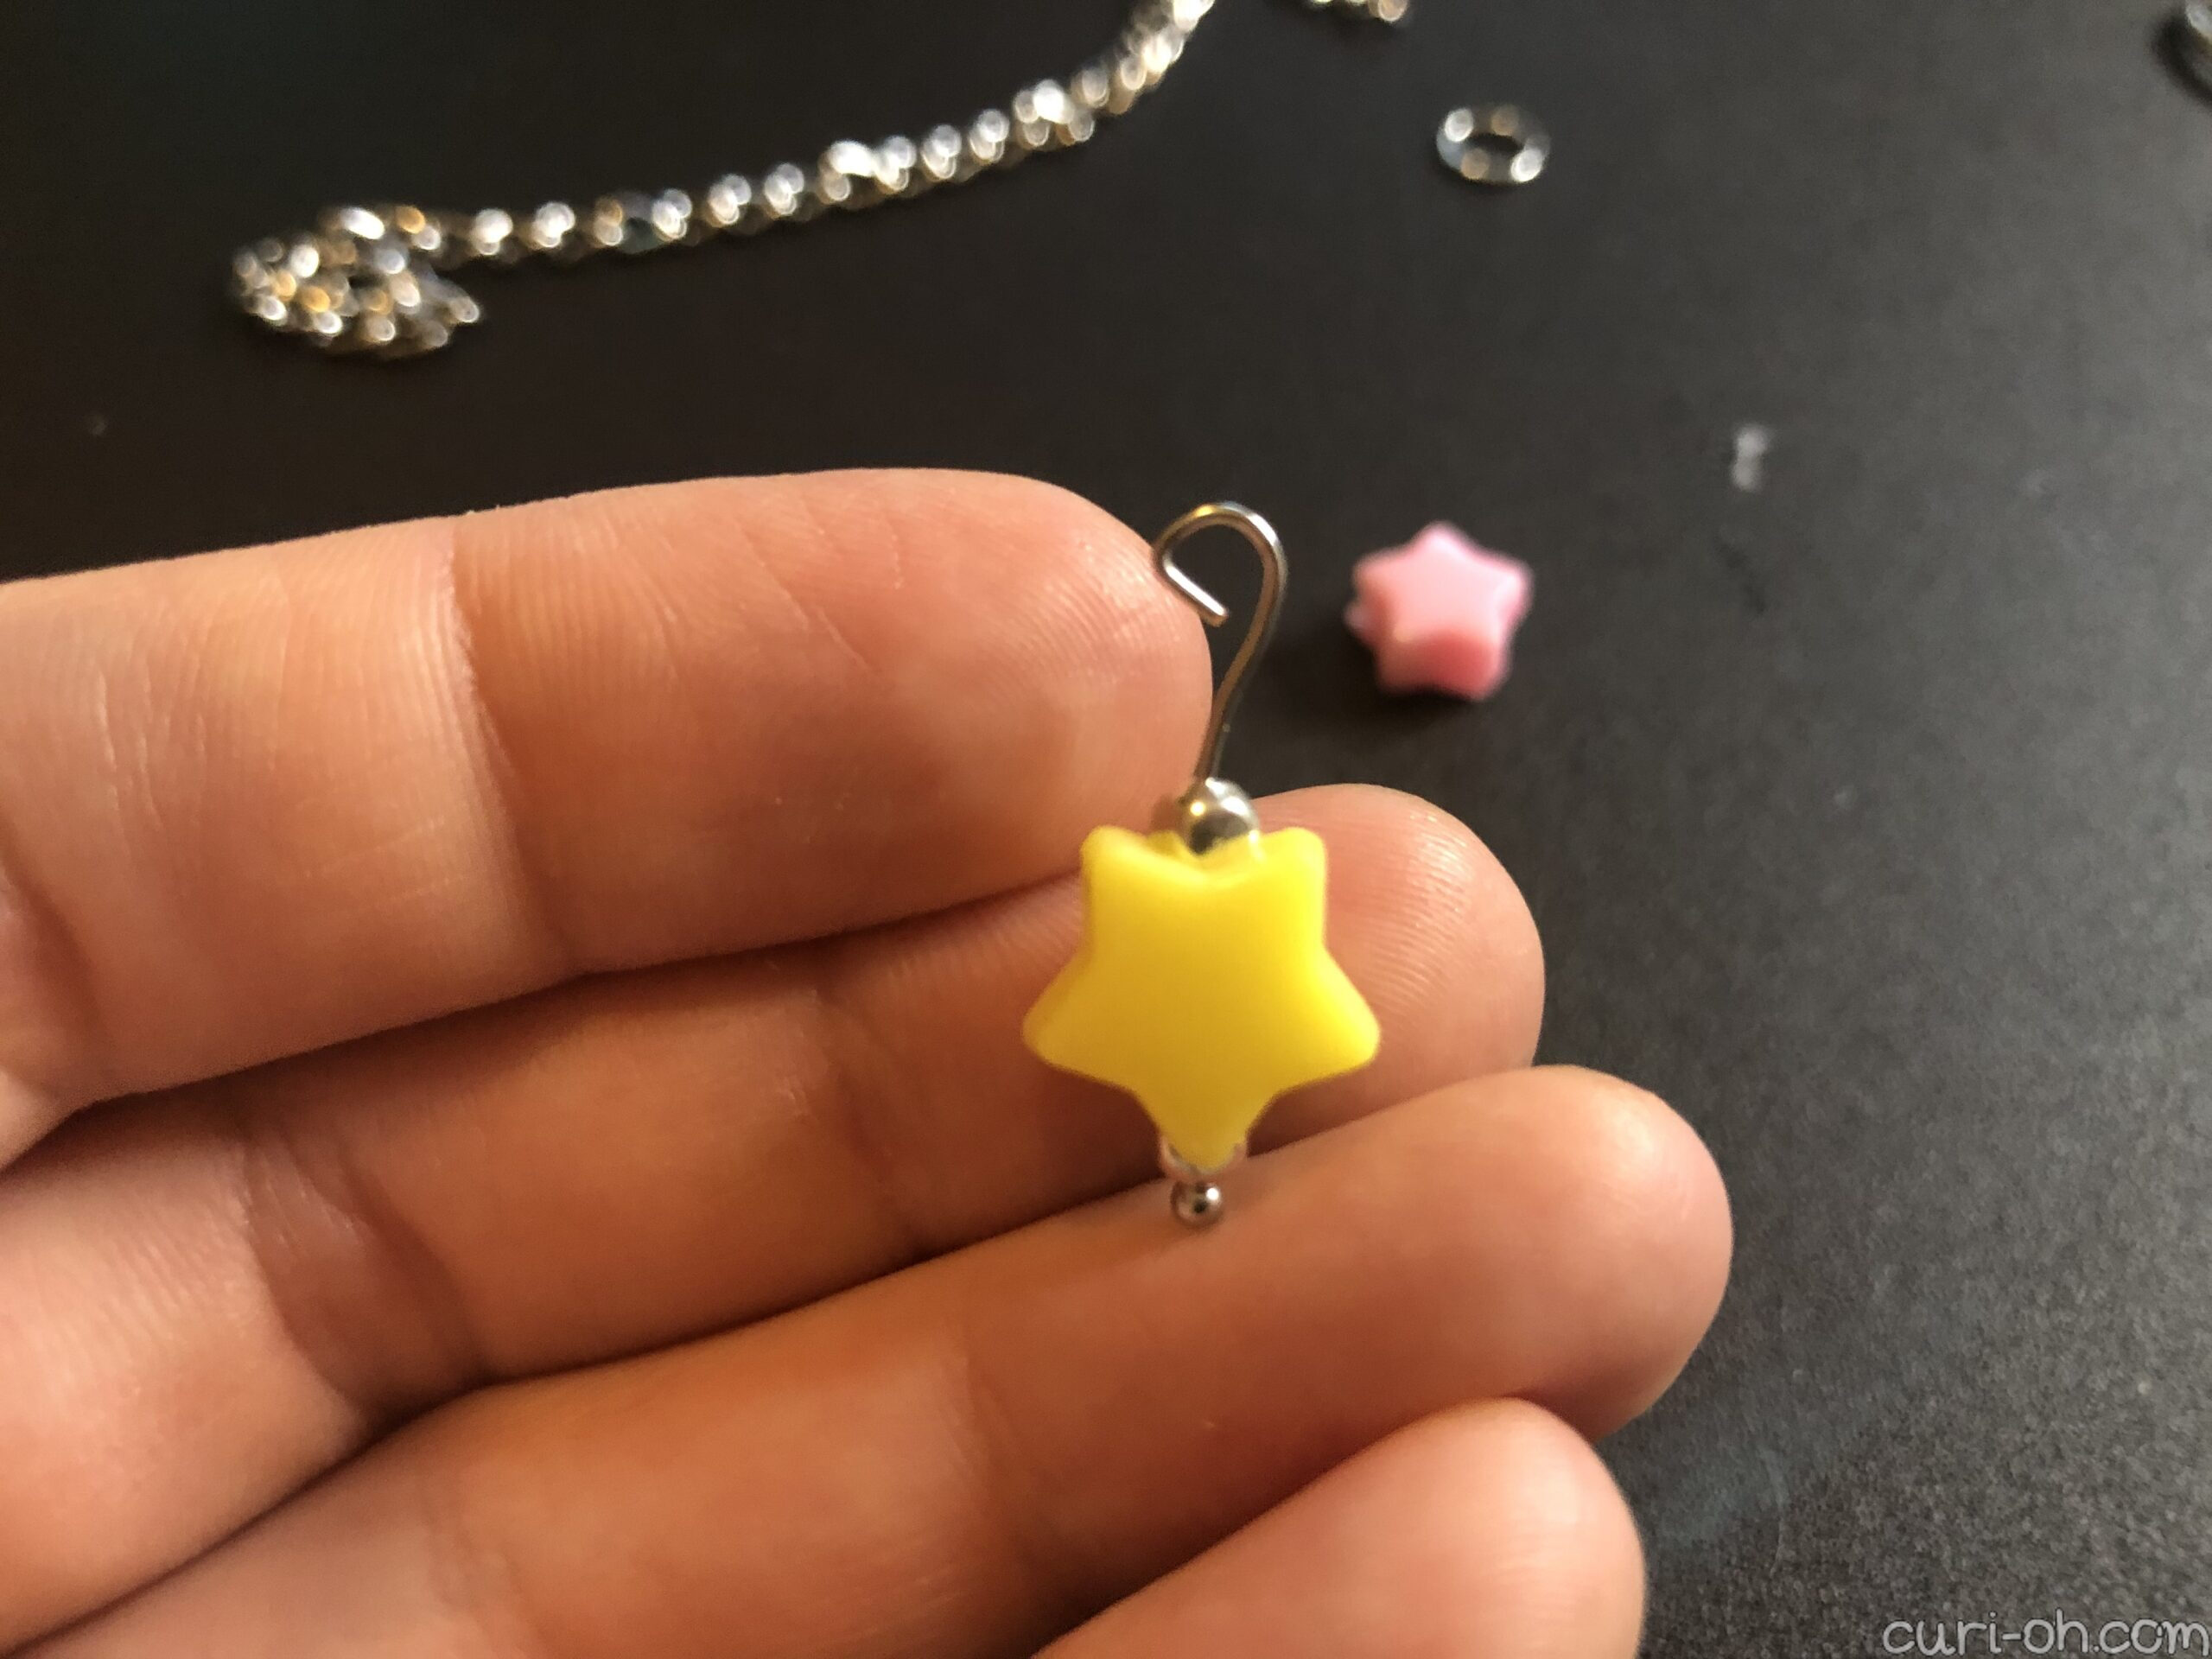
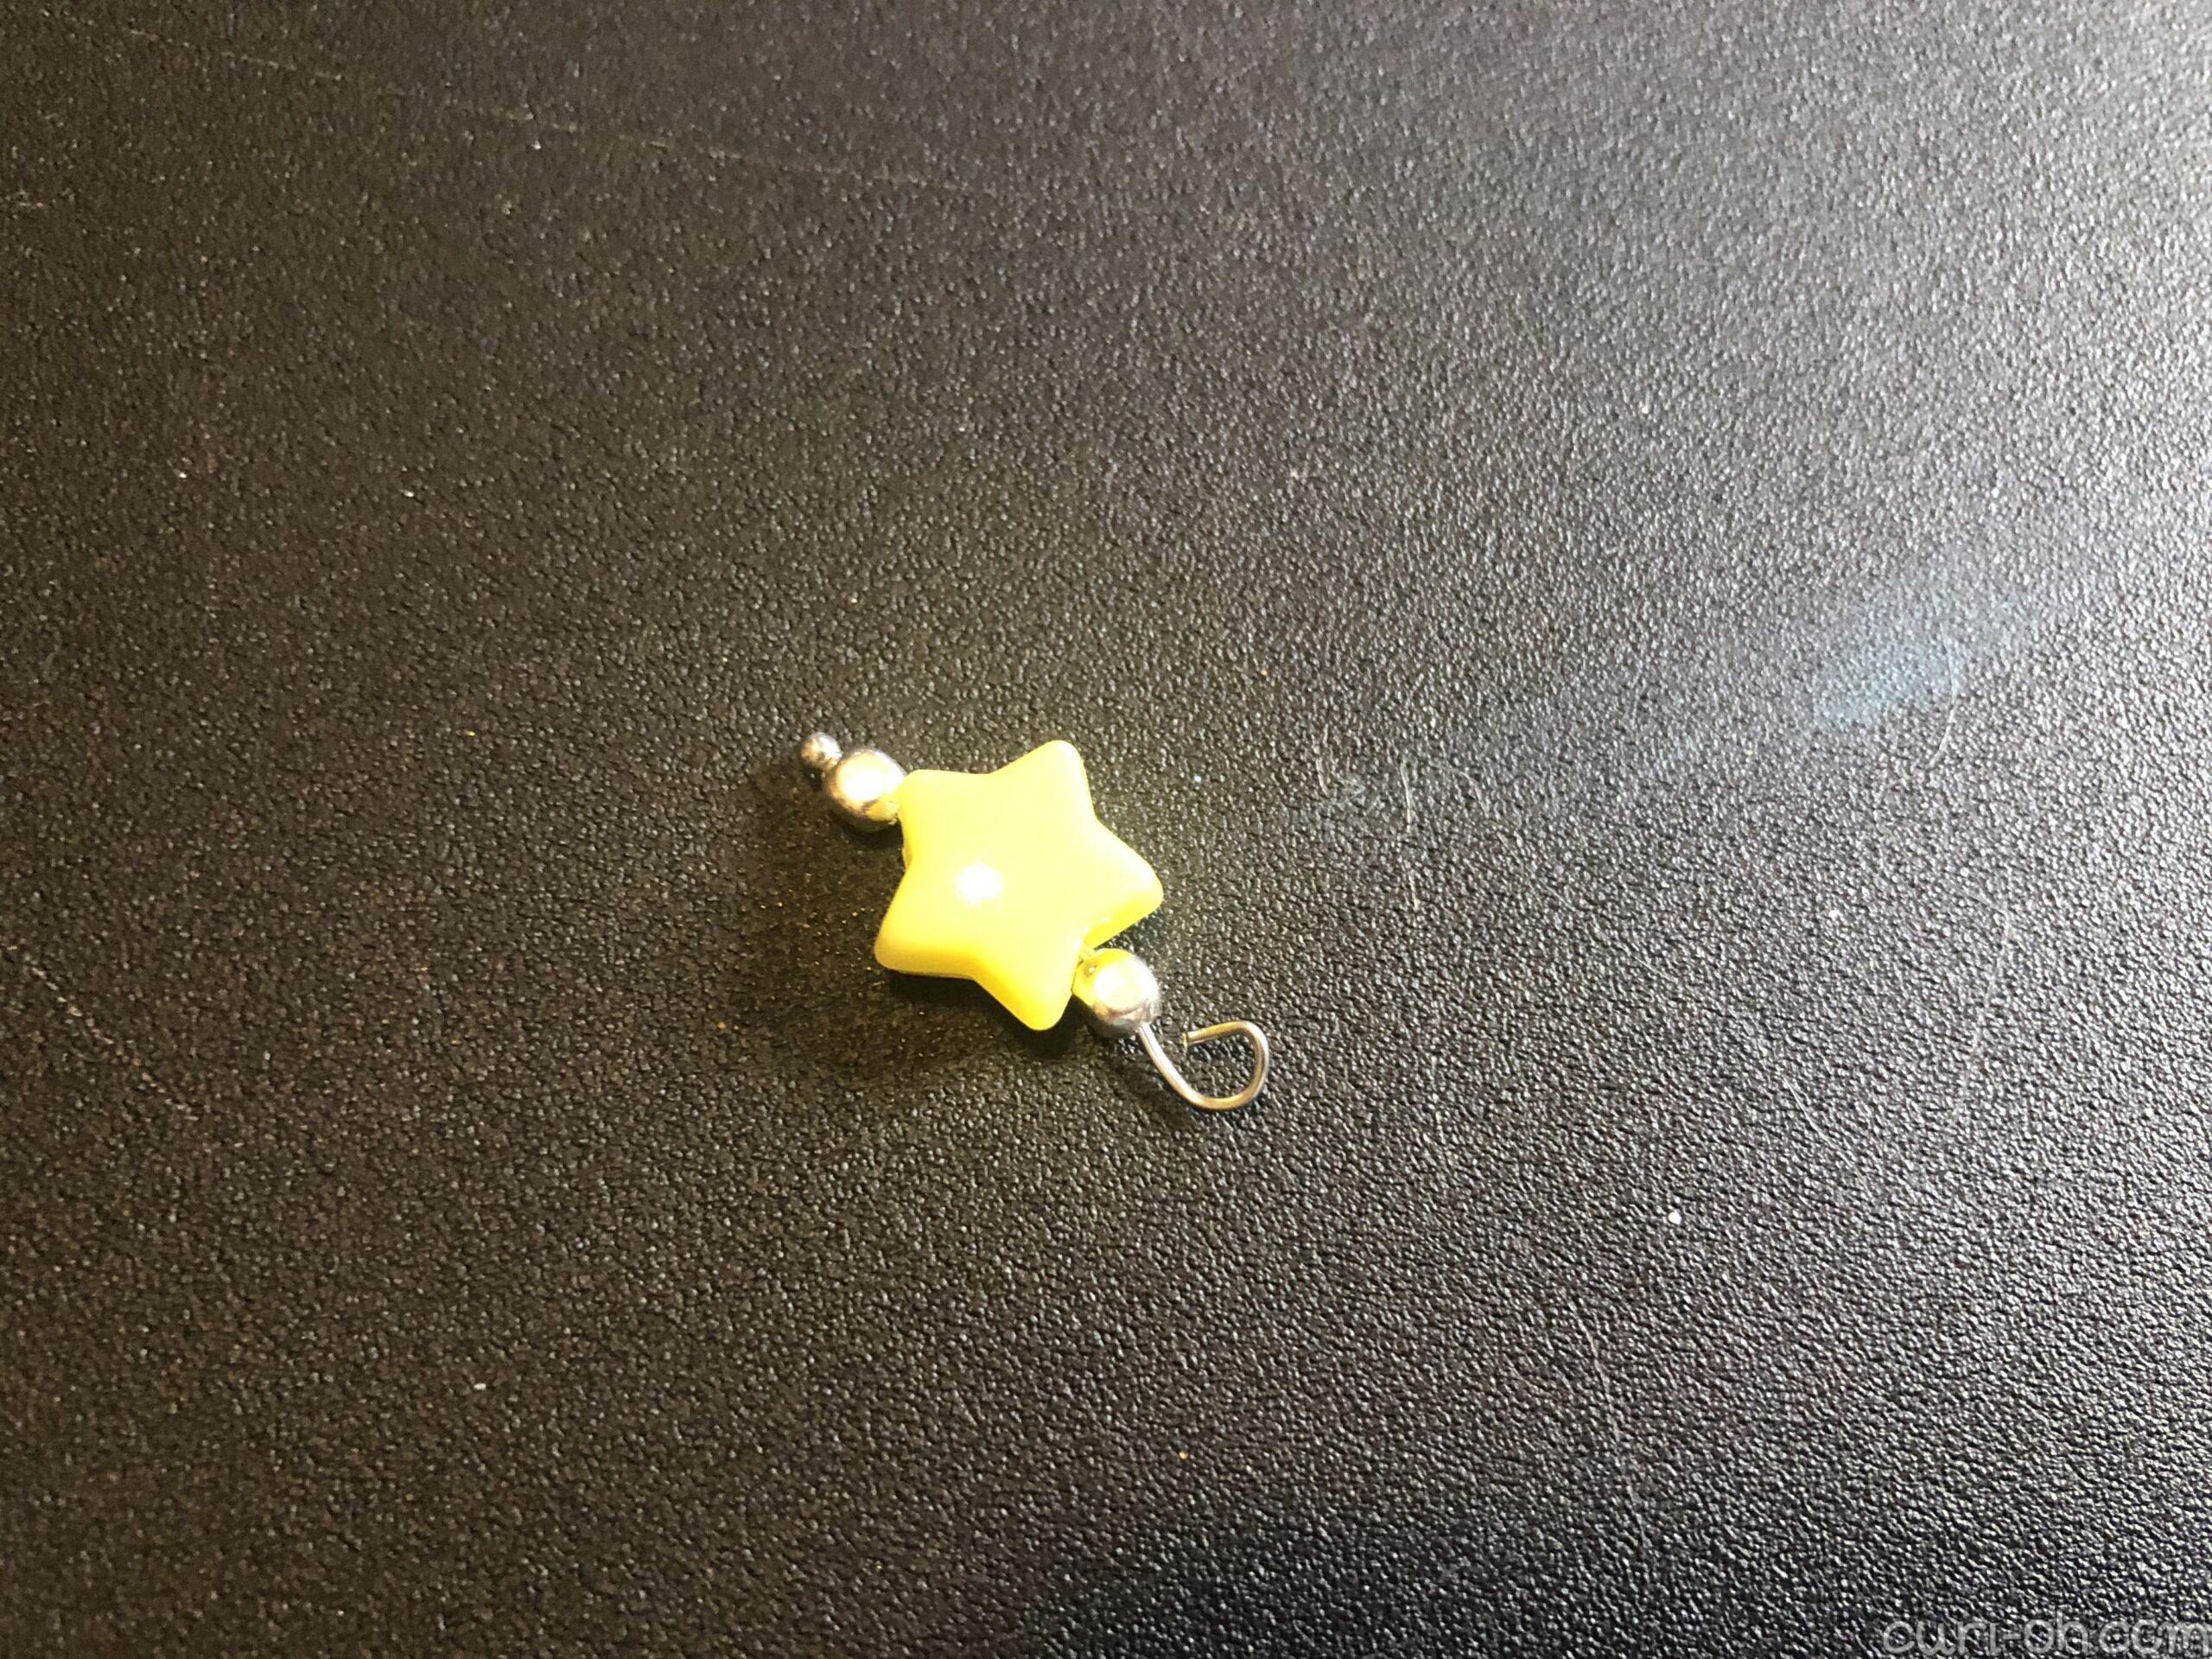
I used a headpin with a ball end and placed a spacer bead on top. The holes in my star beads were huge, so they nestled right on top of the spacer bead. One more spacer bead for the top and it was time to close it off. I used wire snips to cut the headpin down a bit smaller and then a pair of needle nose pliers to form the loop. The more I made of these, the better they were, but I just had a pair of standard toolbox pliers, not specialty jewelry pliers. I’m sure they would have been much more round with those, but oh well! They got the job done.
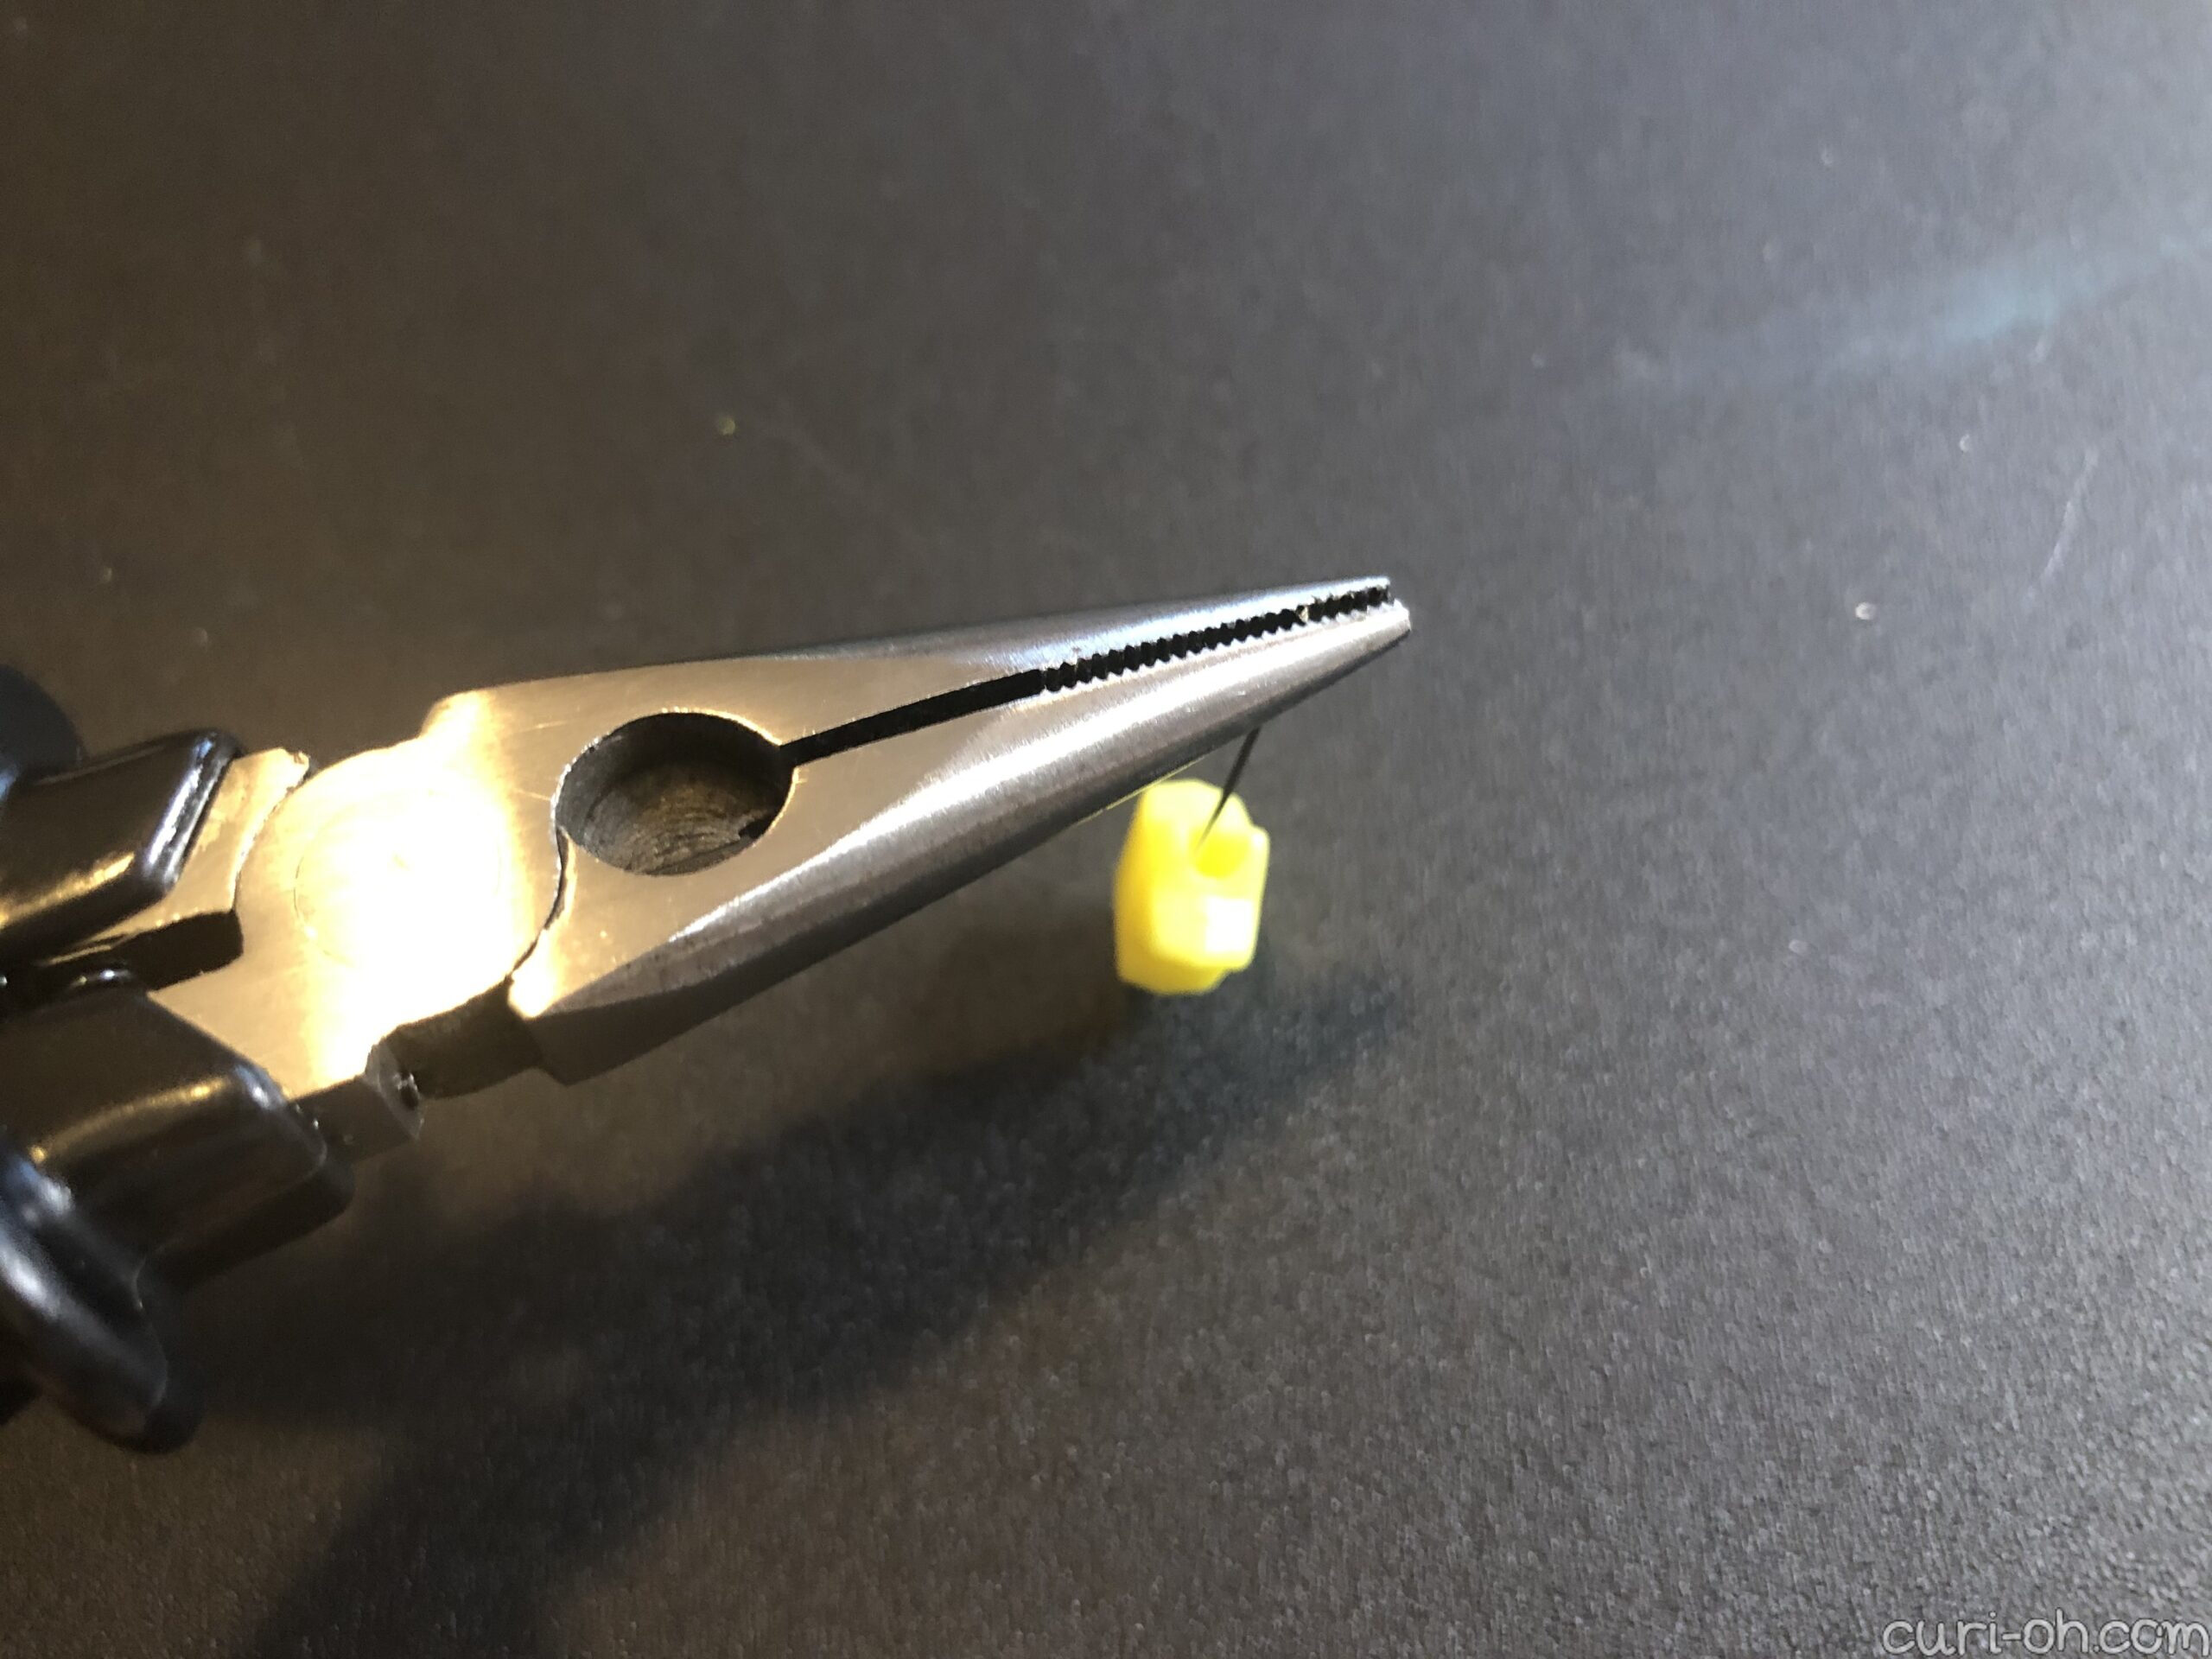

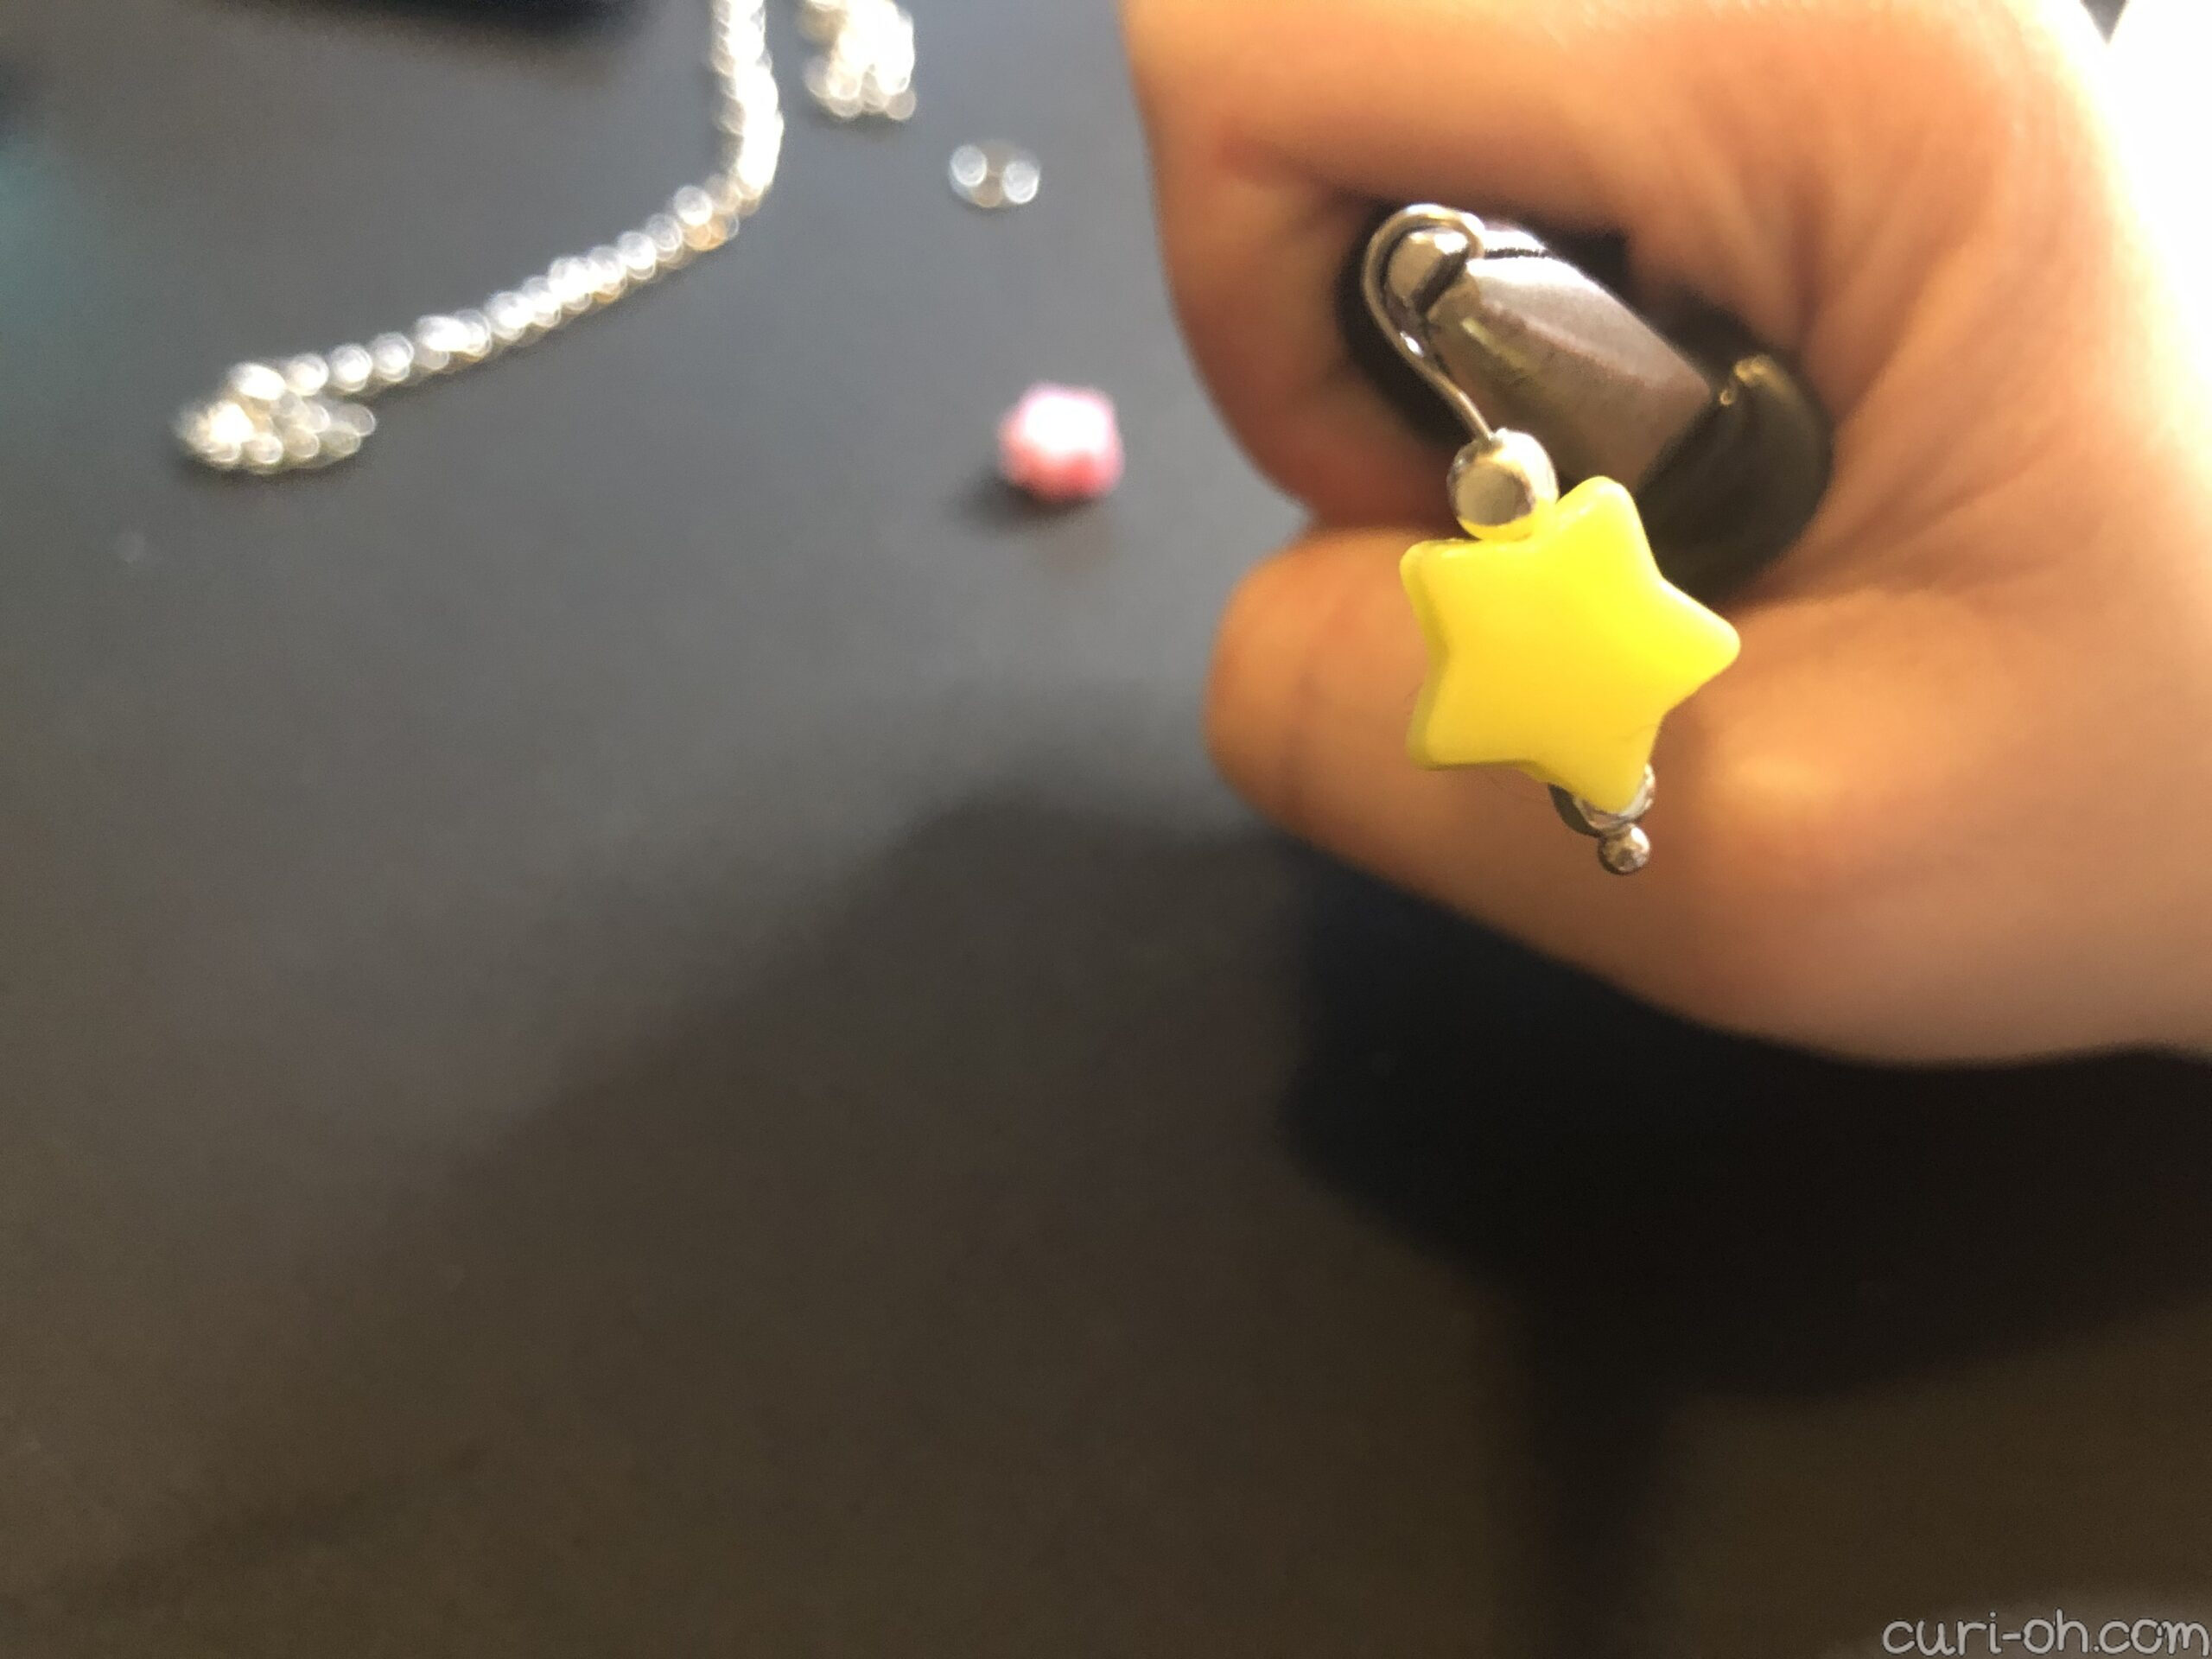
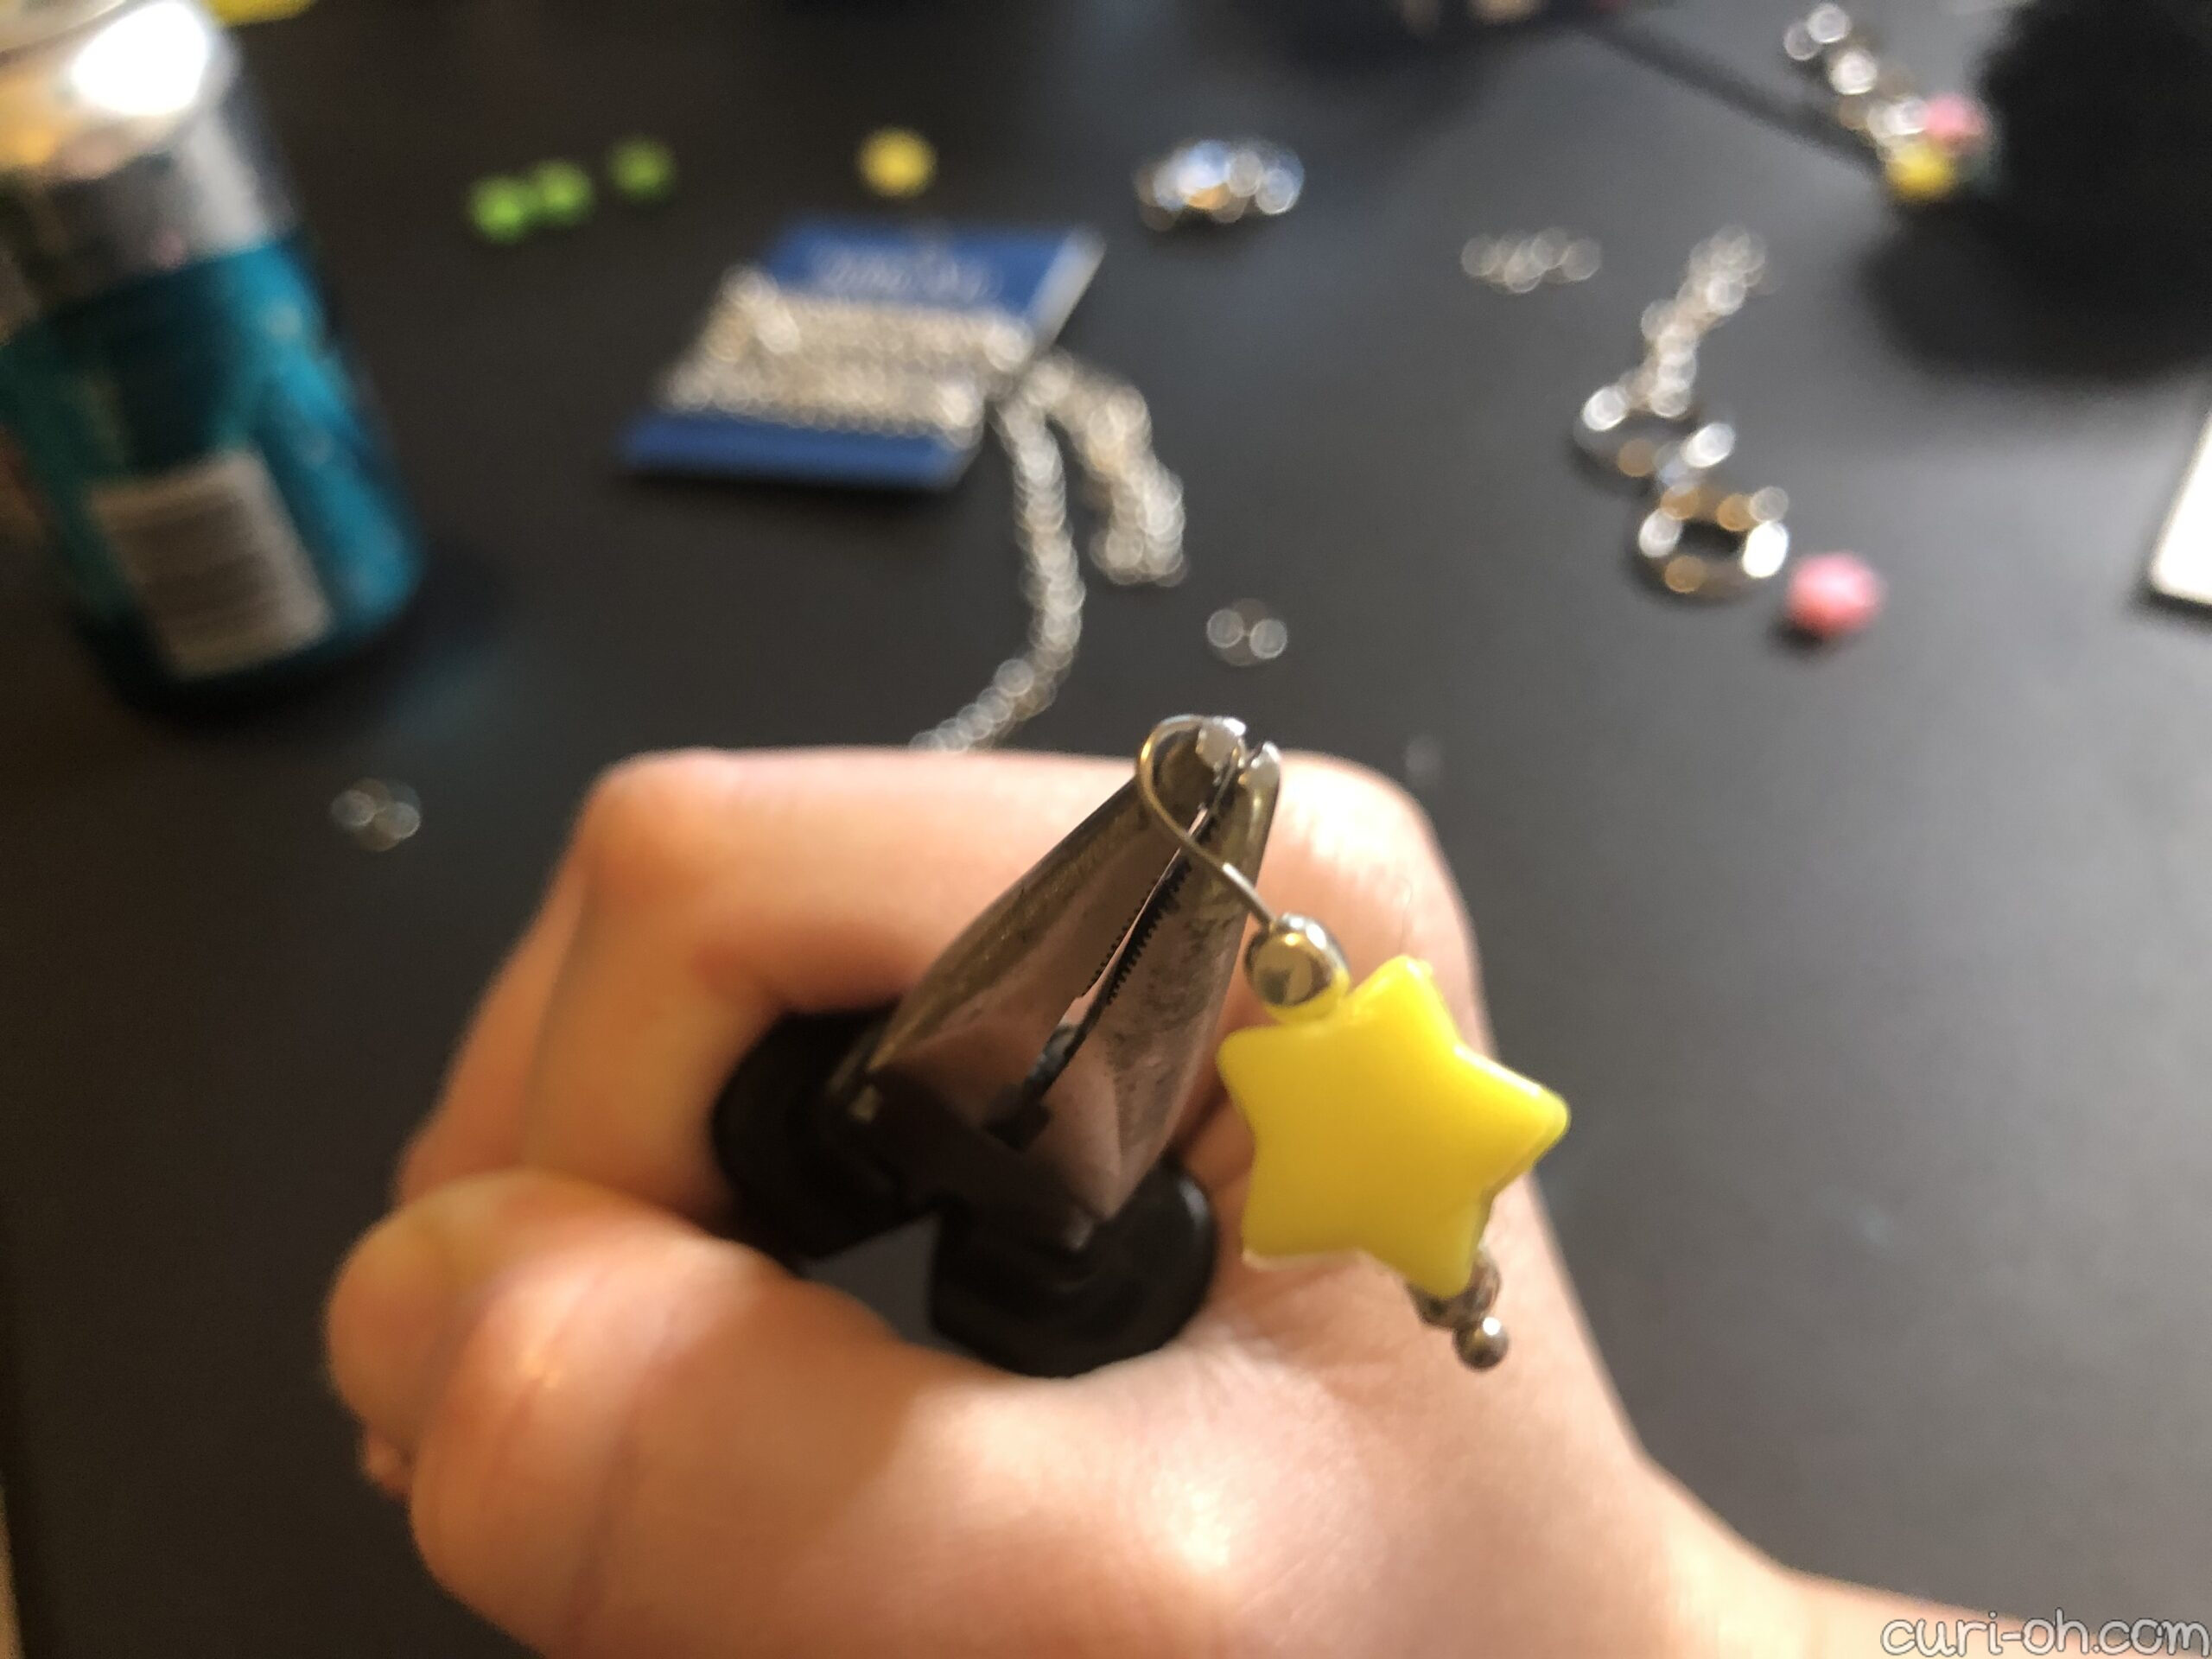
You take the very tip of the headpin wire and clasp it so that no part is sticking out of the needle nose pliers. You then roll it along your finger to form a loop while pushing backward into your finger and pushing the other side in a bit to give it more of a hooked shape, rather than a straight P. With jewelry pliers, mine probably would not have had such a point, but I mashed that part down with the pliers to close the loop and round it out as best I could. (I found this video helpful.)
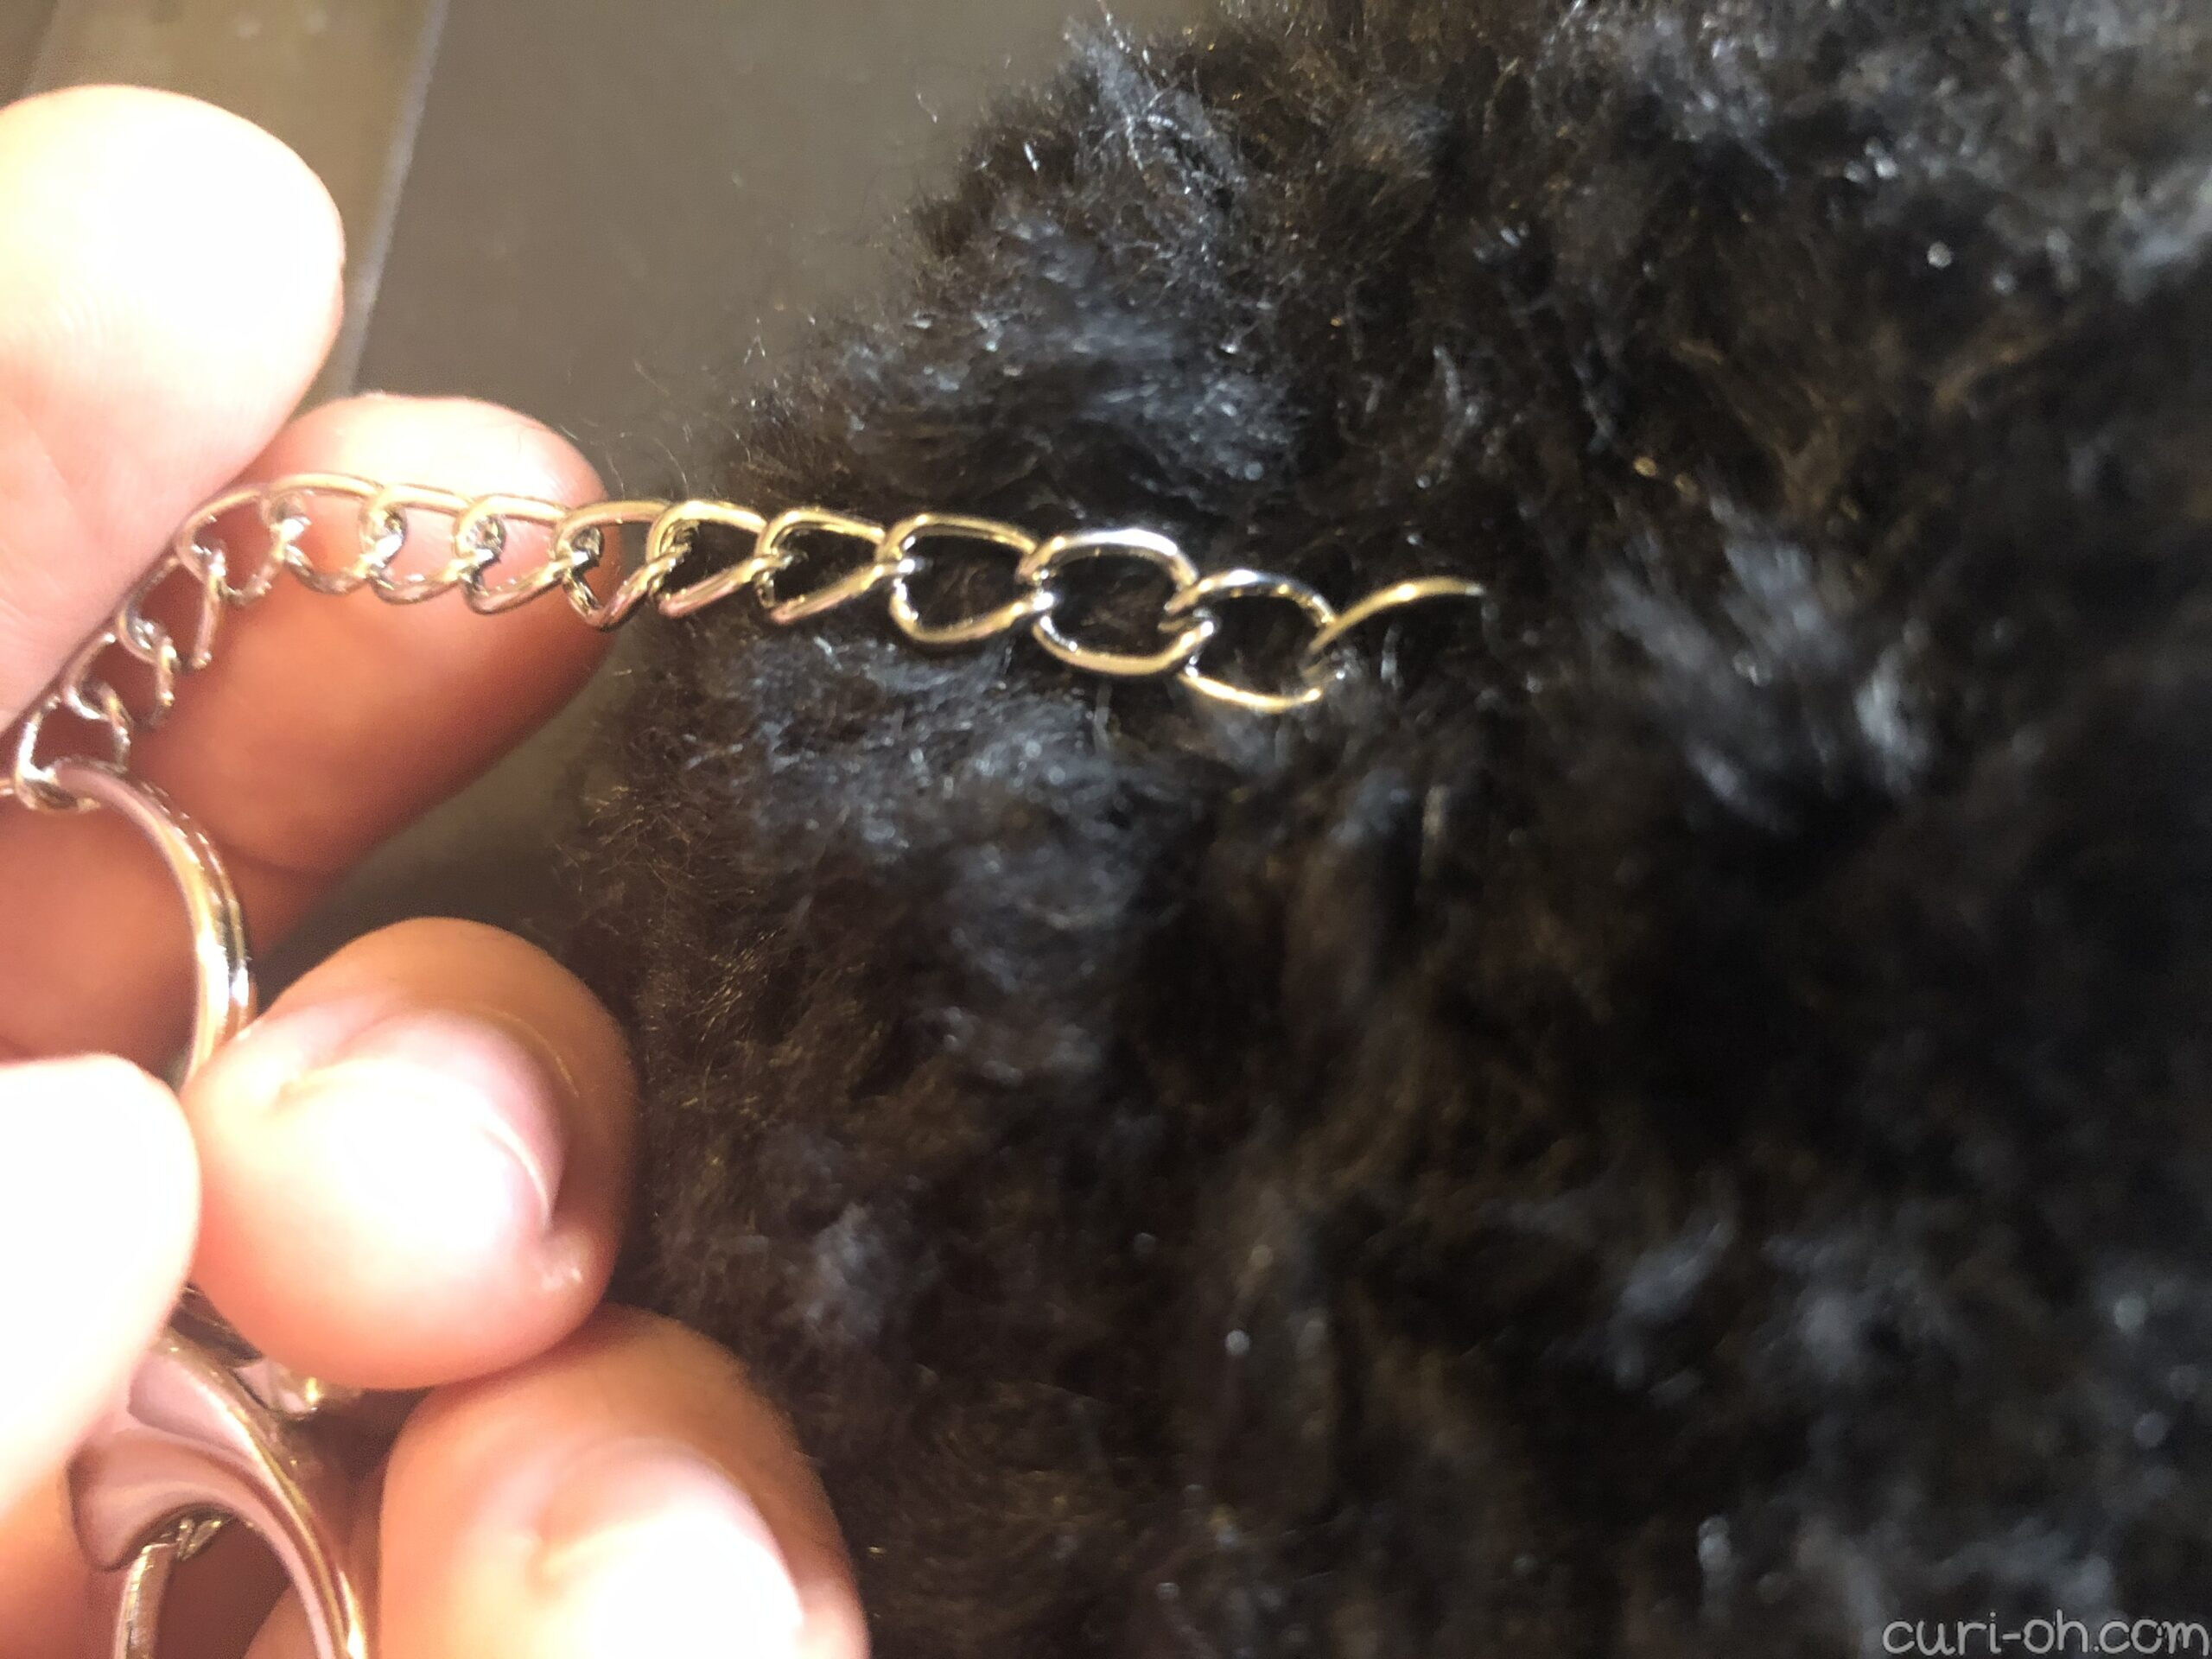
For the chain…
Making the chain part was easy. I just found the link size I liked and cut the chain as long as I wanted it to be (for my chain, that was about 13 links). I pried open a larger jump ring with the pliers and located the pom-pom’s center string. I closed the jump ring around both the end of the chain and the center string.

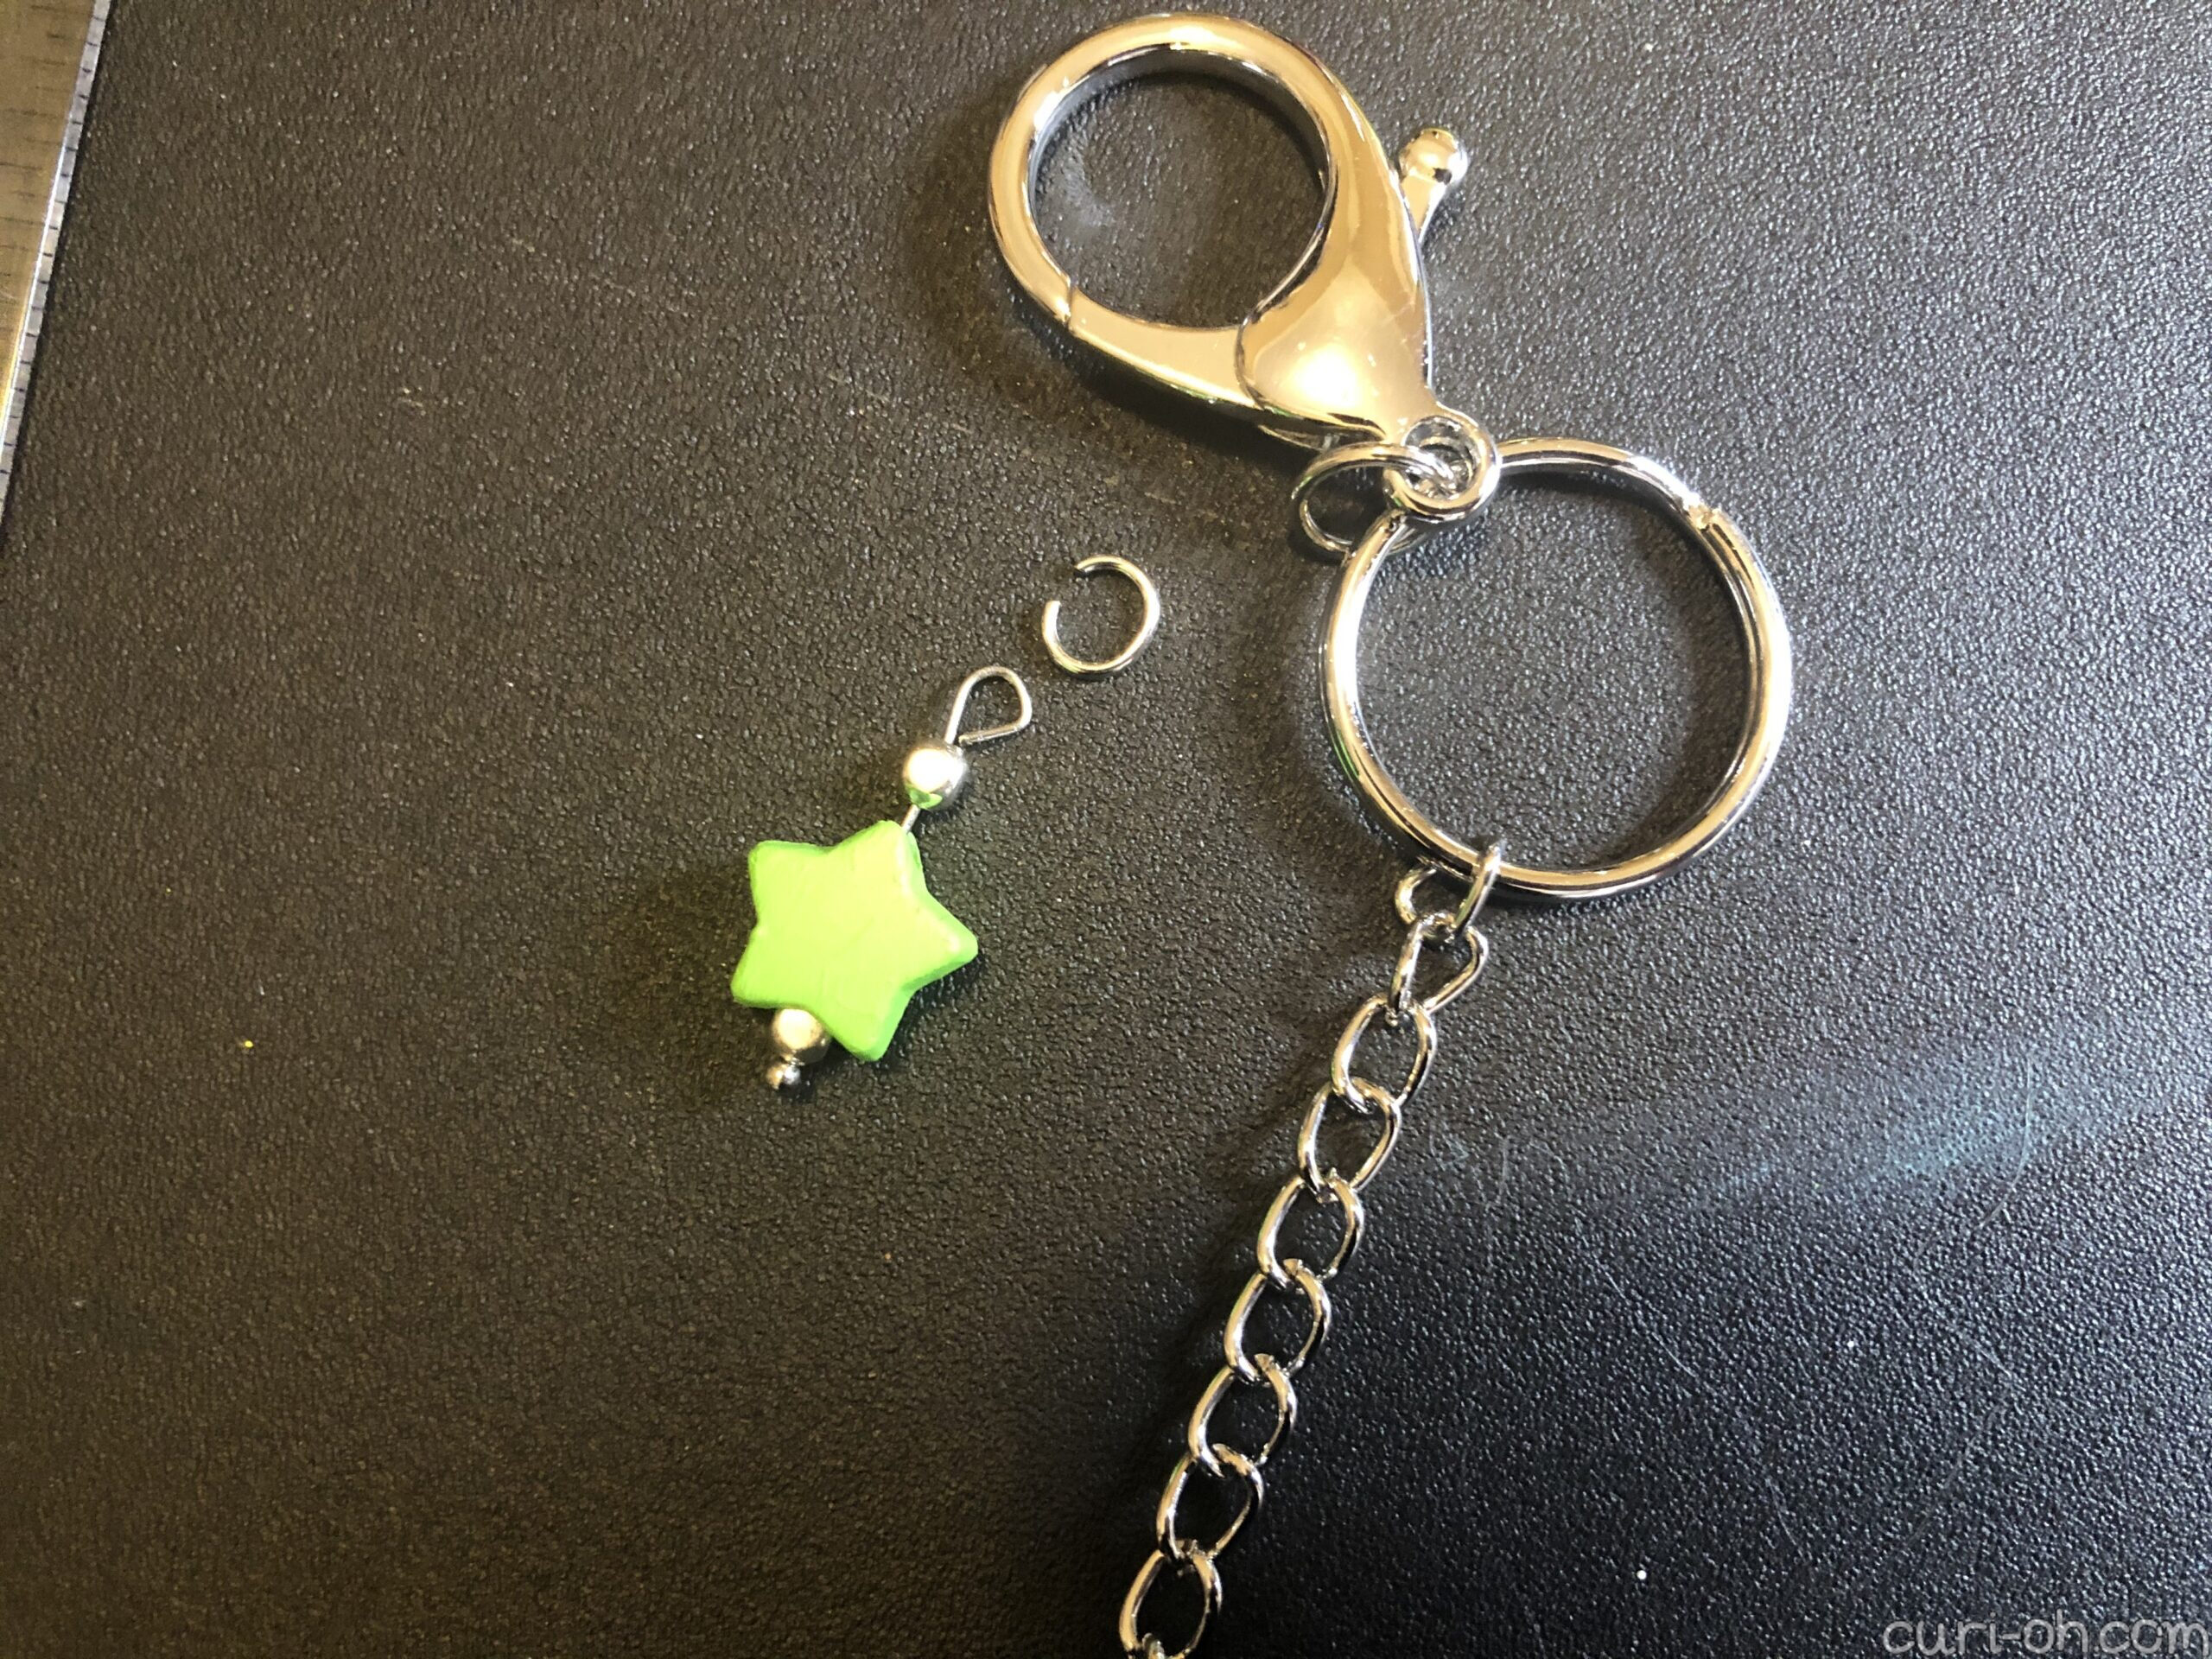
I attached the other end of the chain to the keyring. Next, I gathered up the star charms I made earlier and attached the loops to the chain using jump rings. Just make sure you don’t attach one to the first link (the one attached to the keyring) or too close to the Soot Sprite (or it will just sit on its head).
And wow, I think we can all agree that was a lot of information, but there you have it!
IN SUMMARY, I USED:
- Lion Brand Homespun Yarn in Black
- Clover Pom-Pom Maker (2.5″)
- Scissors
- White round shank buttons
- Black paint
- Clear Mod Podge
- Basic paint supplies
- Star-shaped pony beads
- Aleene’s Original Tacky Glue
- Needle nose pliers
- Wire snips
- Jewelry chain
- Jump rings, various sizes
- Spacer beads
- Headpins
- Keyrings with lobster clasps
The stars represent the food the Soot Sprites eat in Spirited Away: konpeito, a Japanese star-shaped sugar candy. If you want to be technical, the colors used in the movie are pink, green, white, and yellow.
I’m very pleased with how mine turned out! I only needed the one keychain for my bag, so i just nestled the others together in the shelf I got during last month’s thrifting. You could of course just make a bunch of cute soot sprites without the keychain part and that would be MUCH easier! I had to tie mine onto my bag because the clasp wasn’t wide enough.
There are so many things you could do with these cute pom-pom soot sprites. If you make one, let me know what you do with yours!