Using a “Loopies” Unicorn Kit to Make a Hobby Horse
Hello! I know that it has been far too long since my last post. Between moving, working on our new house, and being a little reality-altering thing called pregnant, life has been uniquely busy for me as of late. Well, really since we found out about the baby in February. That faint little line set off a whirlwind chain of events that is still spinning.
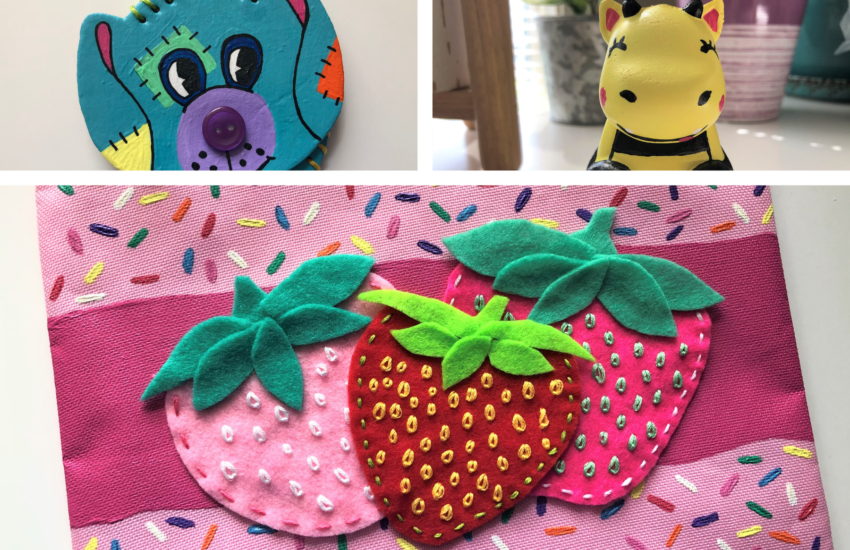
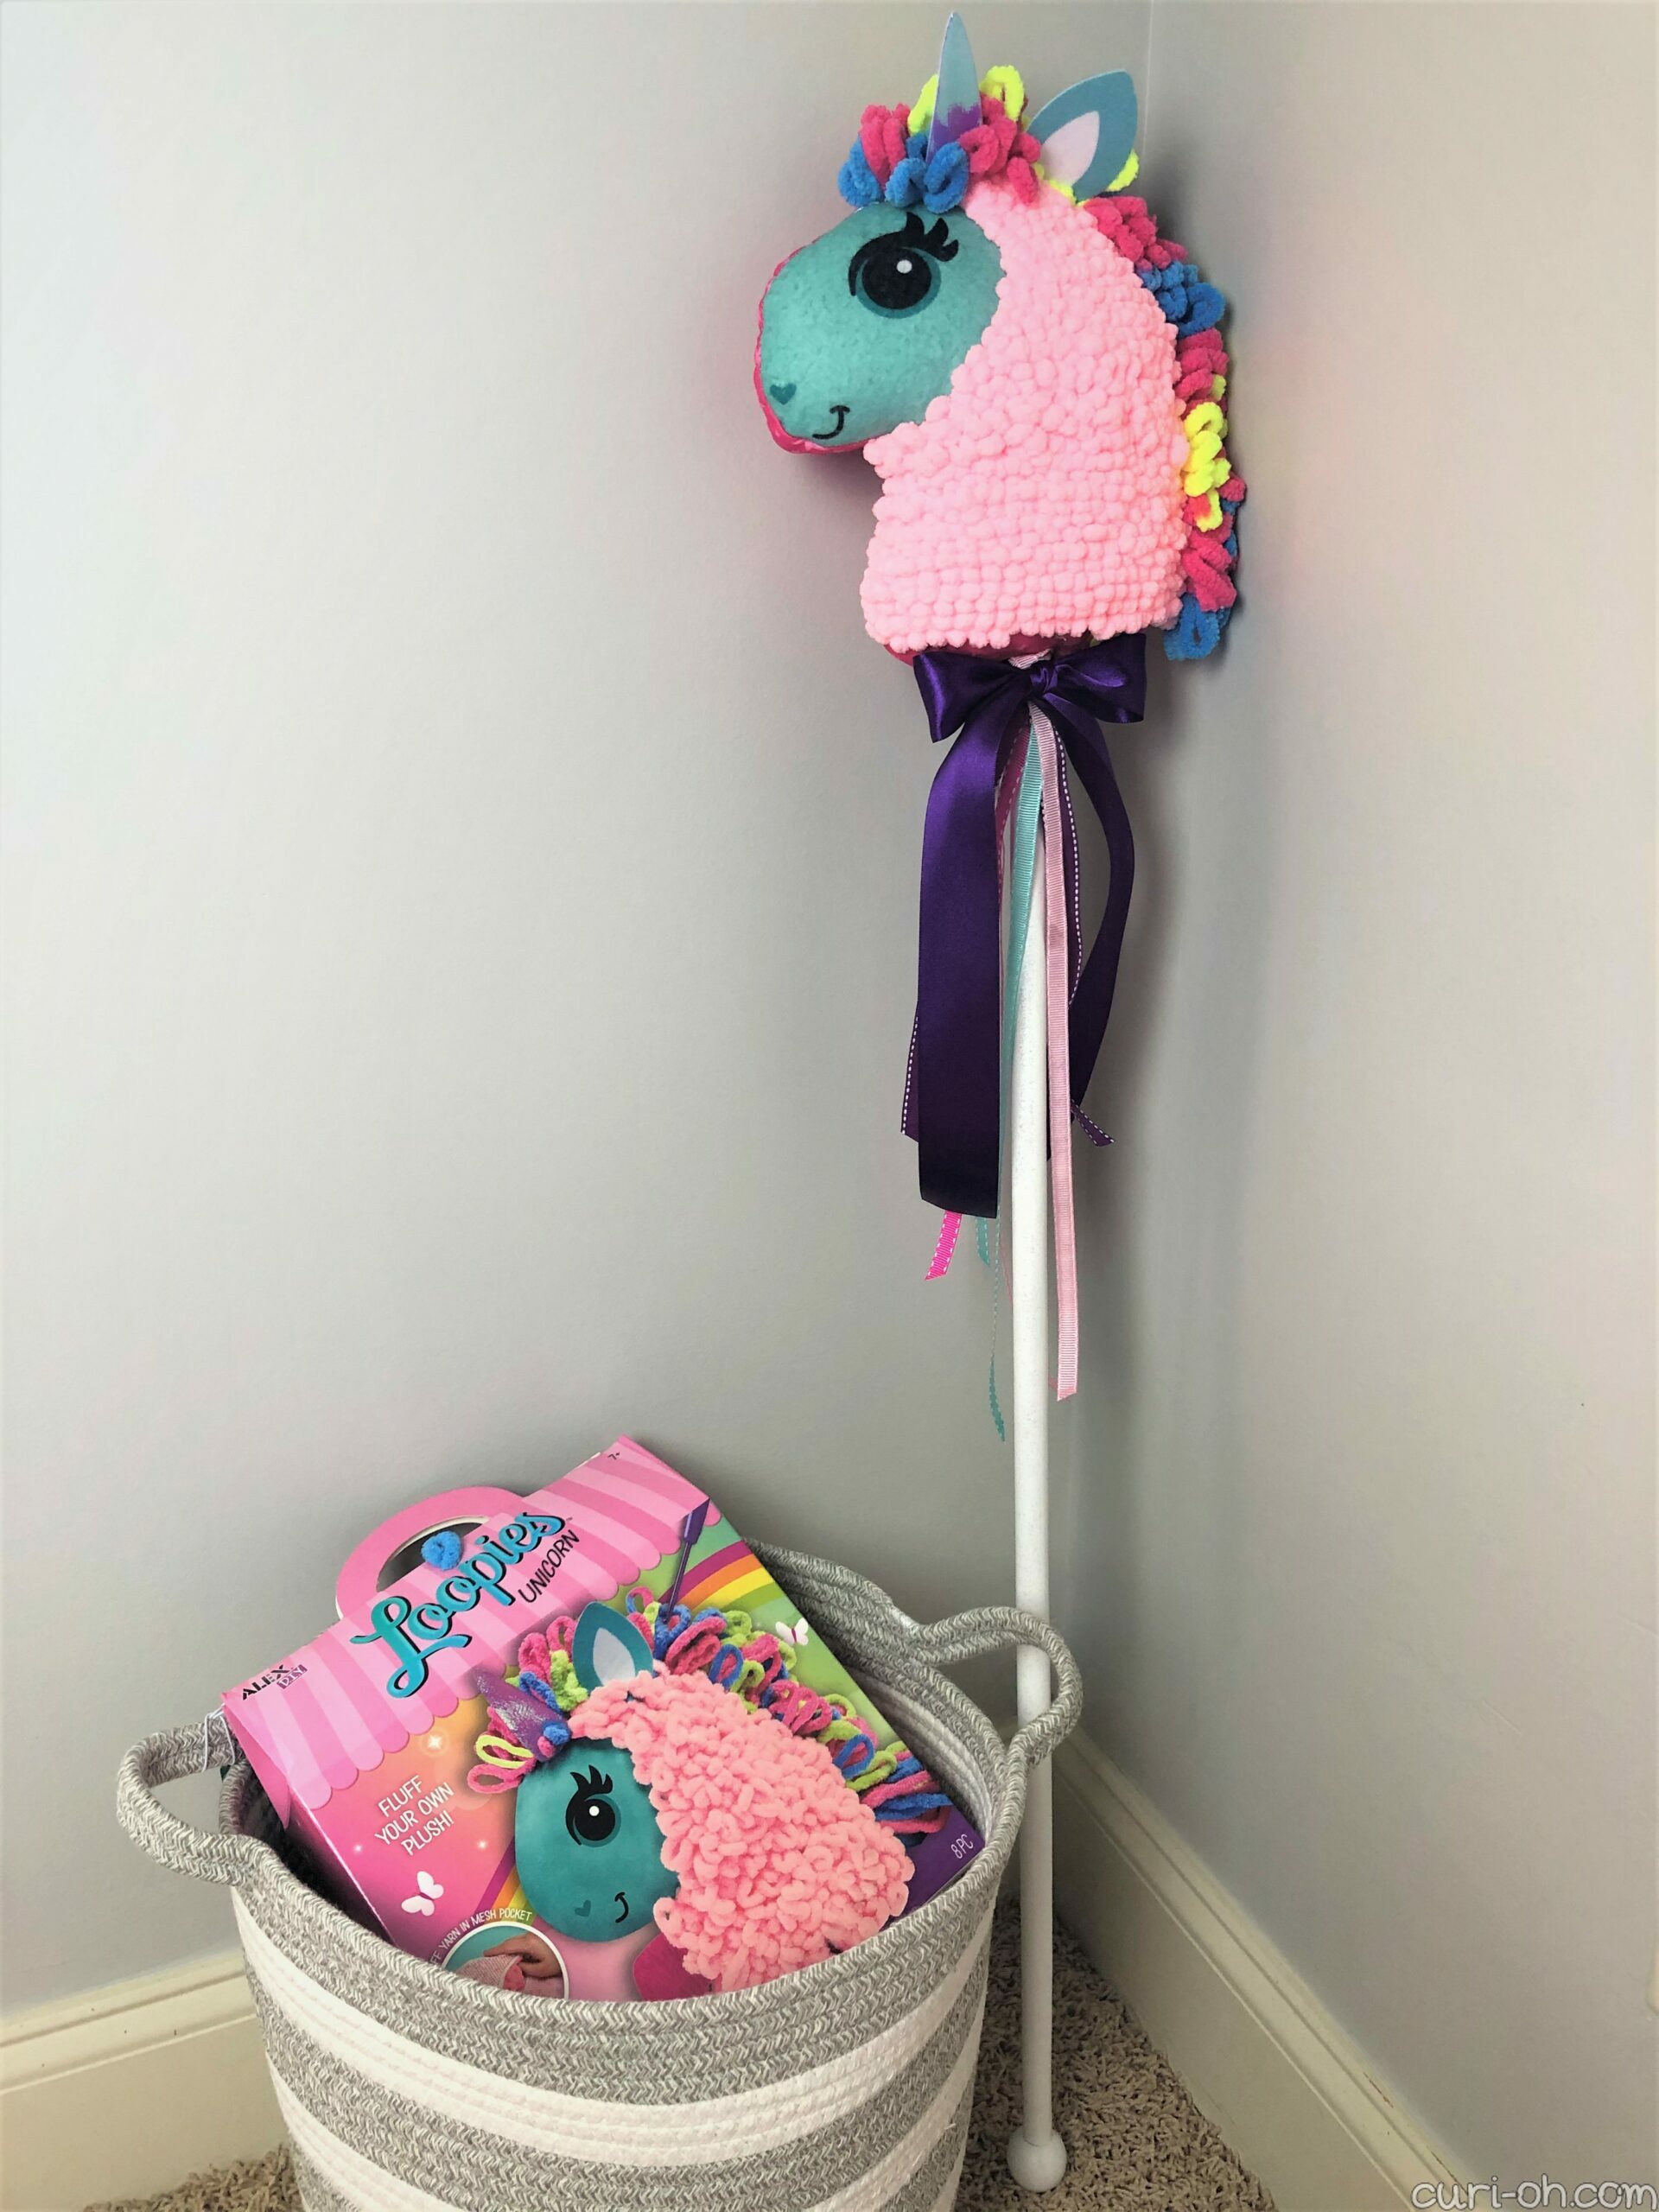
I managed to finish up one last craft project before we left our home though. We moved the bulk of our belongings into storage before we listed the house and only kept what we needed to live on. Naturally, that meant some craft supplies for me, including this cute Loopies unicorn kit.
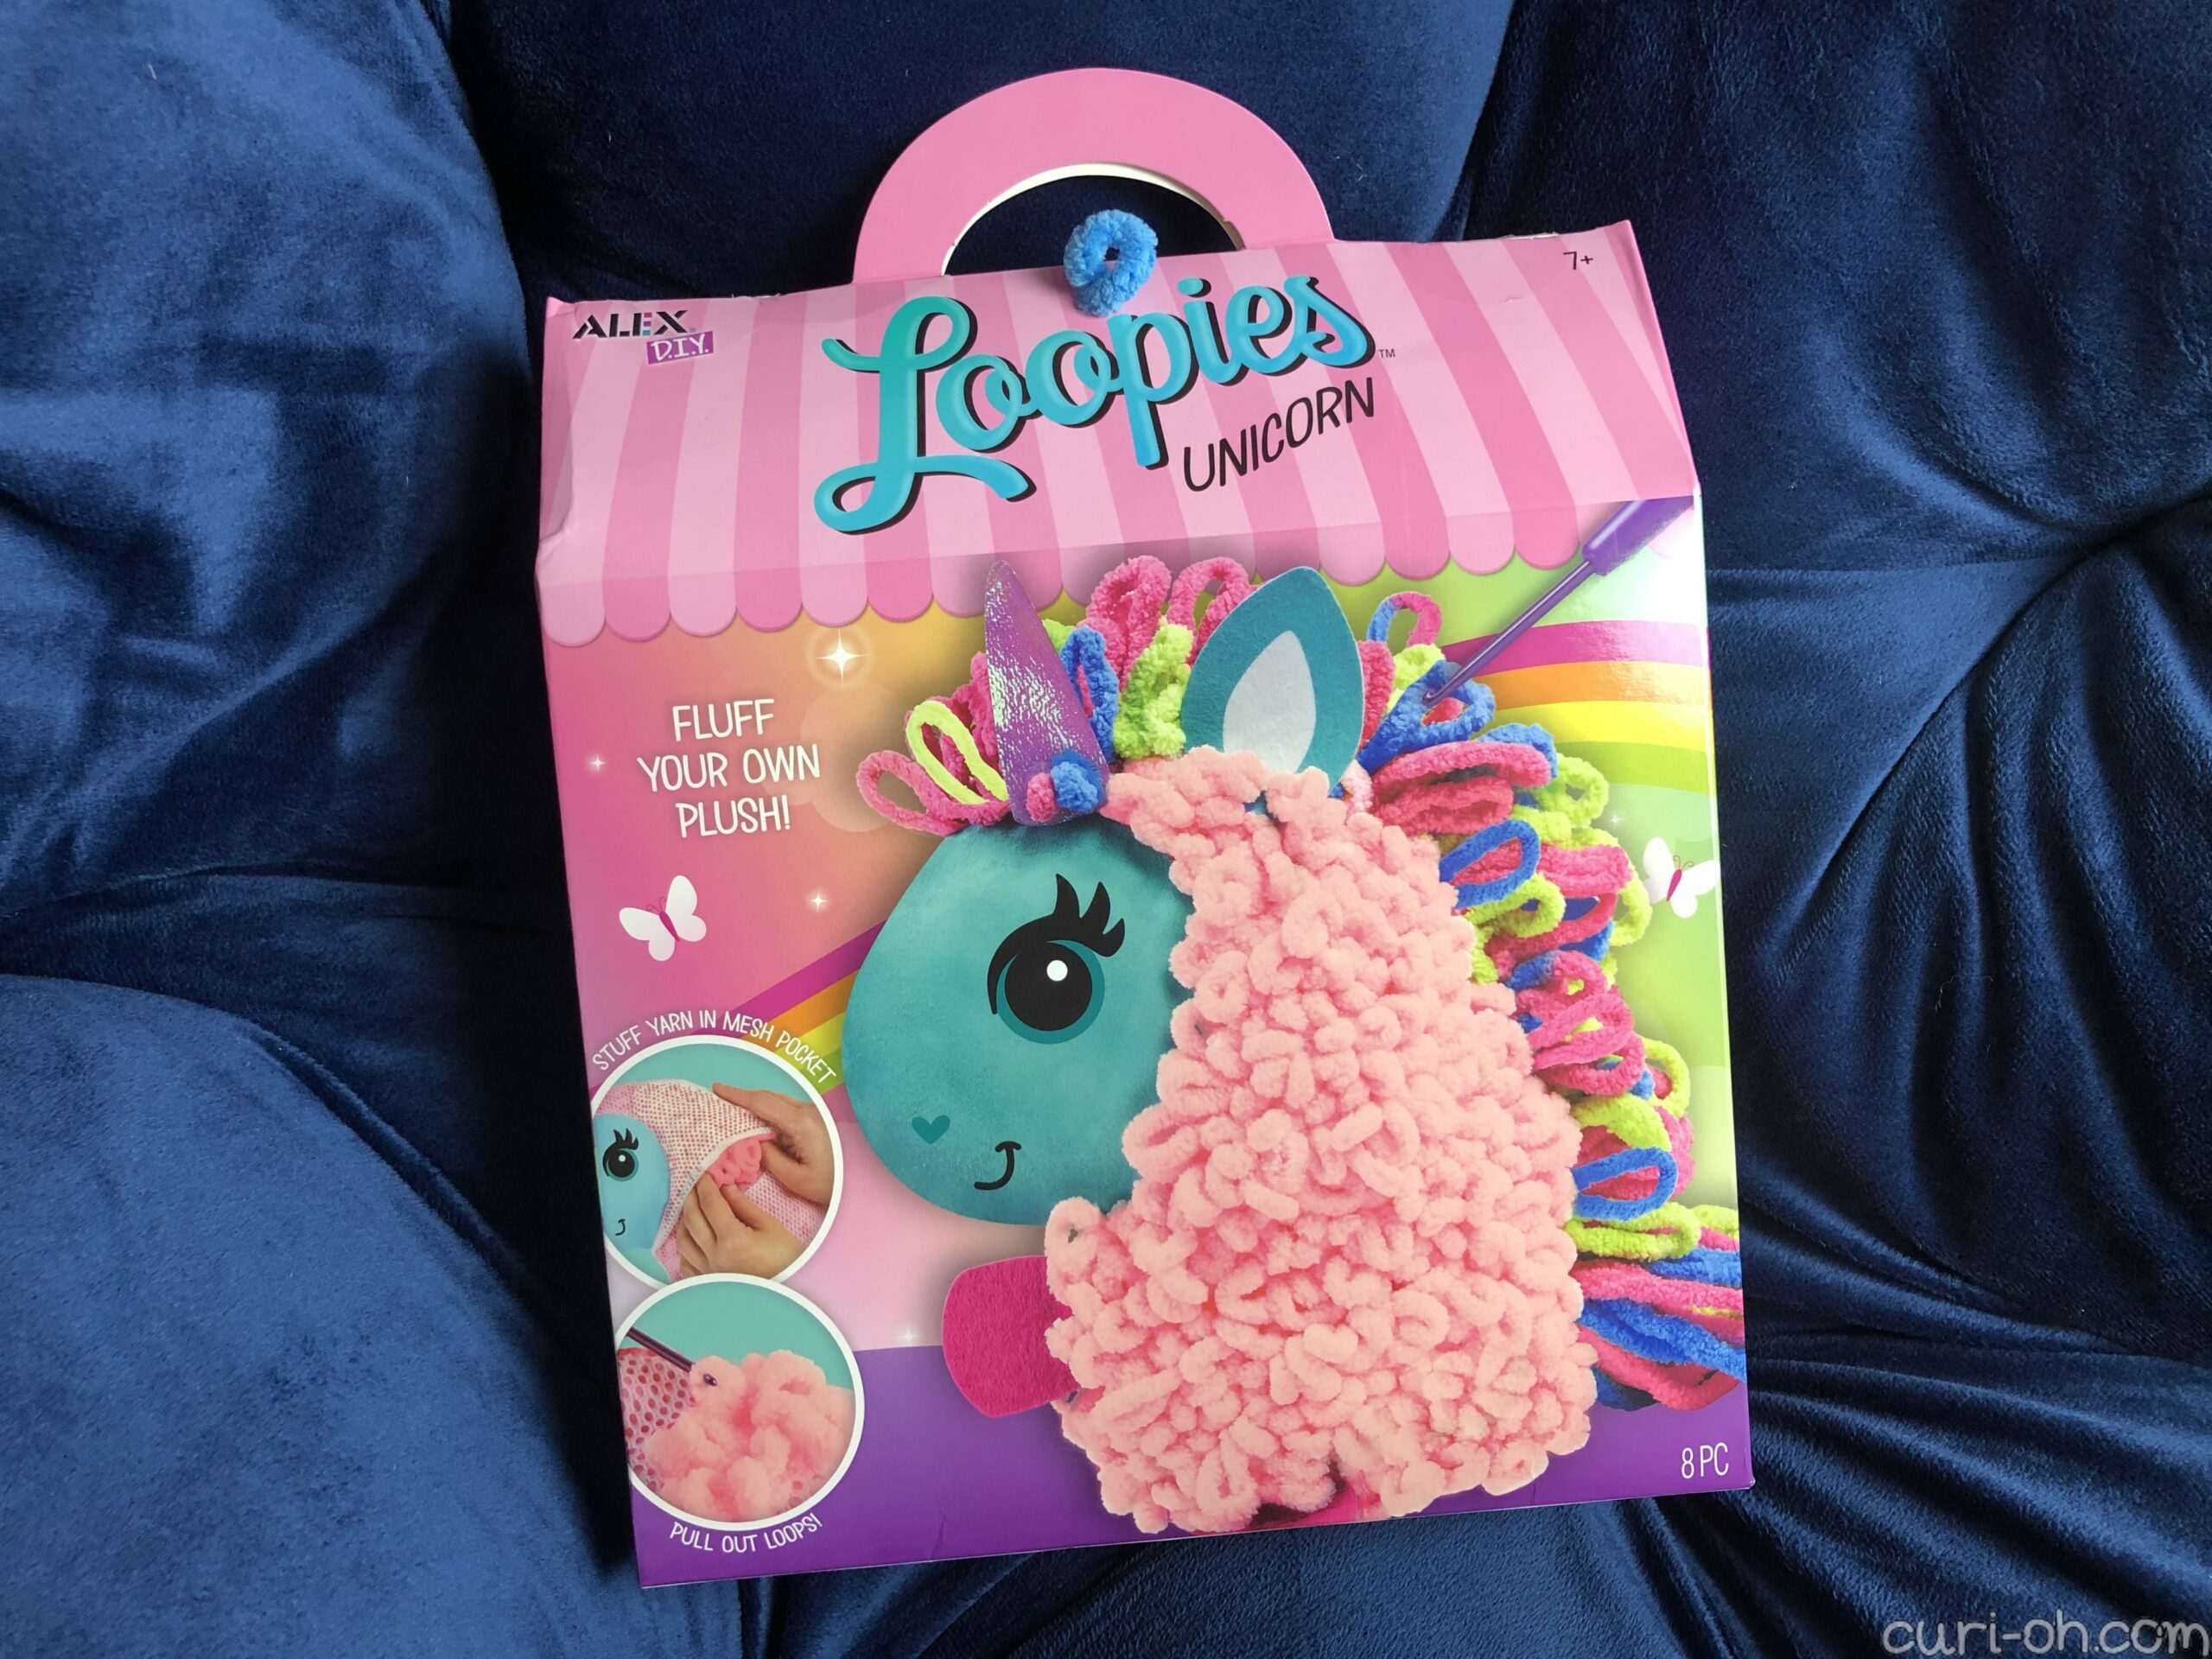
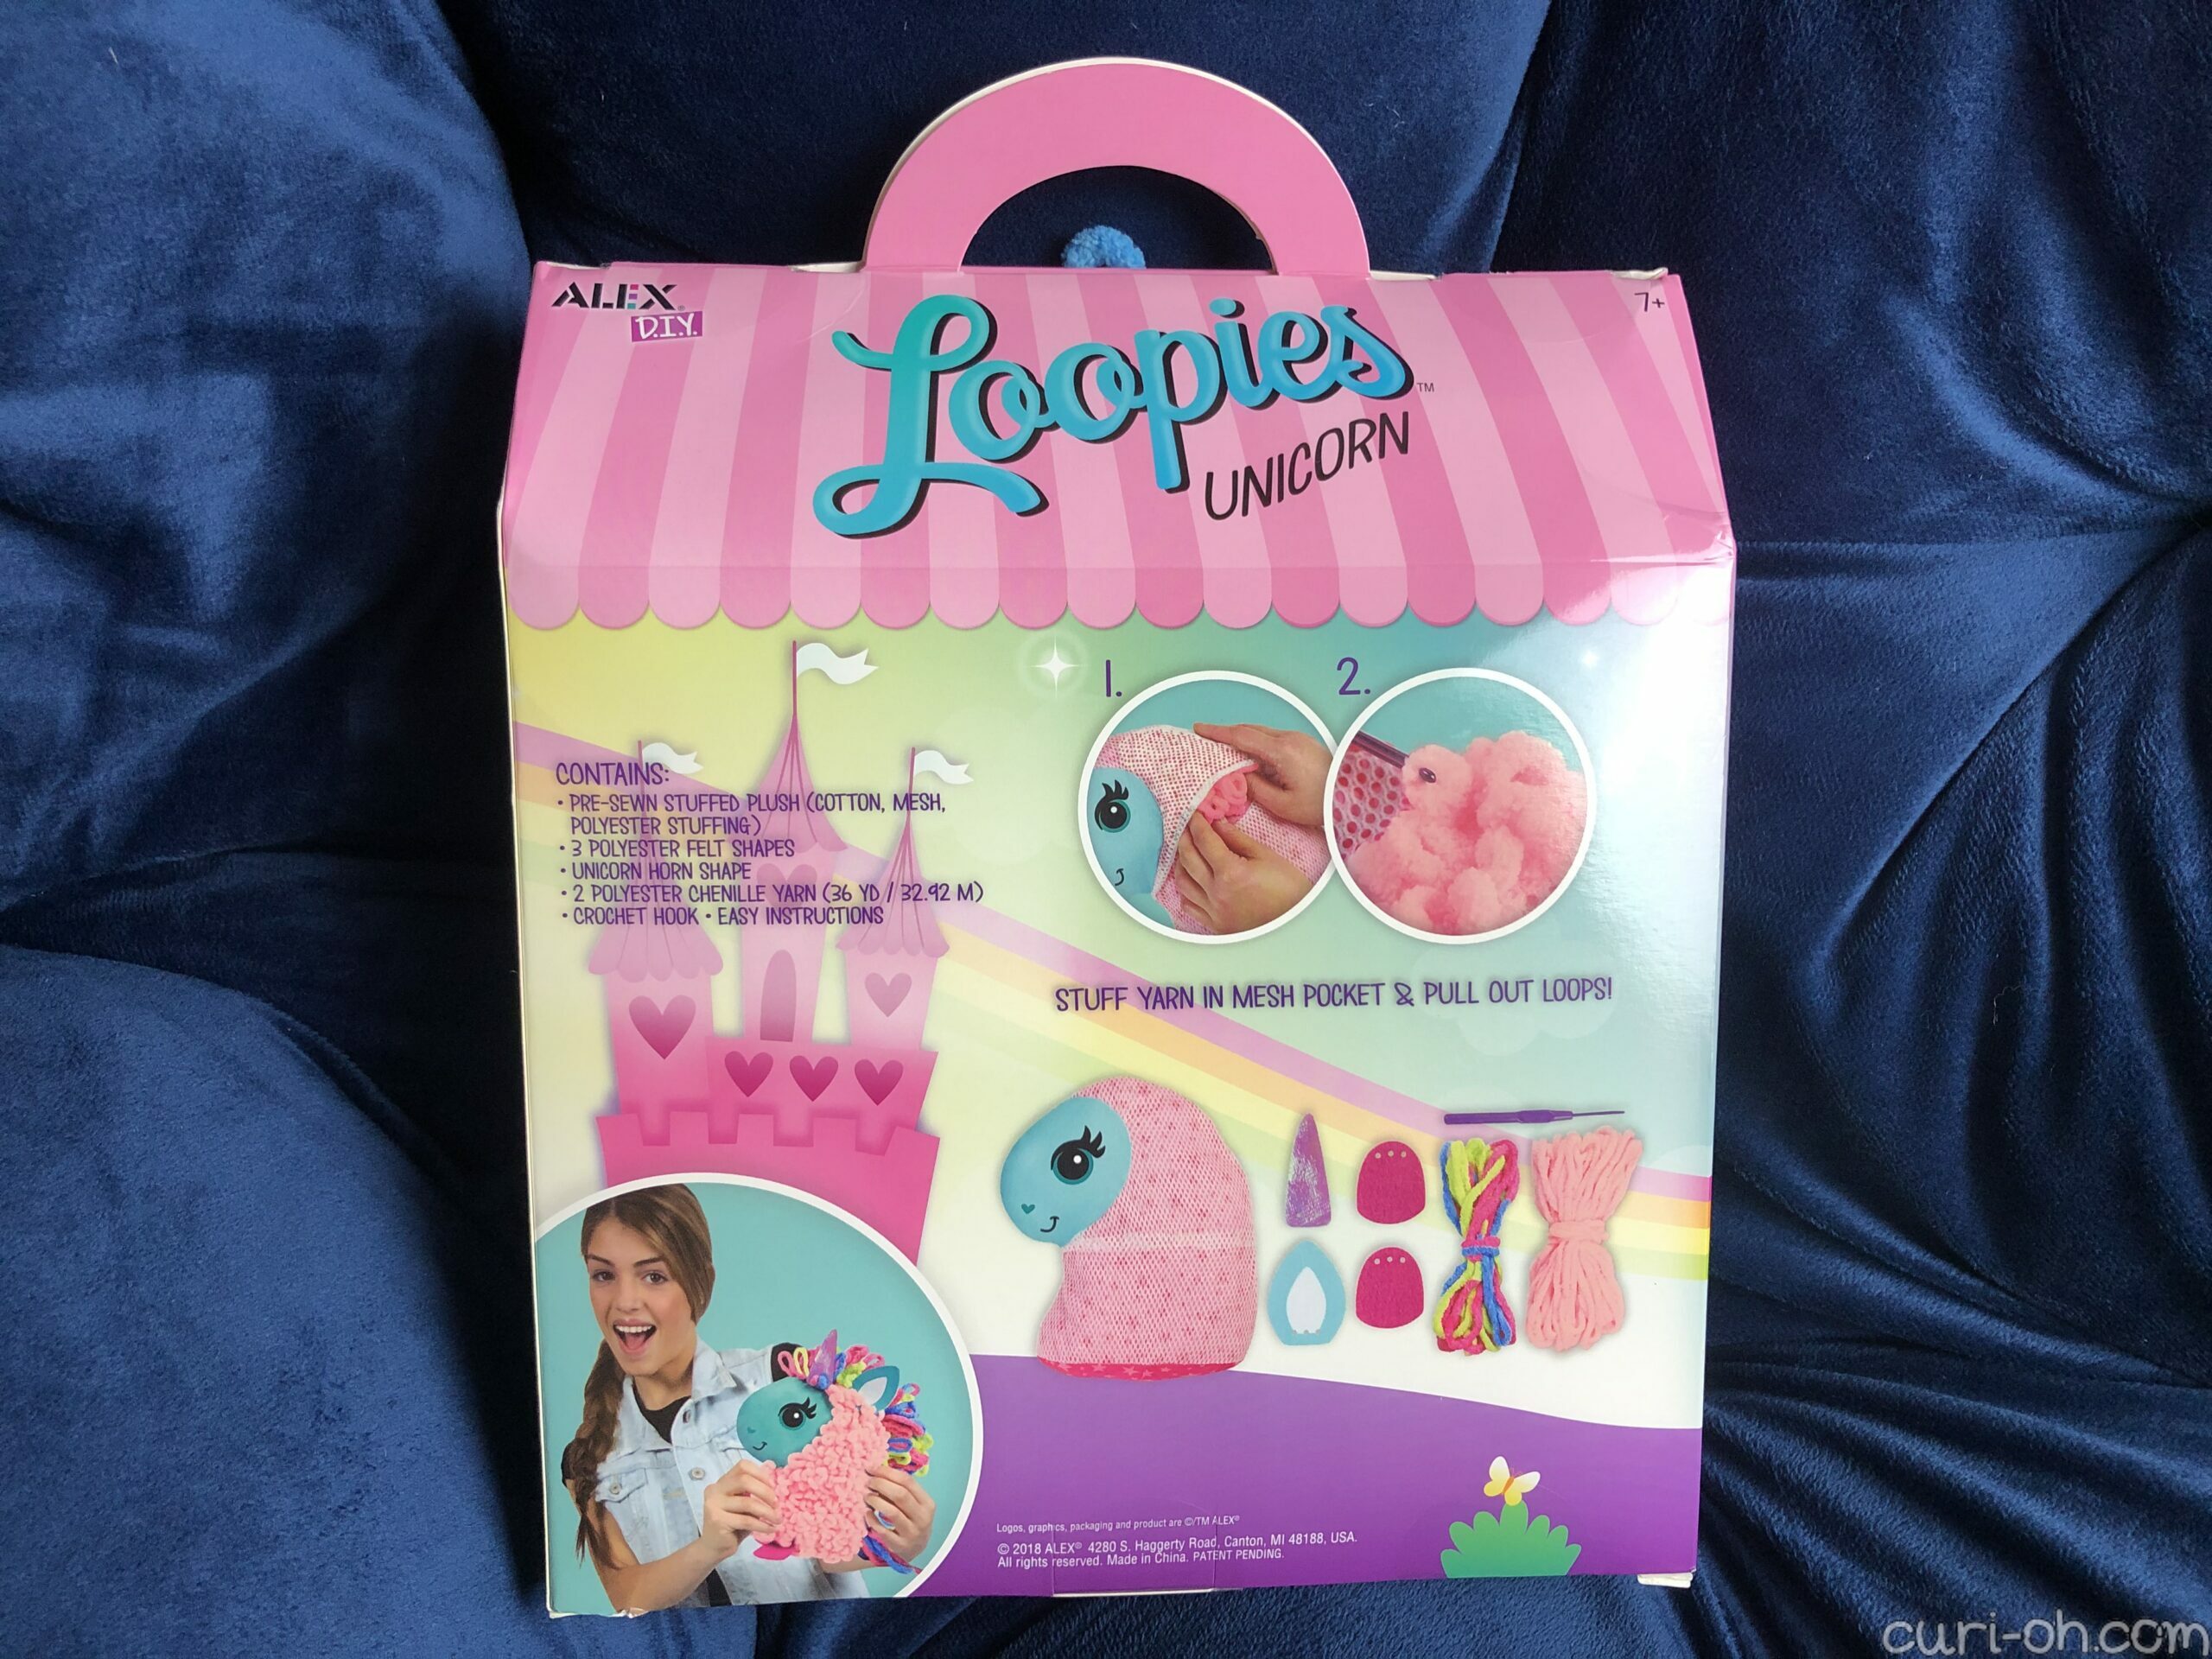
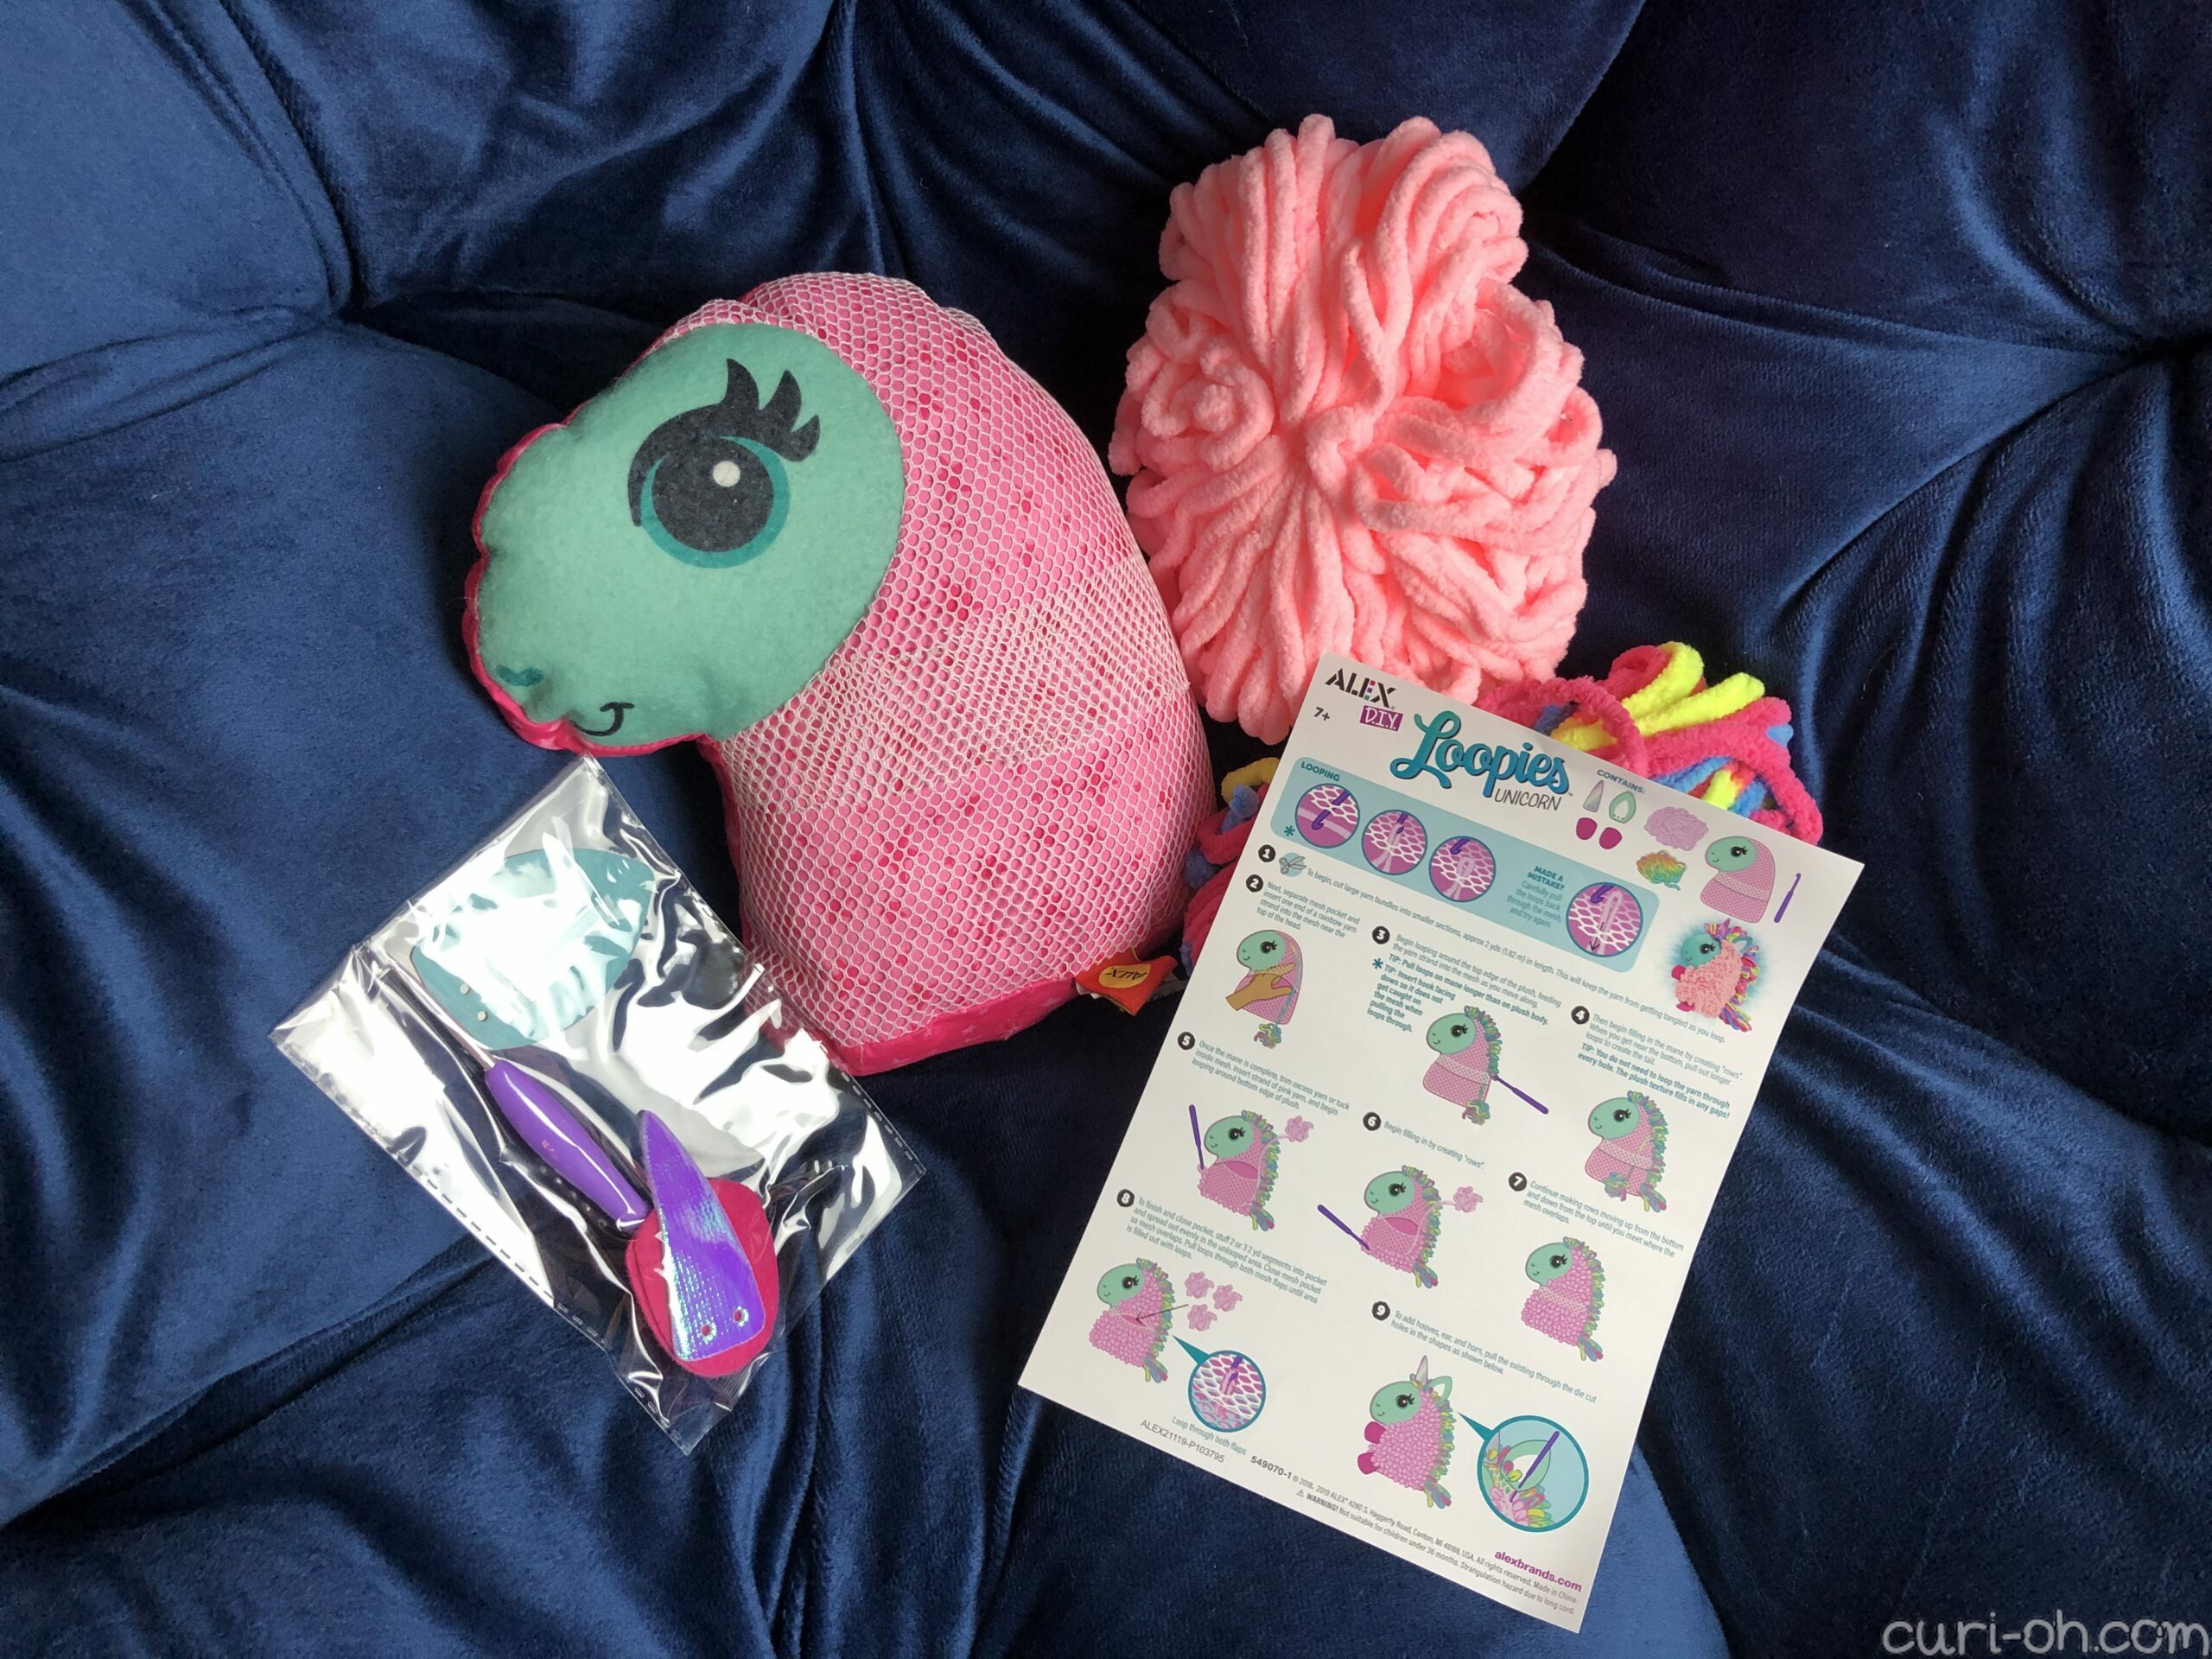
This was a Christmas happy from my mom and an all-in-one kit made the perfect craft project during this time of minimal living. The kit itself was an easy and relaxing thing to do. The included yarn was very similar in texture to the Bernat blanket yarn I used in my corner-to-corner crochet blanket. You simply stuff the yarn underneath the mesh layer and pull it through in loops using a crochet hook.
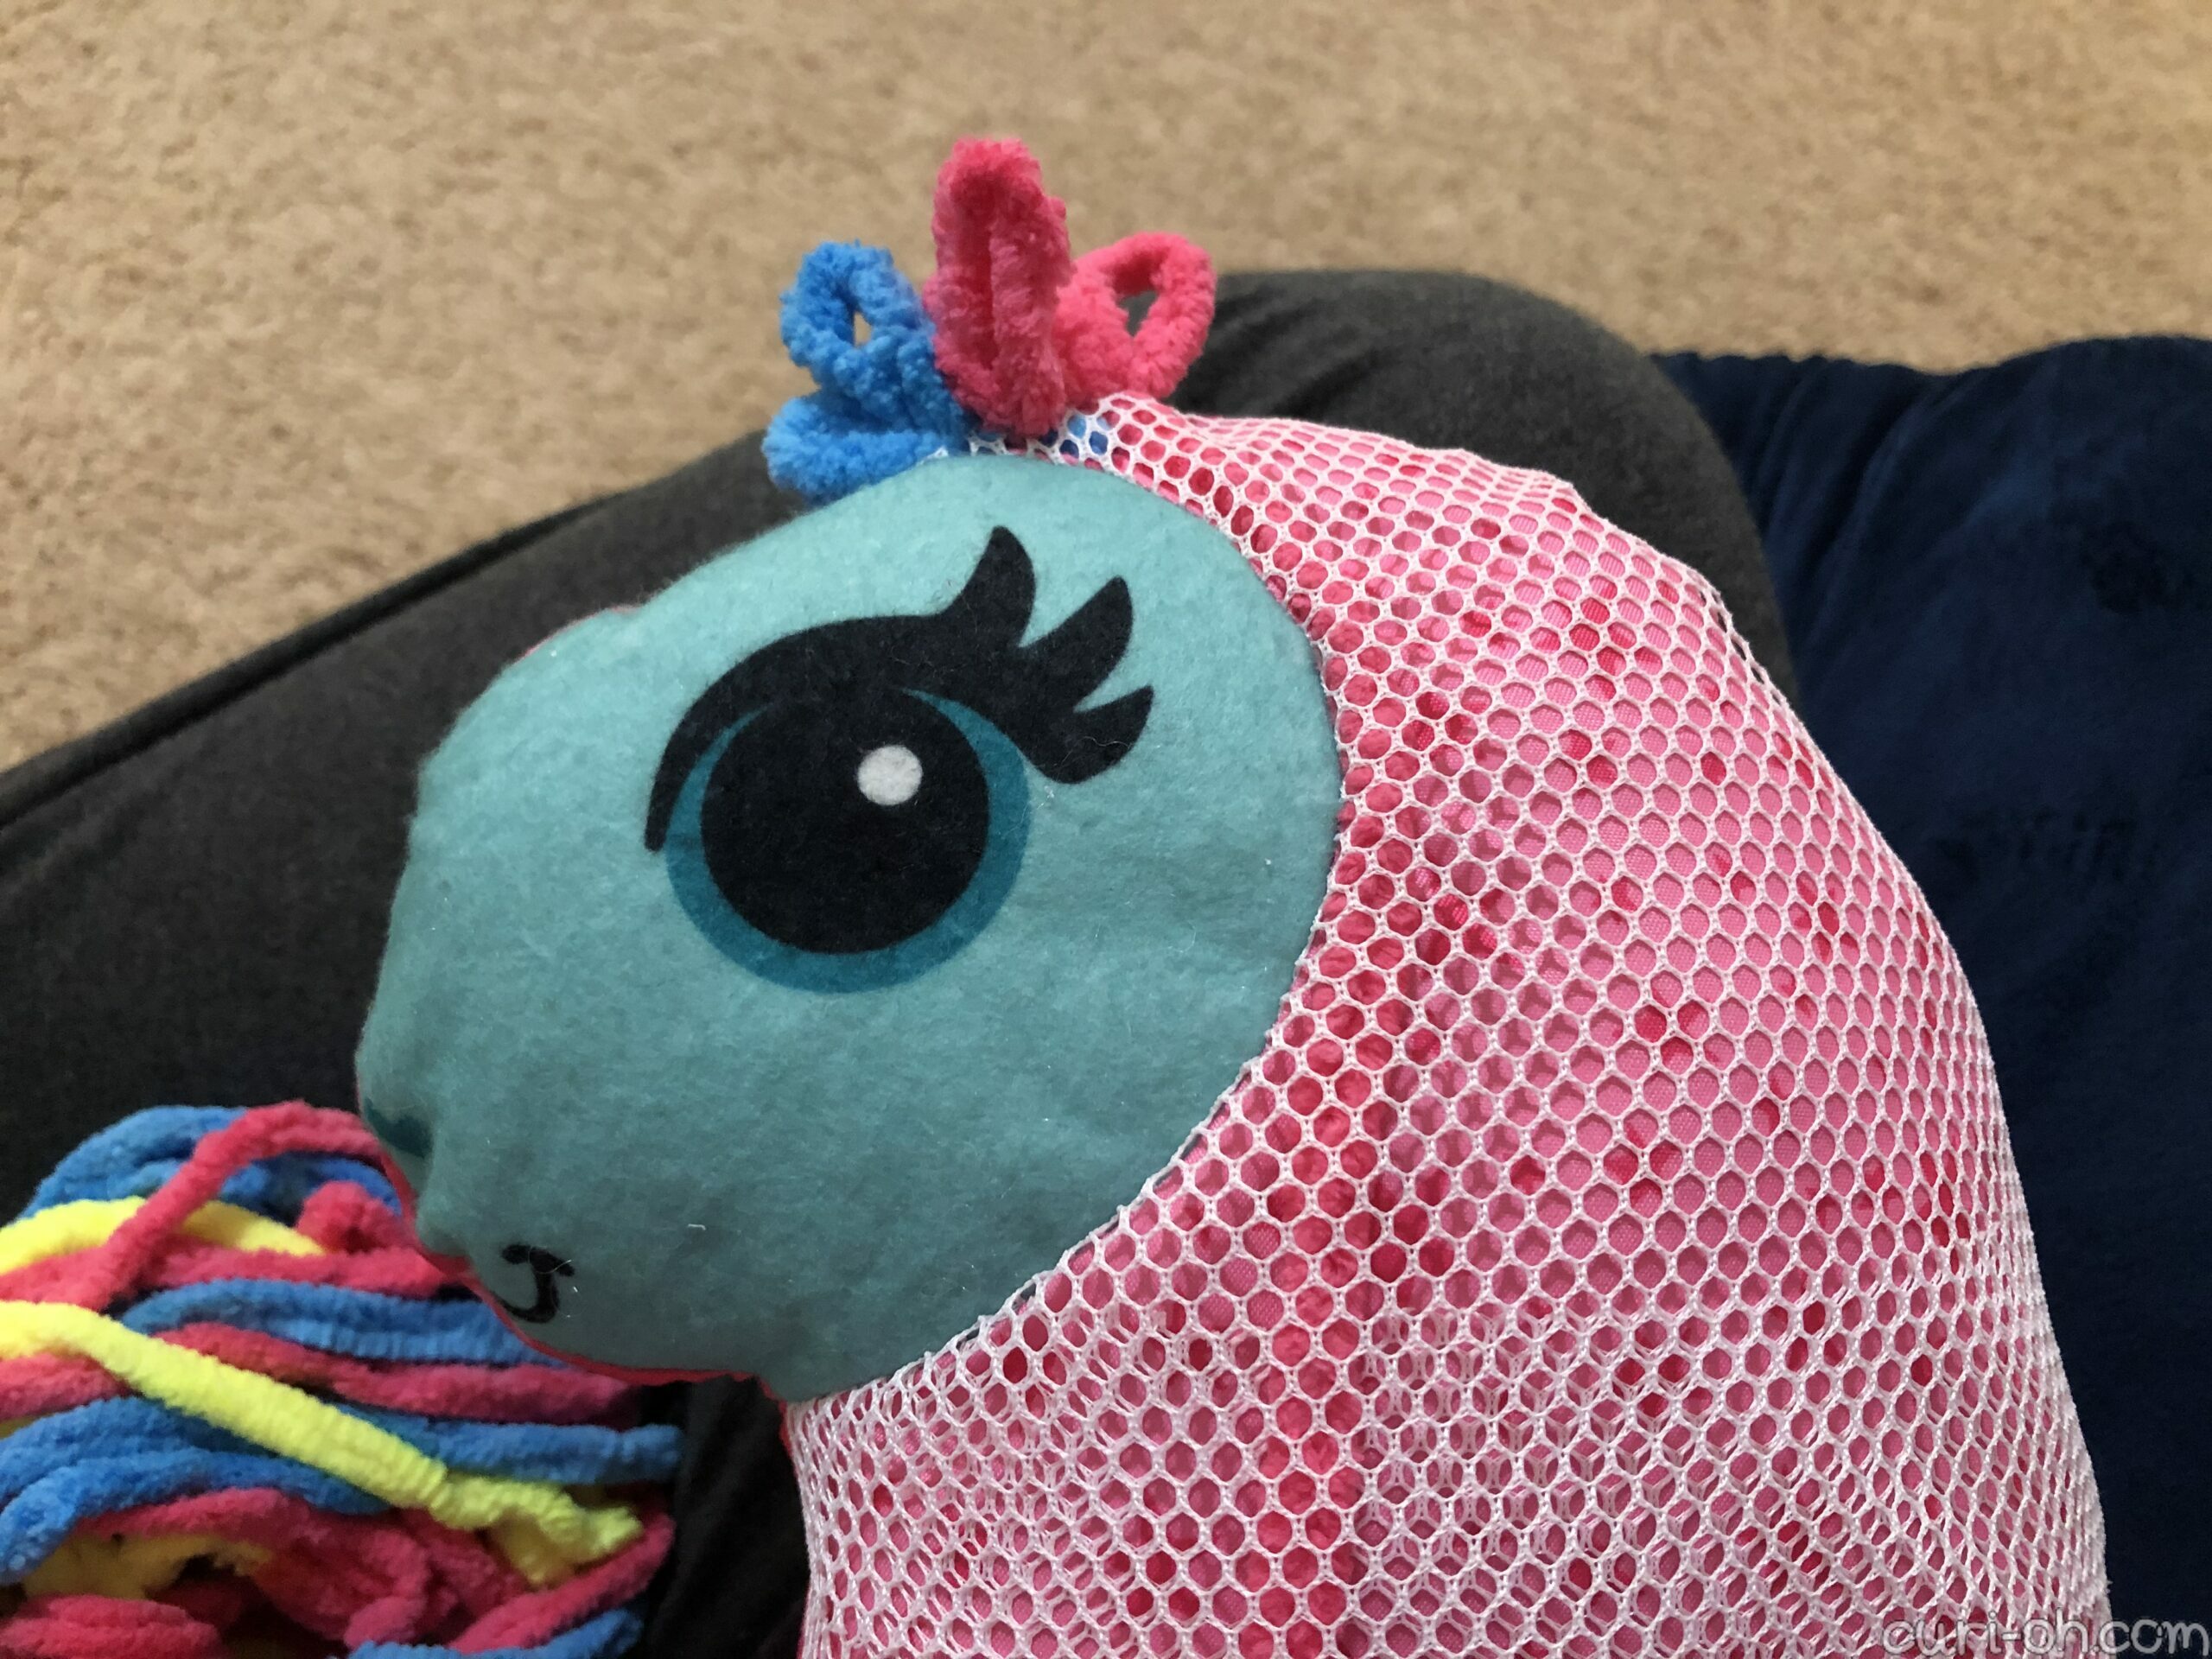
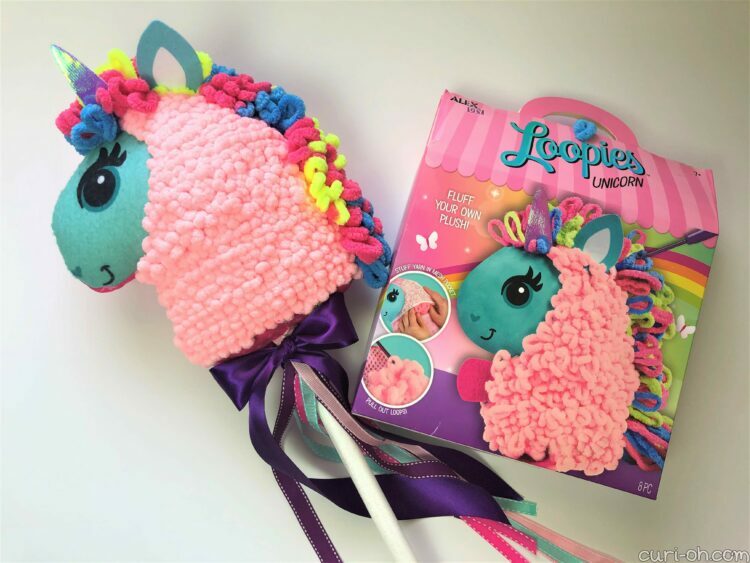
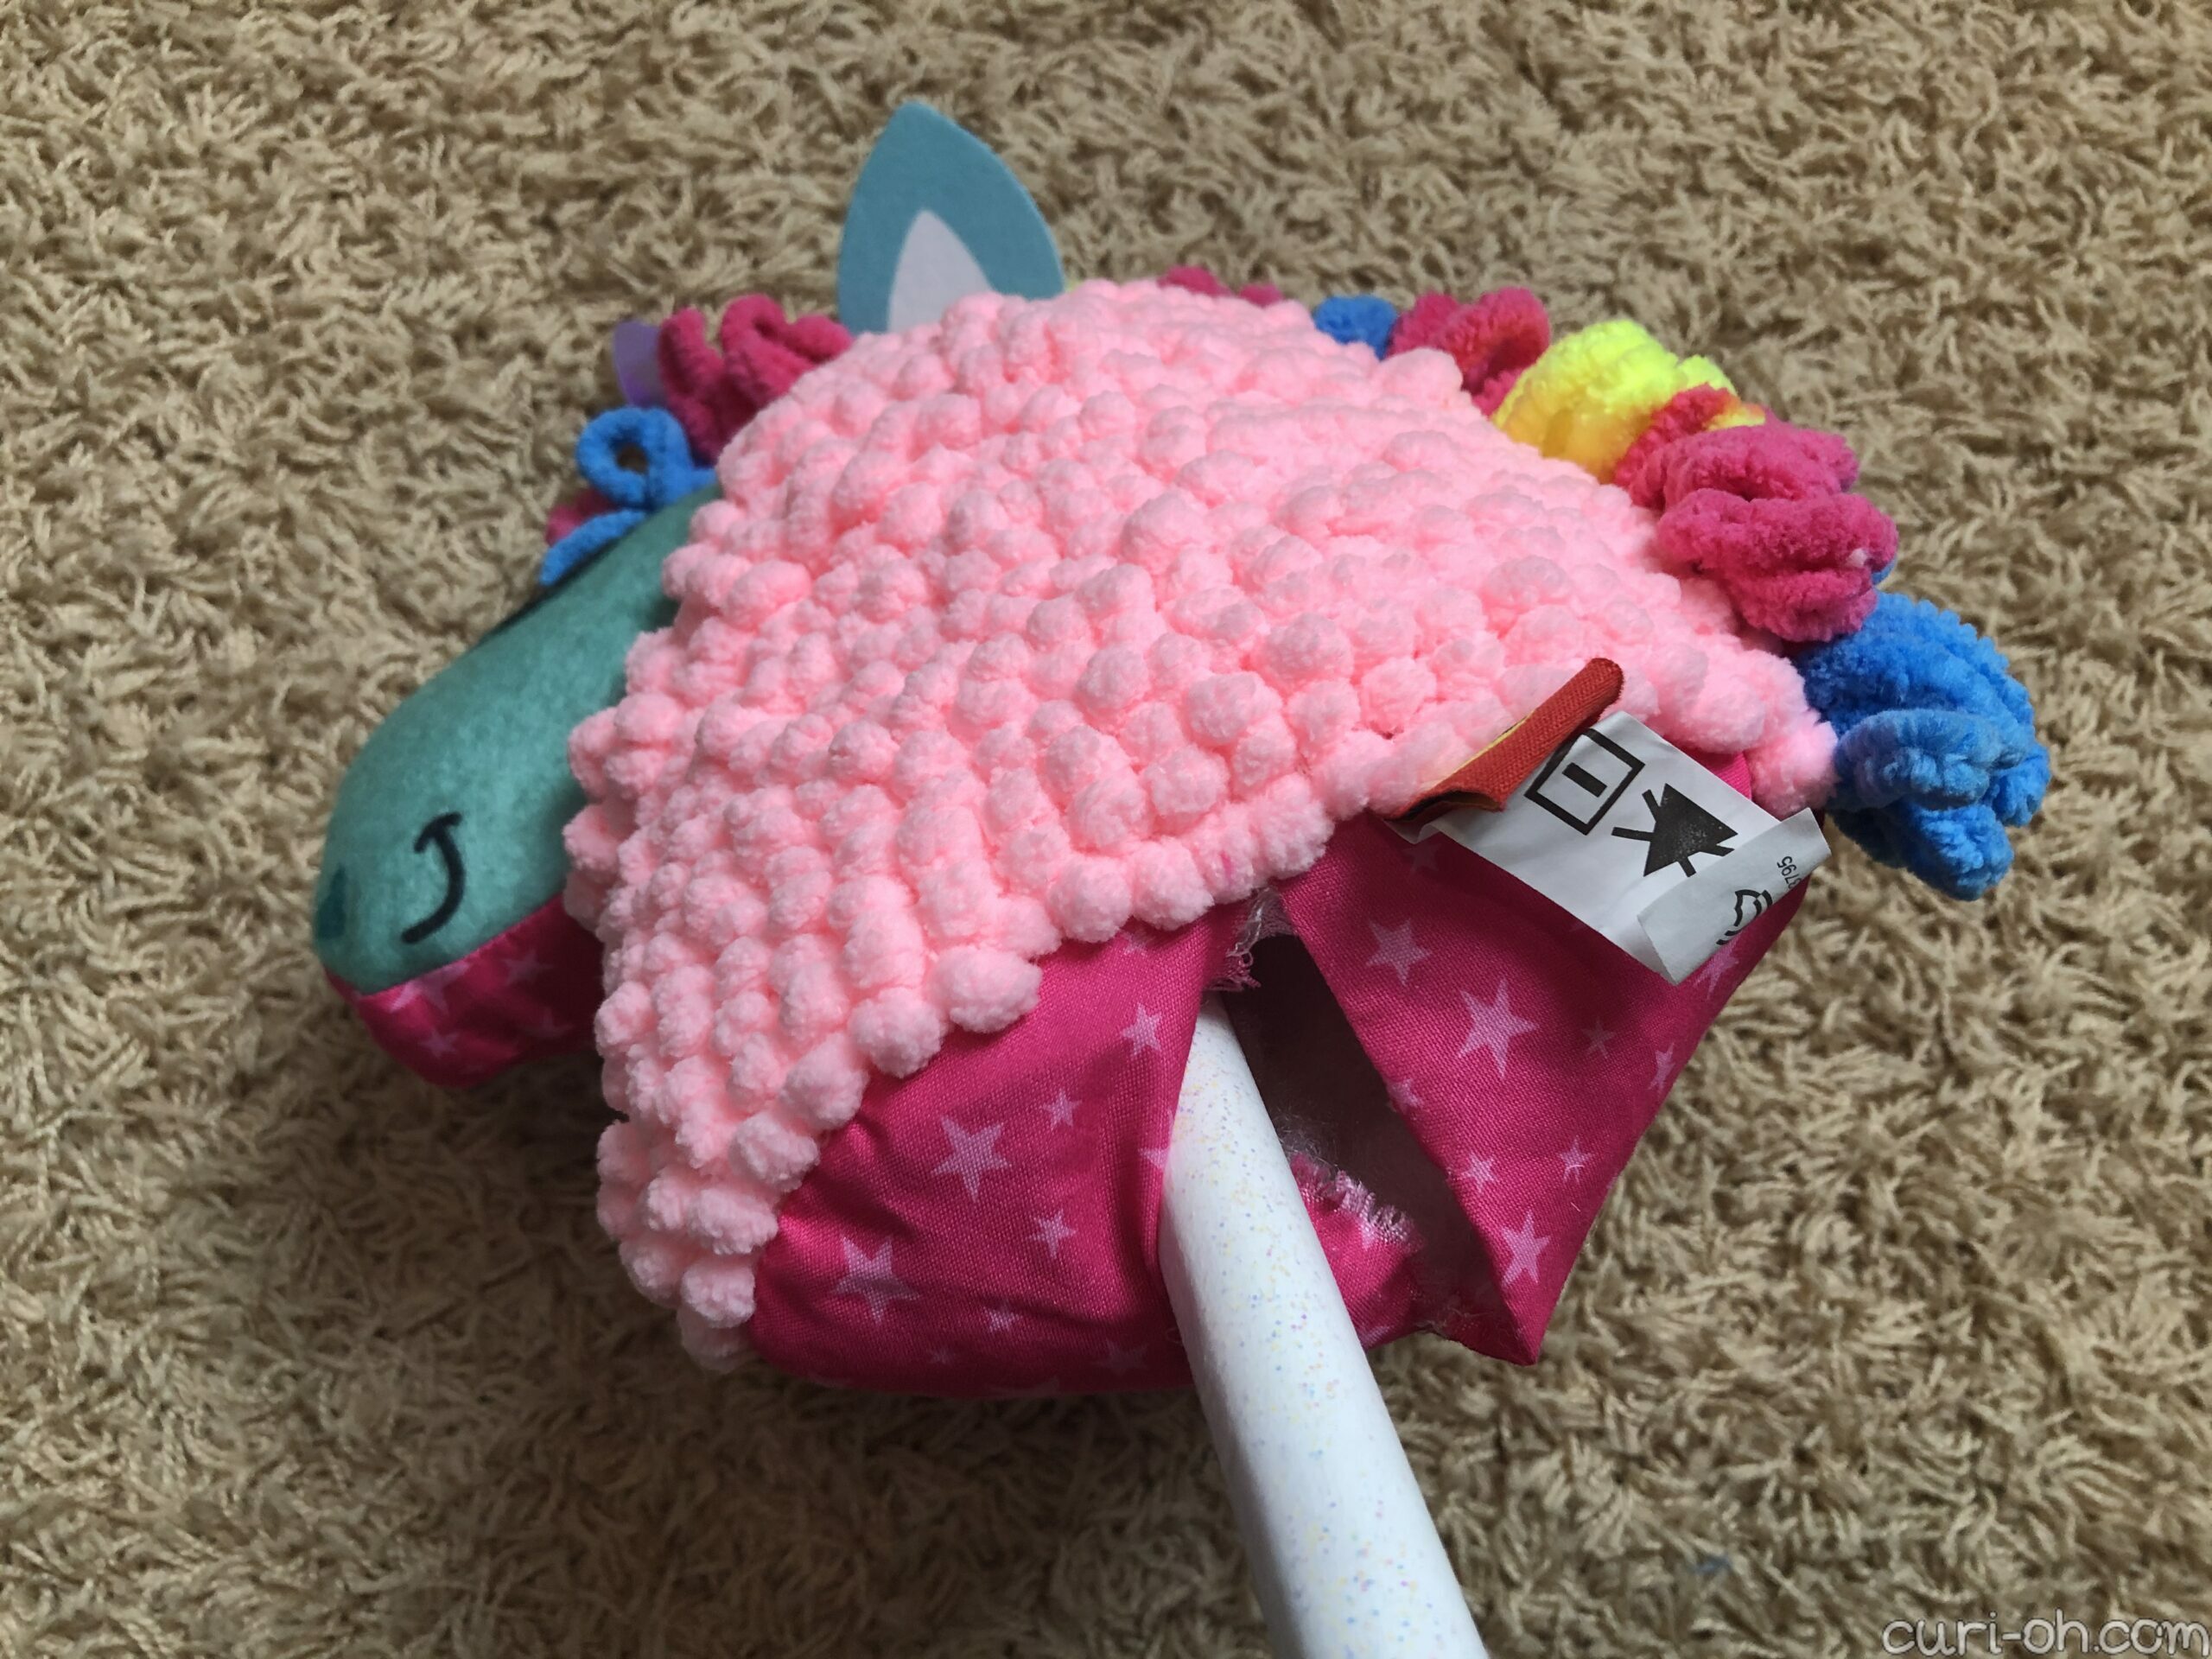
In retrospect I wish I would have made my mane longer. I wanted short “hair” for the body, so I only pulled the loops through the absolute minimum to achieve a sort of popcorn texture. The horn and ear were easy to attach by running loops through premade holes along their bottoms. The kit came with some little “hooves” and you were also supposed to make the loops at the bottom part of the mane long as a “tail,” but c’mon y’all… It looks to me like someone designed a horse head, then someone else said it needed to be a complete animal, and this is what we got. I decided to make it into a head only and not do the tail or hooves, since that is what it looked like to me!
This natural progression of ideas made it clear that this HAD to become a stick horse, or “hobby horse.” I’ve always thought one of these would be a neat thing to make and this was the perfect way to try out a “light” version of the idea without being forced to do a lot of sewing.
What I used:
- Loopies unicorn kit
- 2 dowel caps with 5/8” hole
- Dowel rod, about 3’ long with 5/8” diameter
- Paint
- Glitter Mod Podge
- Matte Mod Podge
- Extra stuffing
- 1 large piece of felt
- Ribbons and extra yarn
- Glue
- Seam ripper
- Needle and thread
- Fray Check sealer
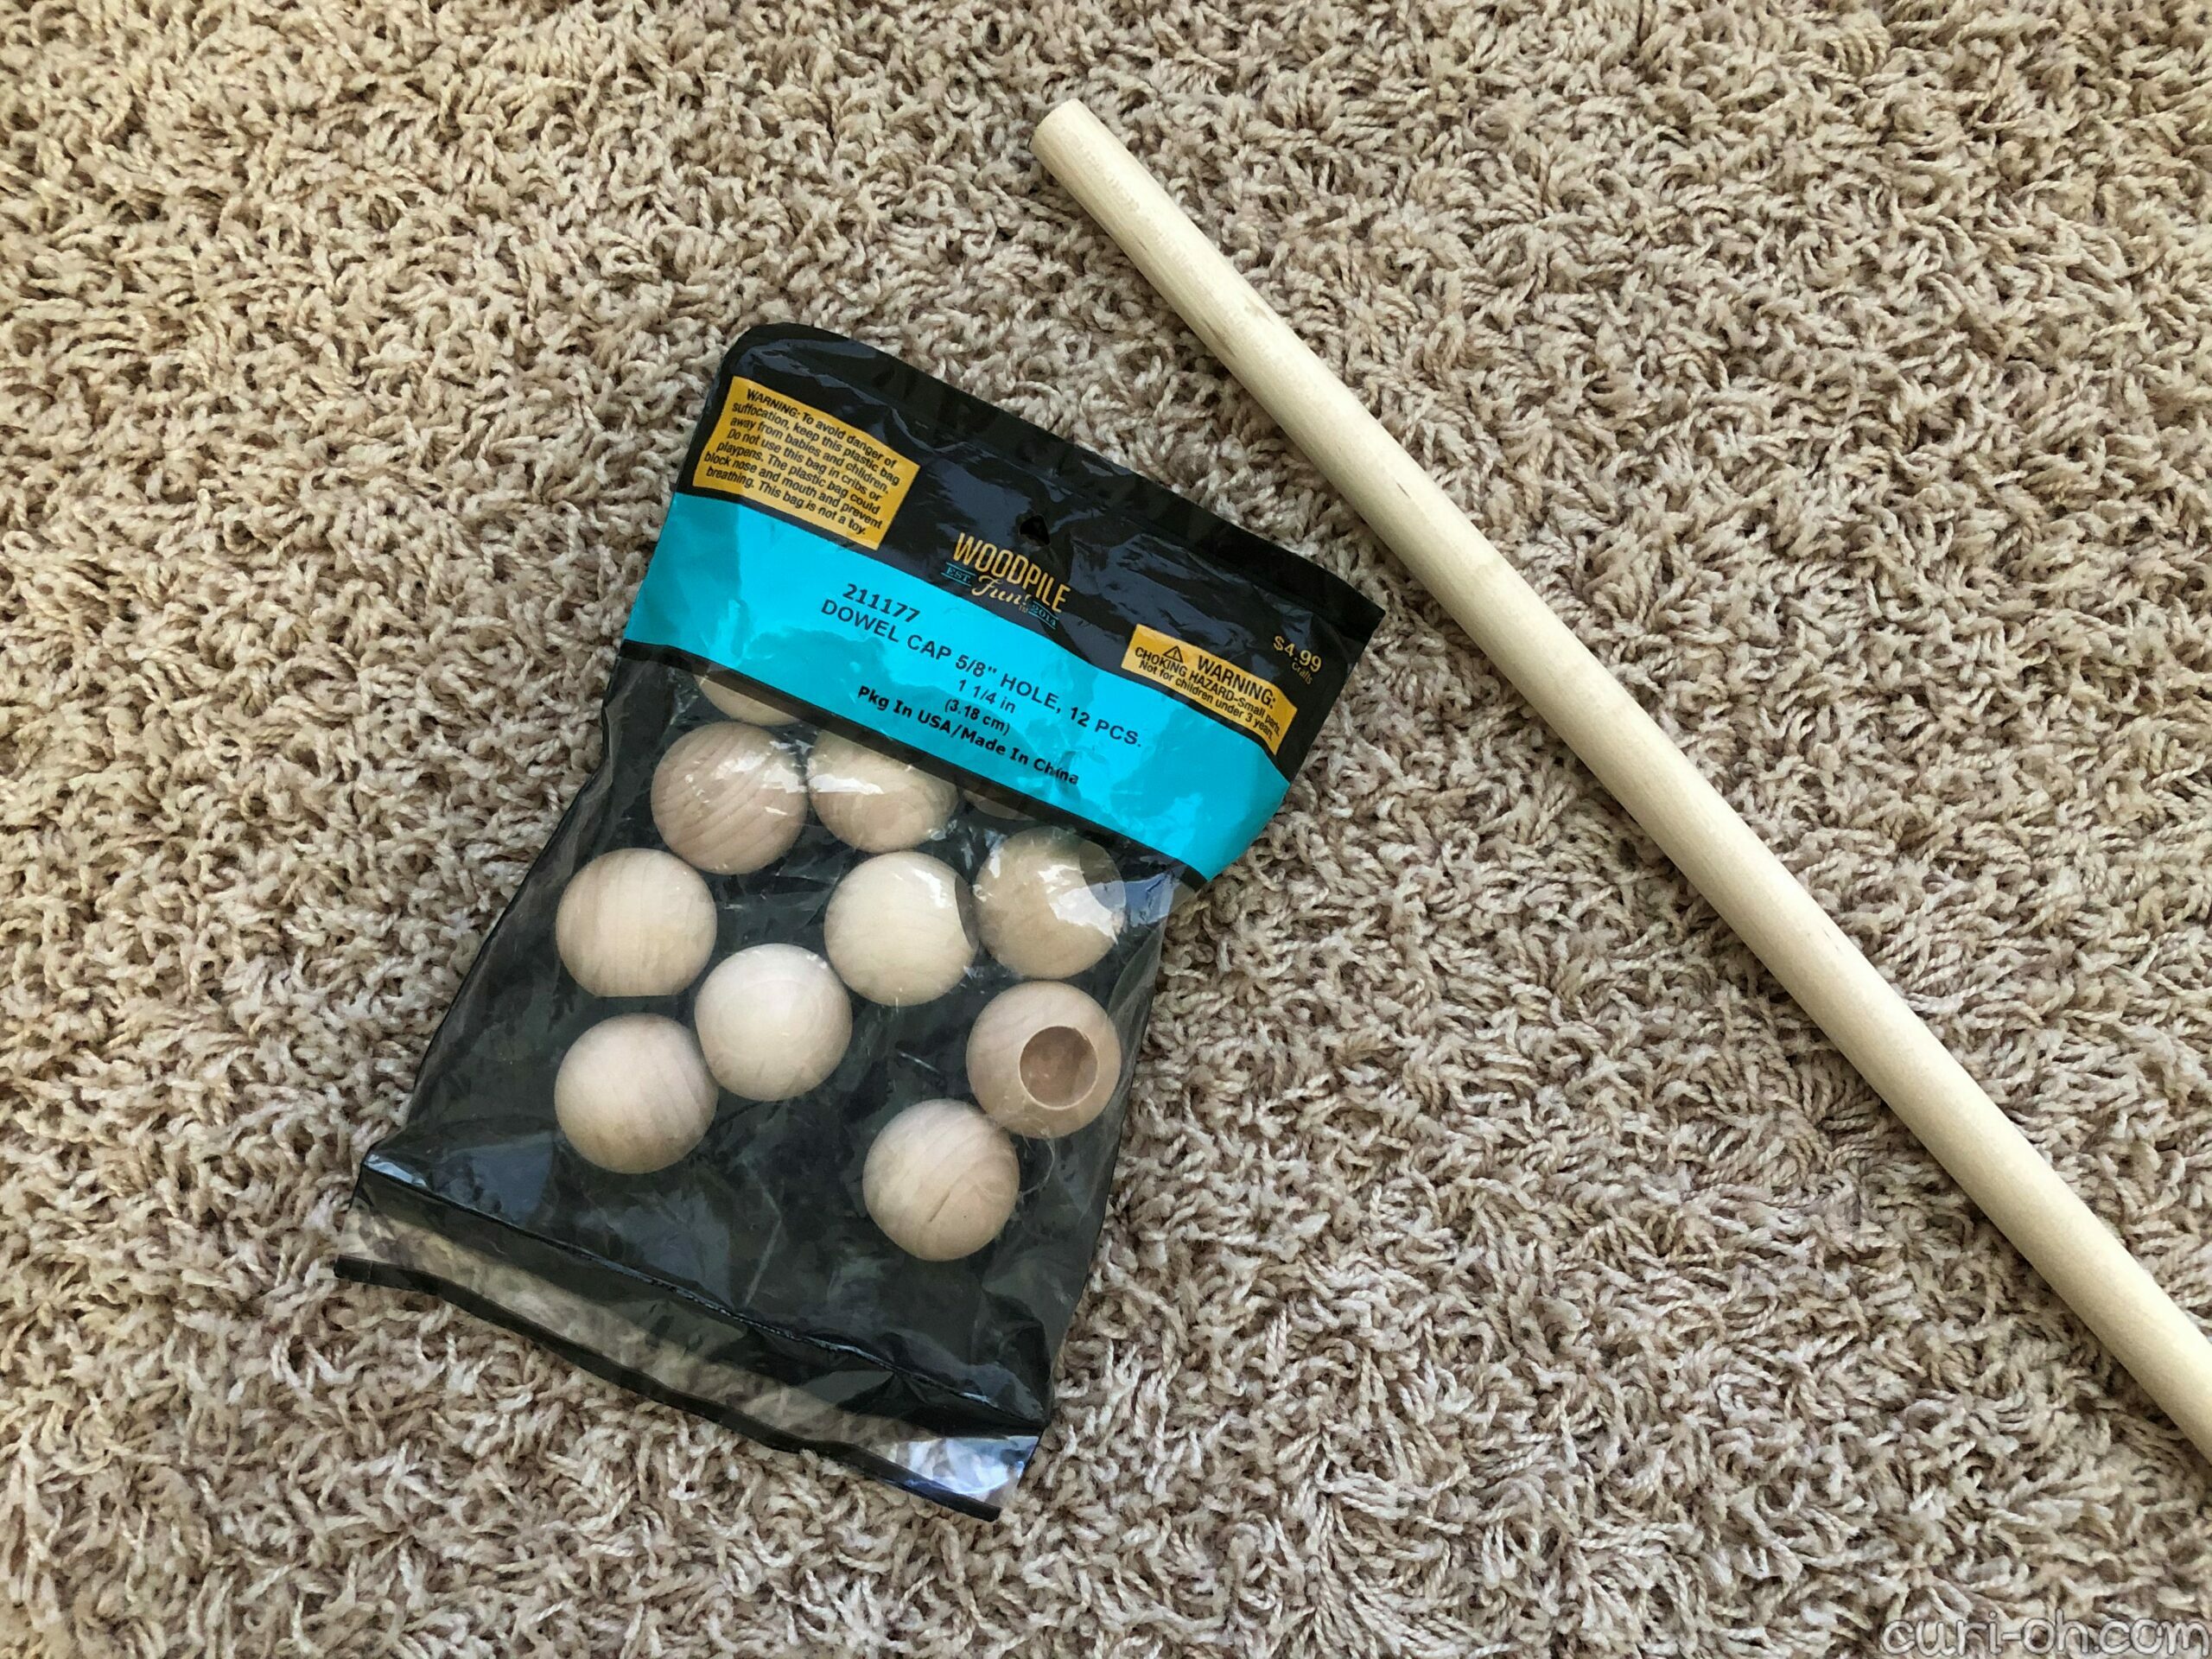

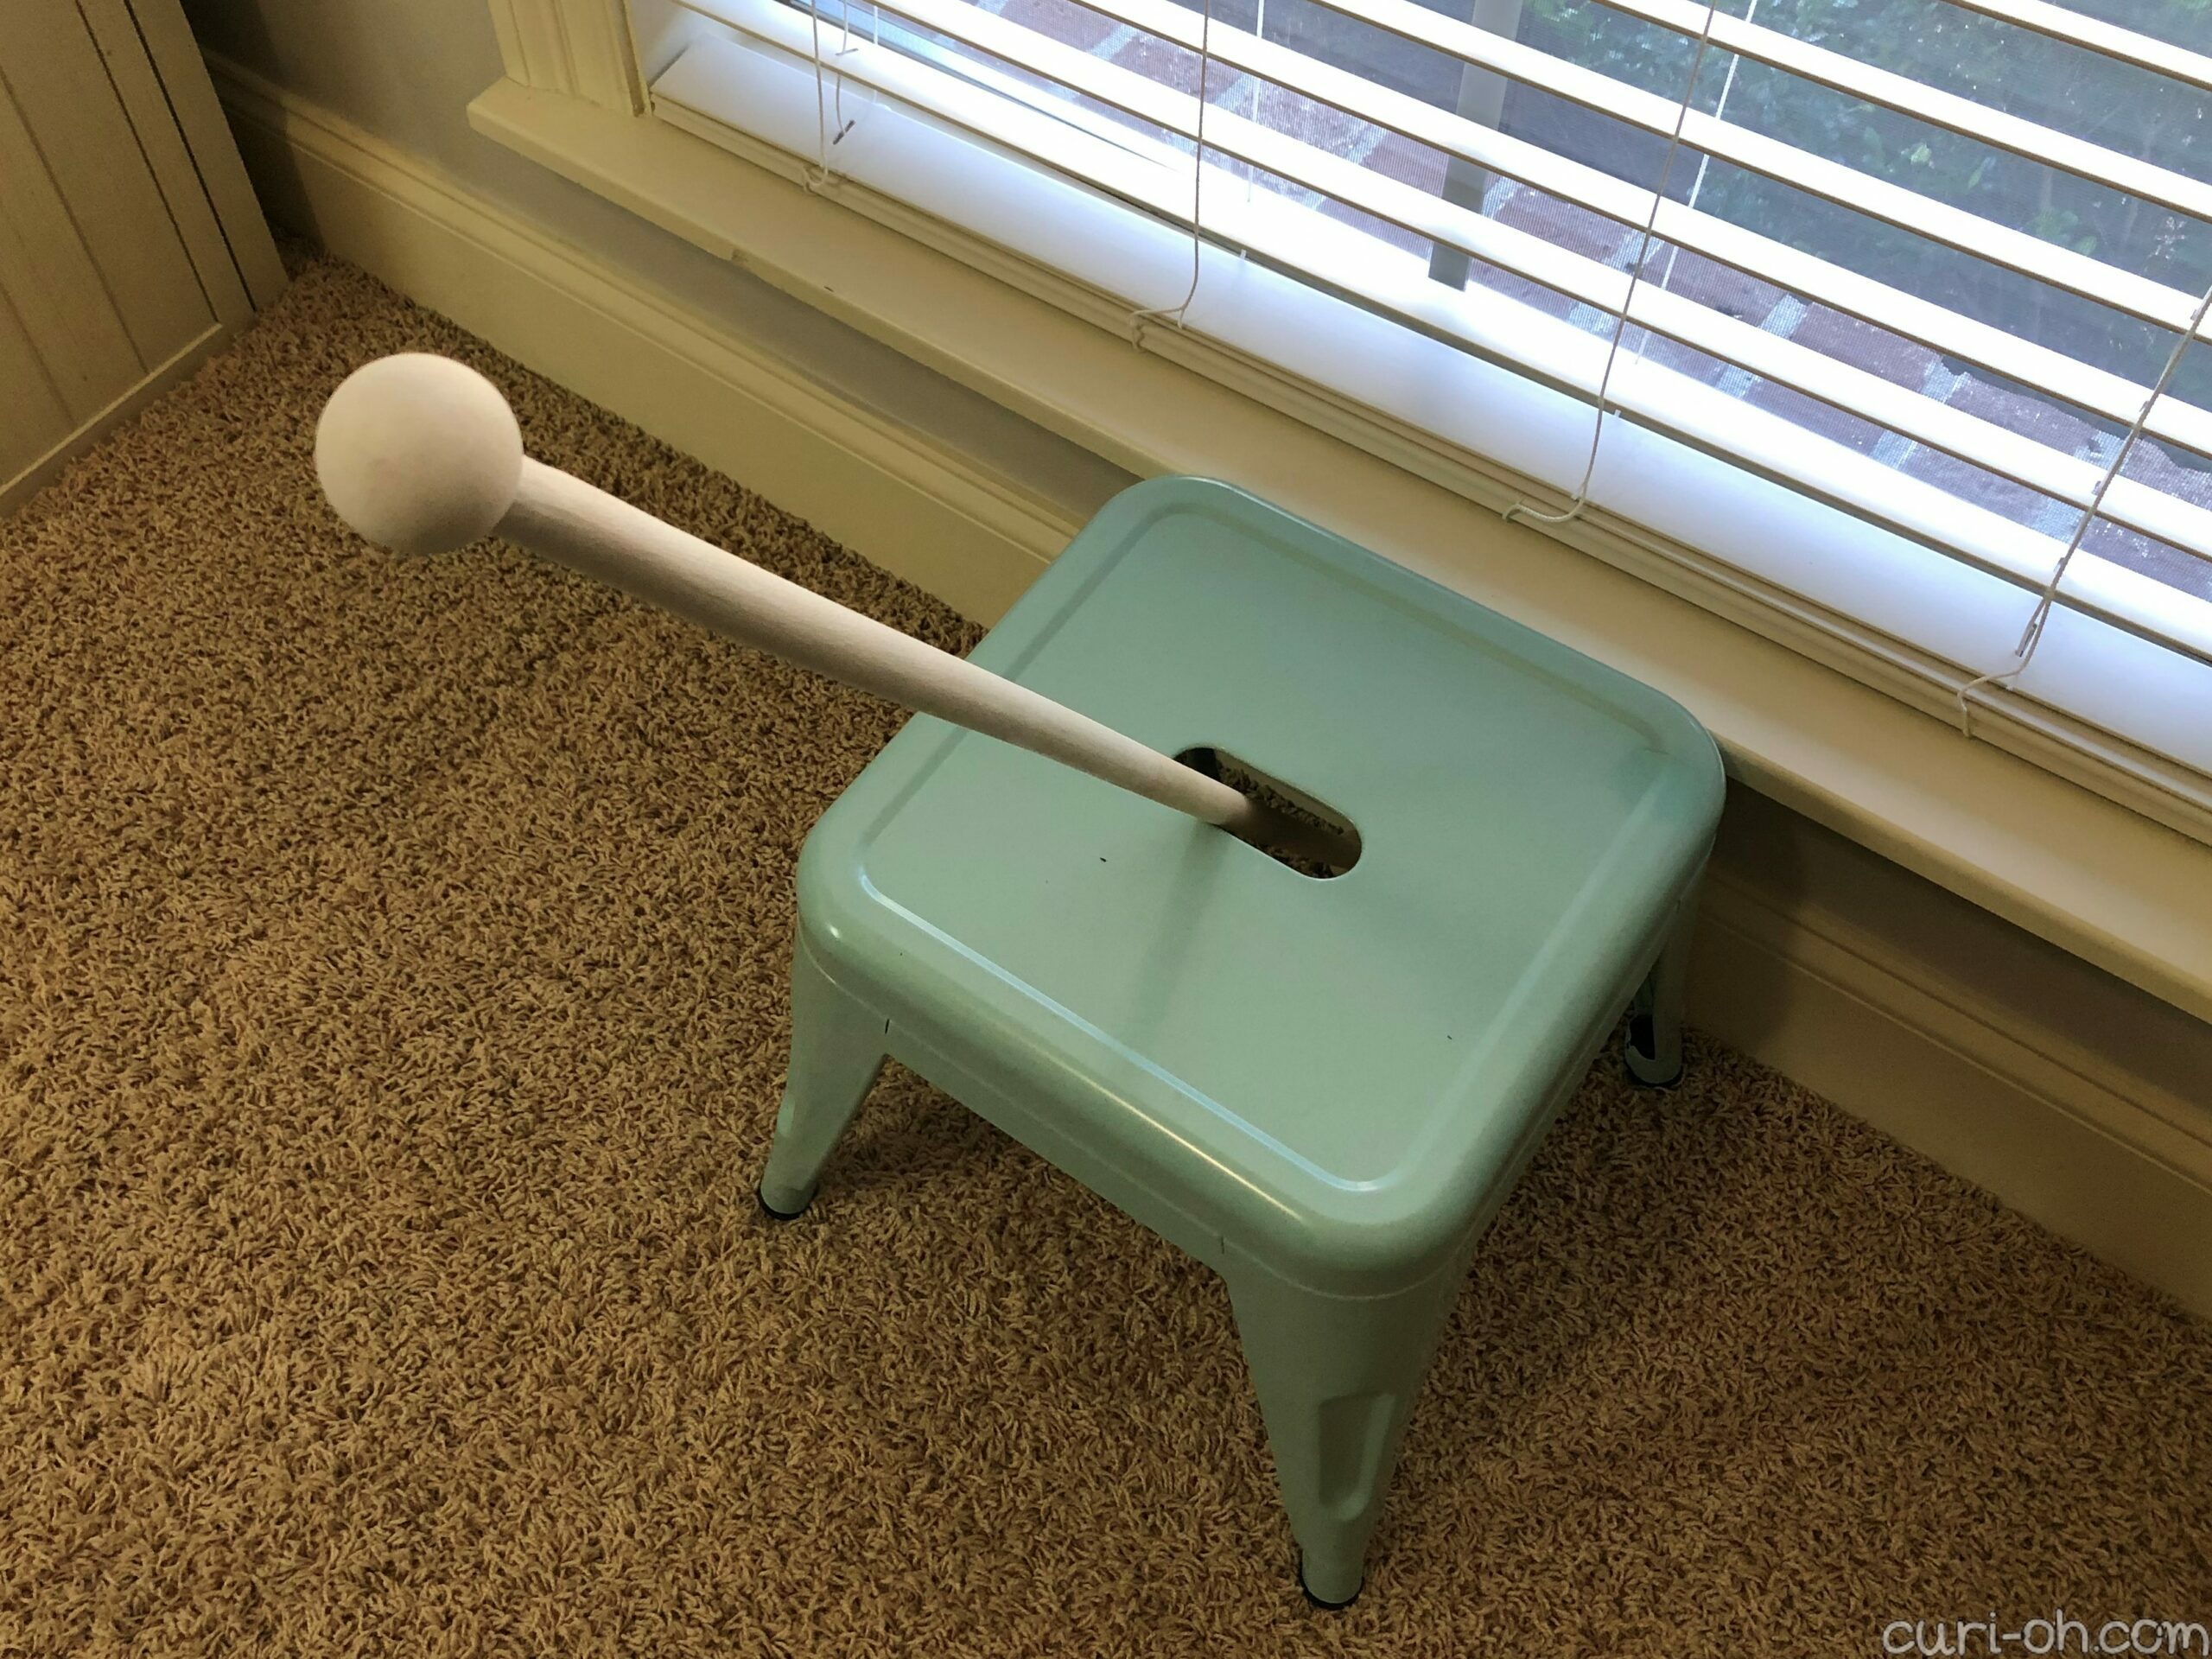
To prep the dowel rod I stuck one dowel cap on each end. I painted on several coats of white acrylic paint. As much as I hate glitter, unicorns NEED glitter, so I added a couple of coats of glitter Mod Podge. Lastly, to seal it I added a final layer of matte Mod Podge. A lot of layers for one little stick, but I’m pleased with the results. If you do this yourself, it’s hard to predict how many layers of which product you may need. It just depends, so go with your gut.
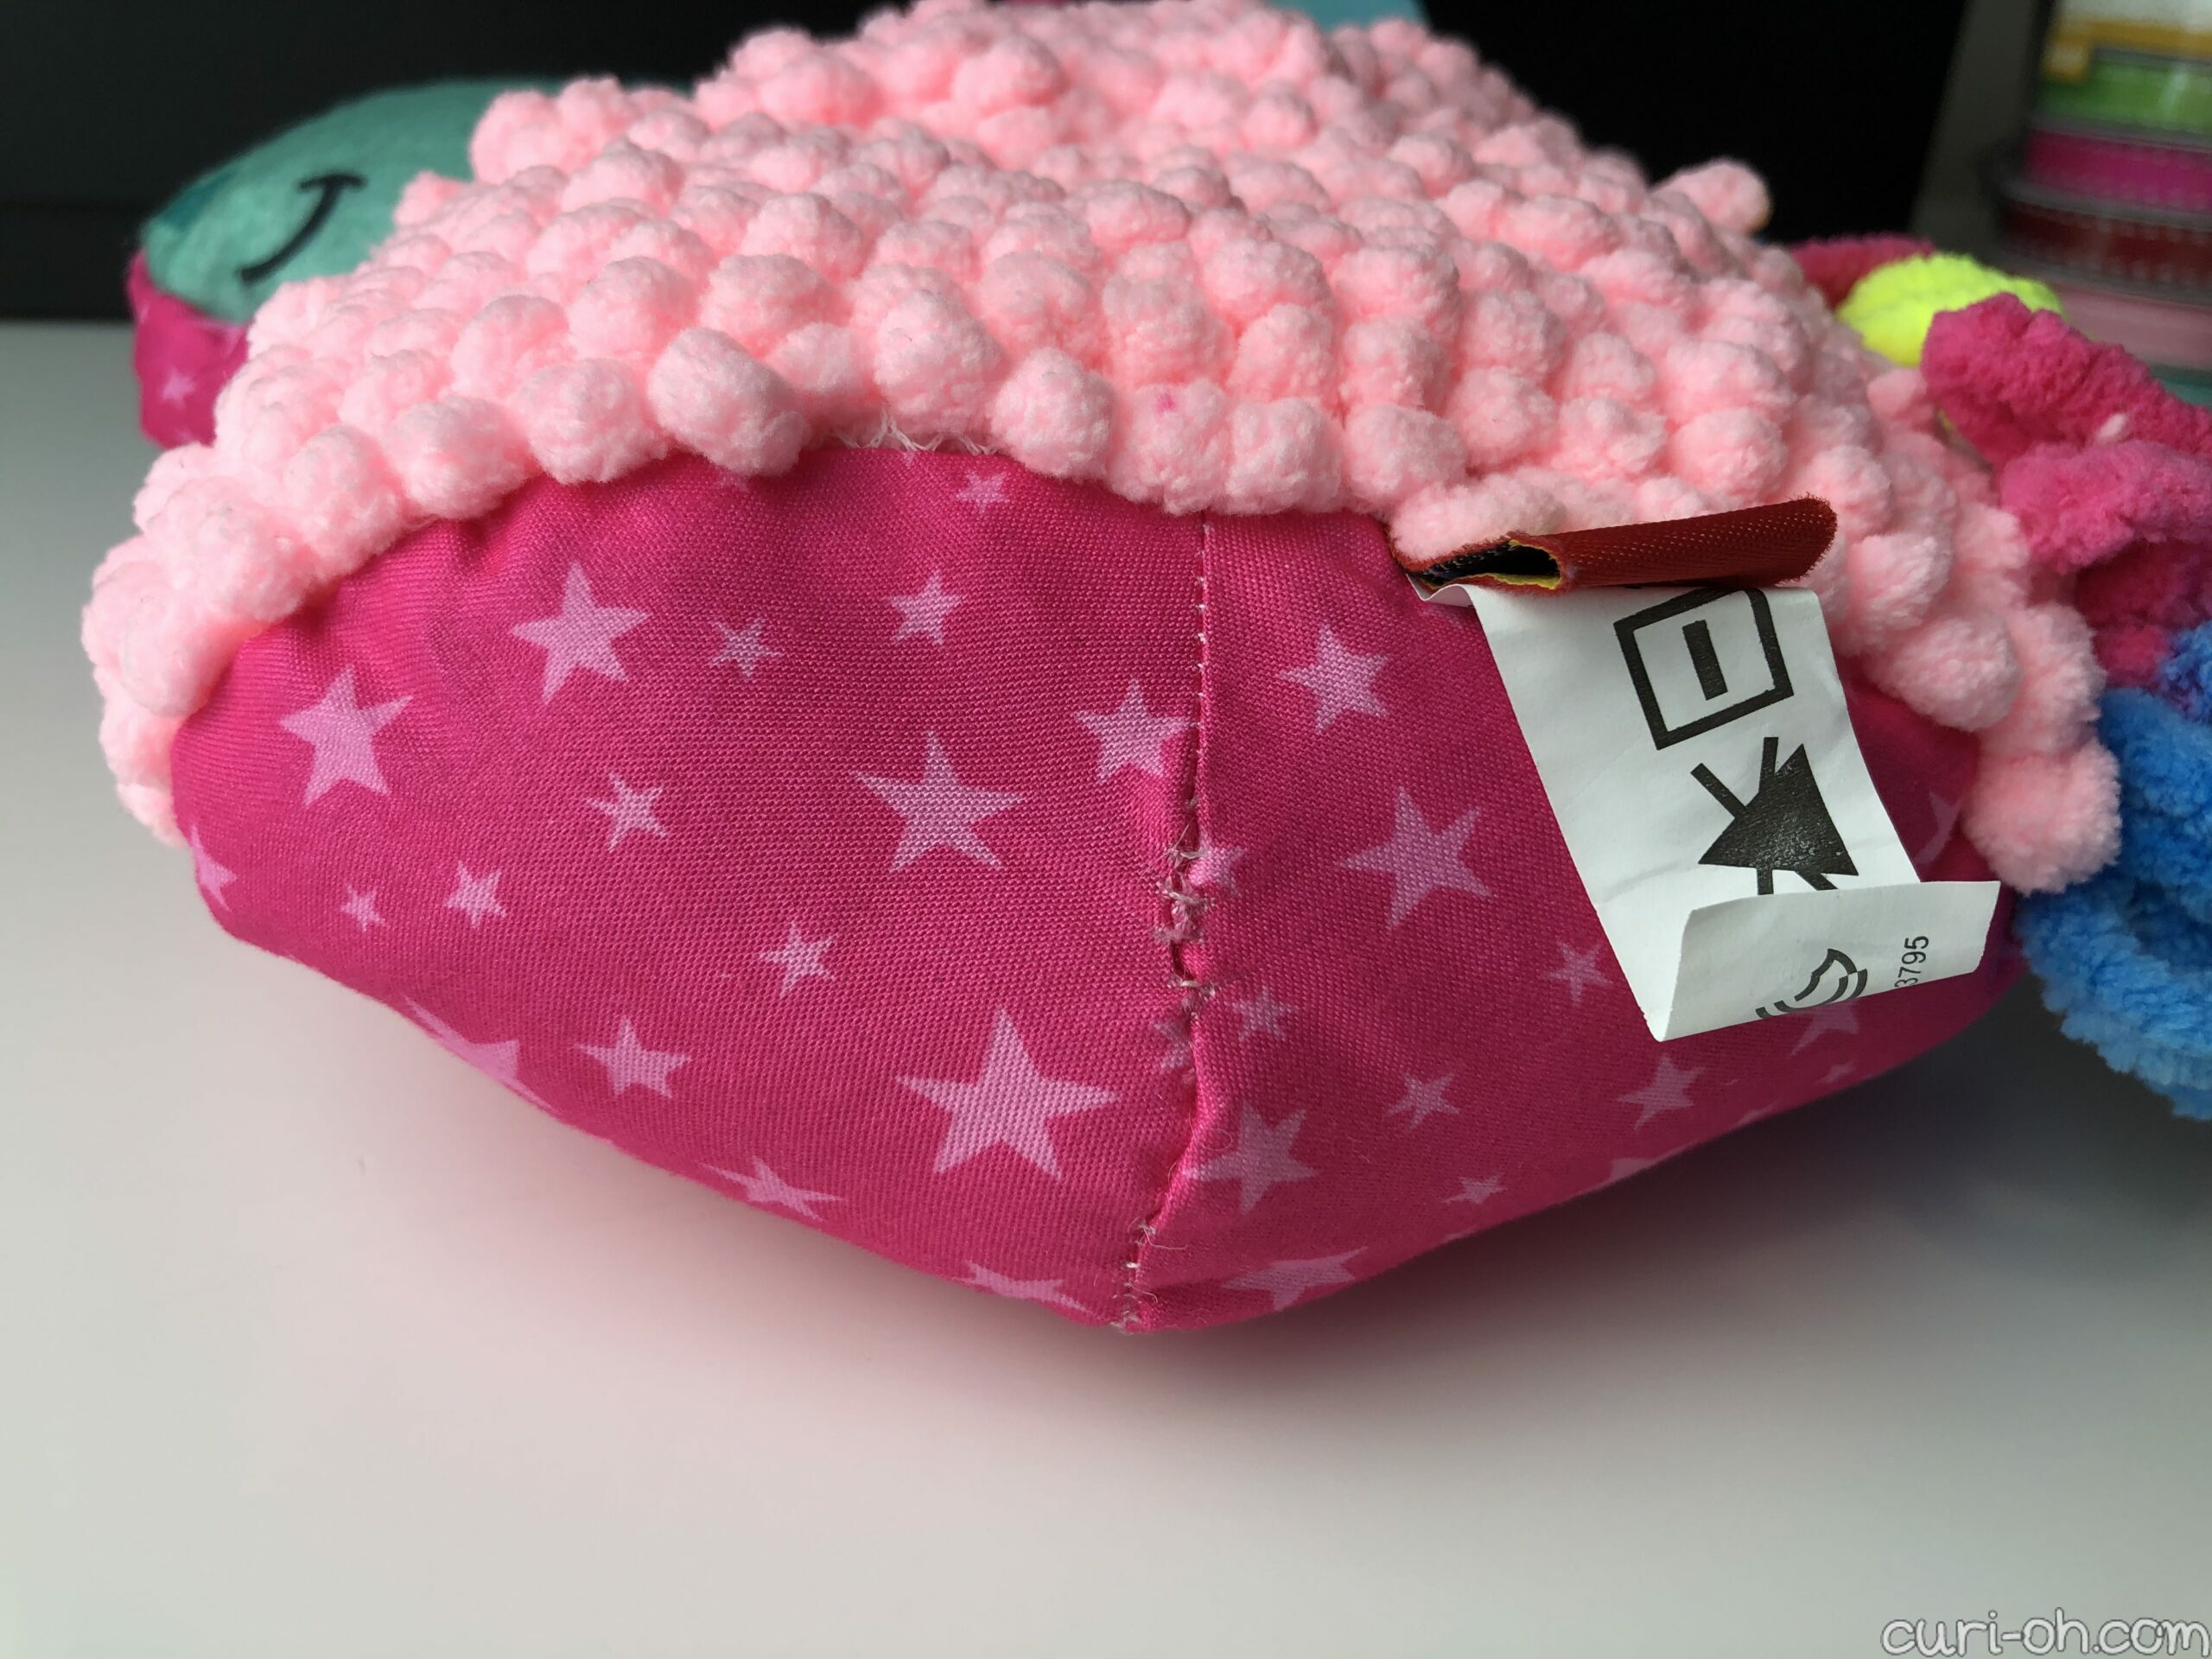
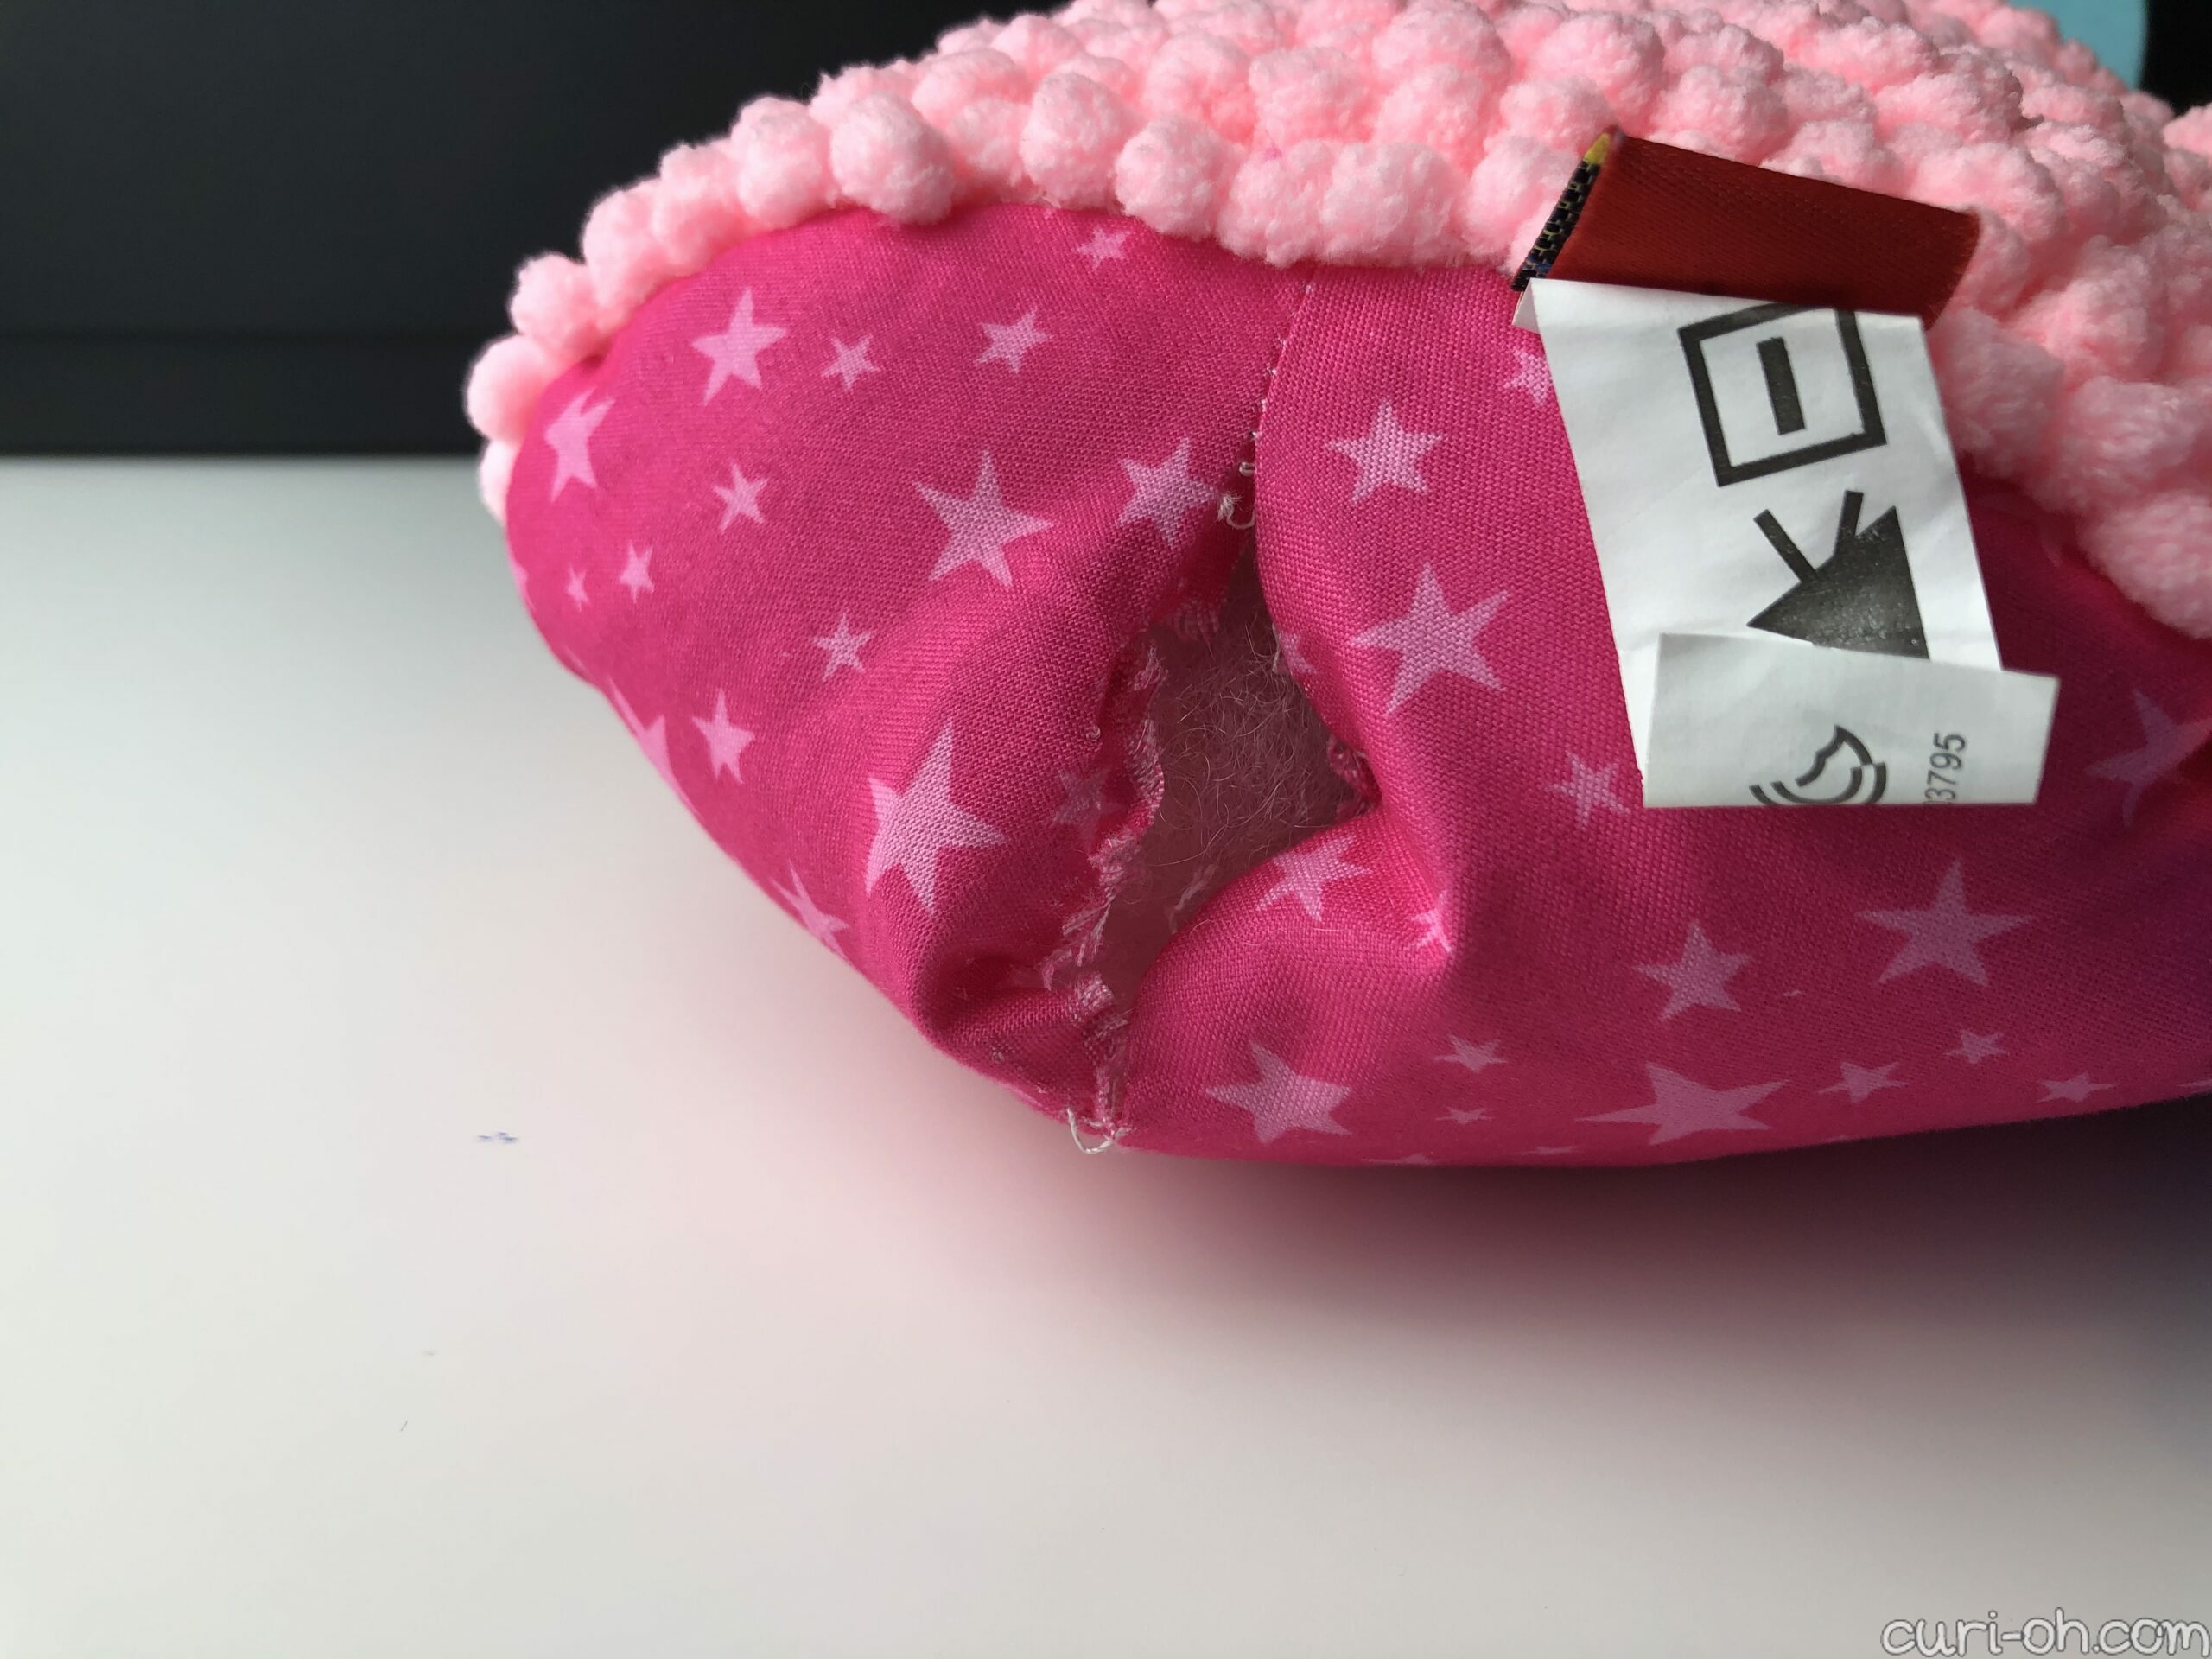
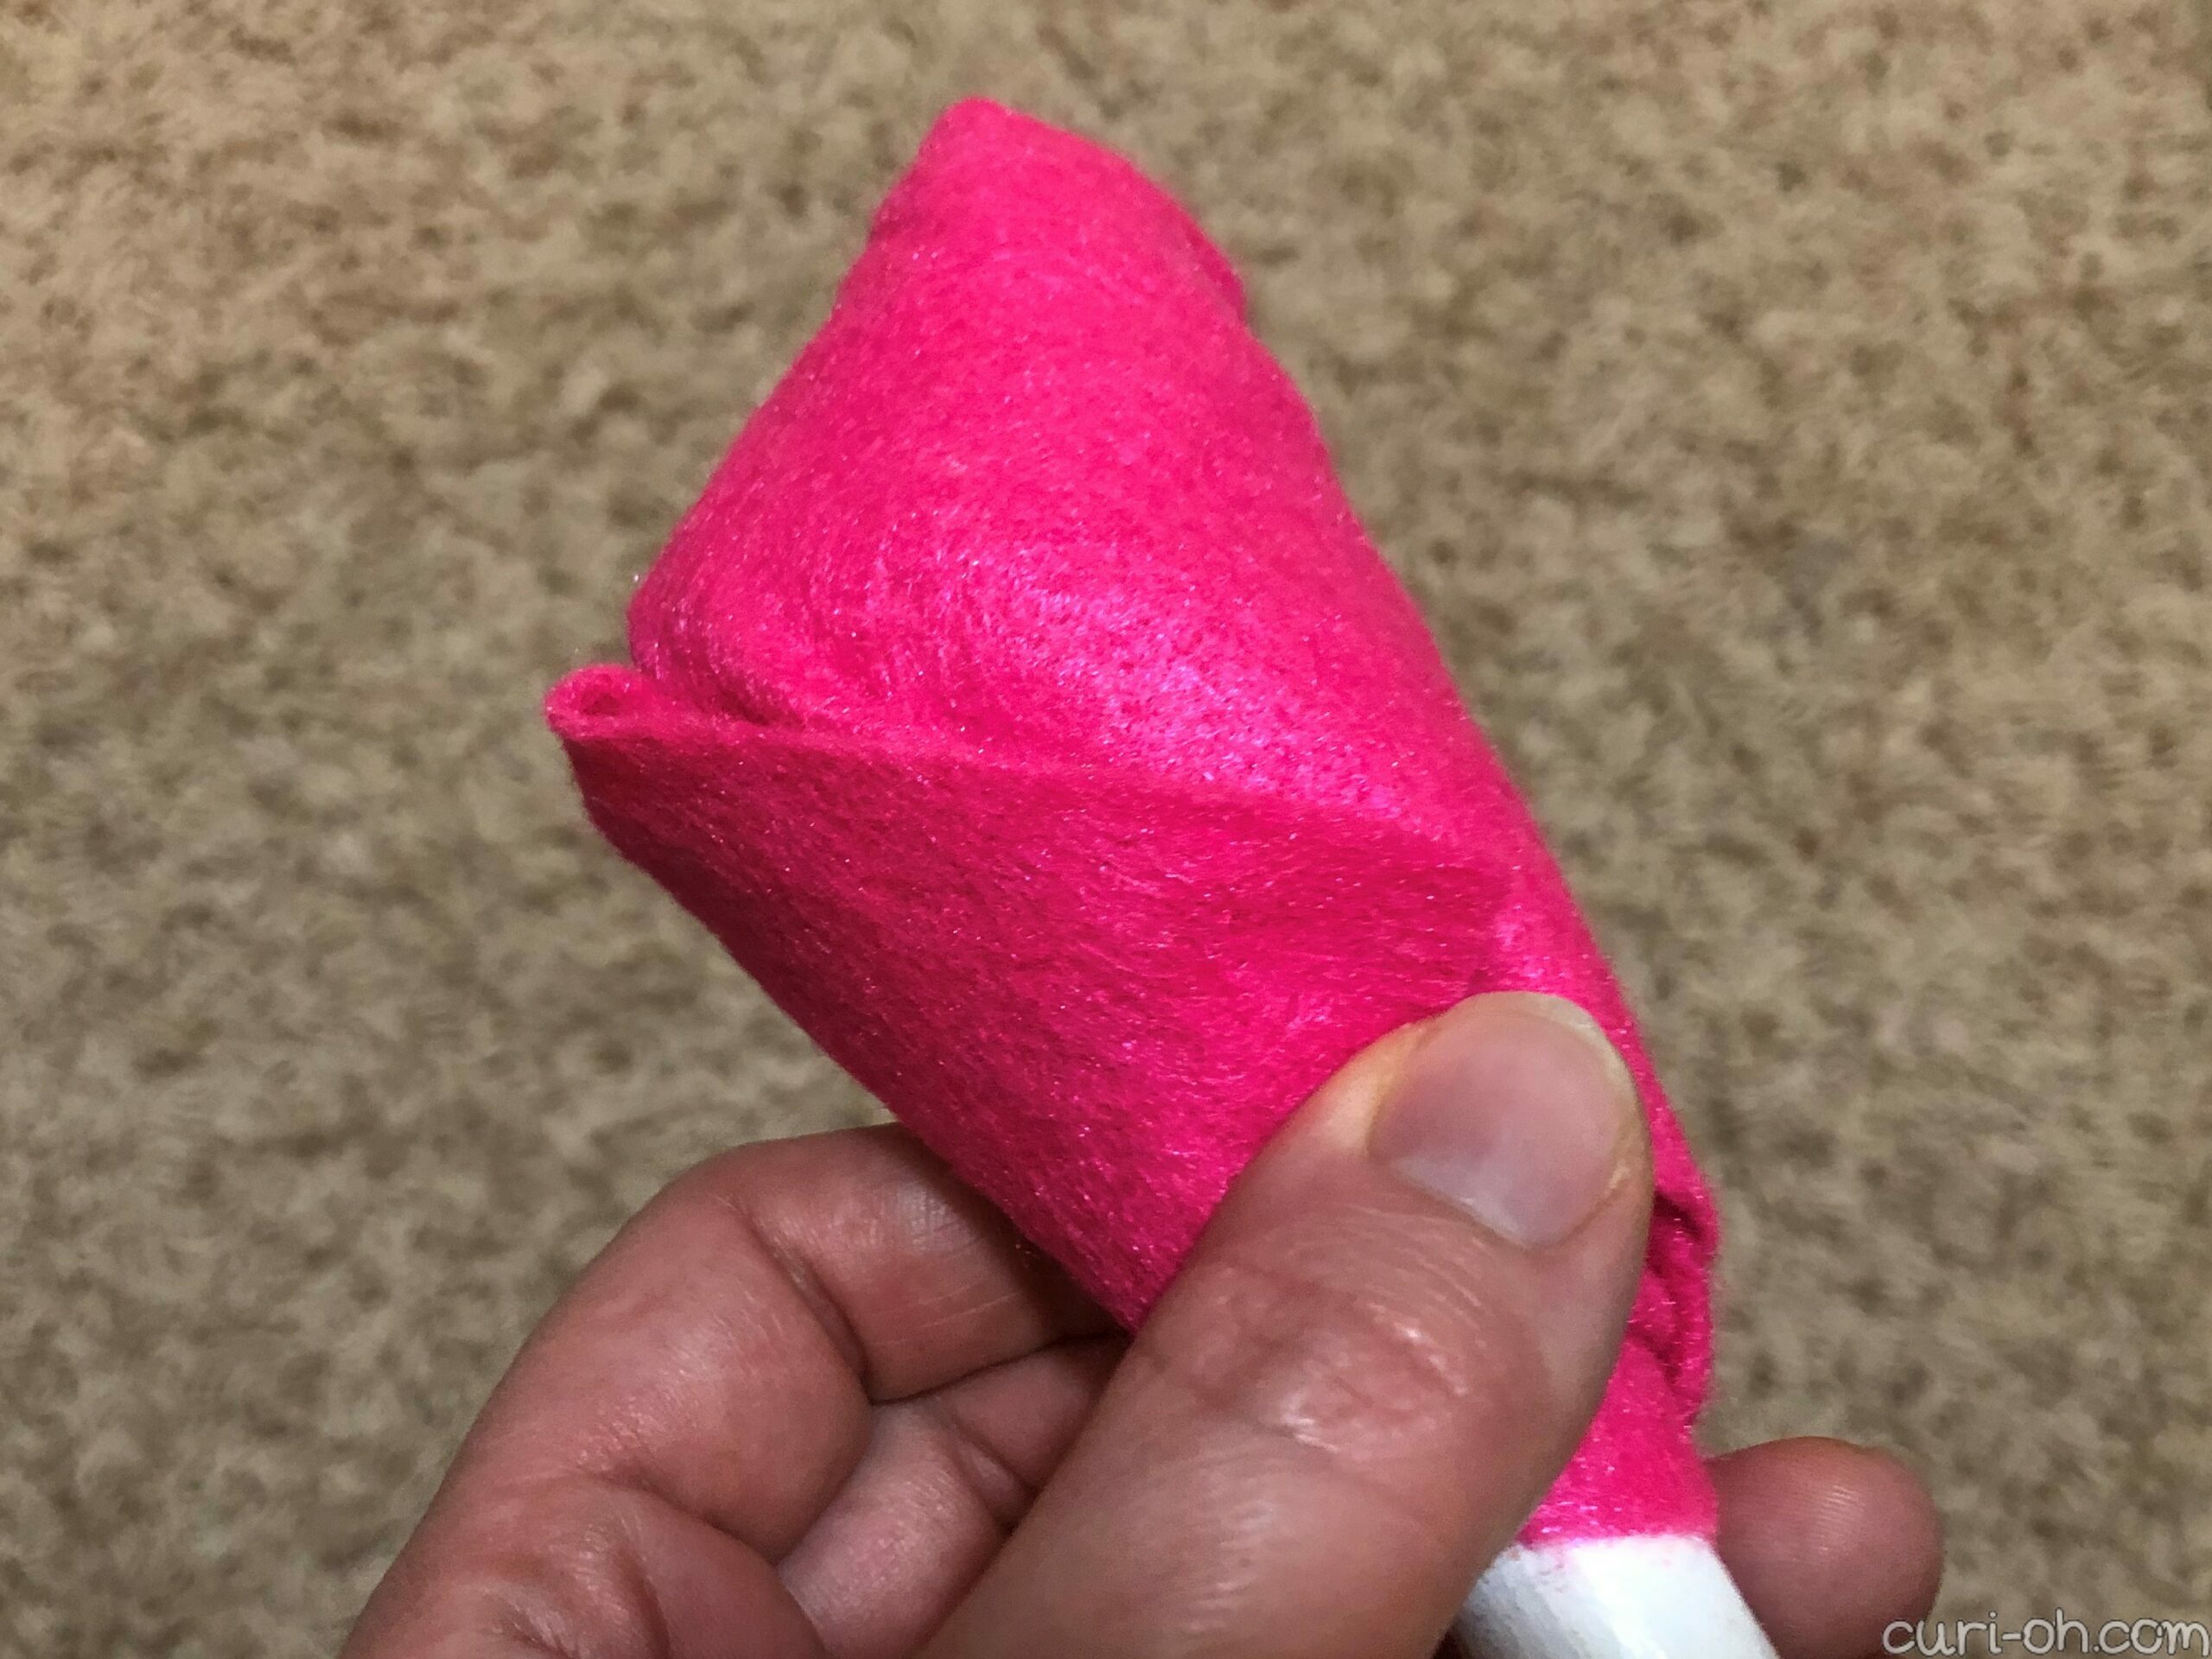
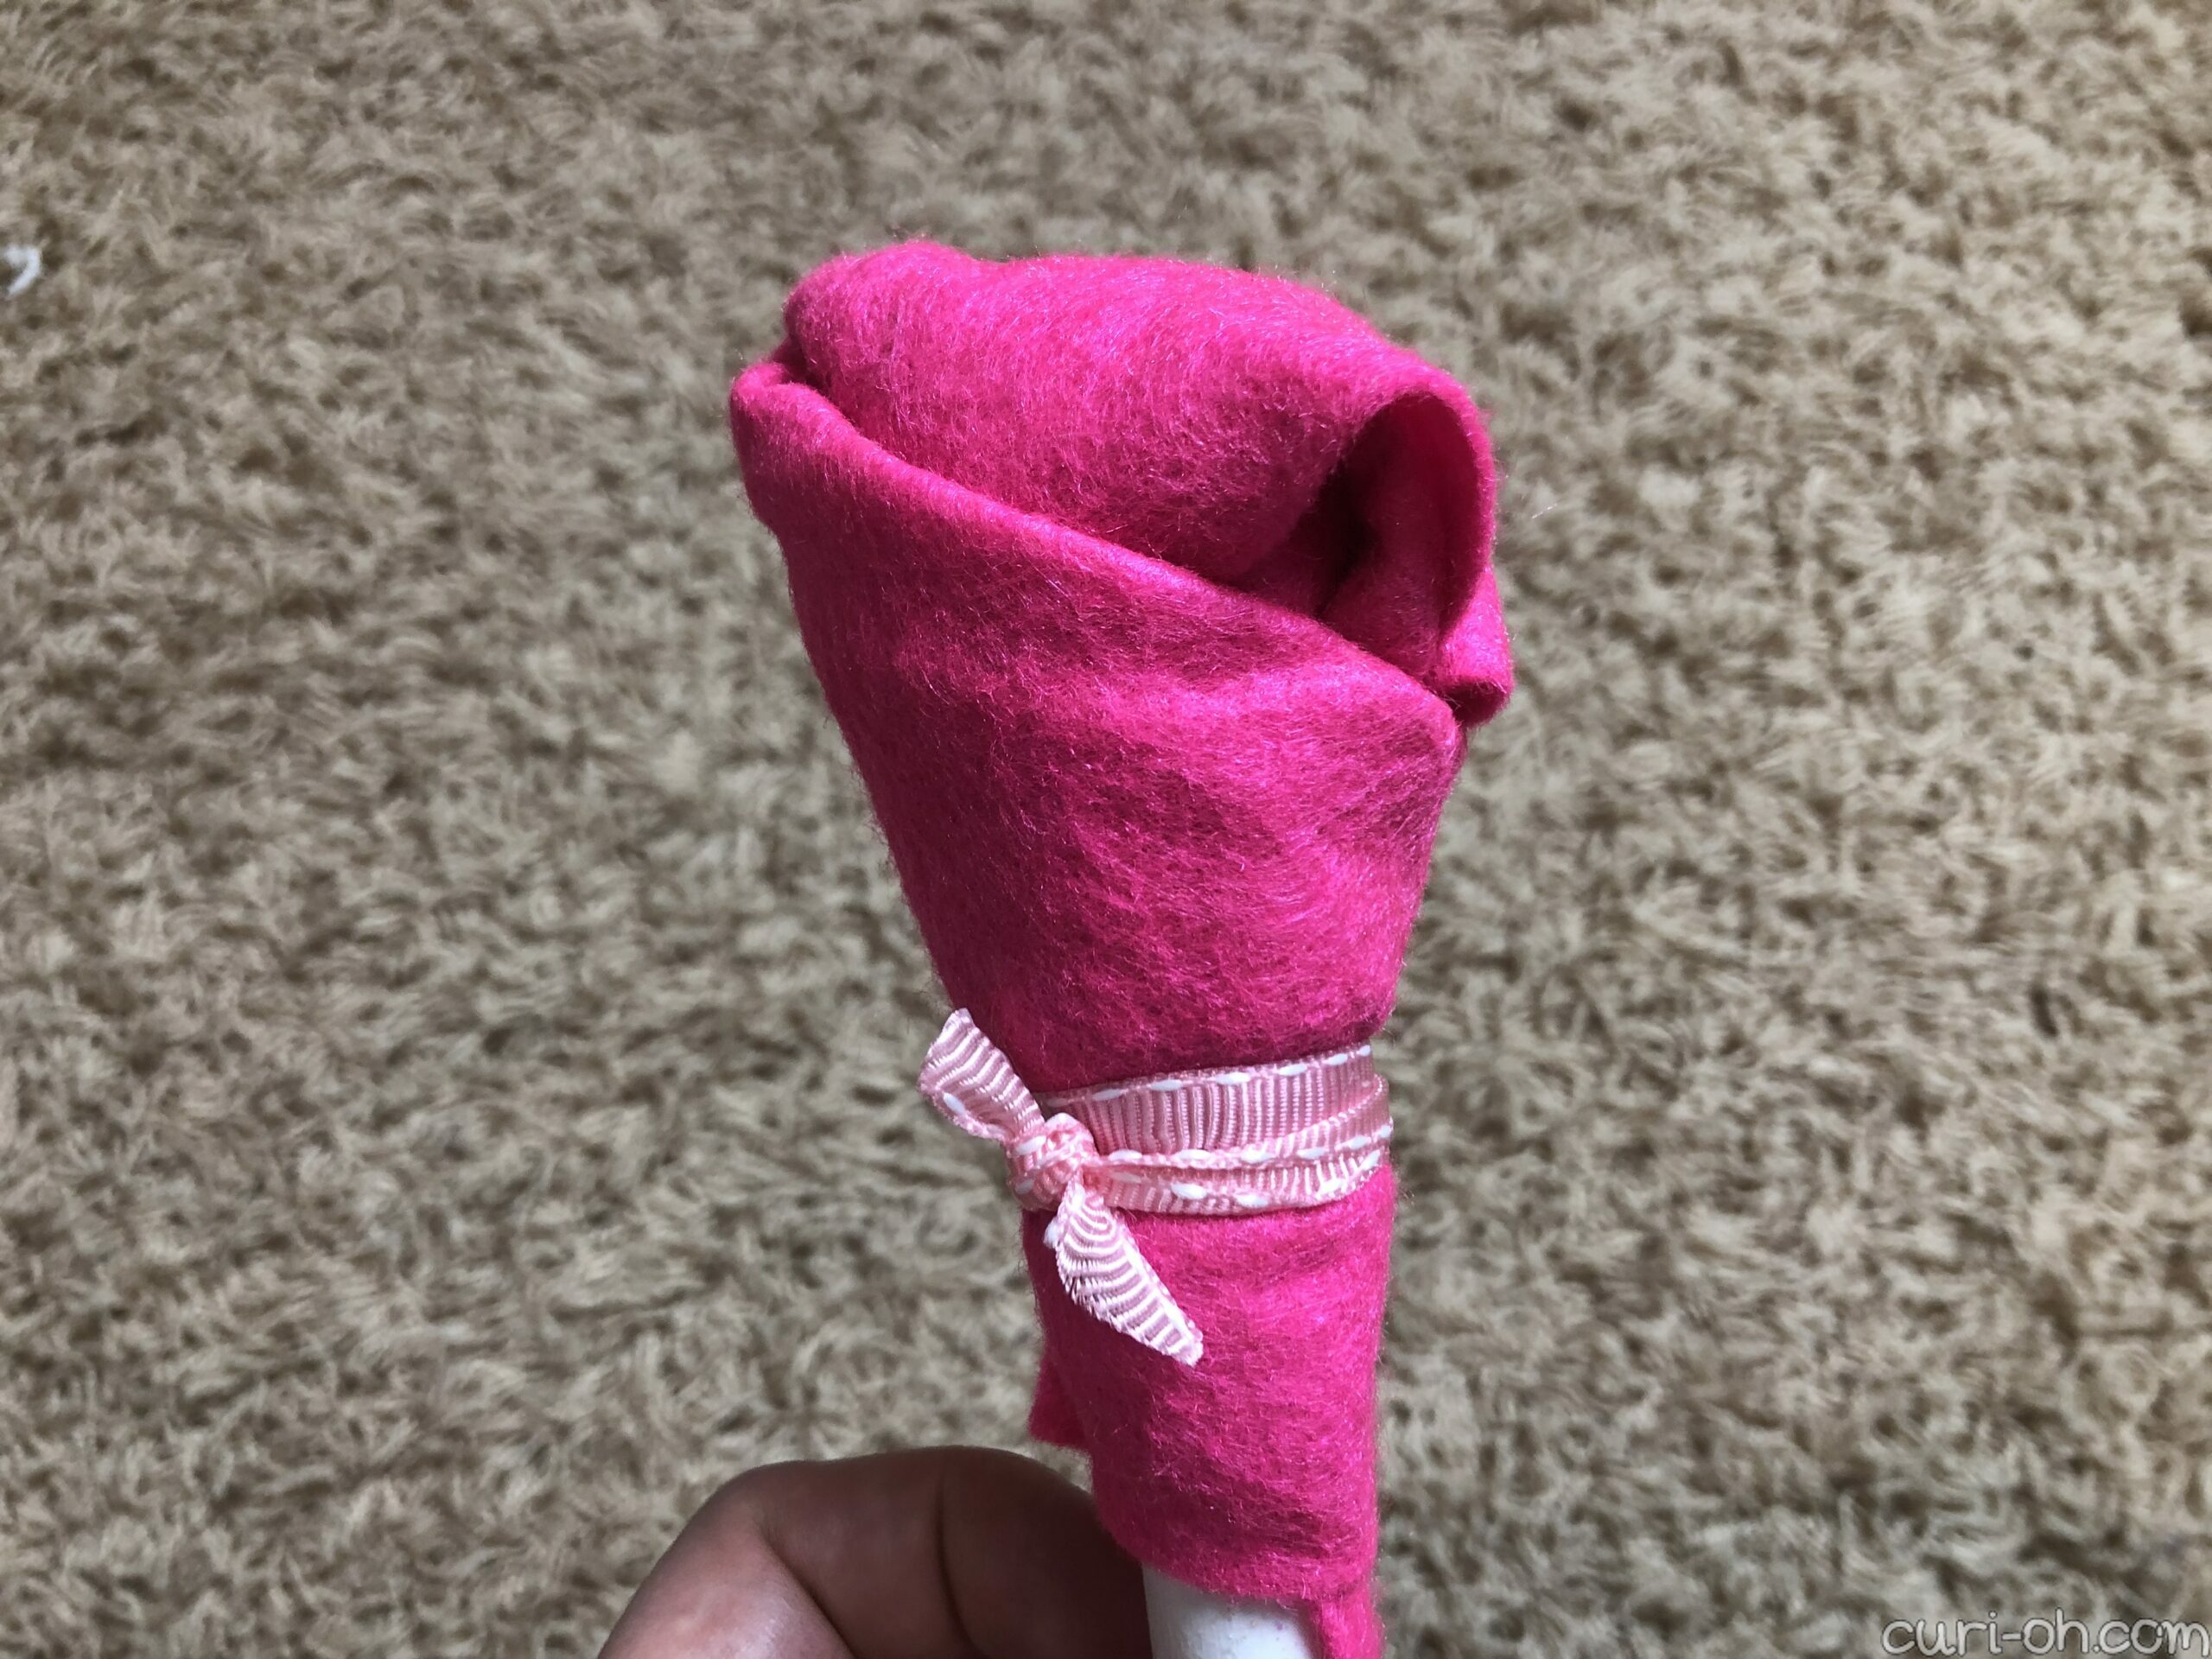
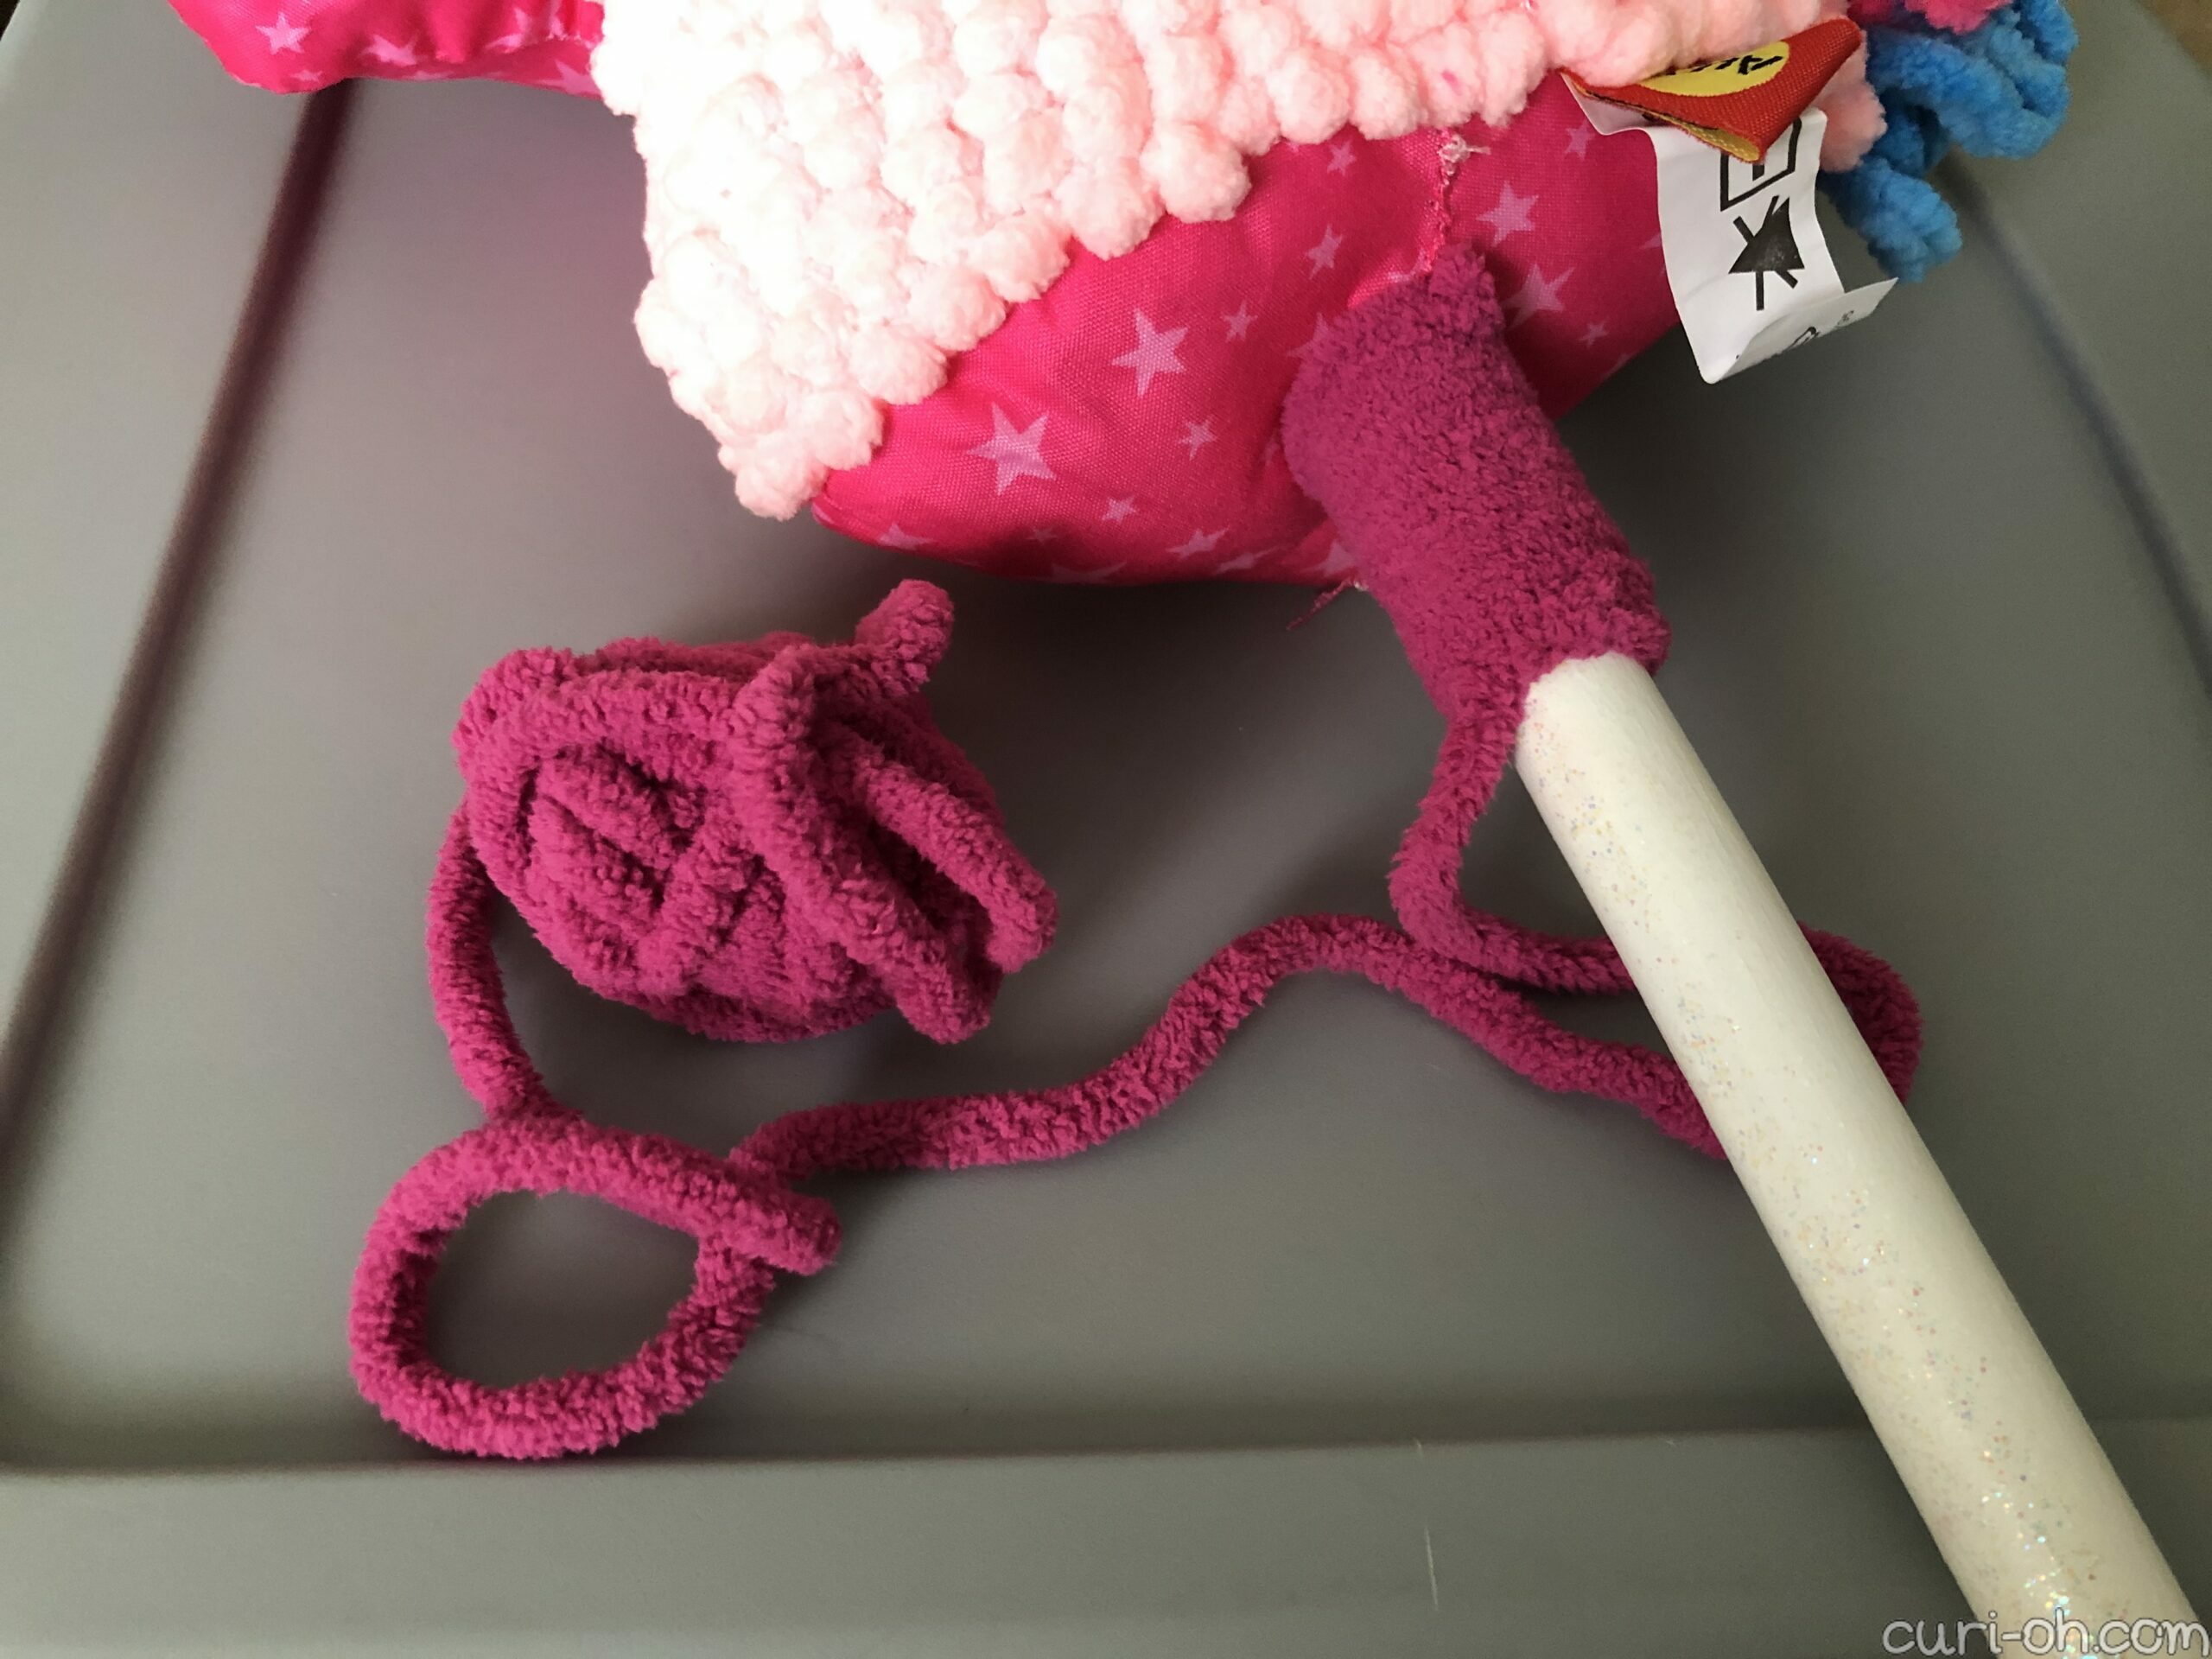
I used a seam ripper to open the bottom seam of the completed pillow. The stuffing for a hobby horse should be firm. You also need to ensure the stick doesn’t slip up and down inside the head. I had already packed my poly-fil stuffing into storage, so I used the remaining bit of yarn I had leftover to stuff inside the pillow and make it more firm. I wouldn’t count on having leftovers though, so it is best to have some stuffing on hand if you can. I wrapped the dowel cap head in a thick piece of felt and secured it with glue and a ribbon. This I inserted into the pillow. Between the extra padding from the felt and the extra stuffing I felt good about its security.


Next I sewed up the seams as tightly as I could on both sides of the stick. Don’t let me teach you about sewing! I’m such a noob. I just did the in-and-out thing and tied it off. To attach the stick to the fabric from there, I used an all-purpose clear drying craft glue. Once that was set, the whole thing felt snug indeed!
To polish it off, I wrapped the stick at the top in some matching yarn I had. I tied it at the top, but painted a layer of the clear matte Mod Podge at the bottom to secure the final snip because I couldn’t think of a way to tie it off without it looking bulky. I just tucked the end under and then Mod Podged around the bottom of the wrap.
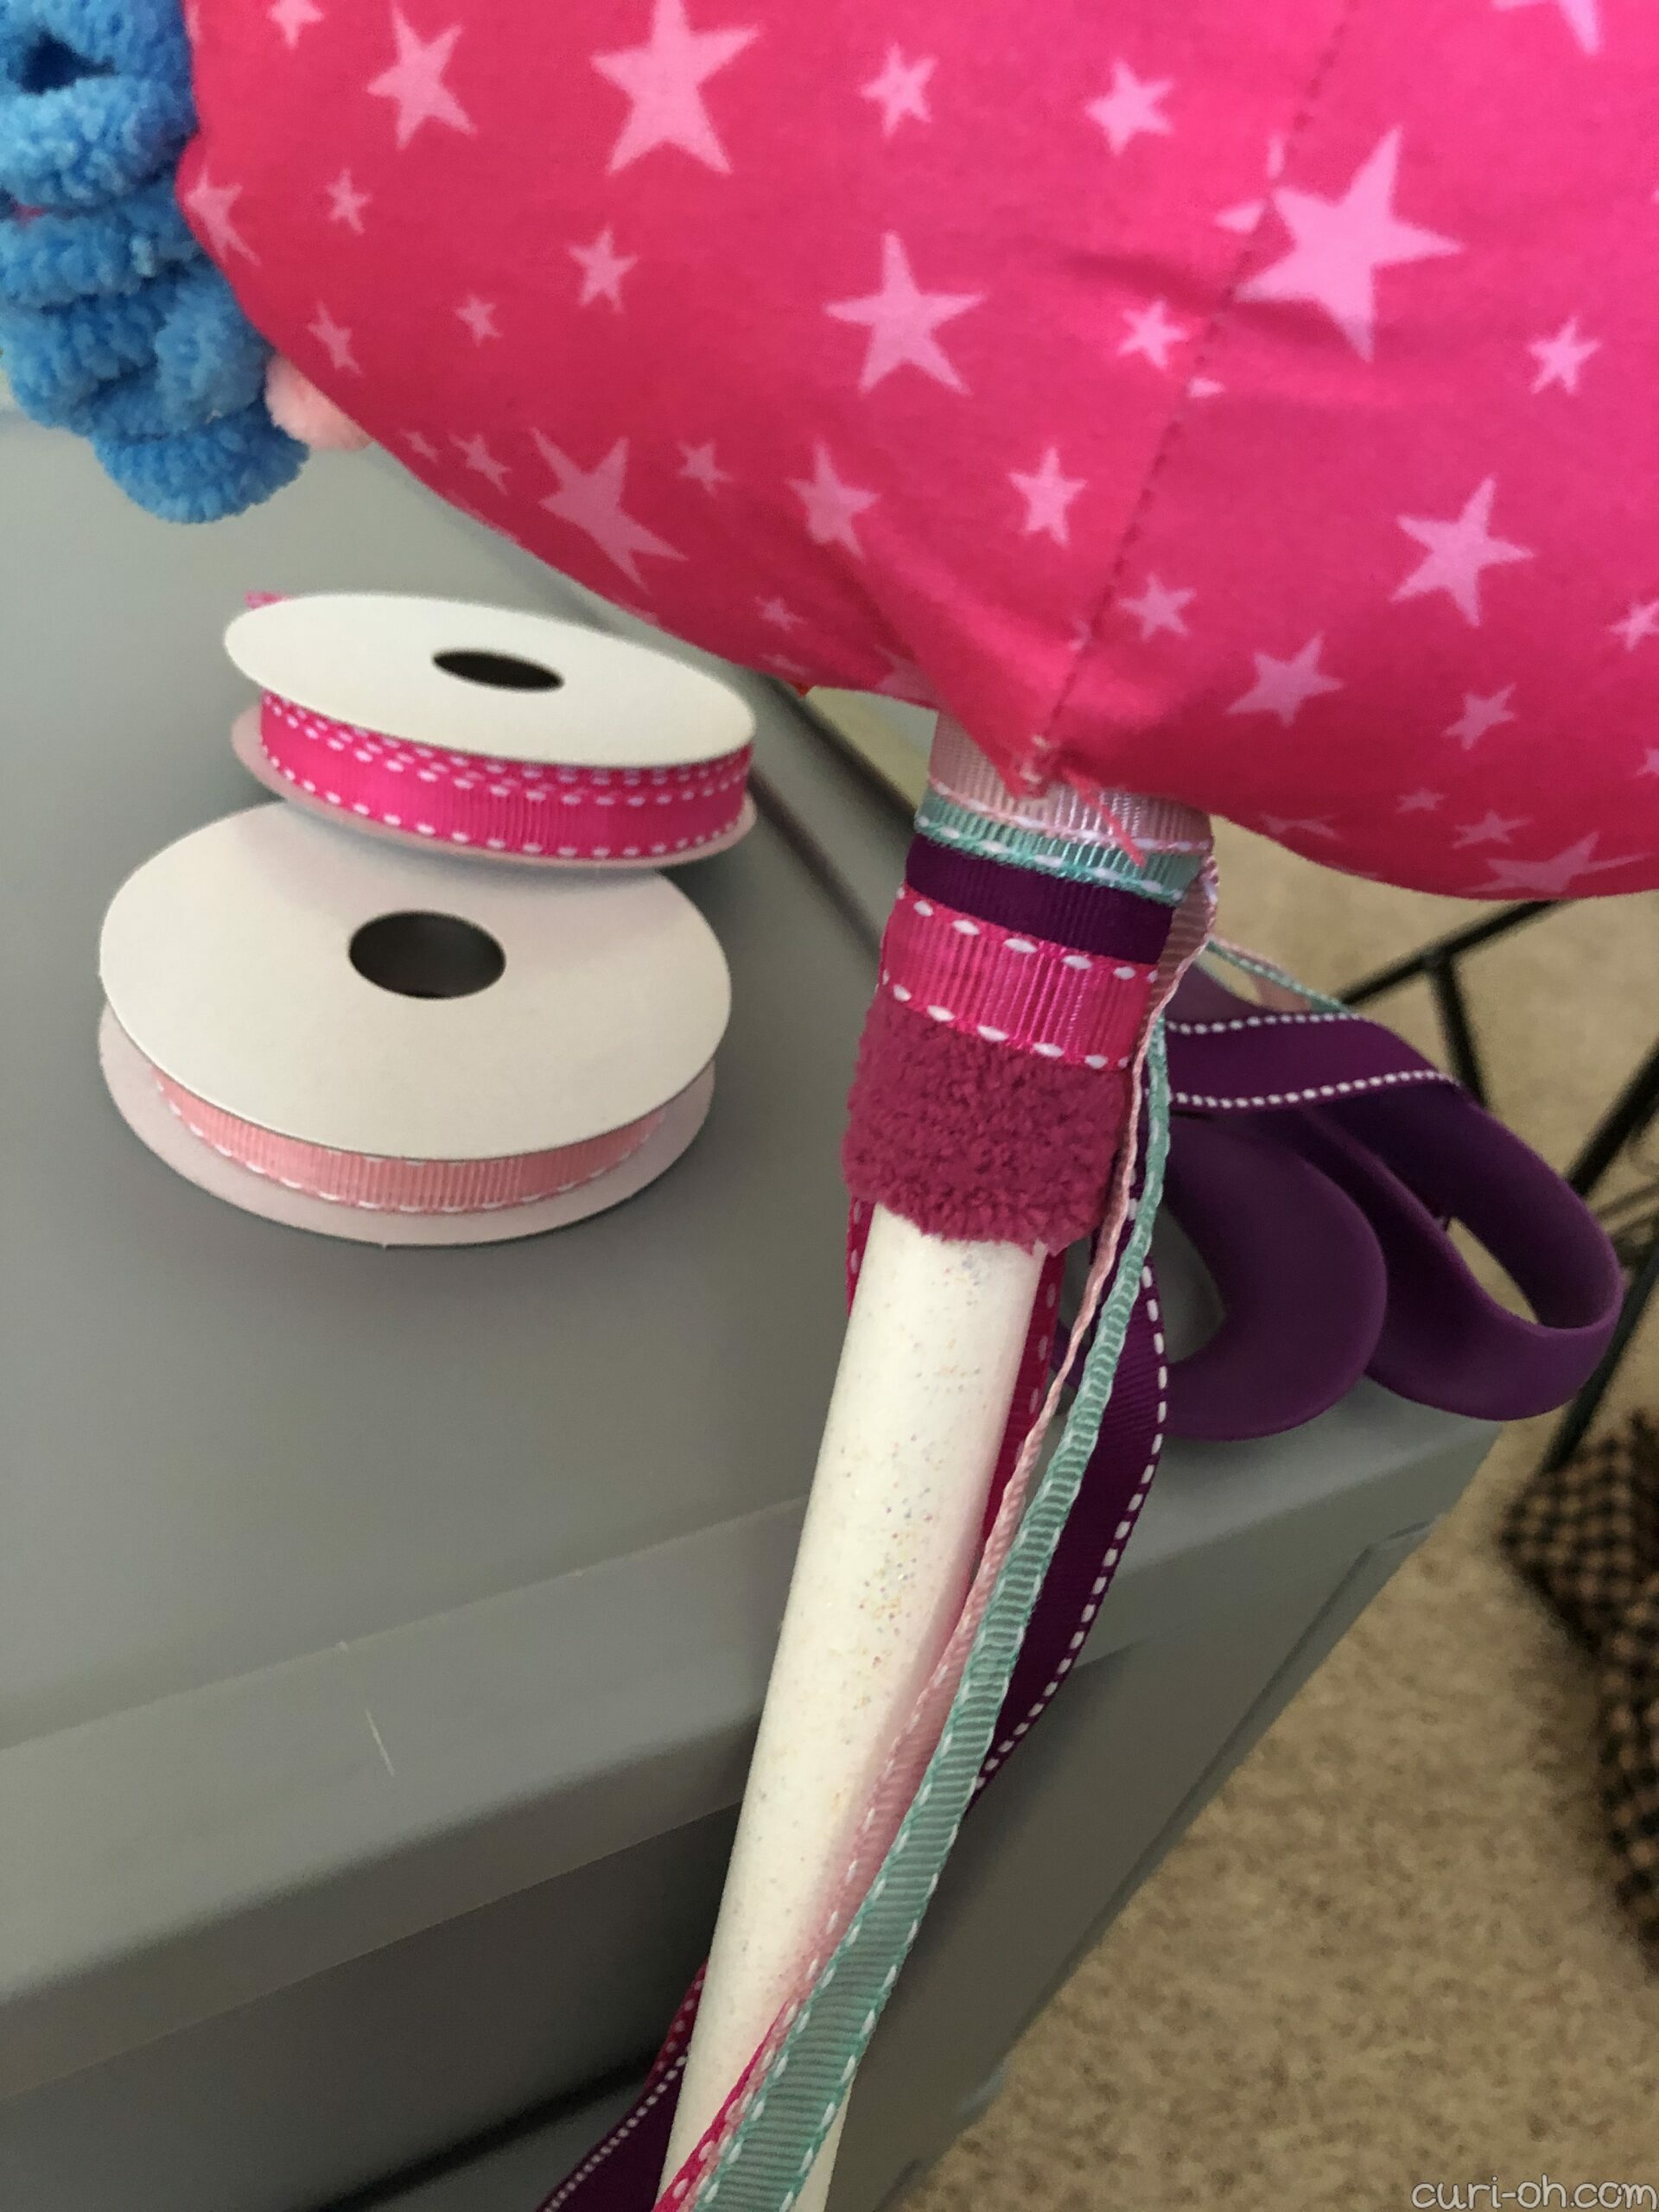
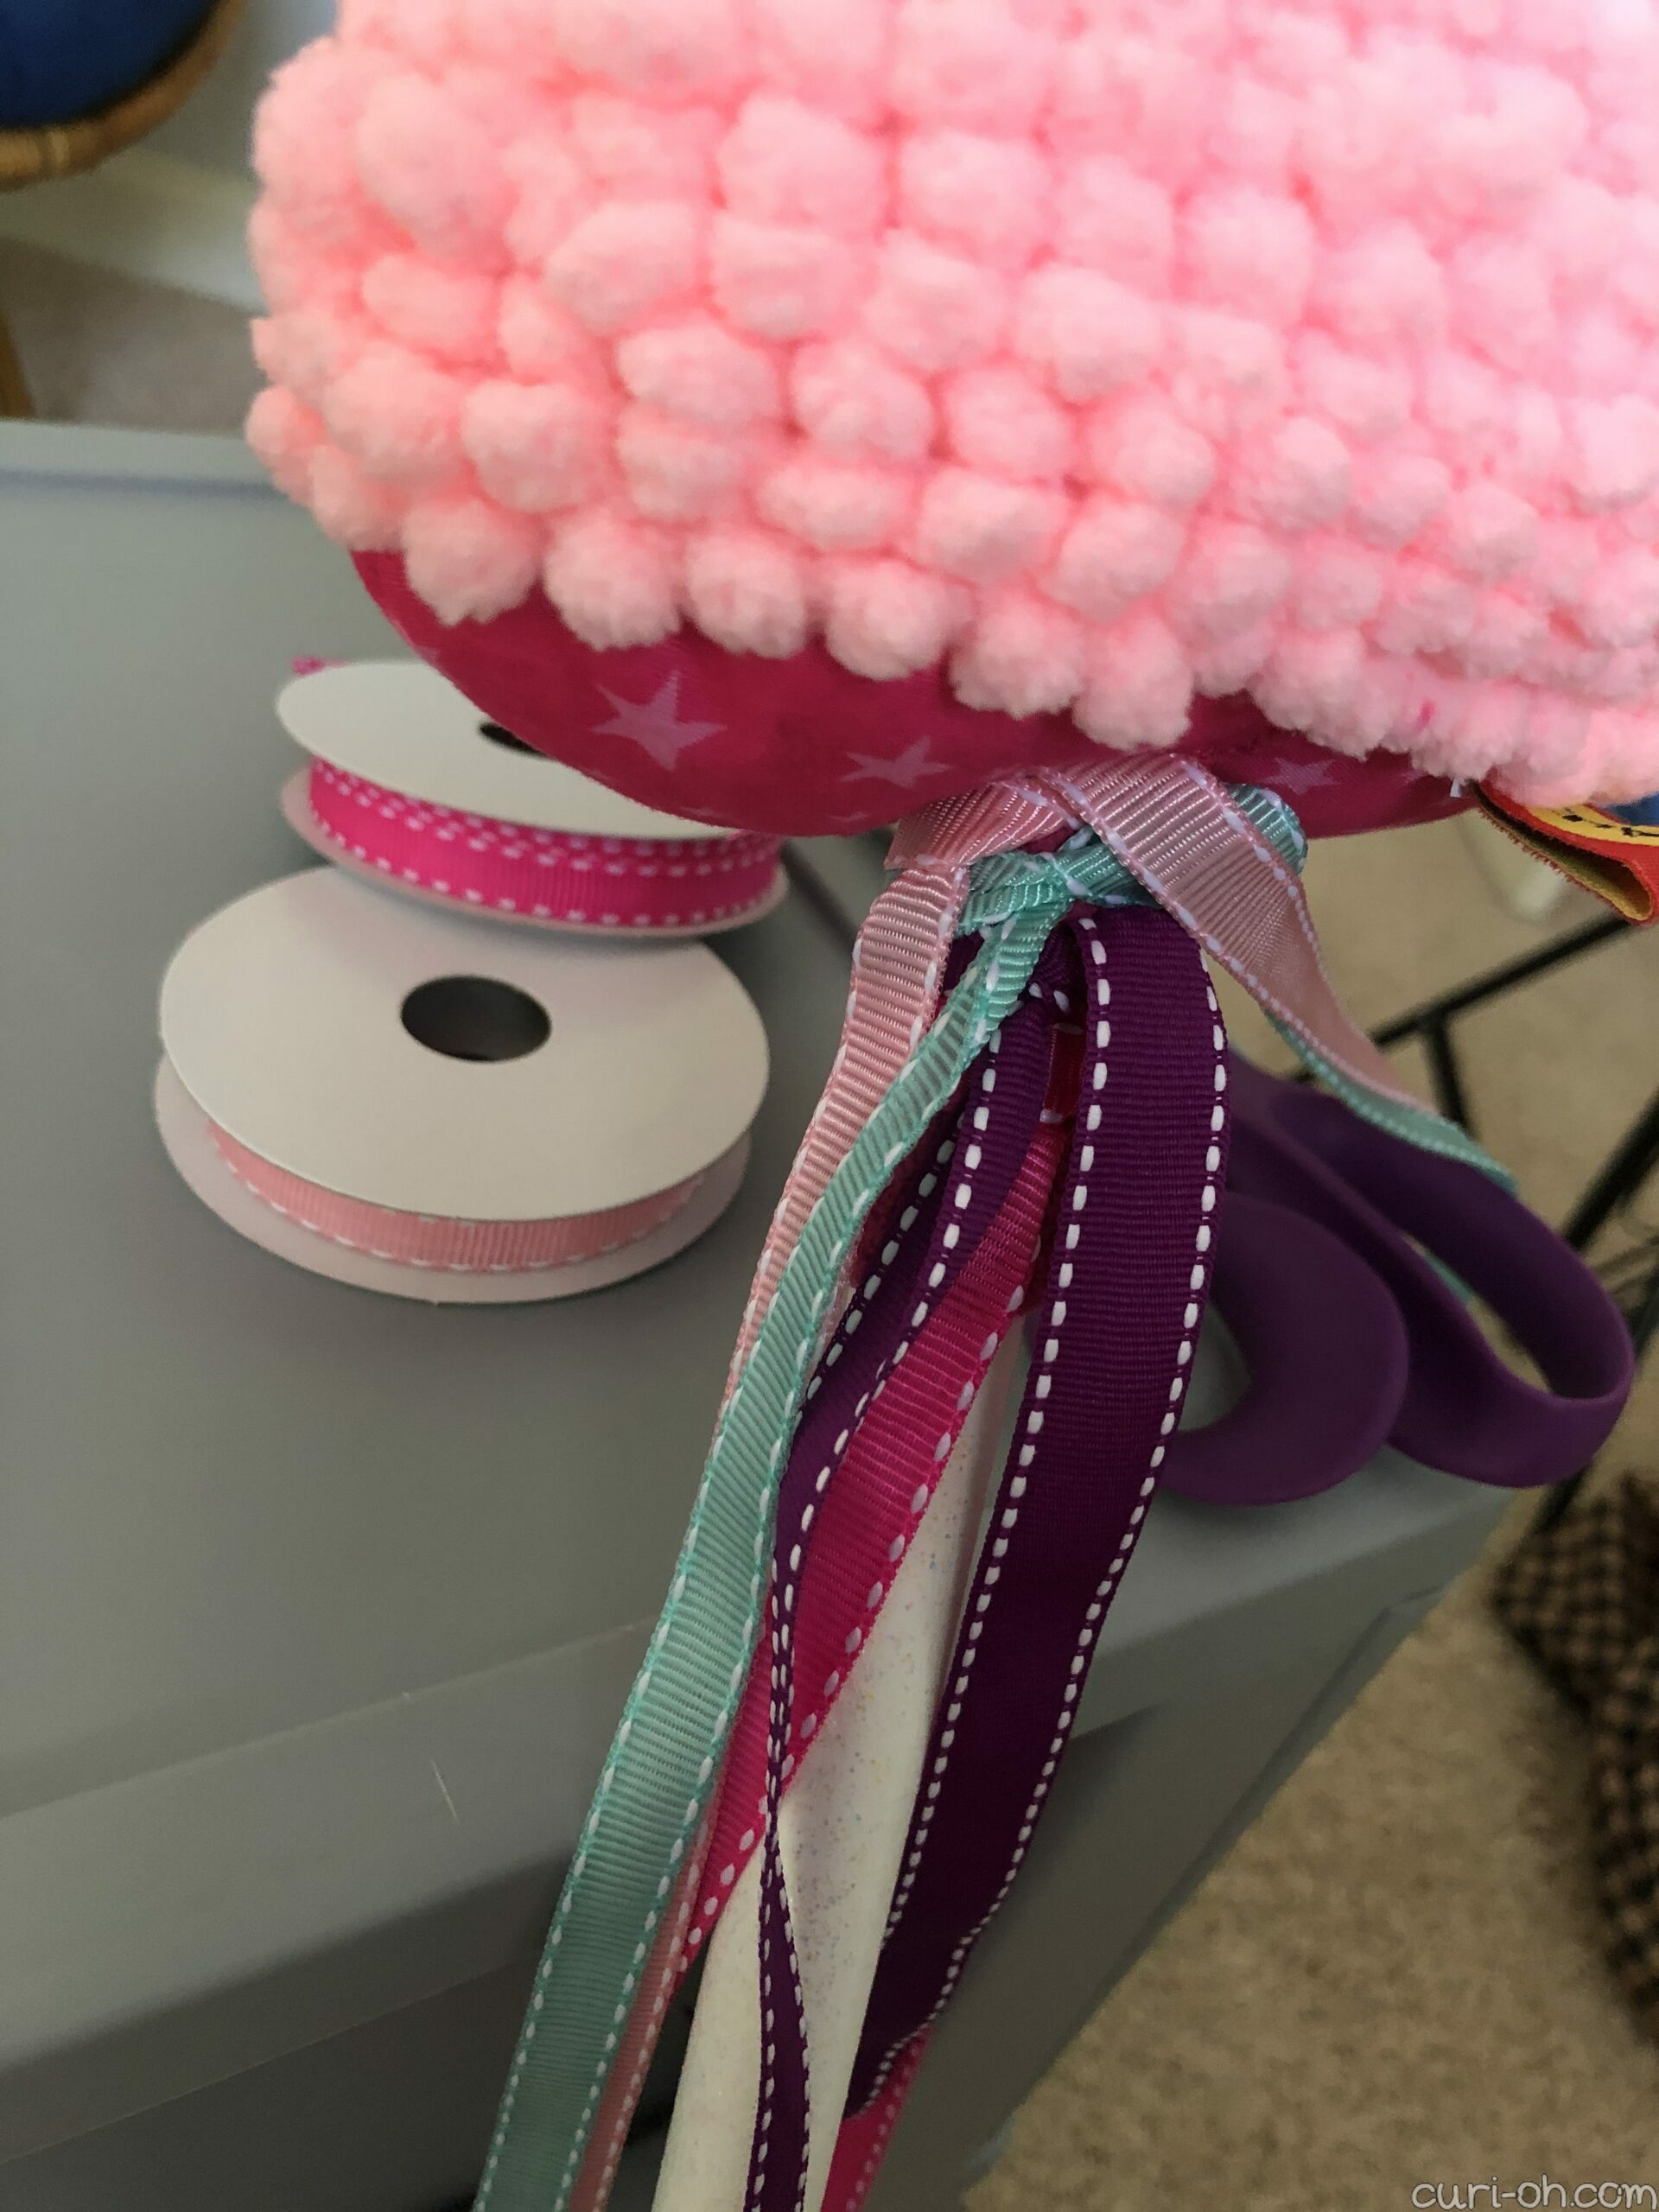

Lastly, I tied a bunch of cute ribbons over the top of the yarn. I tied the smaller ones only as knots, but then covered them all in a big thick ribbon which I tied into a bow. I sealed the cut ends of all the ribbons with Fray Check to prevent unraveling.

And there you have it: how to use a Loopies unicorn kit to make a hobby horse.
I wish they had other head shapes like this, but it seems like most of the others are full-bodied animals. Regardless, the kit itself was fun and simple and I’m glad I was able to use it for something so precious!