How to De-fuzz a Crocheted Afghan
I didn’t really know how to classify this post. It’s not a “creation” in terms of the blog here in that I didn’t make it myself… but my mom did. It’s not a thrift, but it was almost donated… and then it would have been a thrift for someone else? I guess a bit of backstory is required.
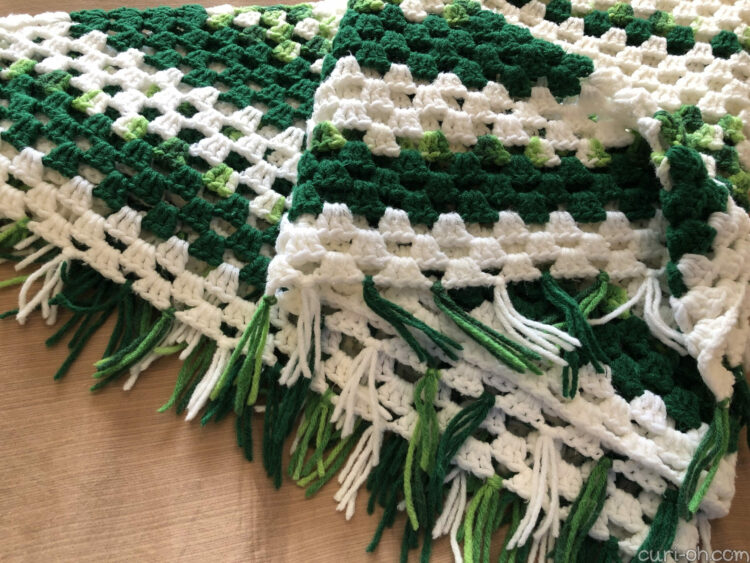
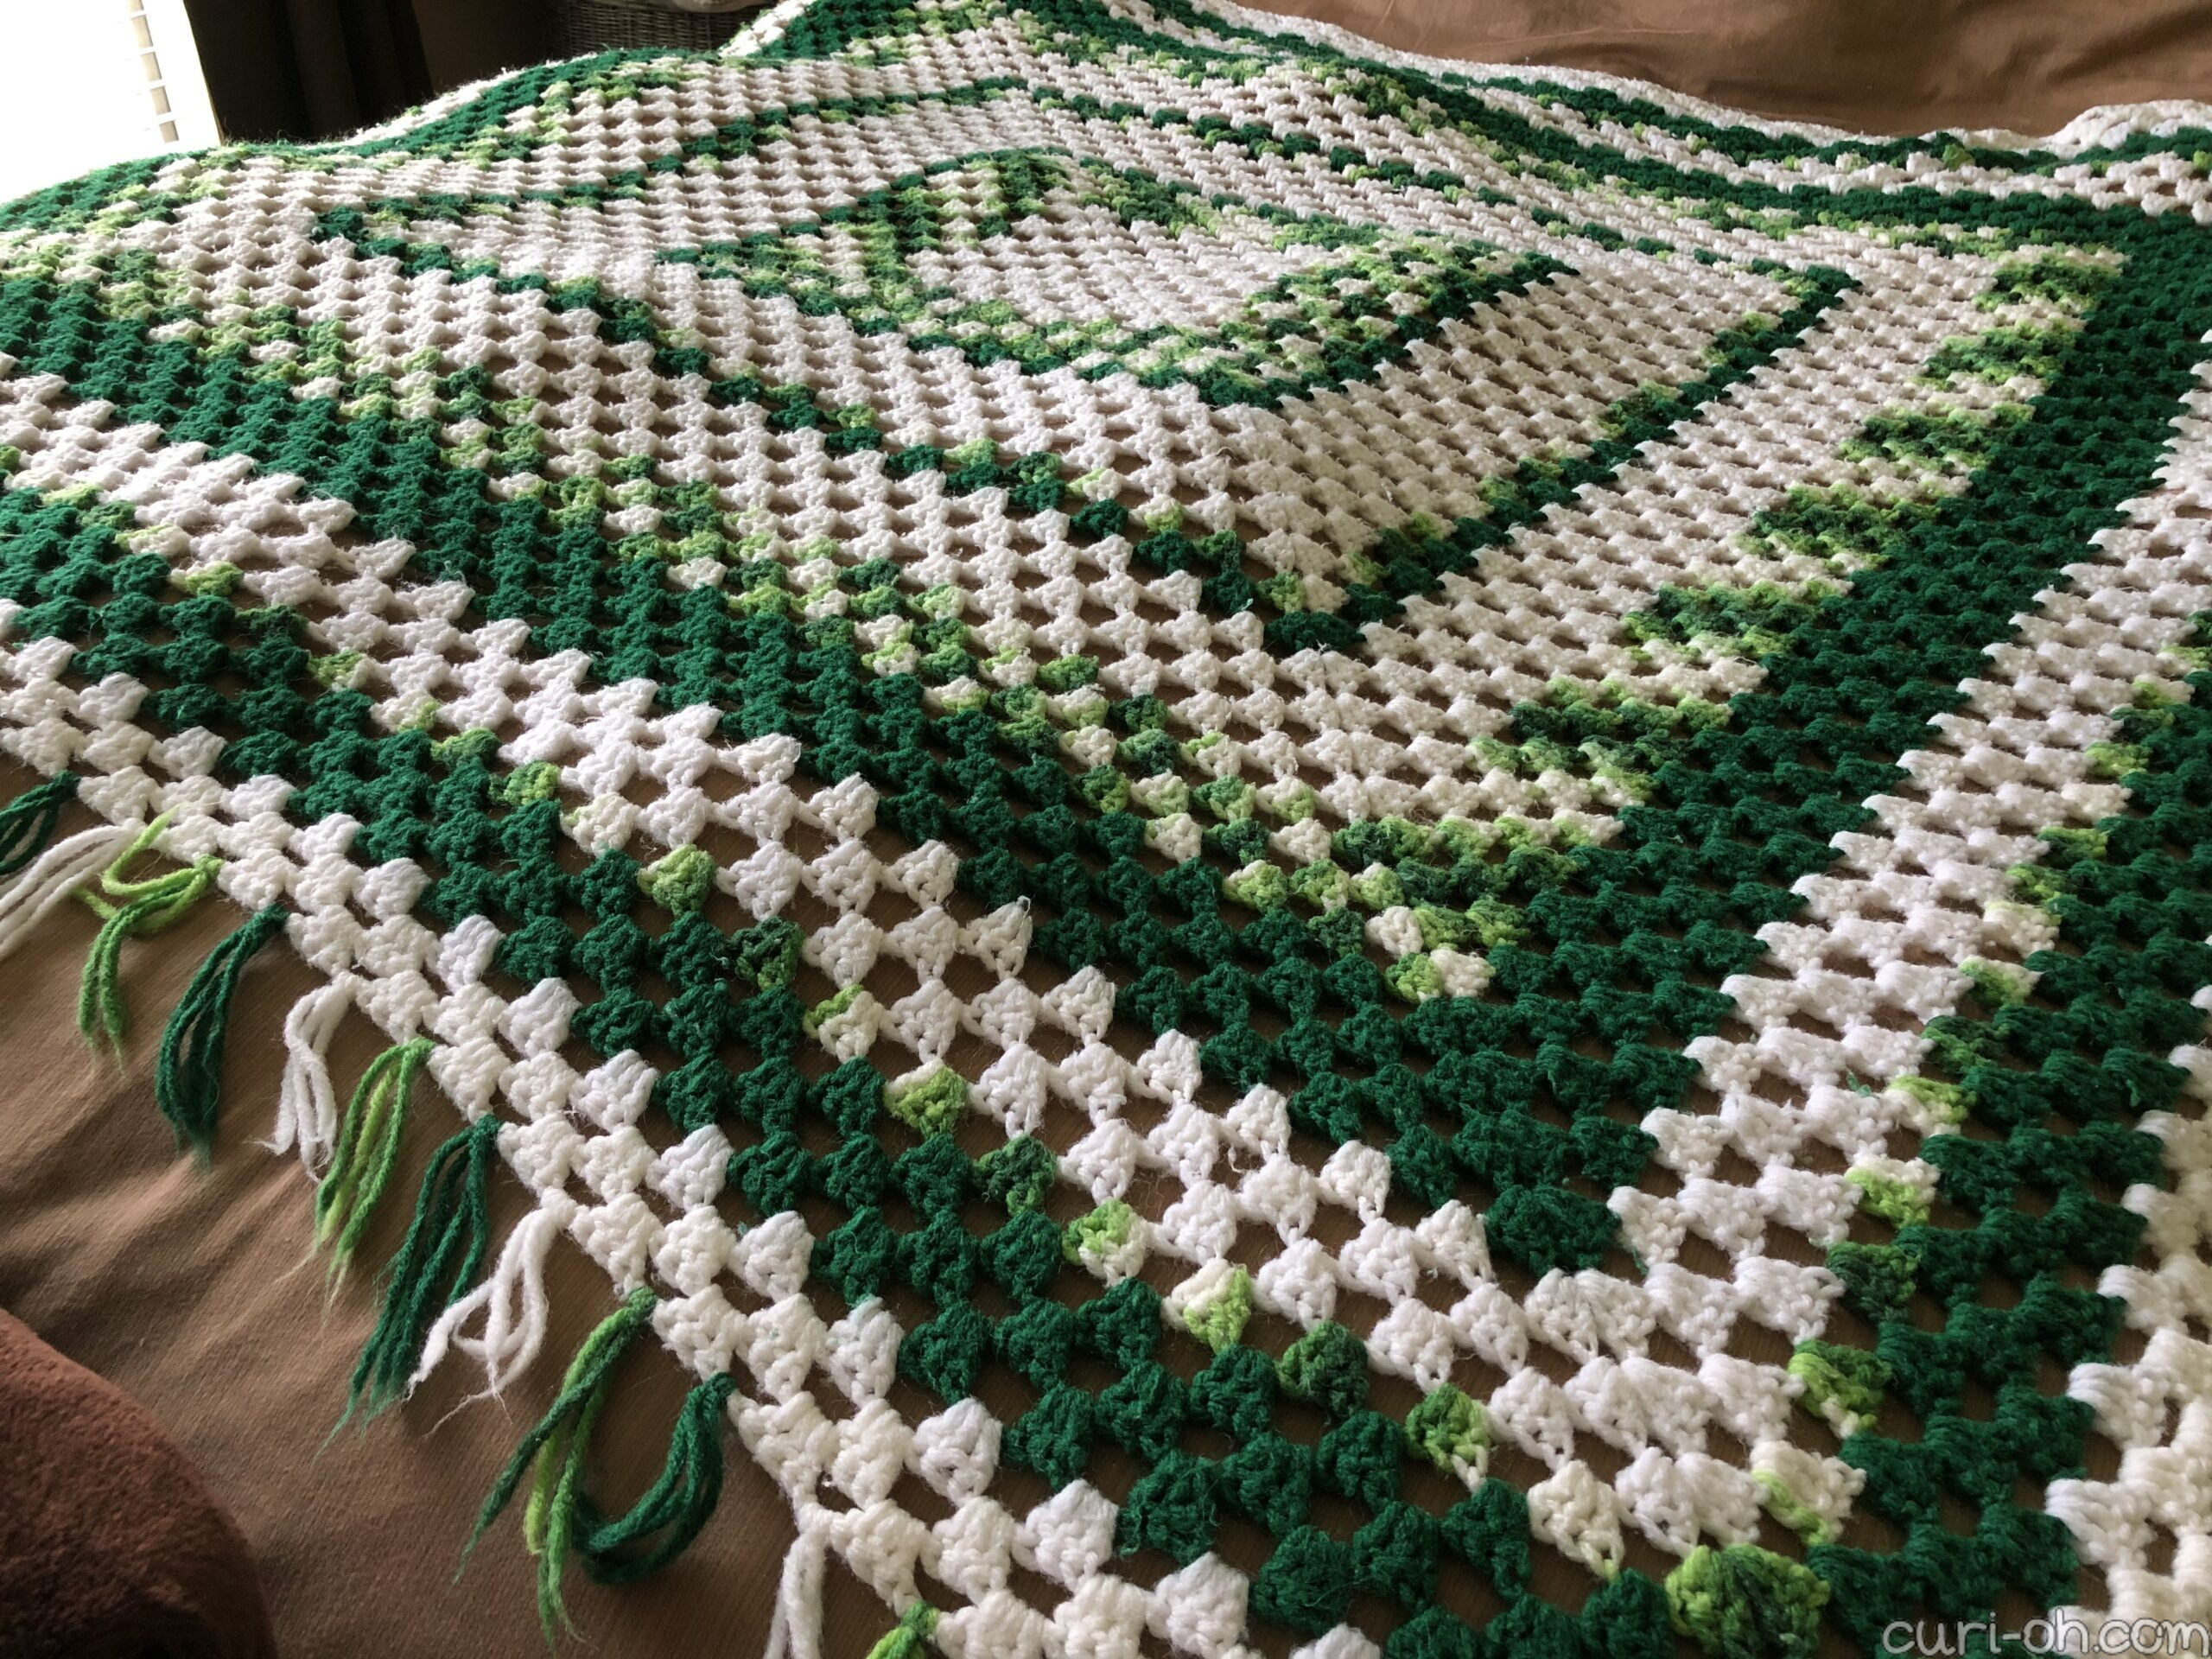
My mom made this crocheted afghan when she was a teenager. I recently helped her haul some things away to donate to a local thrift shop, but first I picked through everything to give her an opinion on what I thought might consign successfully, and there was this blanket! I couldn’t believe she was getting rid of it. She can’t keep everything, she said. I certainly understood. Things have a way of building up over the years. My mom has felt the need to shed some of the excess recently and hold on to what really matters. To her, this item was not one of those things. I did not need it, not at all; my linen closet is bursting! Sadly, I placed it in the donation bin in my car.
When I pulled up to the drop-off though, I just couldn’t do it!
I get my love of crafts from my mom. She has crafted her whole life and I grew up with her always making something new and brilliant. I couldn’t bear to give away something she made. So I didn’t.
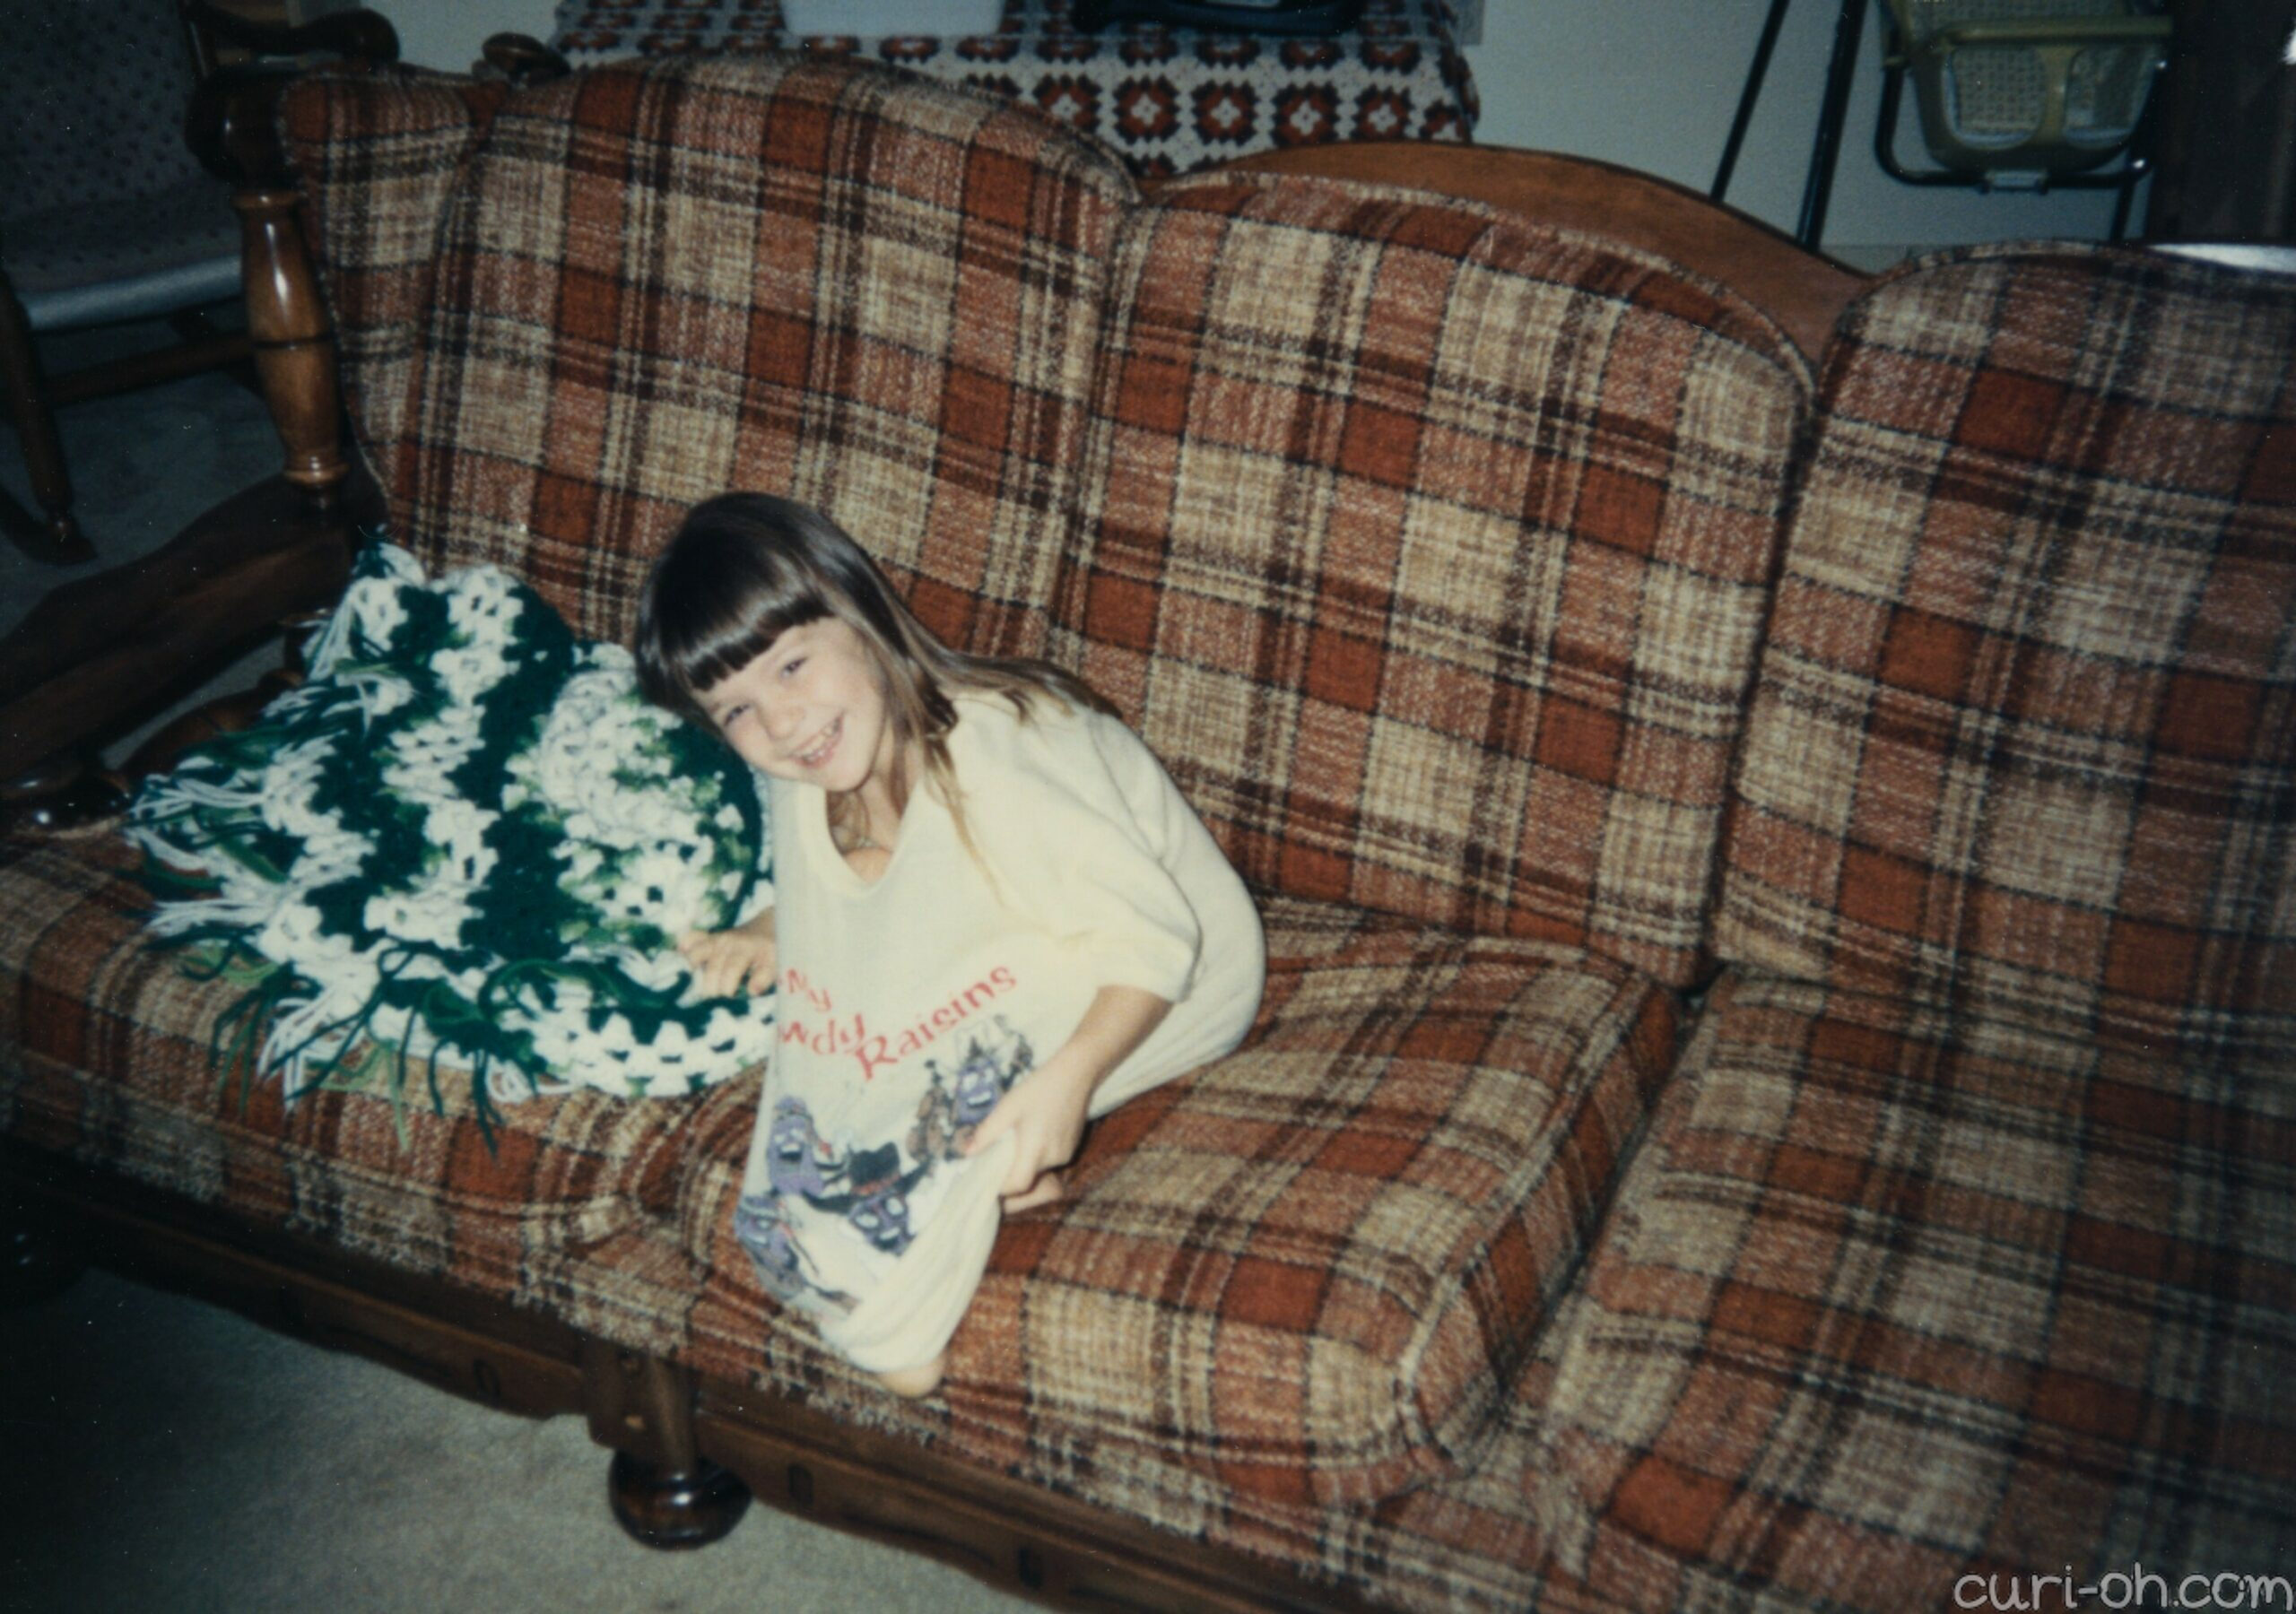
This afghan is about 40 years old! And we used it too. Here I am in the early 90’s with it. This is the photo after the one where I flashed the camera. Dad told me to keep my shirt down for the photo, so of course, I couldn’t do that.
With it safely home with me, I wanted to give it some love. I decided to show my process on the blog because you can frequently find these secondhand and if they have seen any kind of use they probably need some TLC. I always avoid them because I say, “Mom is going to teach me to crochet one day and then I will make one!” Well, we started trying right before the pandemic struck and all I can say is that it is far more difficult than I thought it would be. (Update: I did it!)
Anyway, let’s dive in…
I’m going to detail my process, but as usual, use common sense and your best judgment on whether these methods should be applied to your piece. If yours is made of a more delicate yarn or has some defects, it may require a gentler hand. As always, if you are restoring something of high value, consult a professional.
WHAT I USED:
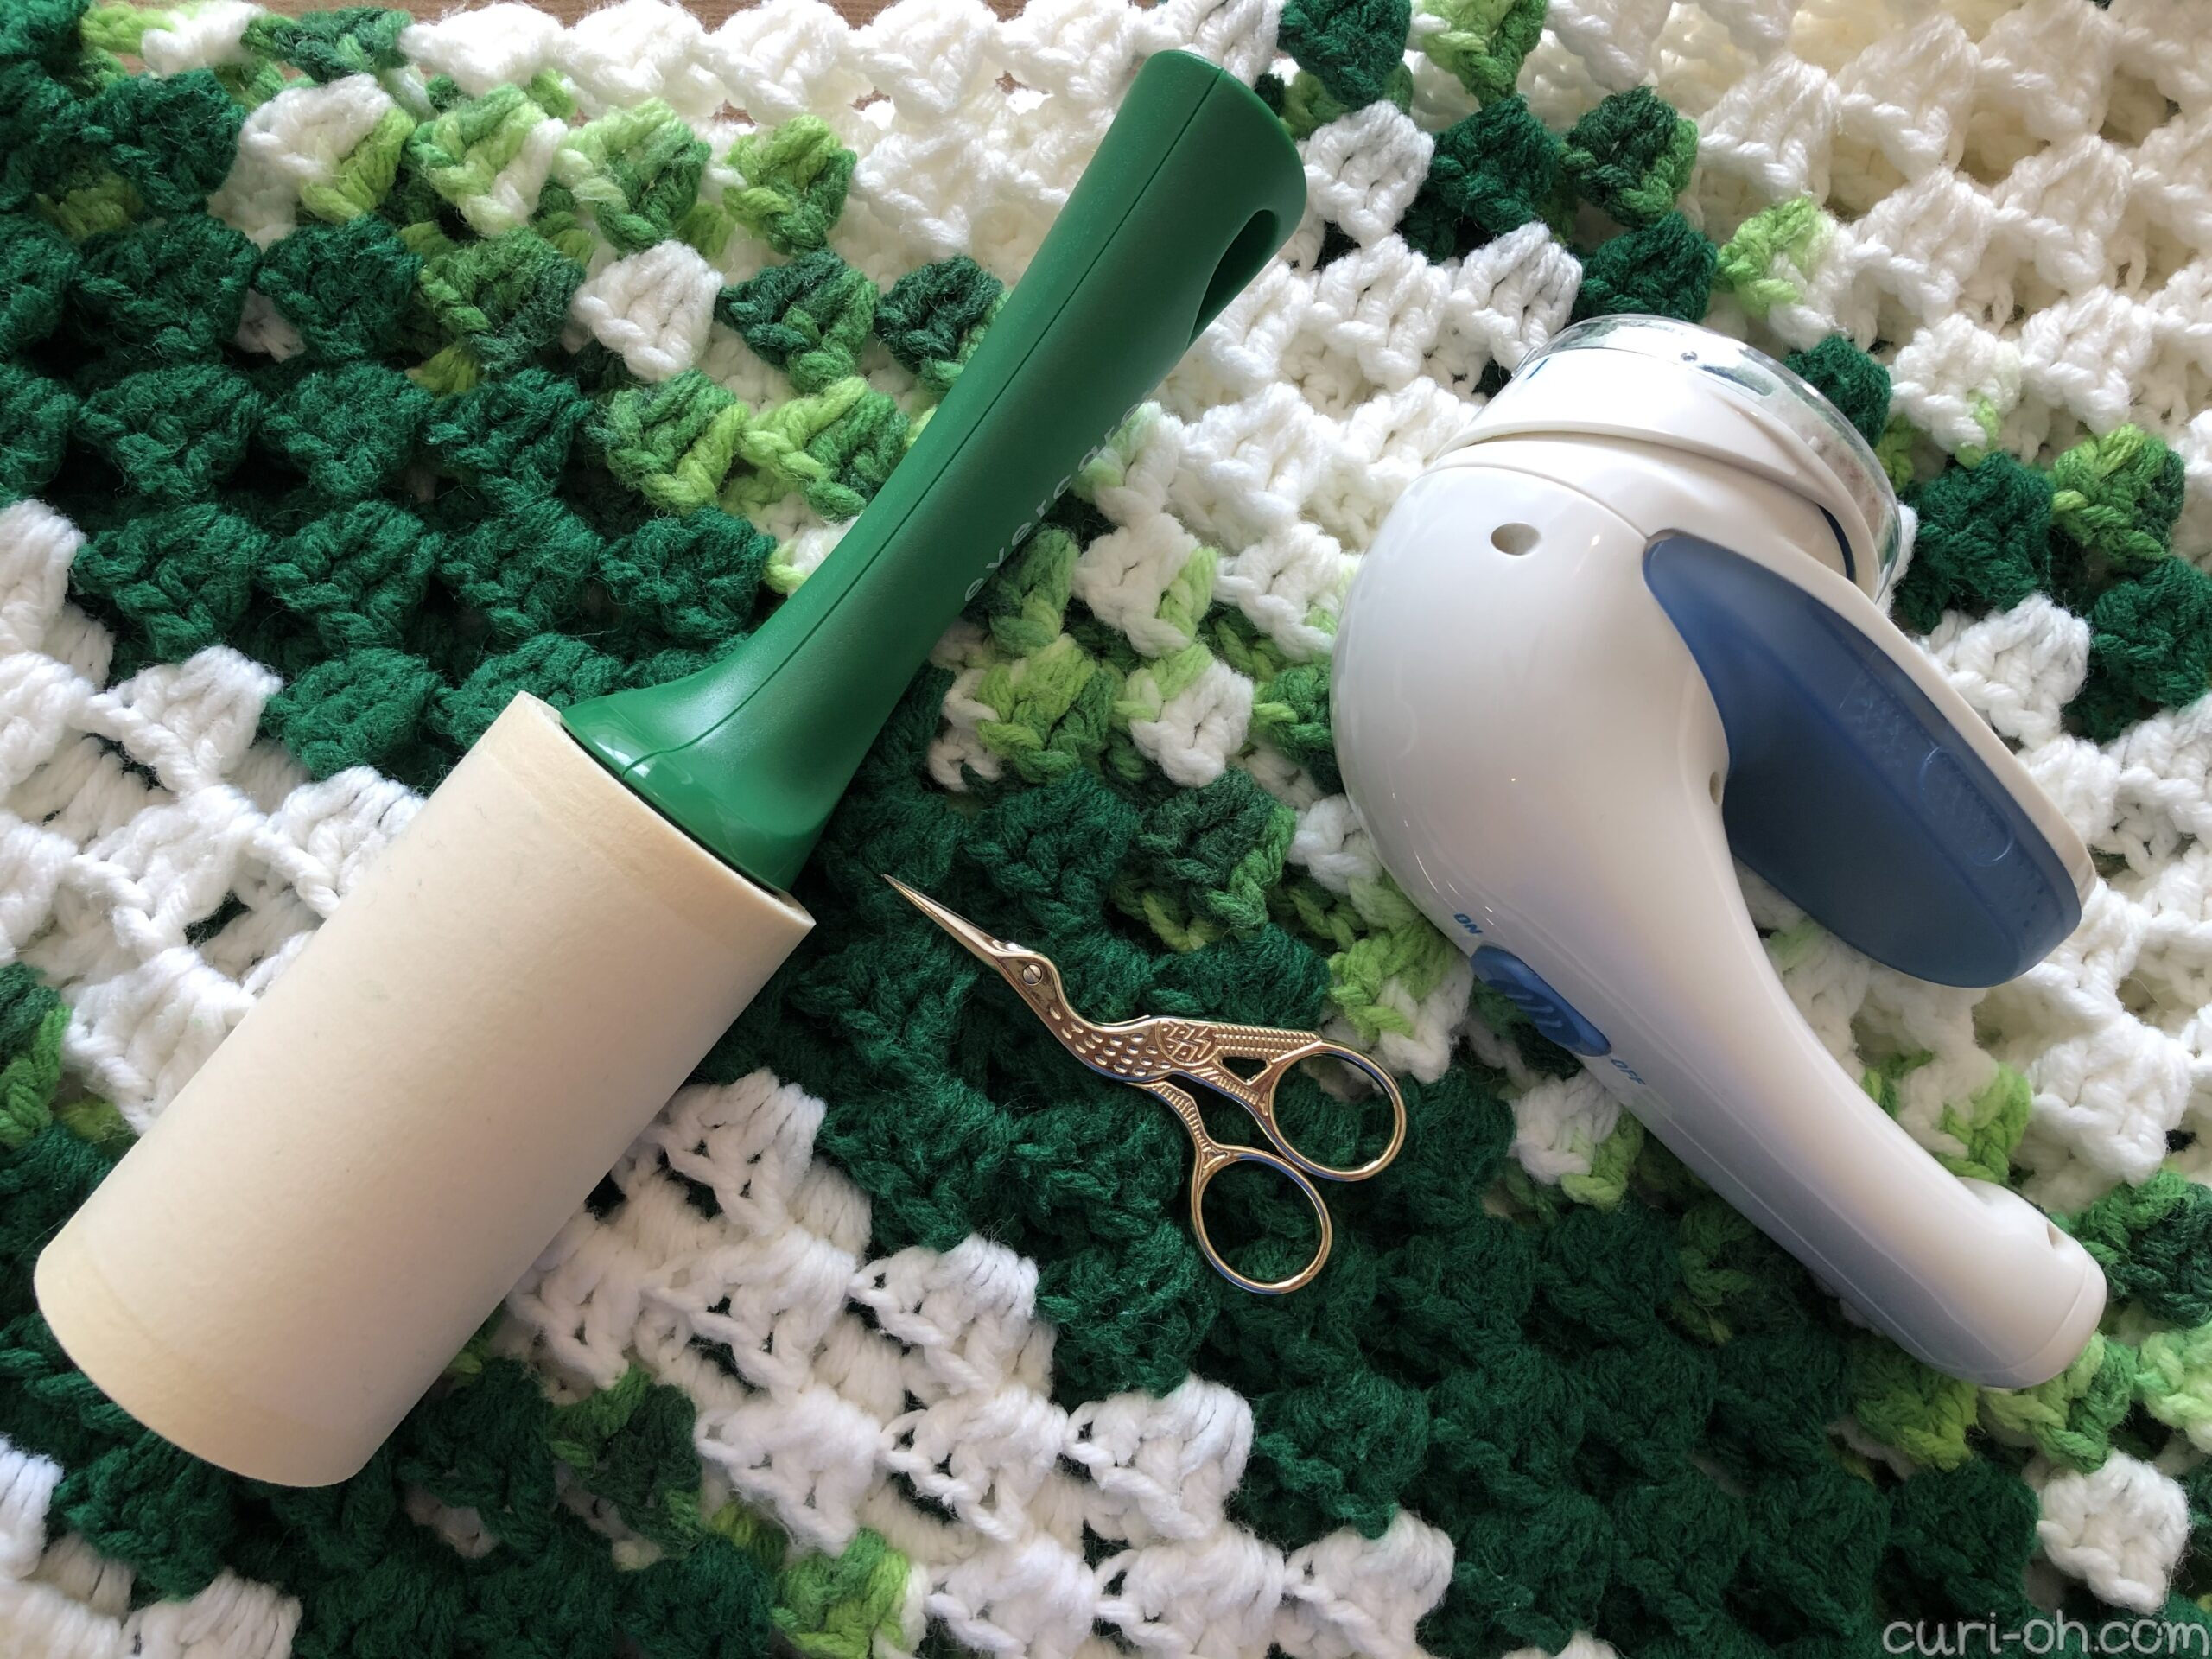
STEP ONE: CLEAN IT!
First I washed it on the most delicate cycle and then dried it on the absolute lowest setting. Of course, the more you wash and dry these things the harder it is on them and you get more pilling. You could hand wash it and line dry it if you wish and of course that would be the even gentler approach.
STEP TWO: USE THE FABRIC SHAVER
I thought for sure I would run my trusty fabric shaver over it and that would be it – job done! Unfortunately it wasn’t that simple, despite the thing being in pretty great shape for its age. I don’t believe my mom has ever done anything extra to it in this manner, de-pilling and such.
I used the fabric shaver A LOT! I ran it over the entirety of the afghan so many times. I had to empty it constantly and even change the batteries once. My fabric shaver has three settings where you can adjust how close the plate is to the fabric and I used mine on the closest setting. It’s best to start with the farthest setting, testing in one area, to begin with though.
STEP THREE: LINT ROLL
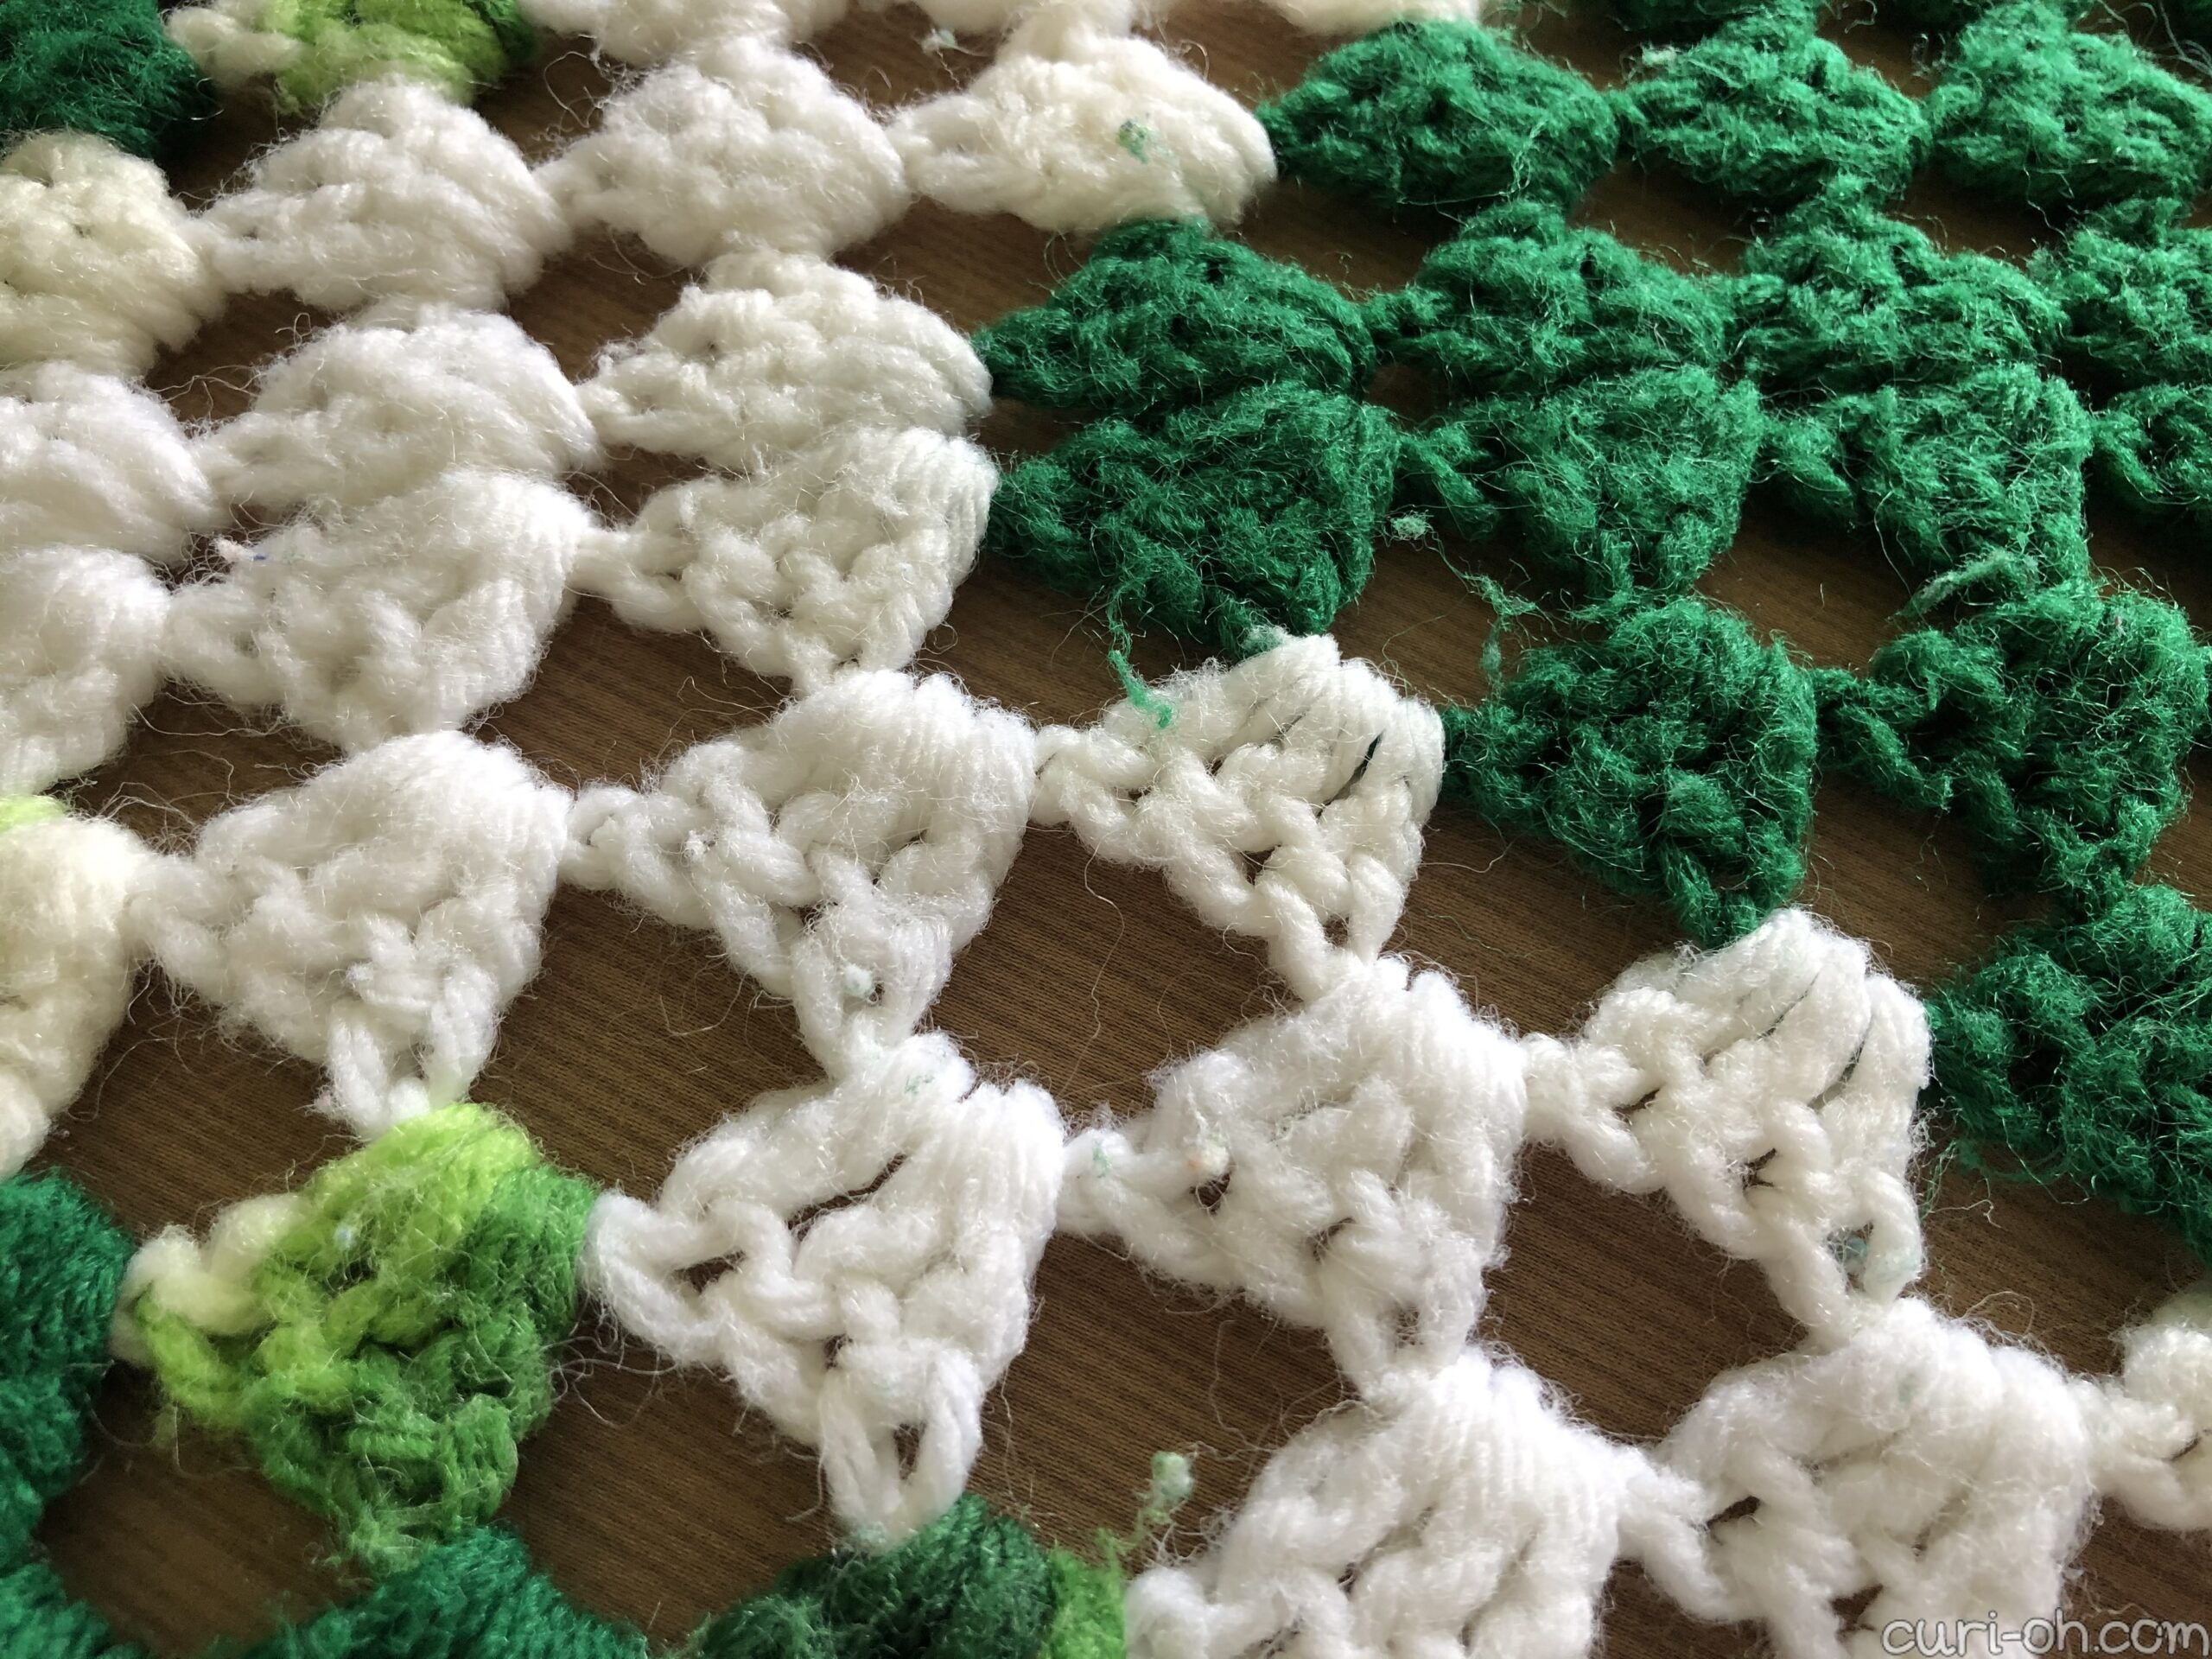
You aren’t going to believe how much fuzz is on there, trust me. I went through paper after paper cleaning up the lint left over from the fabric shaver.
STEP FOUR: SCISSOR TRIM
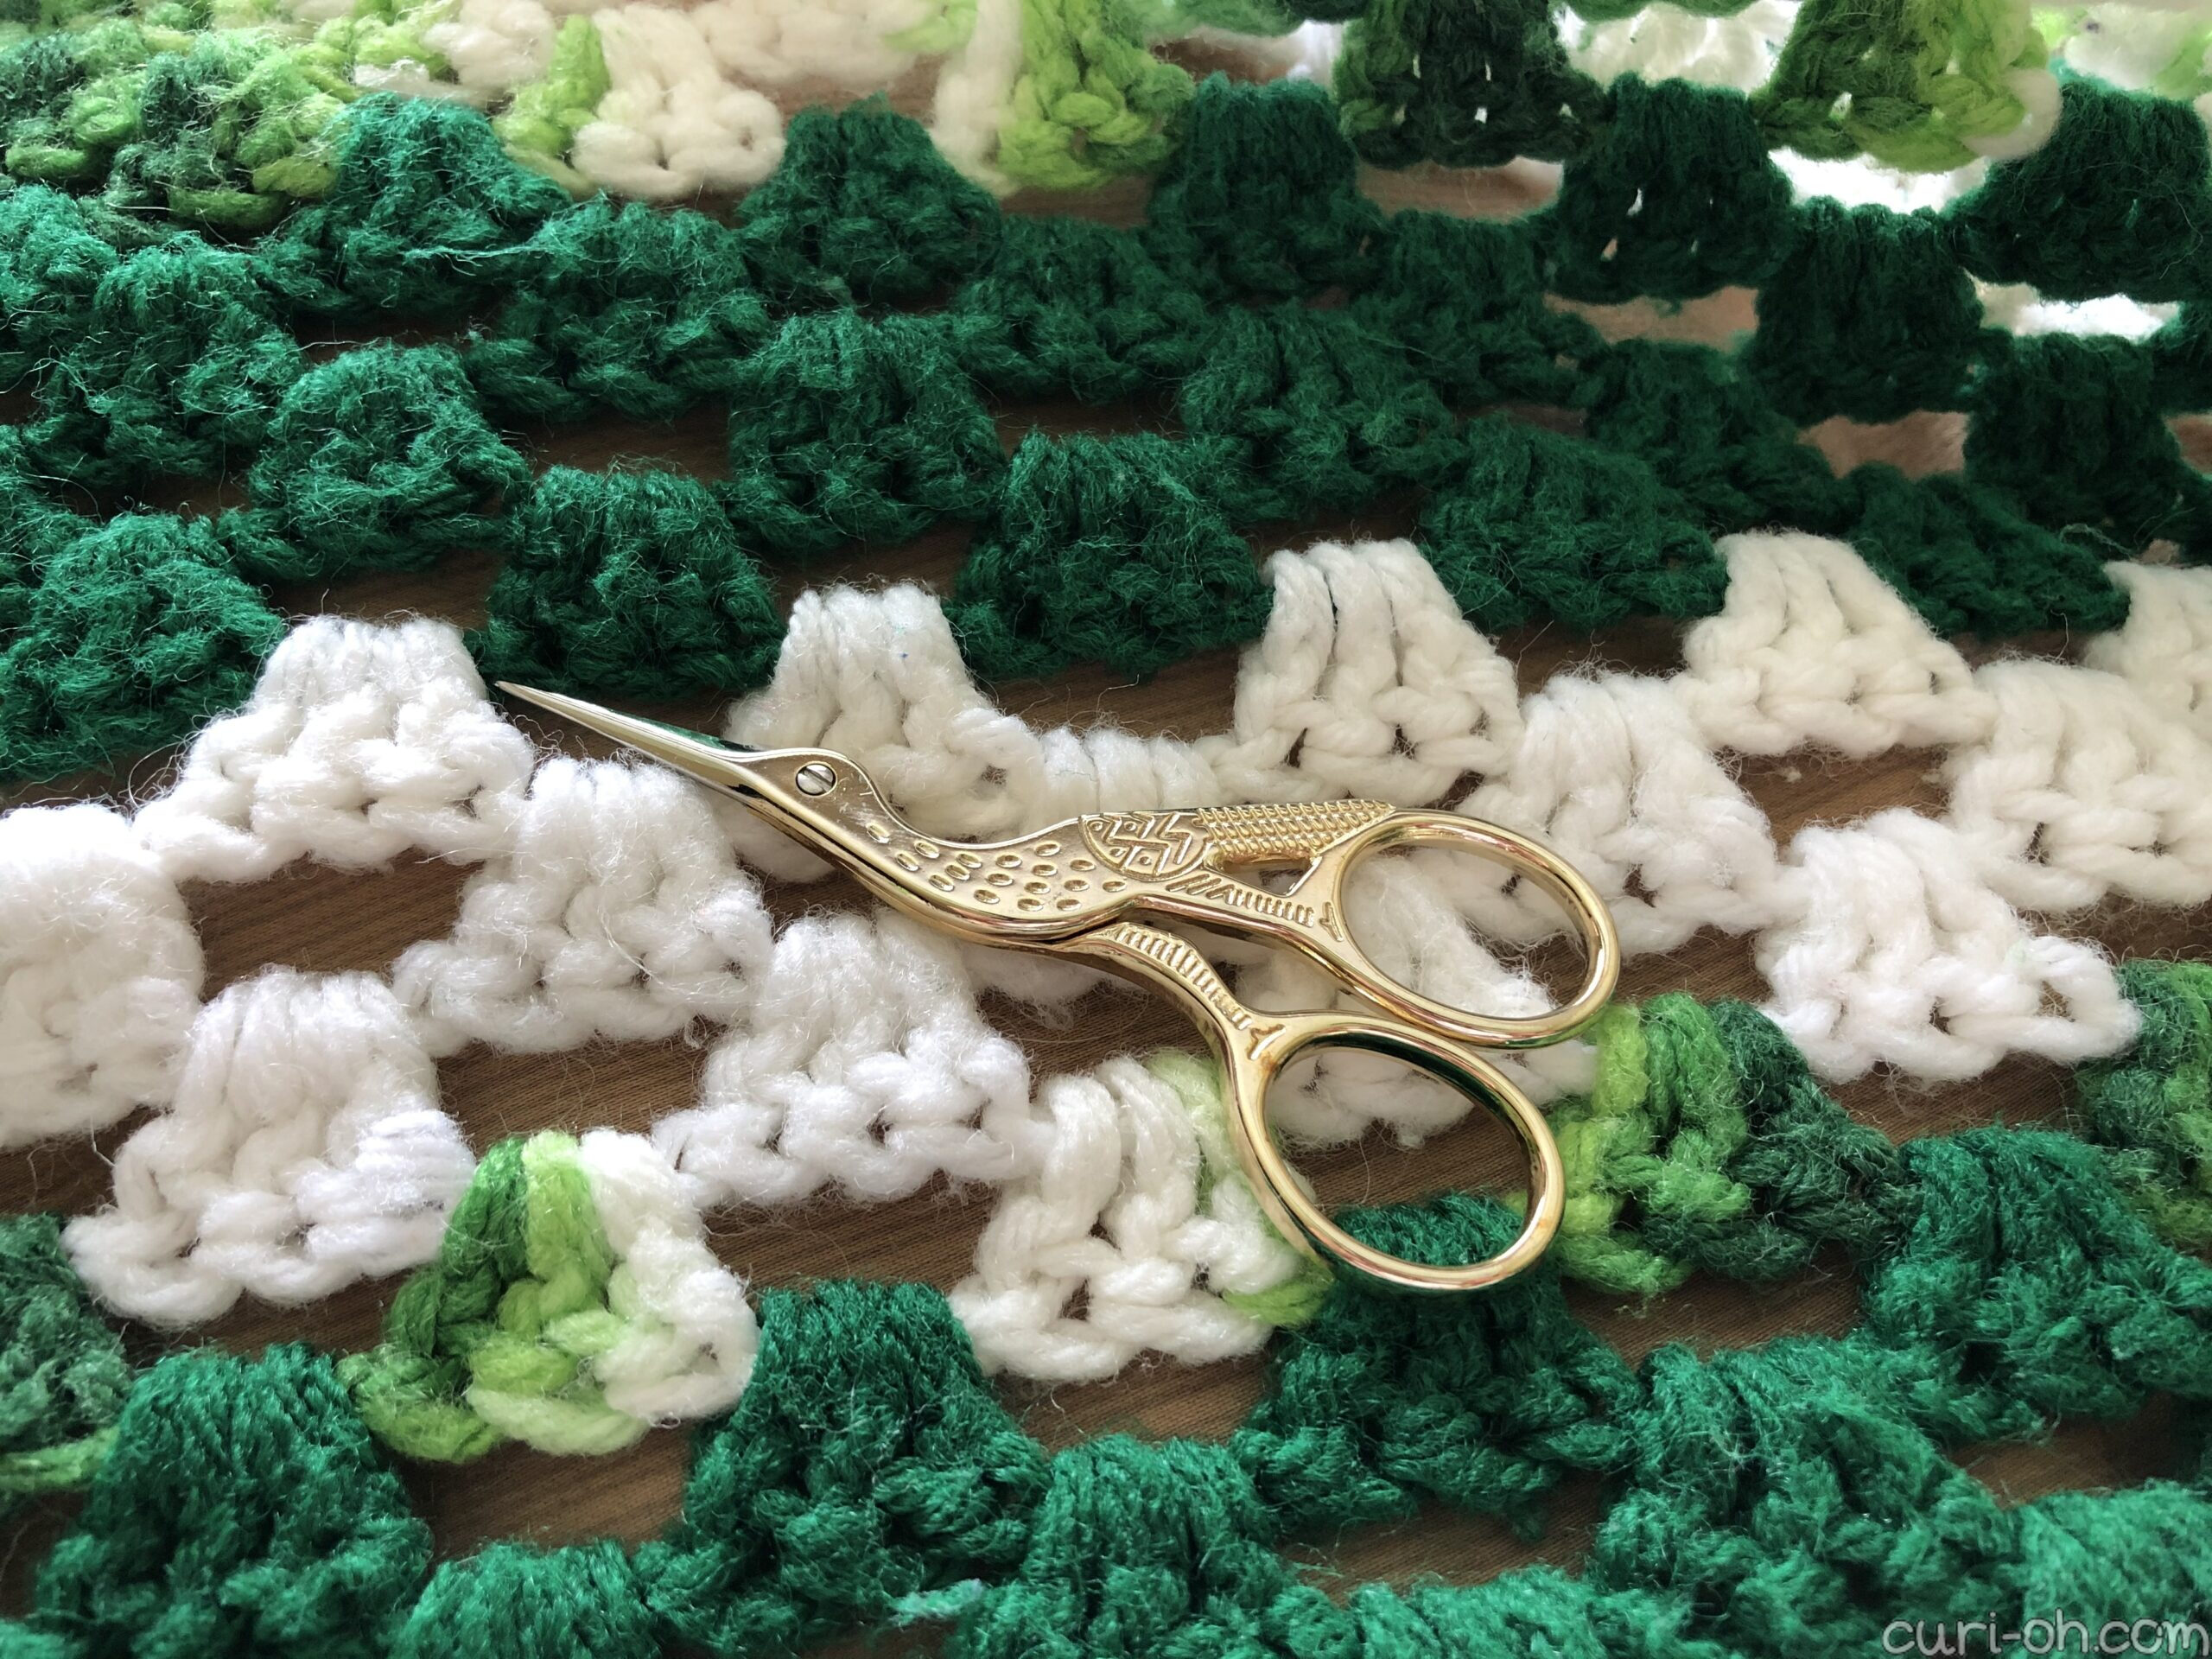
This was the time intensive part. I got my delicate, pointy-tipped embroidery scissors and went to town on this thing. Obviously the fabric shaver can’t get into all the big gaps and there were some pretty big fuzzy pills in those. Precision scissors work best here. The tasseled edges were pretty matted as well. I found it best to just trim those off at the tips for a fresh edge. Obviously you can’t do that too many times though!

It’s easy to zone out here, but resist the temptation! One wrong snip and you’re in a tight spot bub. I left my lint roller to the side and placed the big pills I cut off onto the sticky paper to keep the mess from going everywhere.
STEP FIVE: LINT ROLL
There won’t be as much cleanup from the scissor trim, but it’s best to have it as clean as possible to see what you’re working with going into the next stage.
STEP SIX: USE THE FABRIC SHAVER AGAIN
This is your final round – the last chance to get it looking crisp. The shaver should not be filling up much now.
STEP SEVEN: LINT ROLL
You know what to do!
AND YOU’RE DONE!
Keep in mind it’s not going to look perfect no matter what you do. If you have worked with yarn much you know it’s not really perfect to begin with. It’s fuzzy and hairy and has loose threads here and there. But if you are willing to put some time into it, as with so many older items, with a bit of work you can get them looking fresh again.
I know there isn’t much to all that, but my biggest question and fear in this was…
IS IT OKAY FOR ME TO USE A FABRIC SHAVER ON A CROCHETED AFGHAN?

…and I didn’t get the wealth of information online that I would have liked. So there you have it, one person’s experience.
So: YES. In my situation, it worked swimmingly. Again, compare yours to mine, test in one area, and use your best judgment. I hope this helps you next time you are considering thrifting one of these homemade beauties or looking to give a family heirloom some love.