What’s Inside a View-Master? And How to Clean One
Greetings! If you have been following my monthly Thrift Tales series, then you know I thrifted two vintage View-Masters back in October. I’ve long had my eye out for some of these nostalgic toys. As I mention often, I do not buy a thing secondhand unless I can aggressively clean it, however, I never expected to actually take these apart to clean them. When I found a blog post series detailing how to do that very thing though, I just had to try it! Mostly because I was curious to see the inner workings firsthand.

If you are interested in taking one apart and cleaning it yourself, I will link each relevant tutorial I followed below. I highly recommend checking them out. They are well-written and are what I followed in my own process. This is mostly adding my own experience to that. Hopefully you will find it useful if you choose to embark on this experience for yourself.
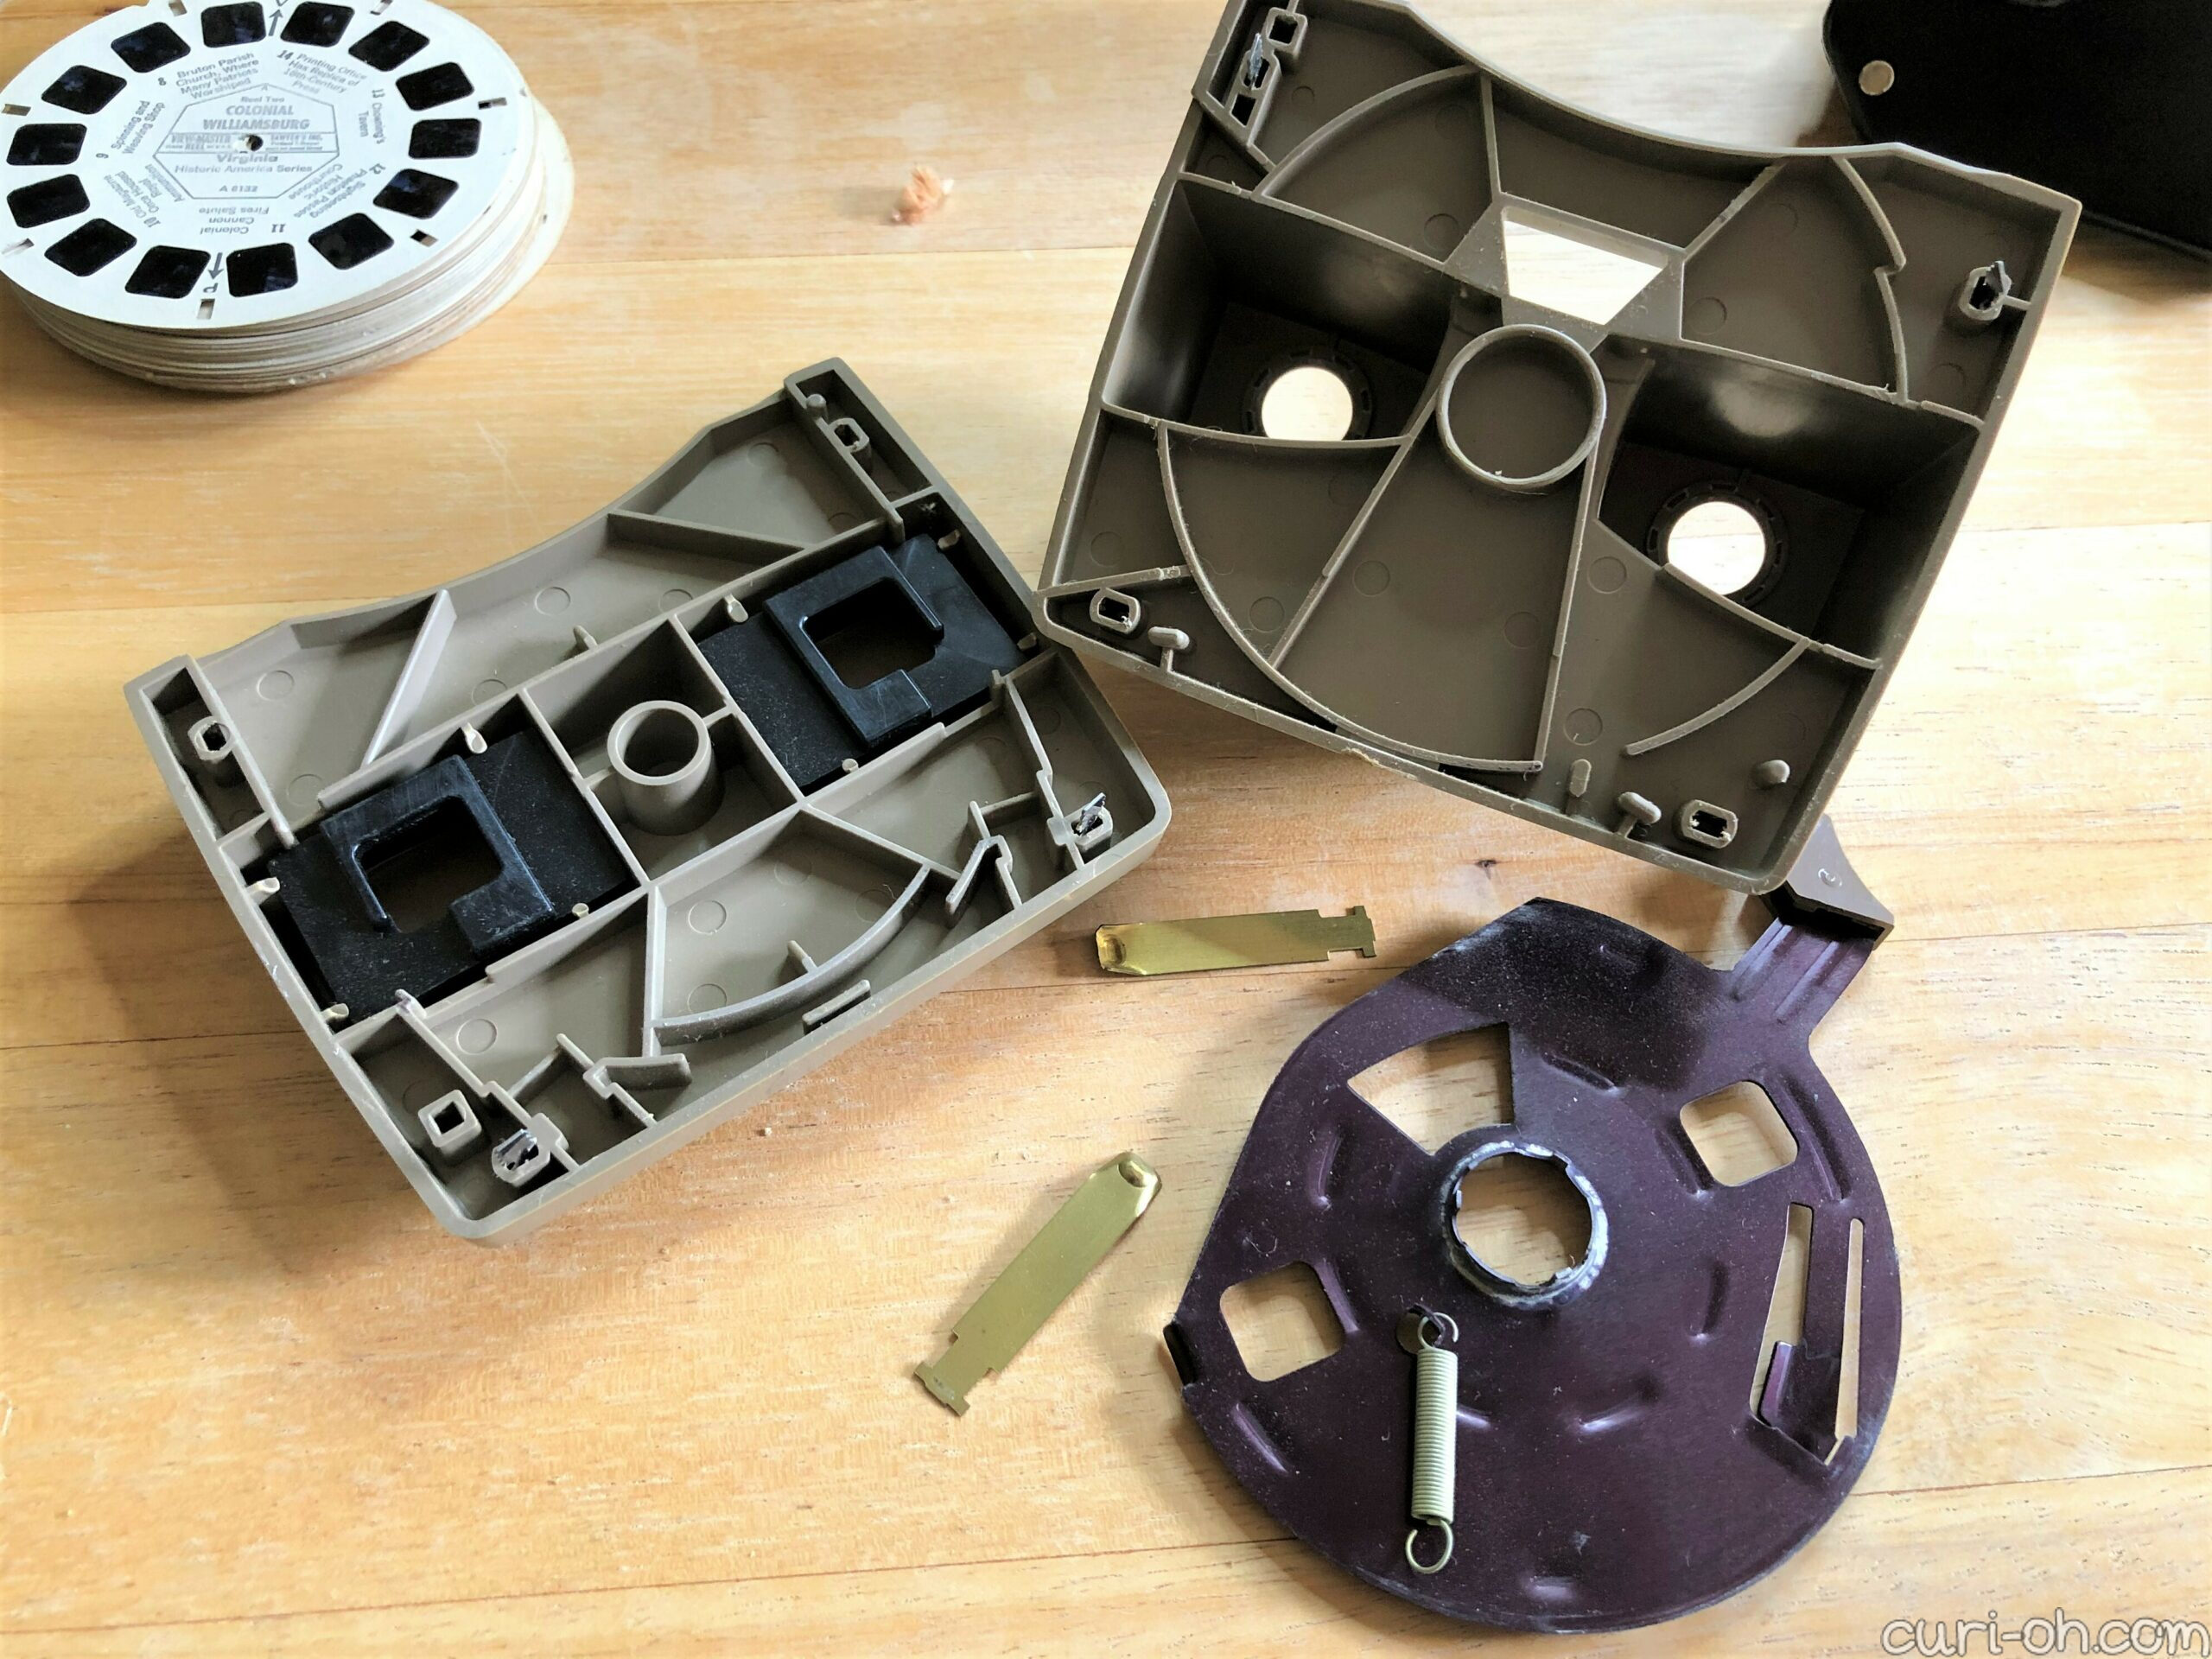
But if you just want to know what’s inside: voila! The innards…
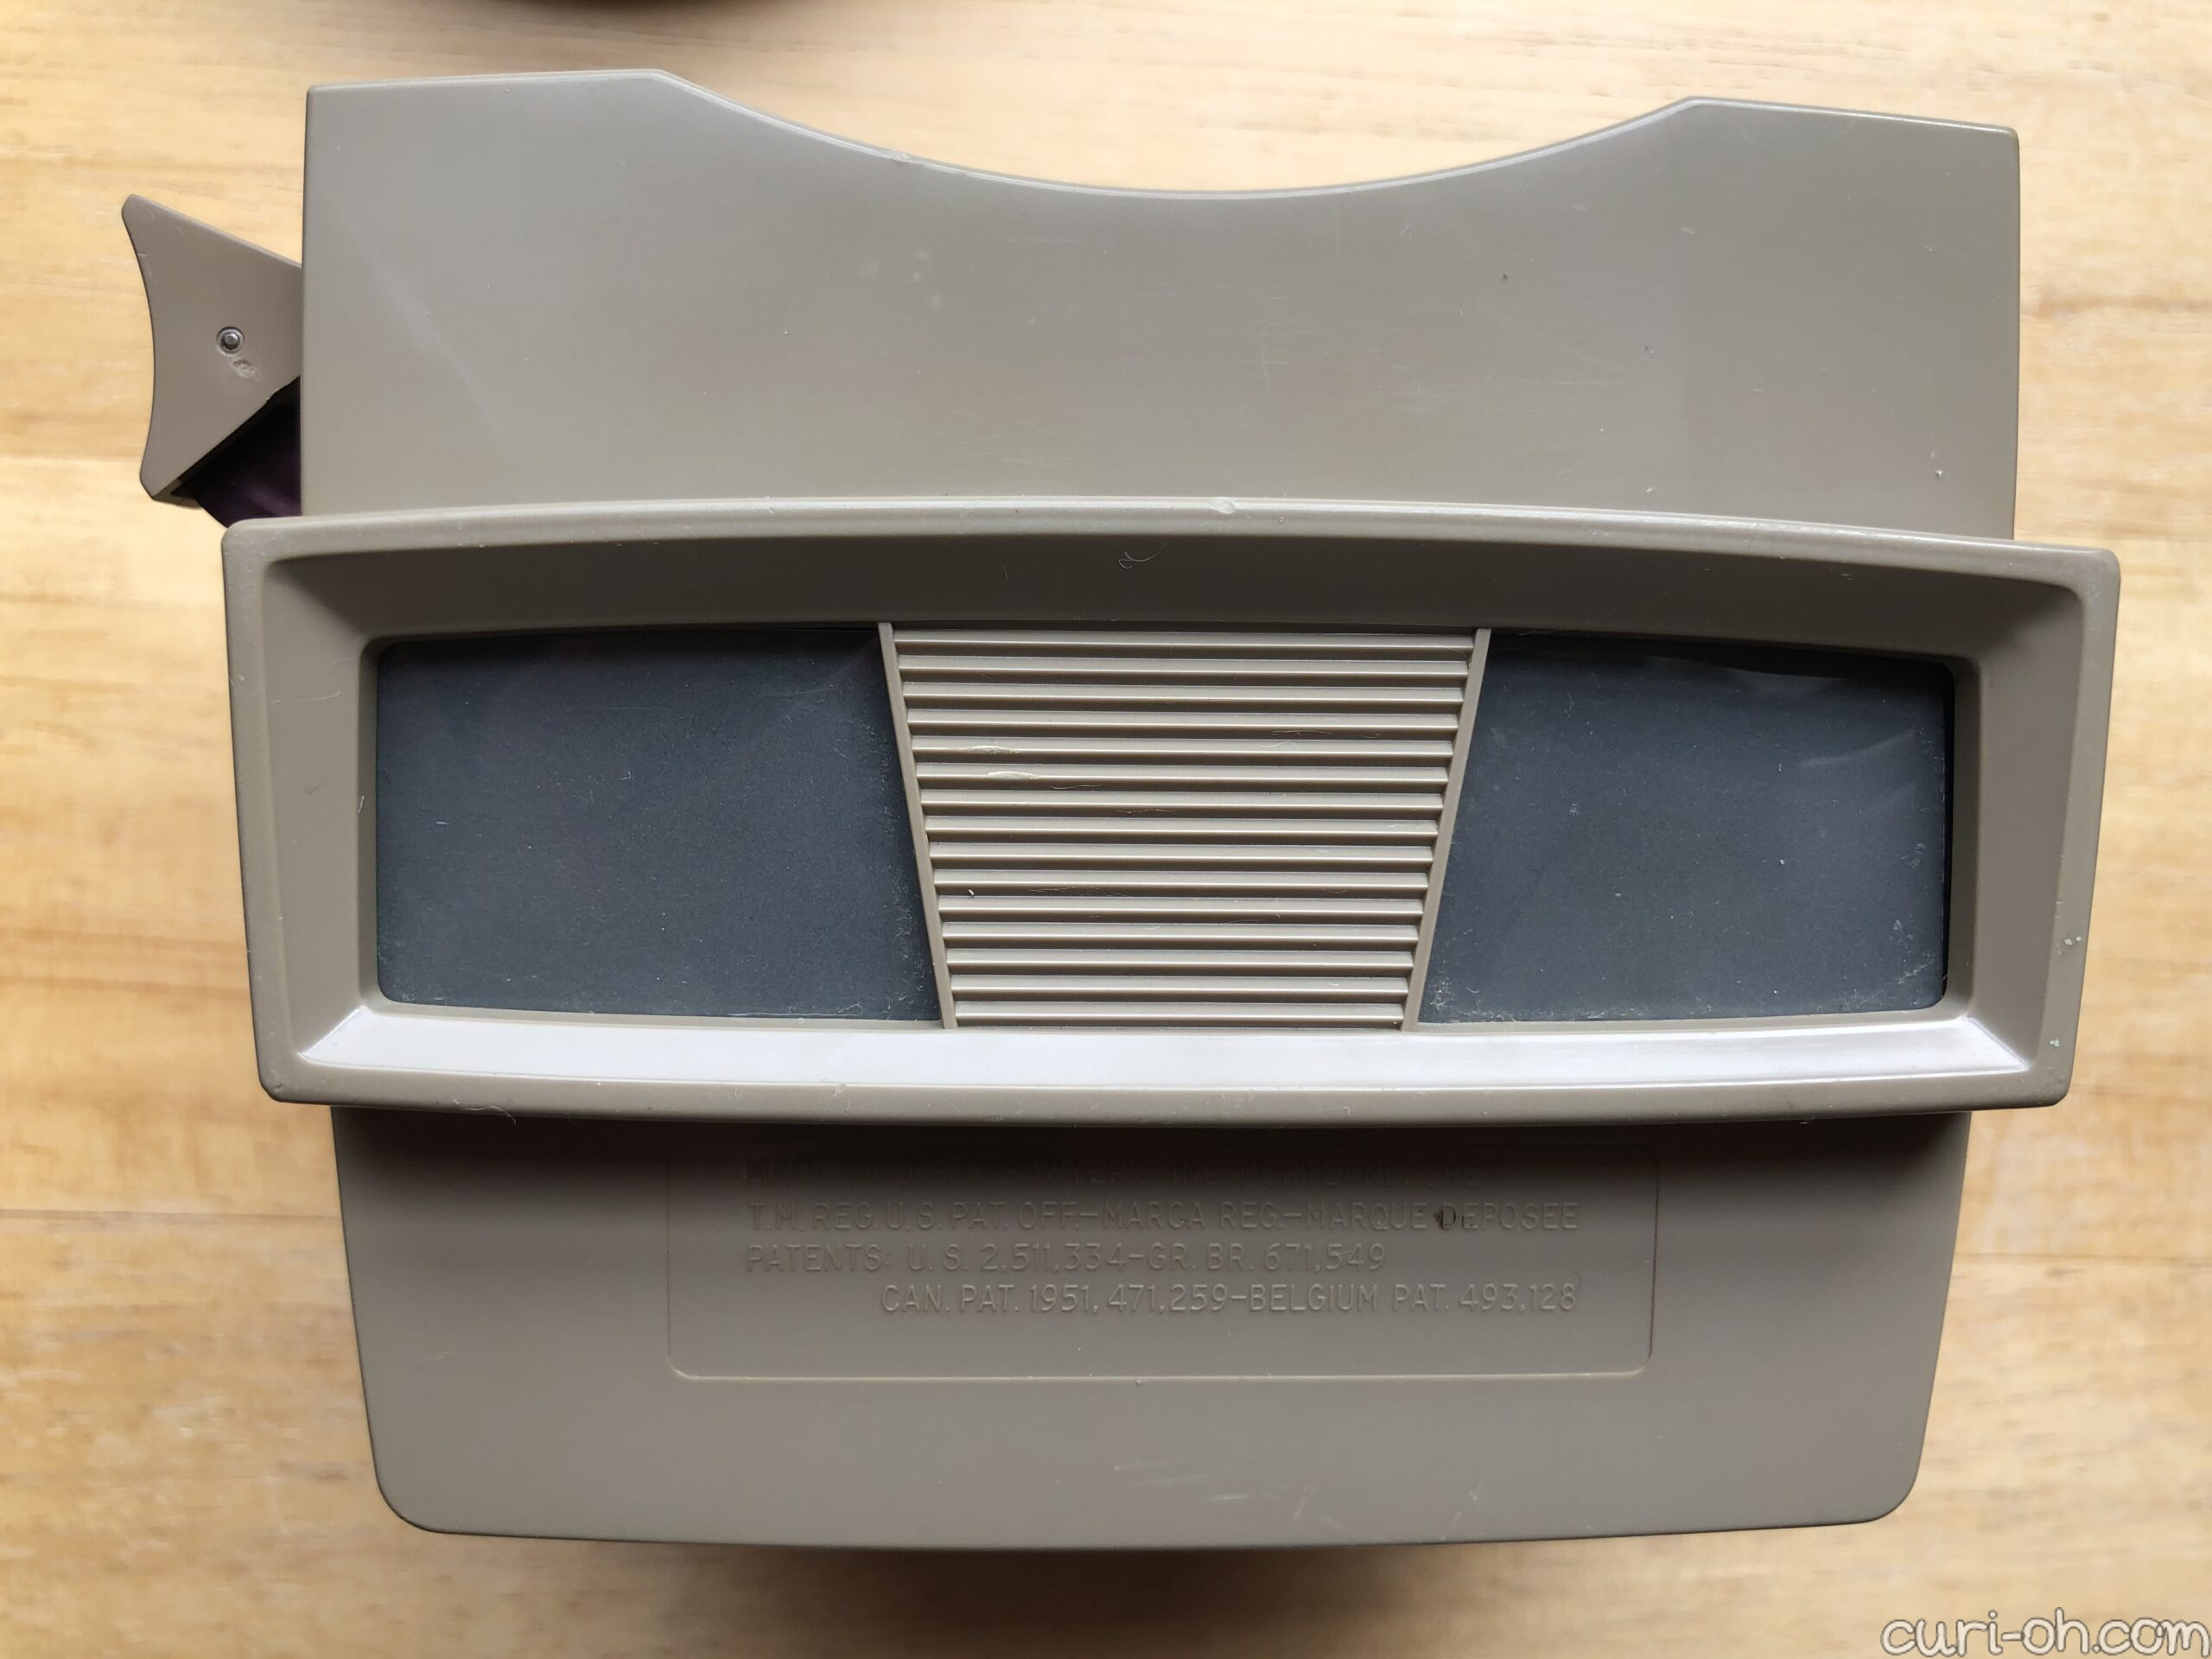
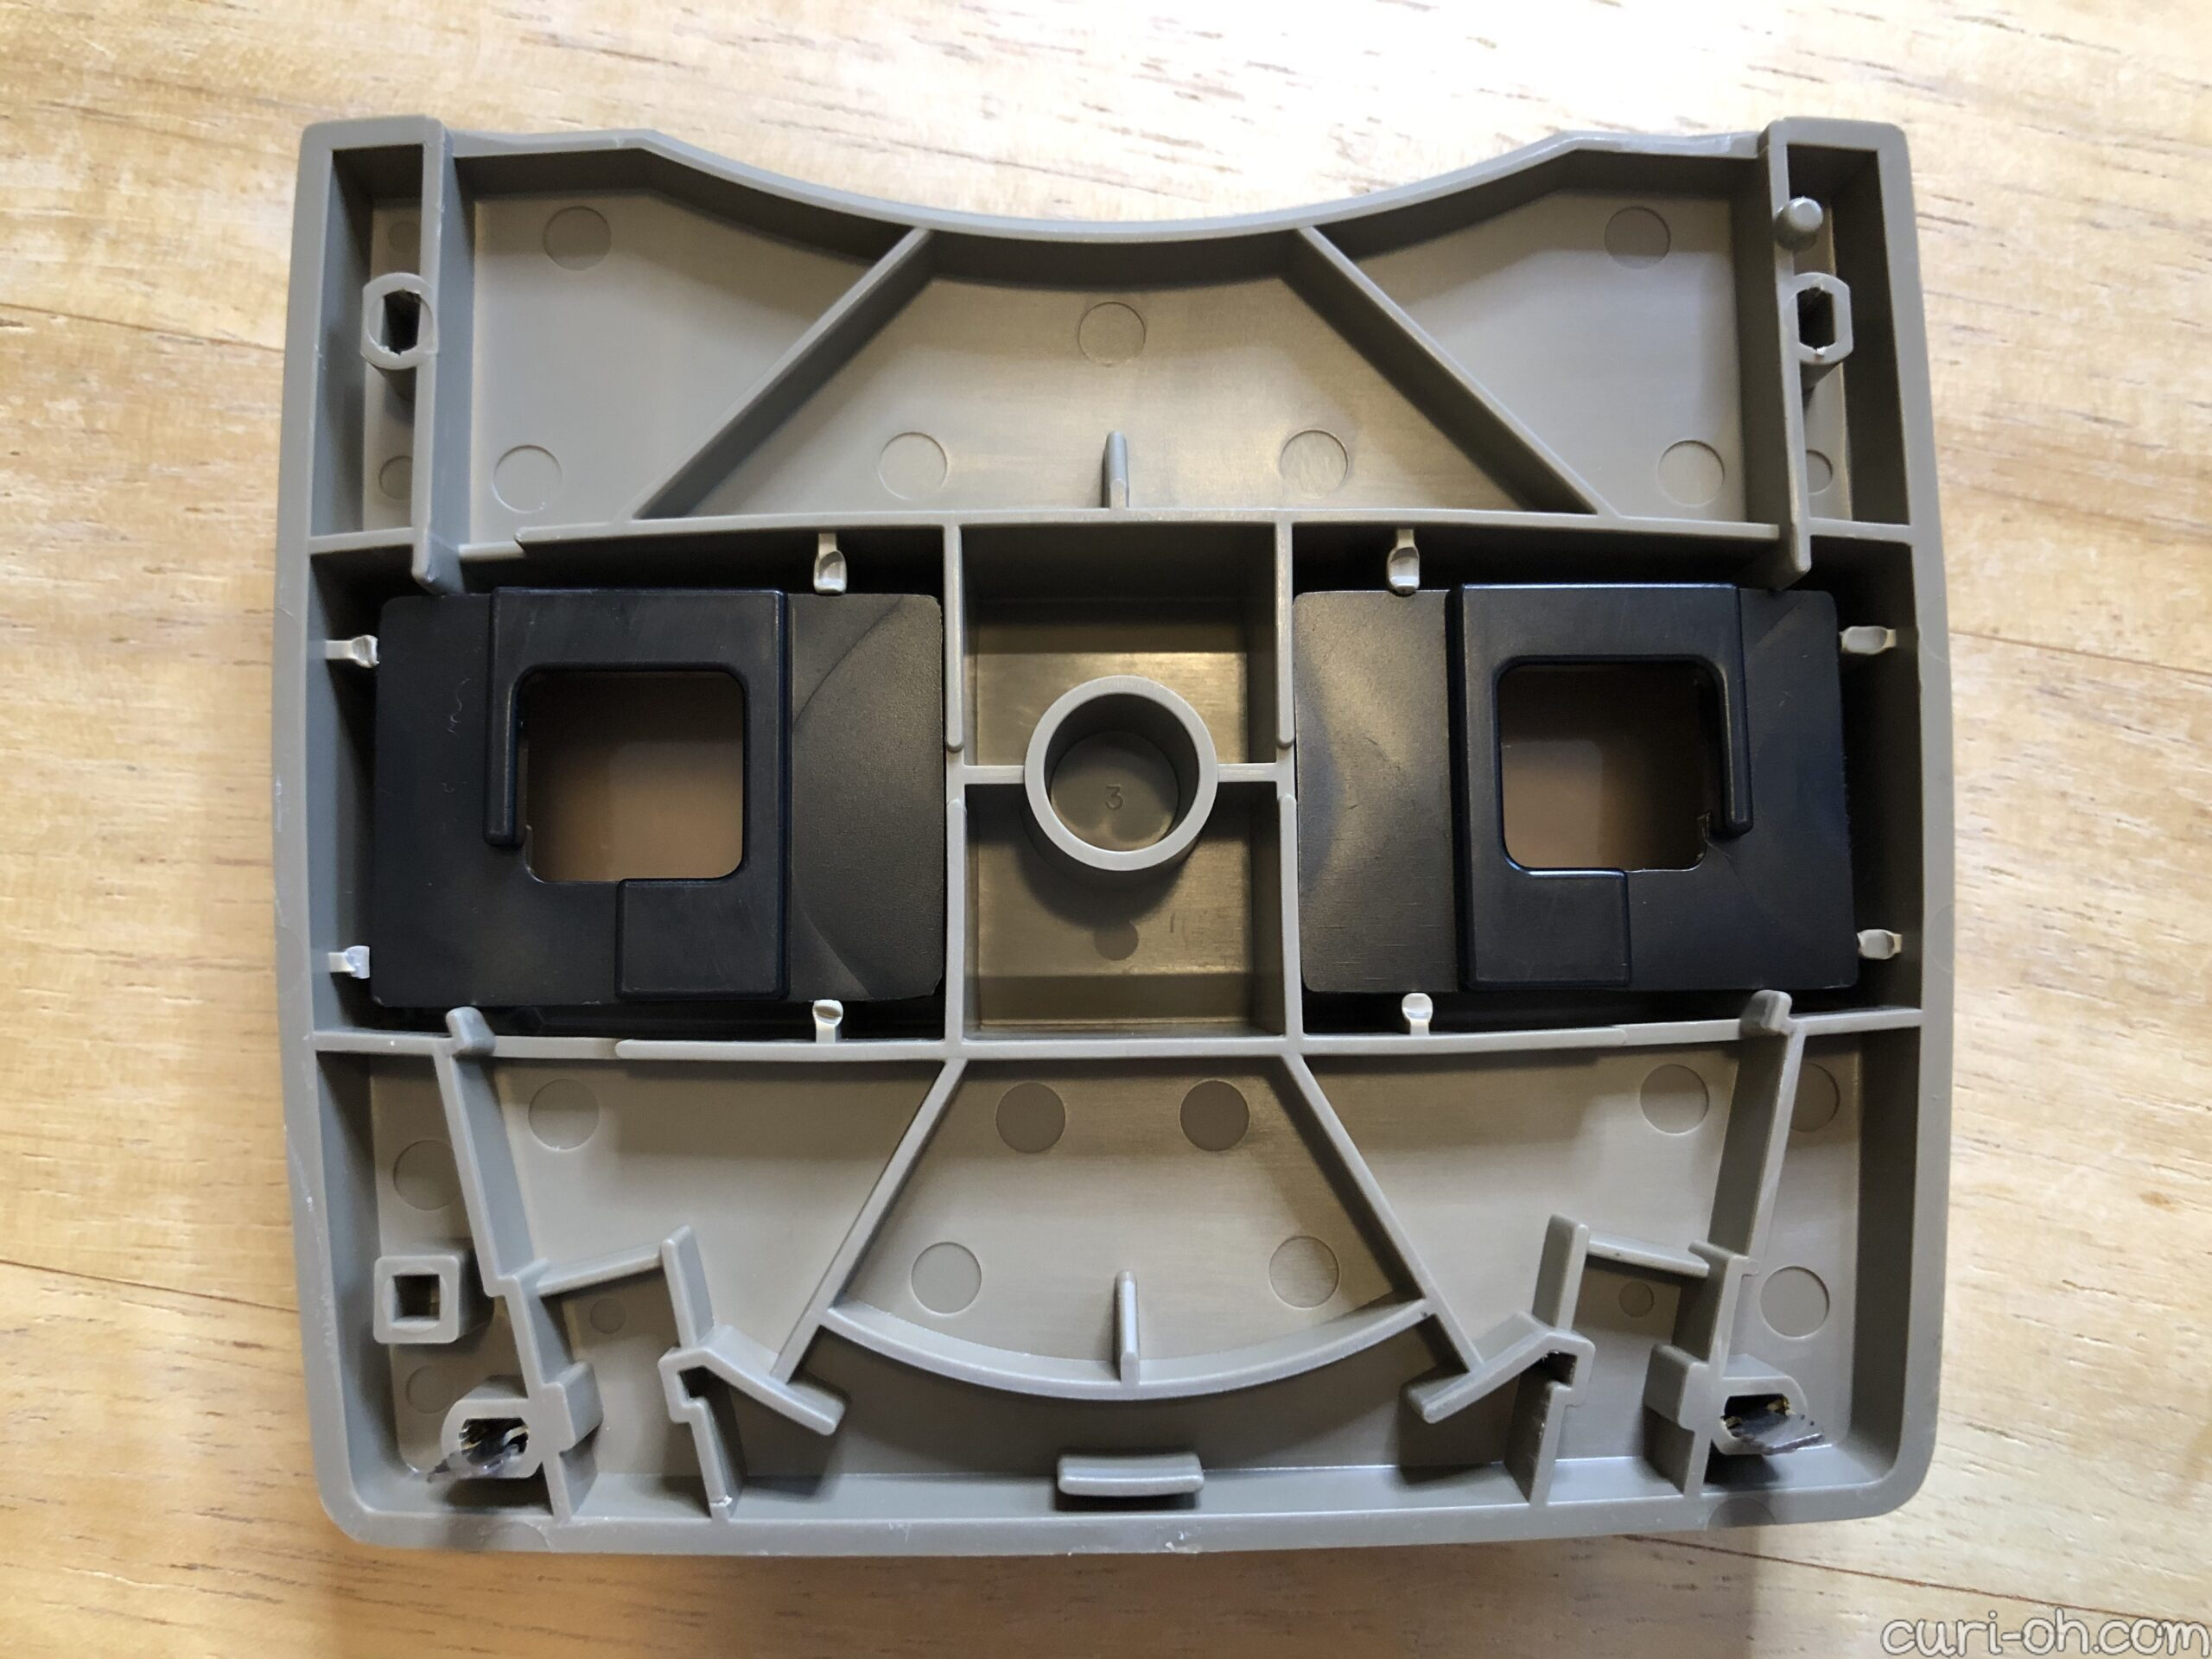
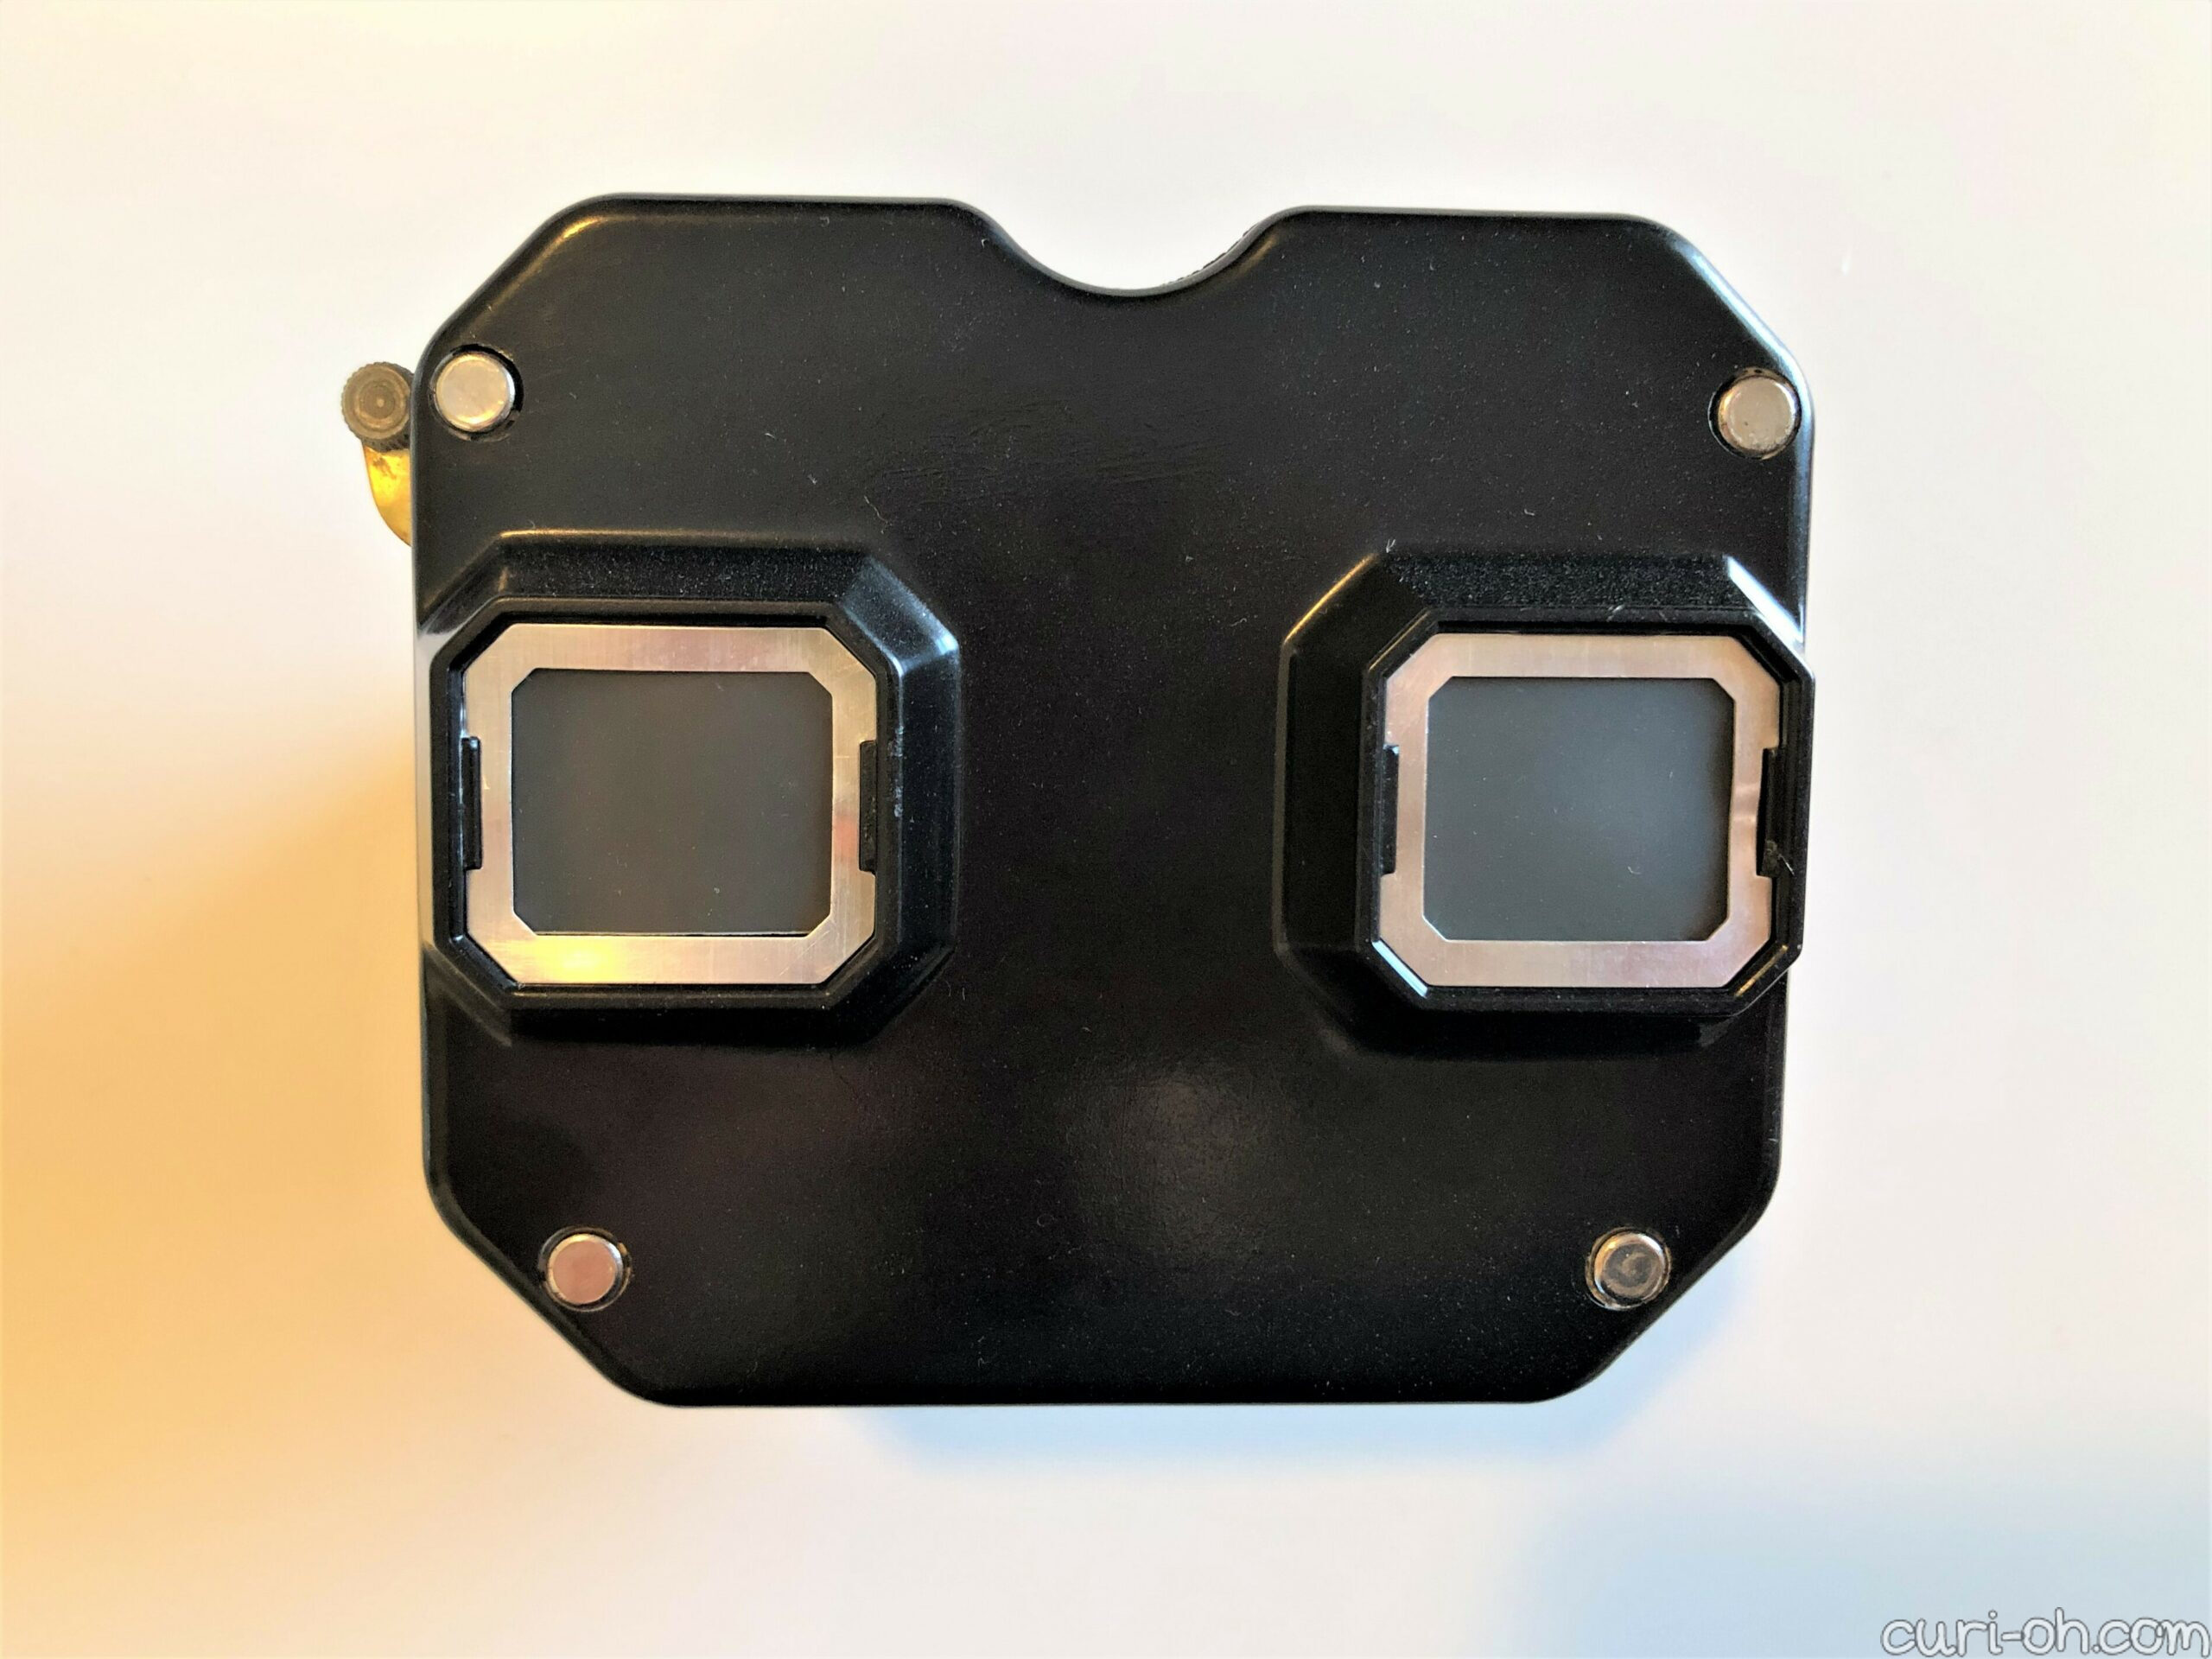
First up was the Model-G from the 1960’s or 70’s. The View-Master is split into two halves along the seam and you can pry these two pieces apart. They are held together by metal tabs inserted into plastic notches, which you can see in the photo above. If you wedge something thin, strong, and made of plastic into the seam and pry, the halves will pull apart. I used an old plastic scraper spatula that came with a grill pan we bought long ago. You could use anything like that, you just have to be gentle and work carefully and slowly.

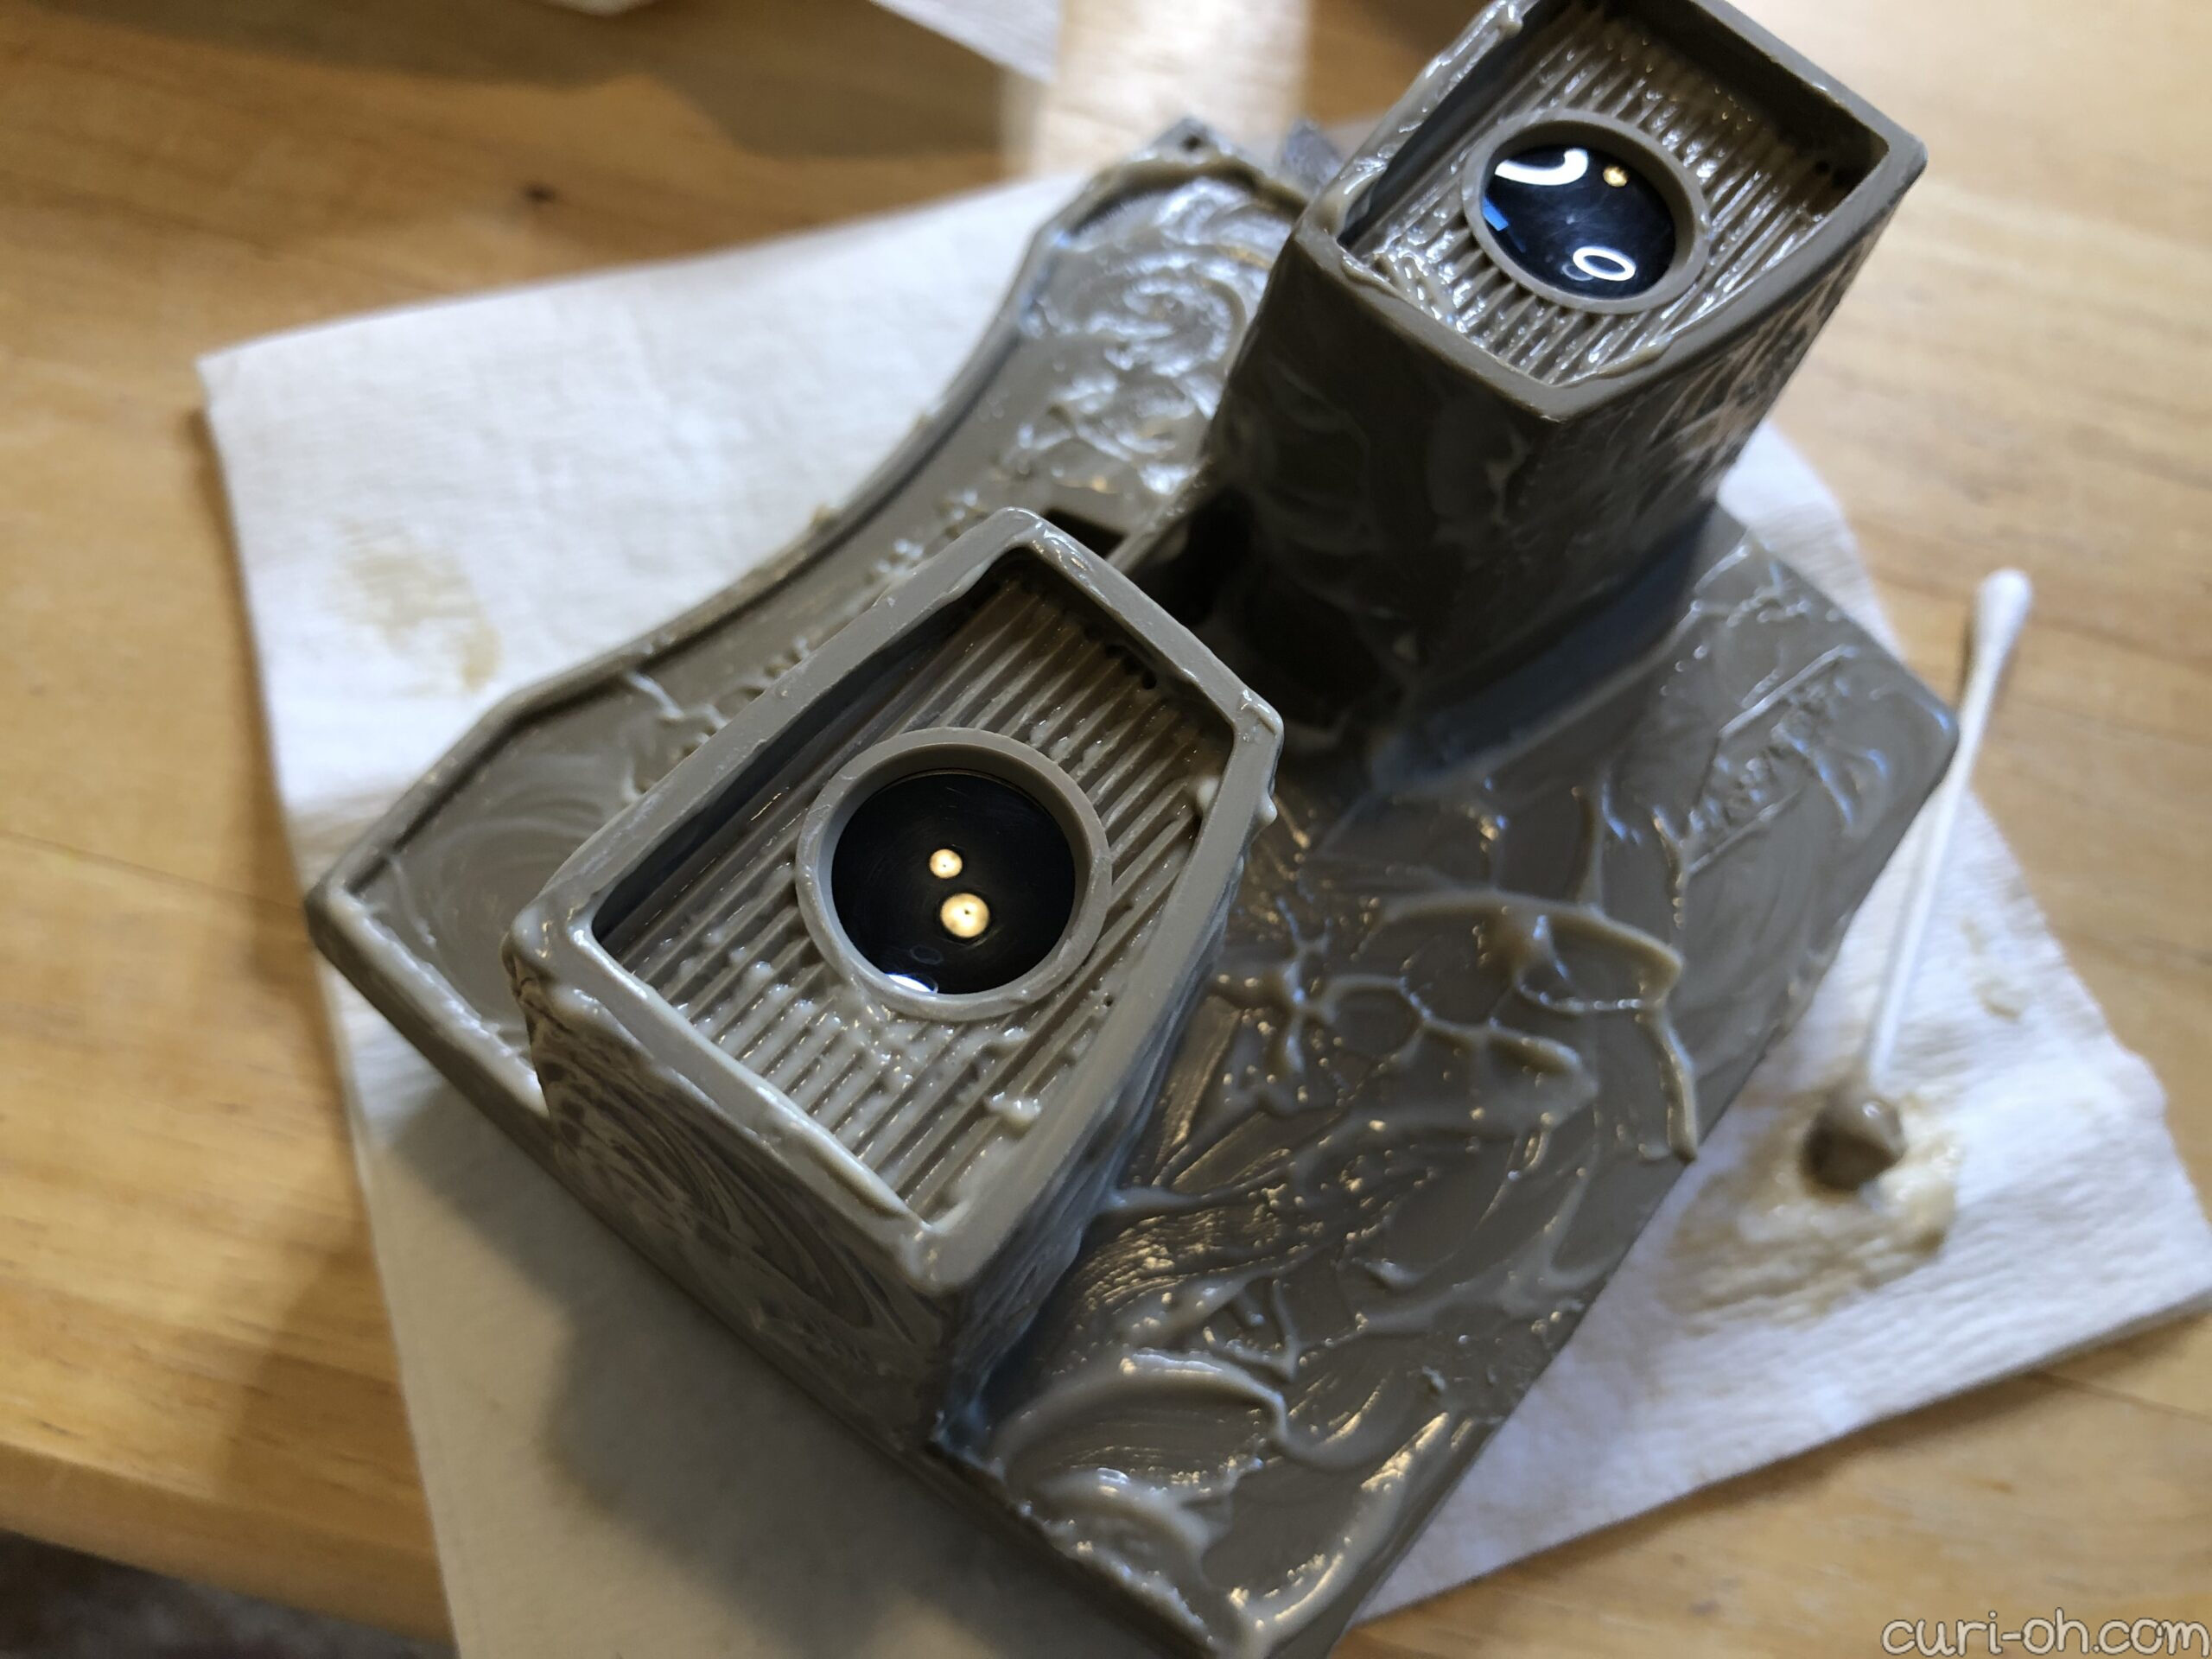
Once inside, the black plastic parts within the eyepieces need to be popped out. I used my scraper tool again as it has a comb-type edge which I inserted into the center hole and used to lift. It’s important to go easy here; you don’t want to break the little tabs. I popped them all up gently, going around the whole rim before I pulled the piece out.
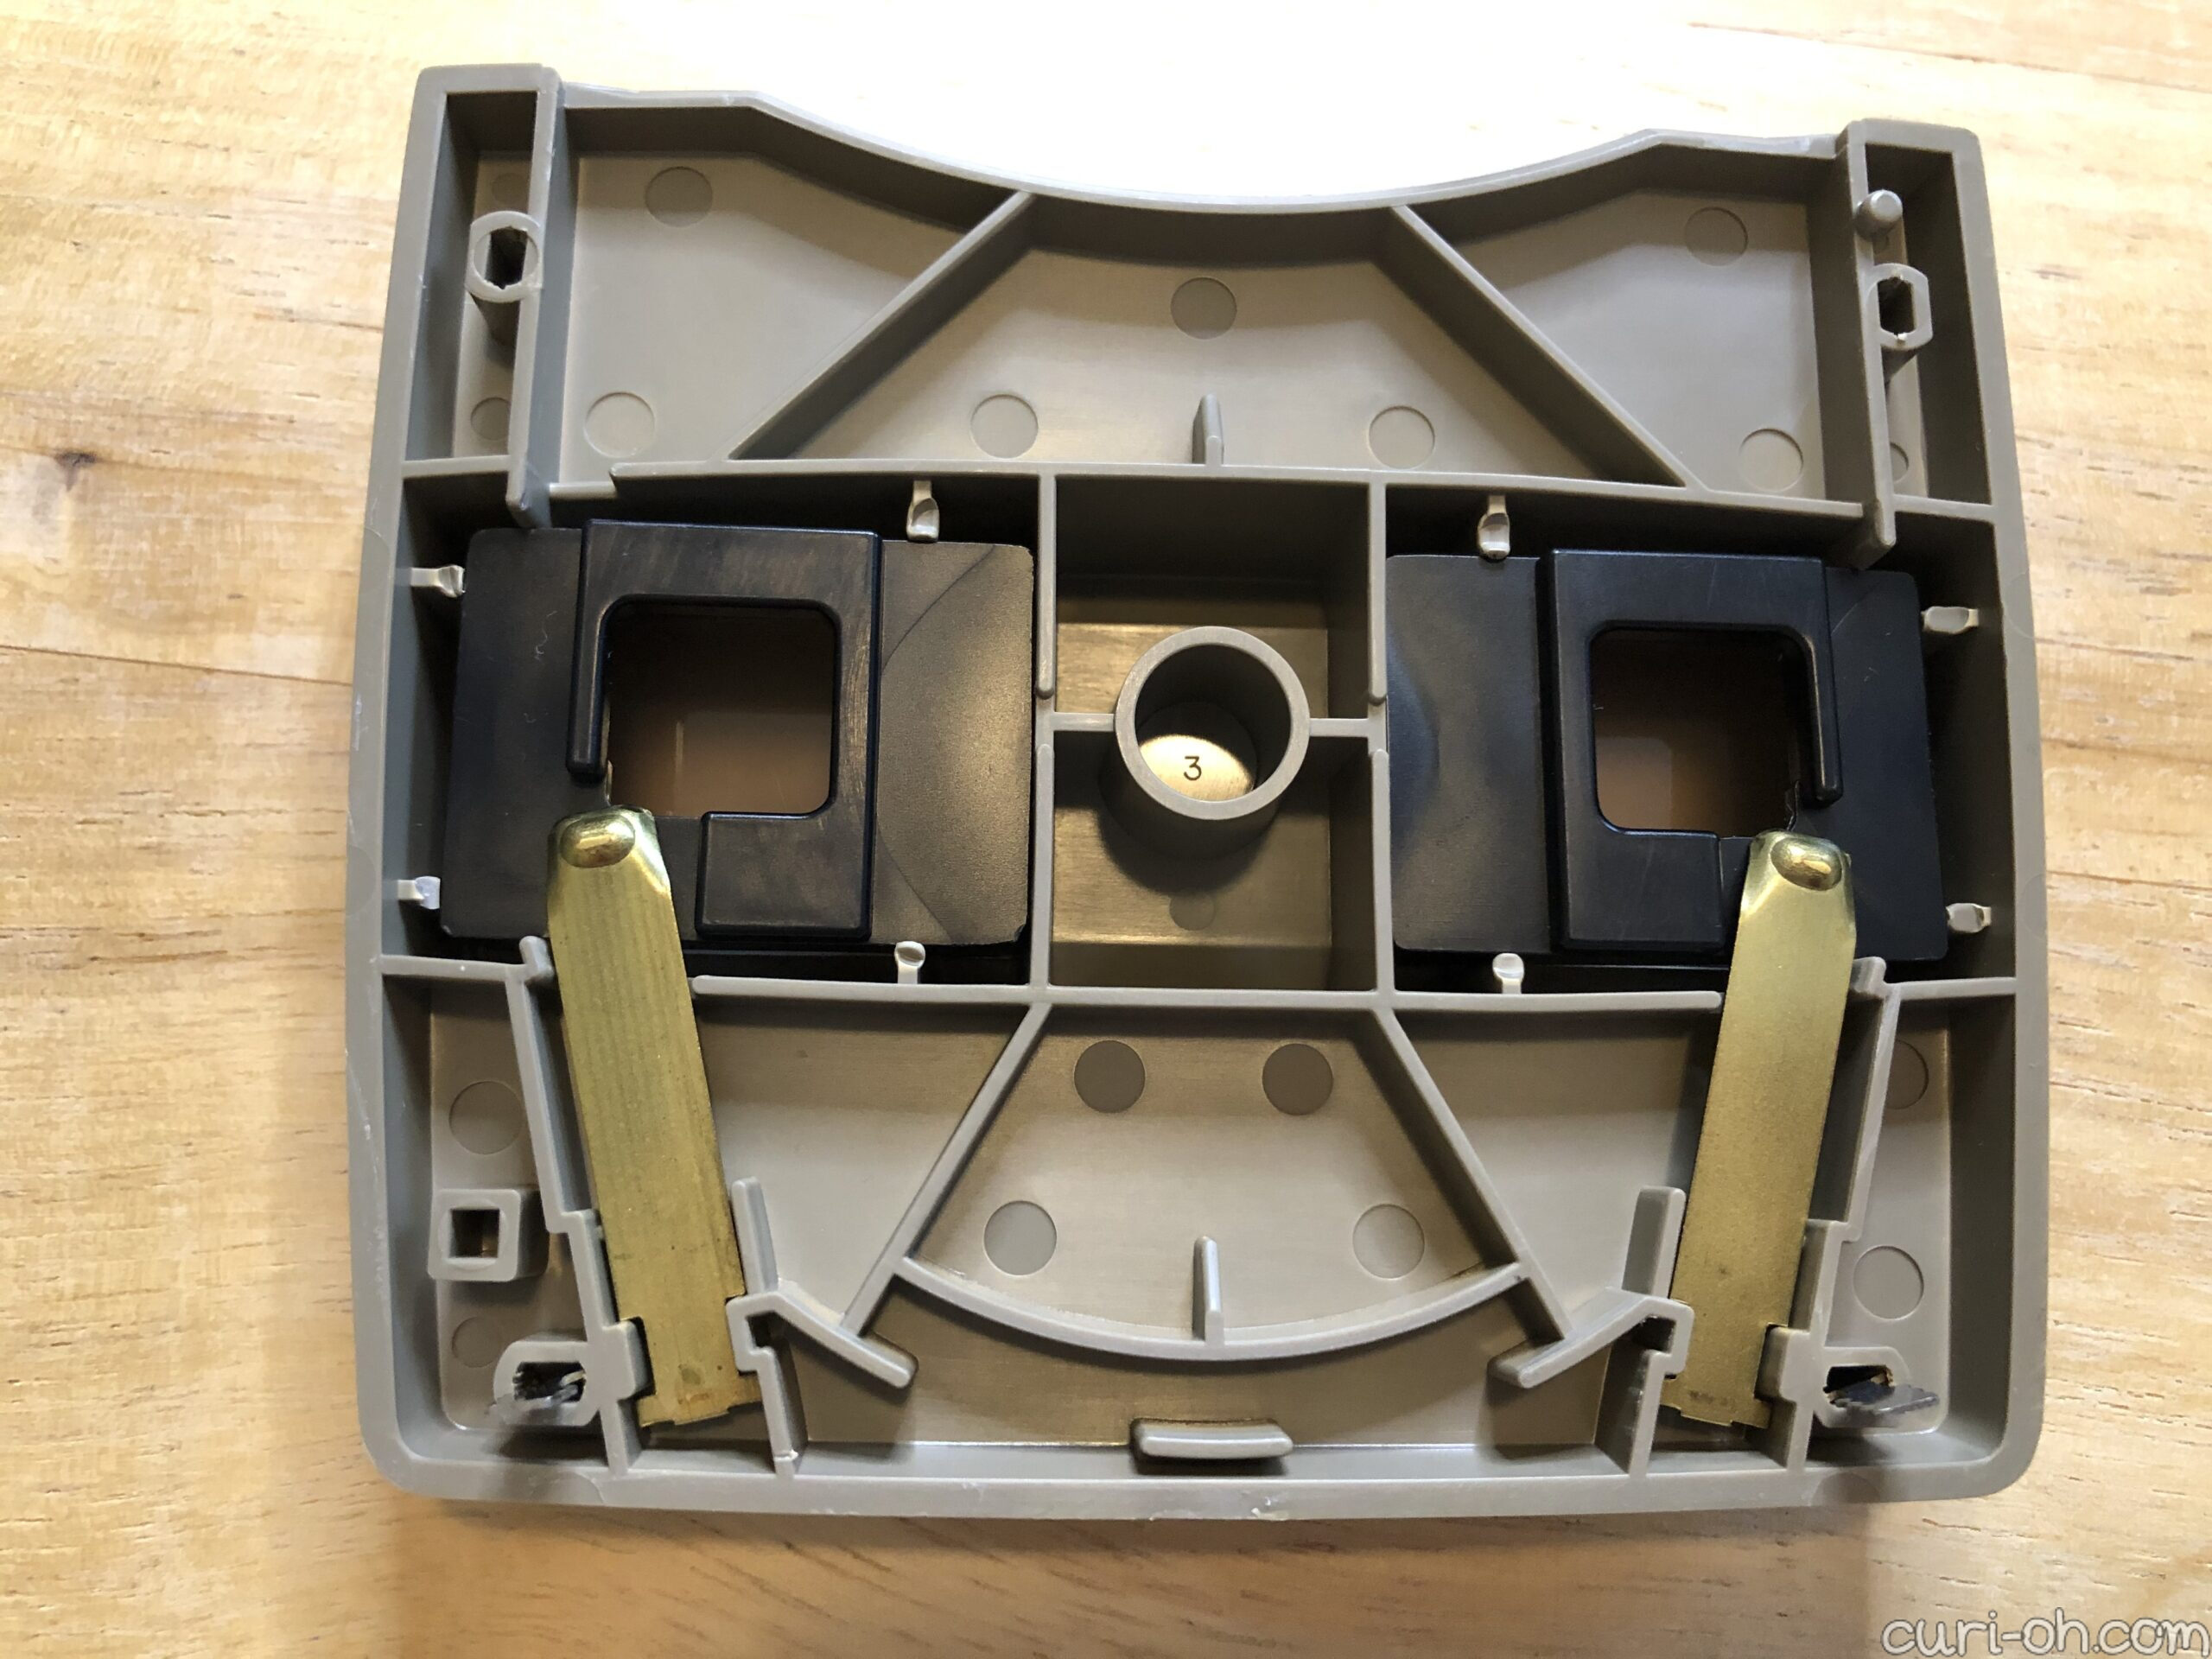
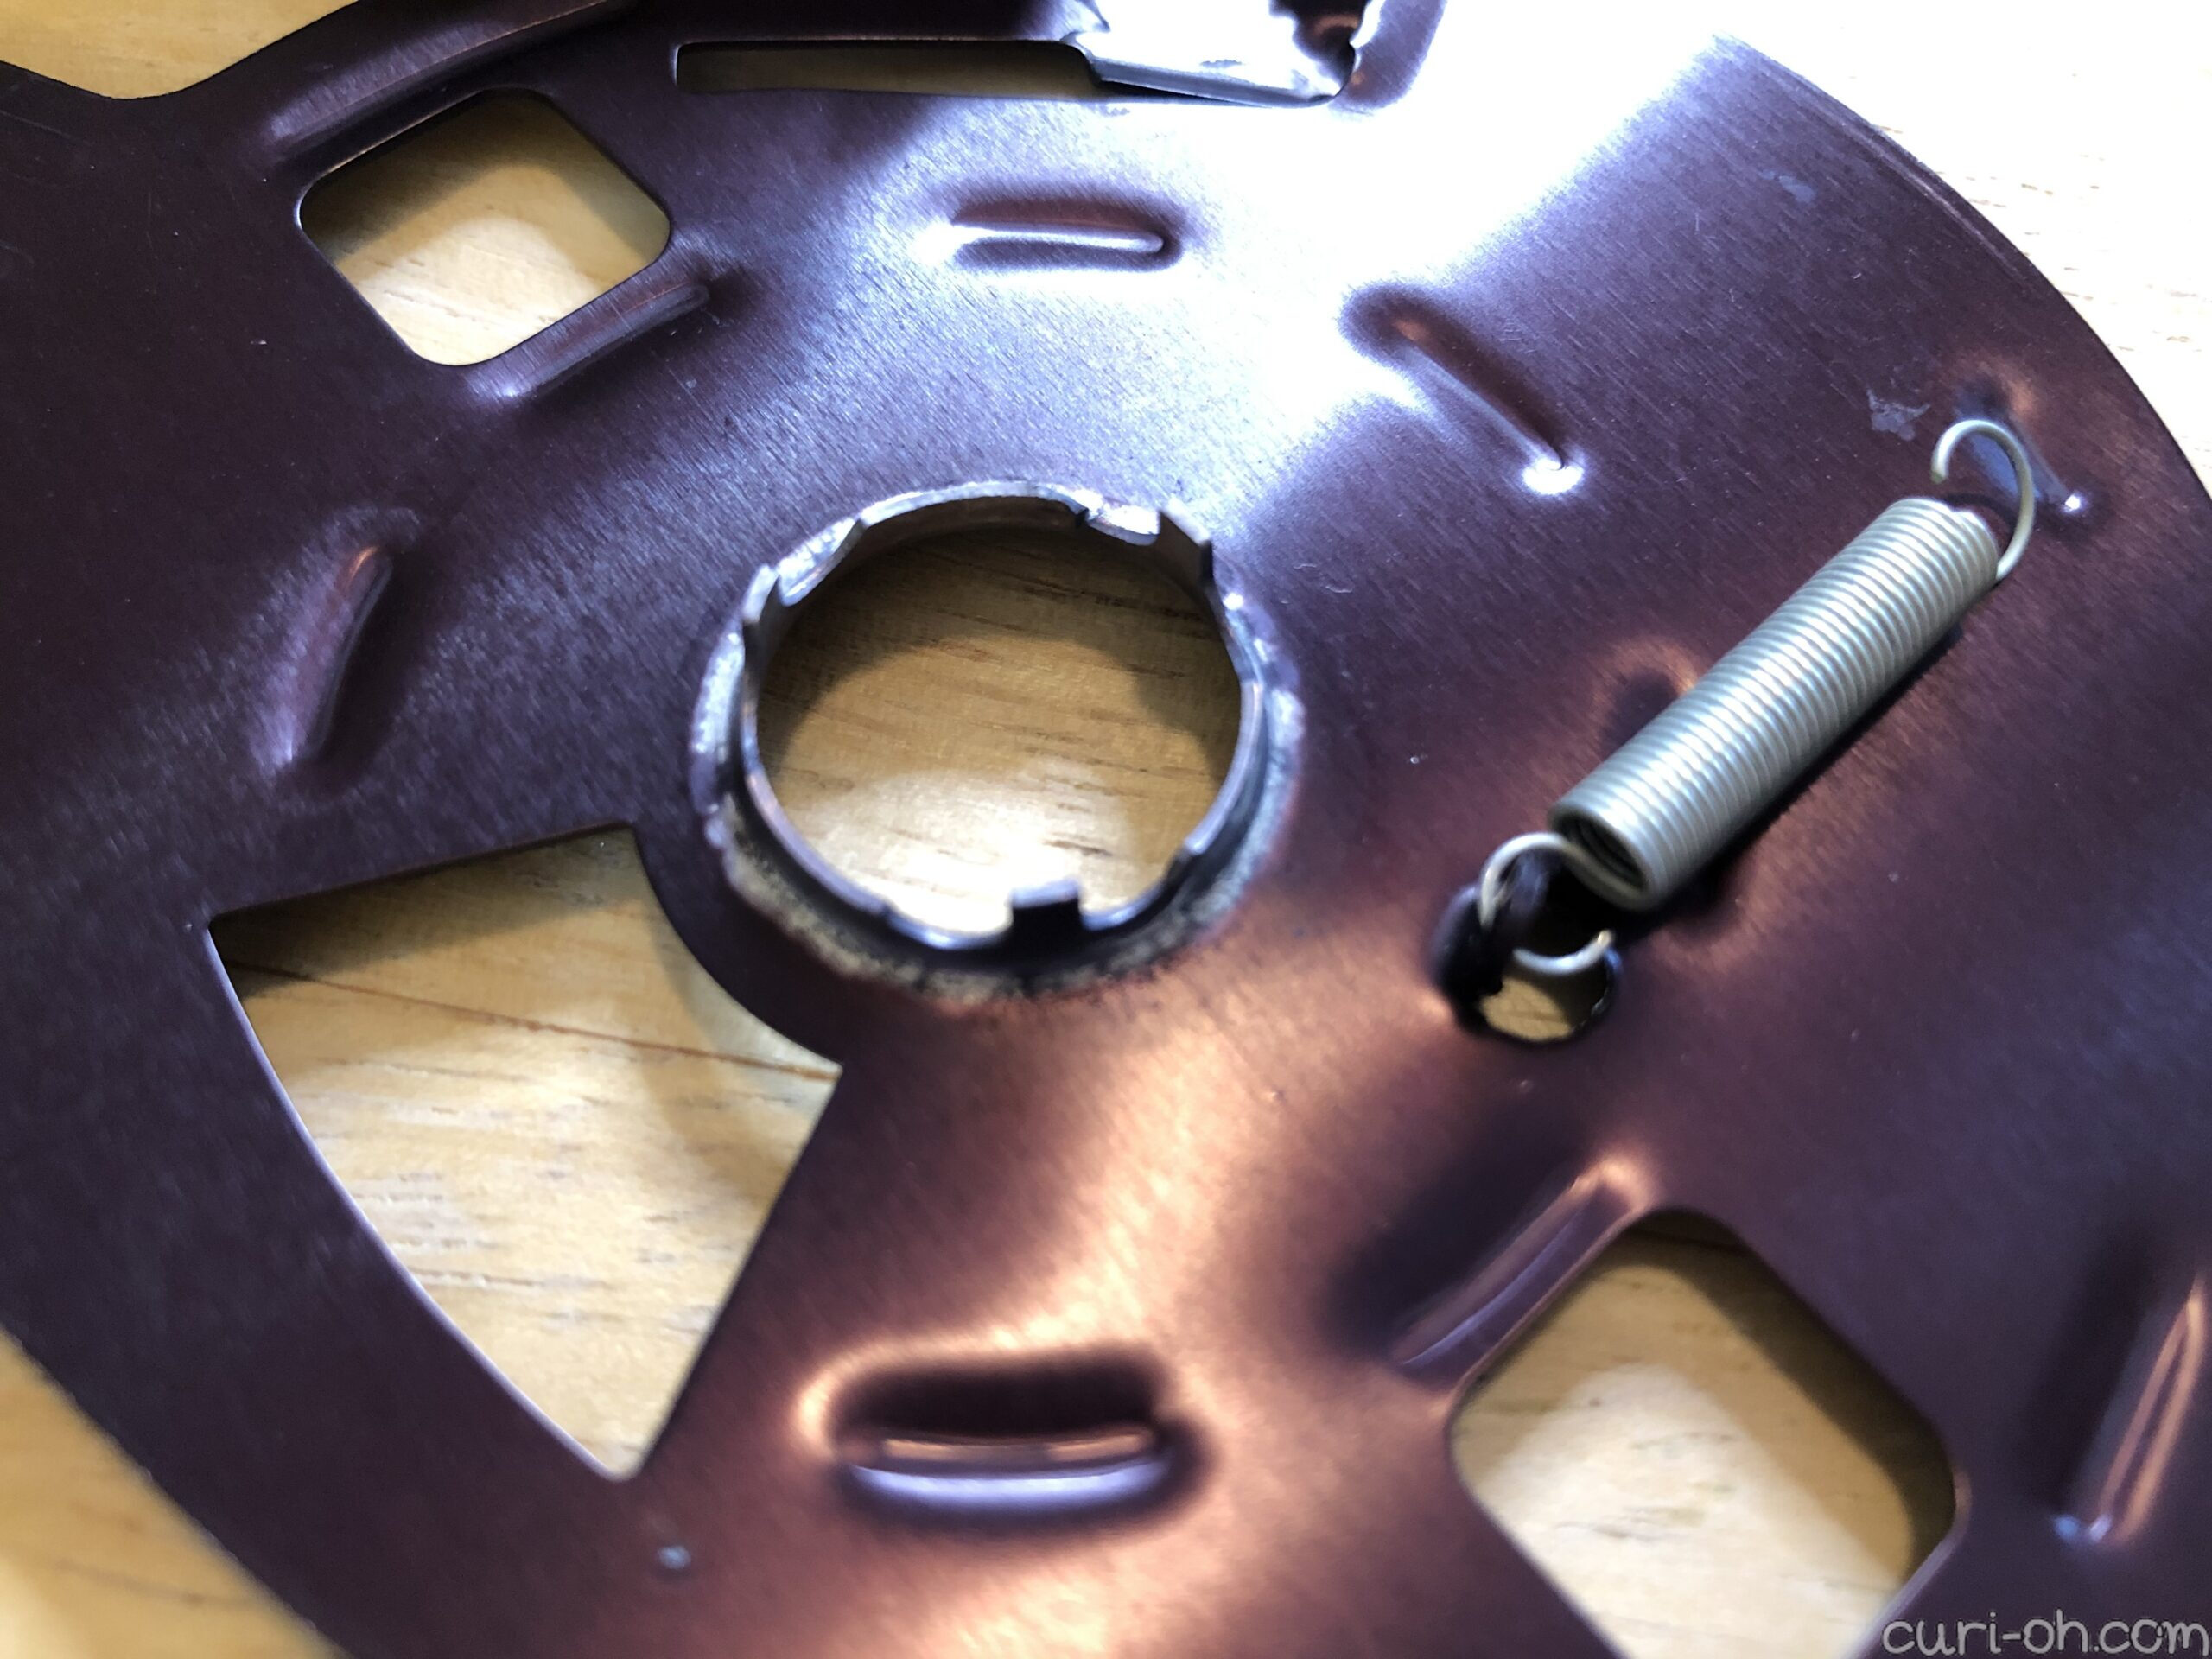
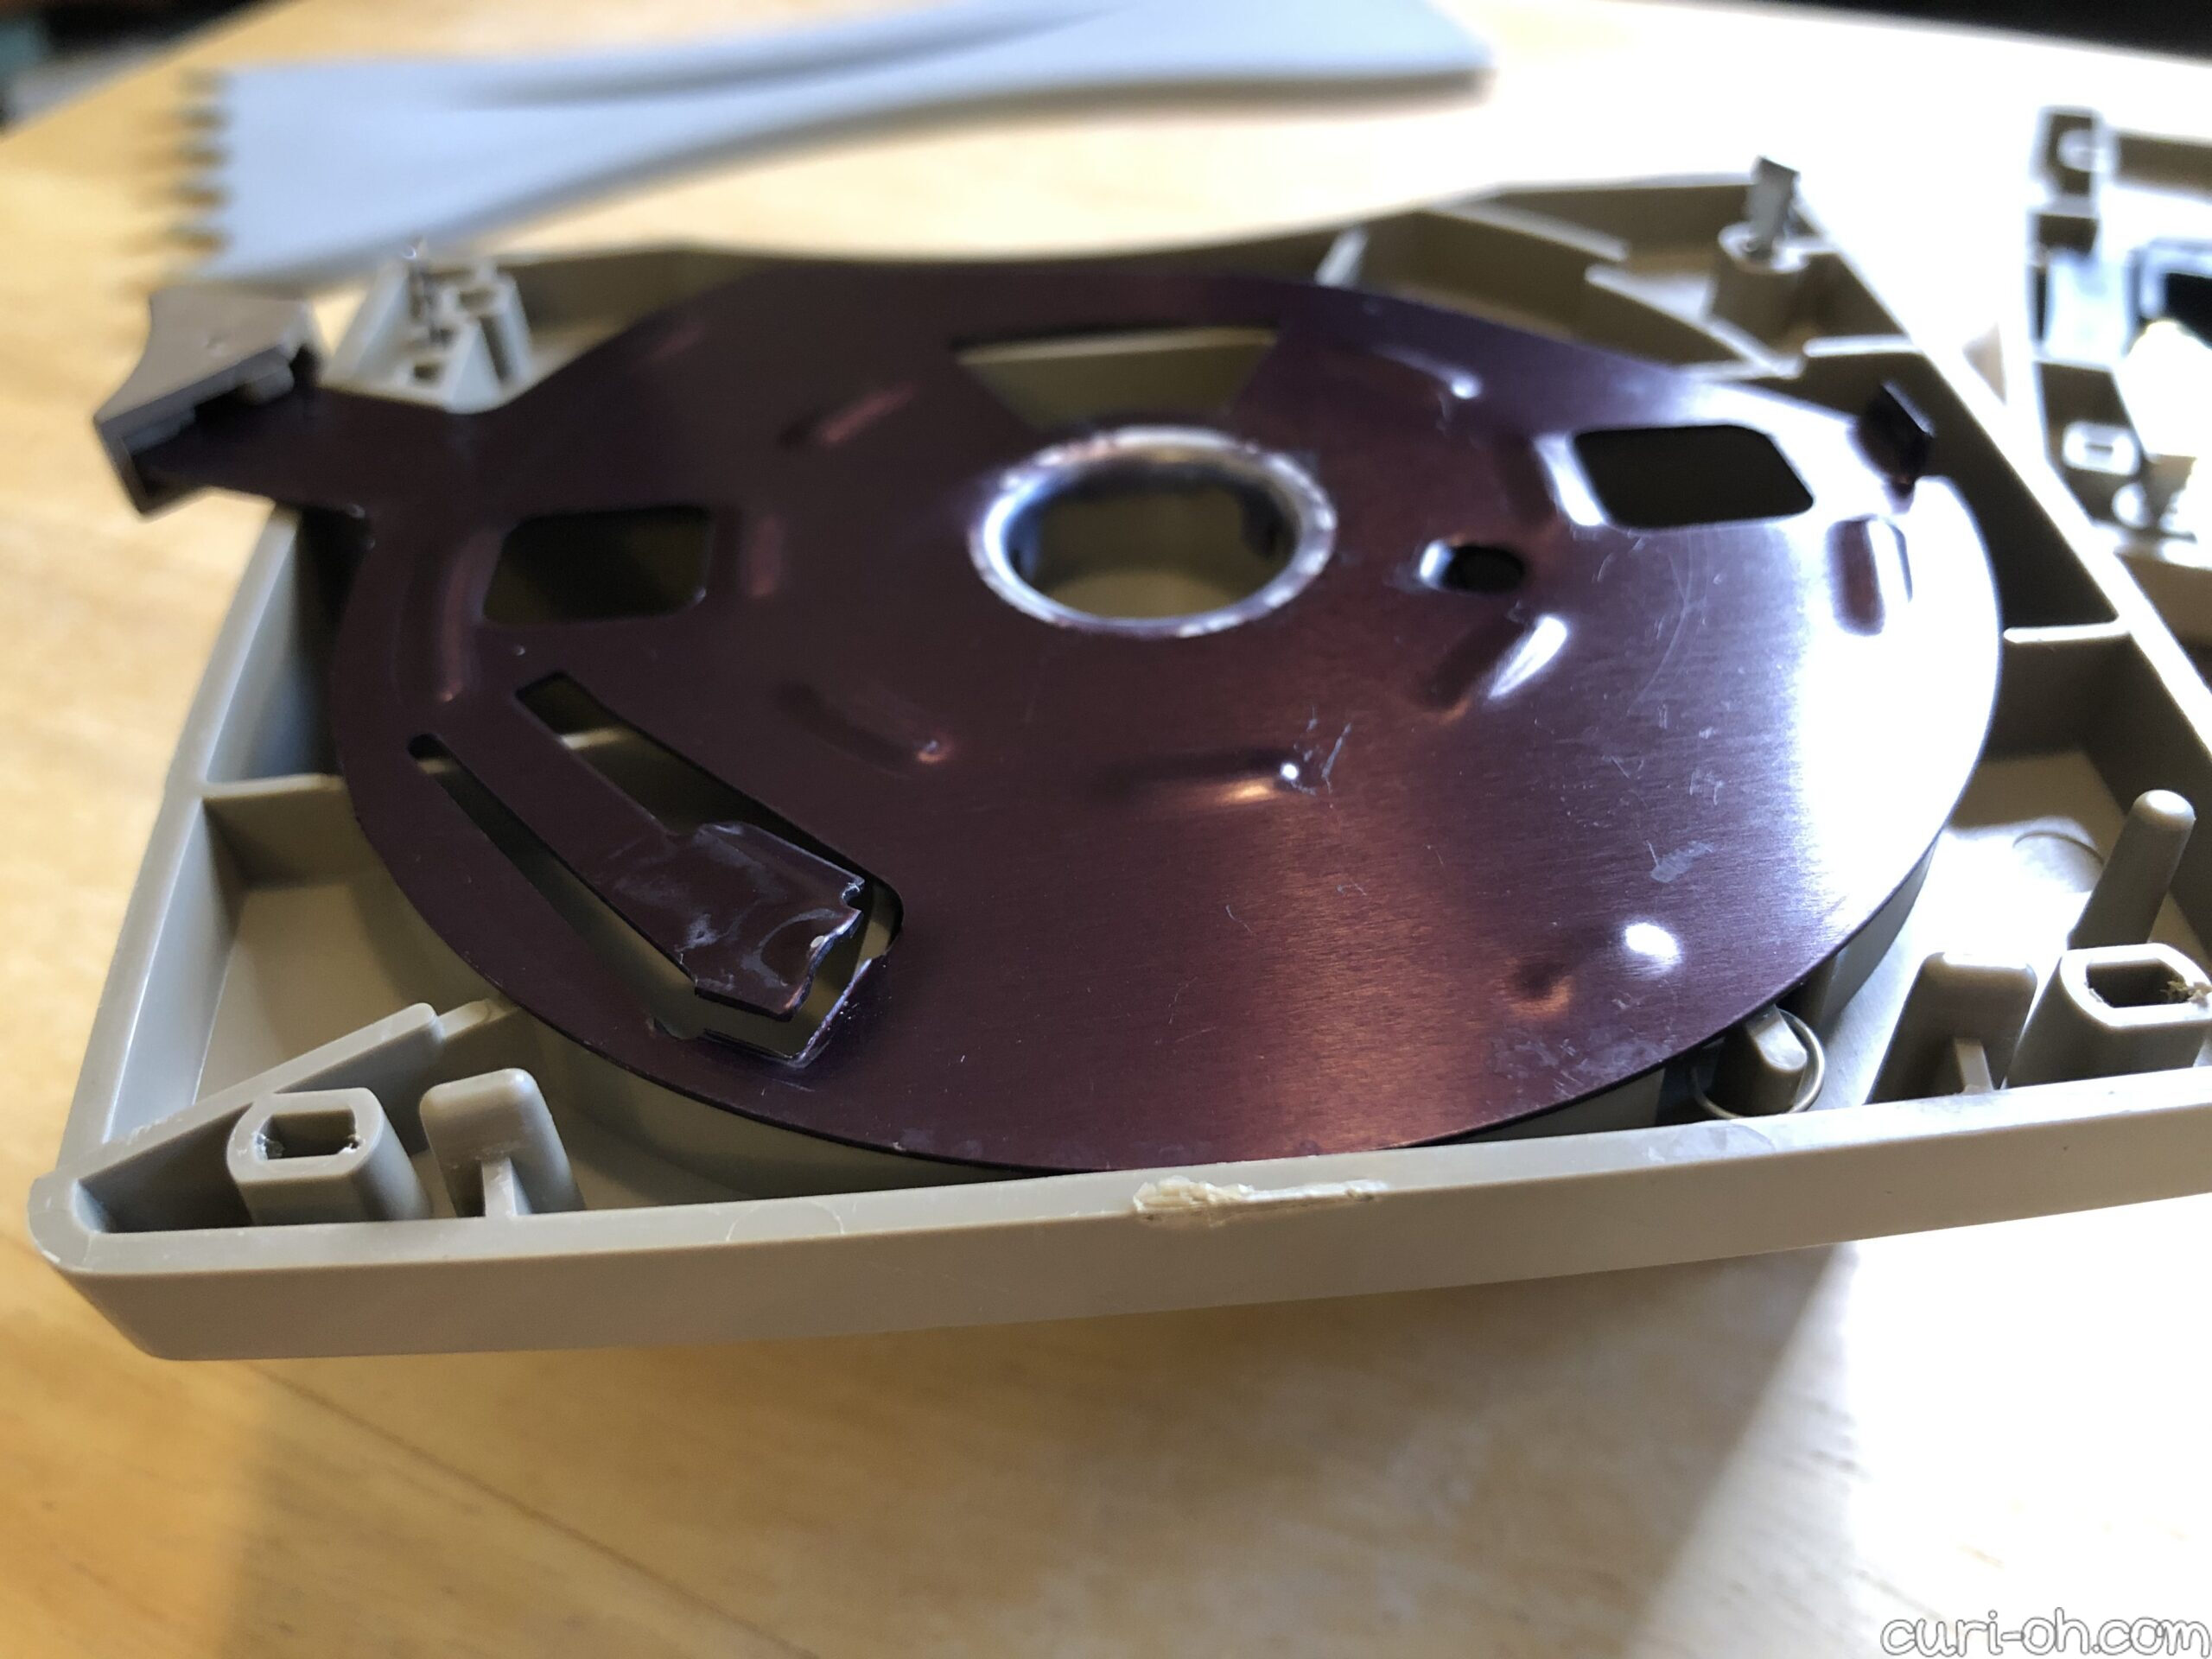
When fully disassembled, there are ten pieces: two body halves, two black eyepieces, two metal tabs for the bottom, two clear window films, the middle semi-circular piece attached to the handle, and the spring.
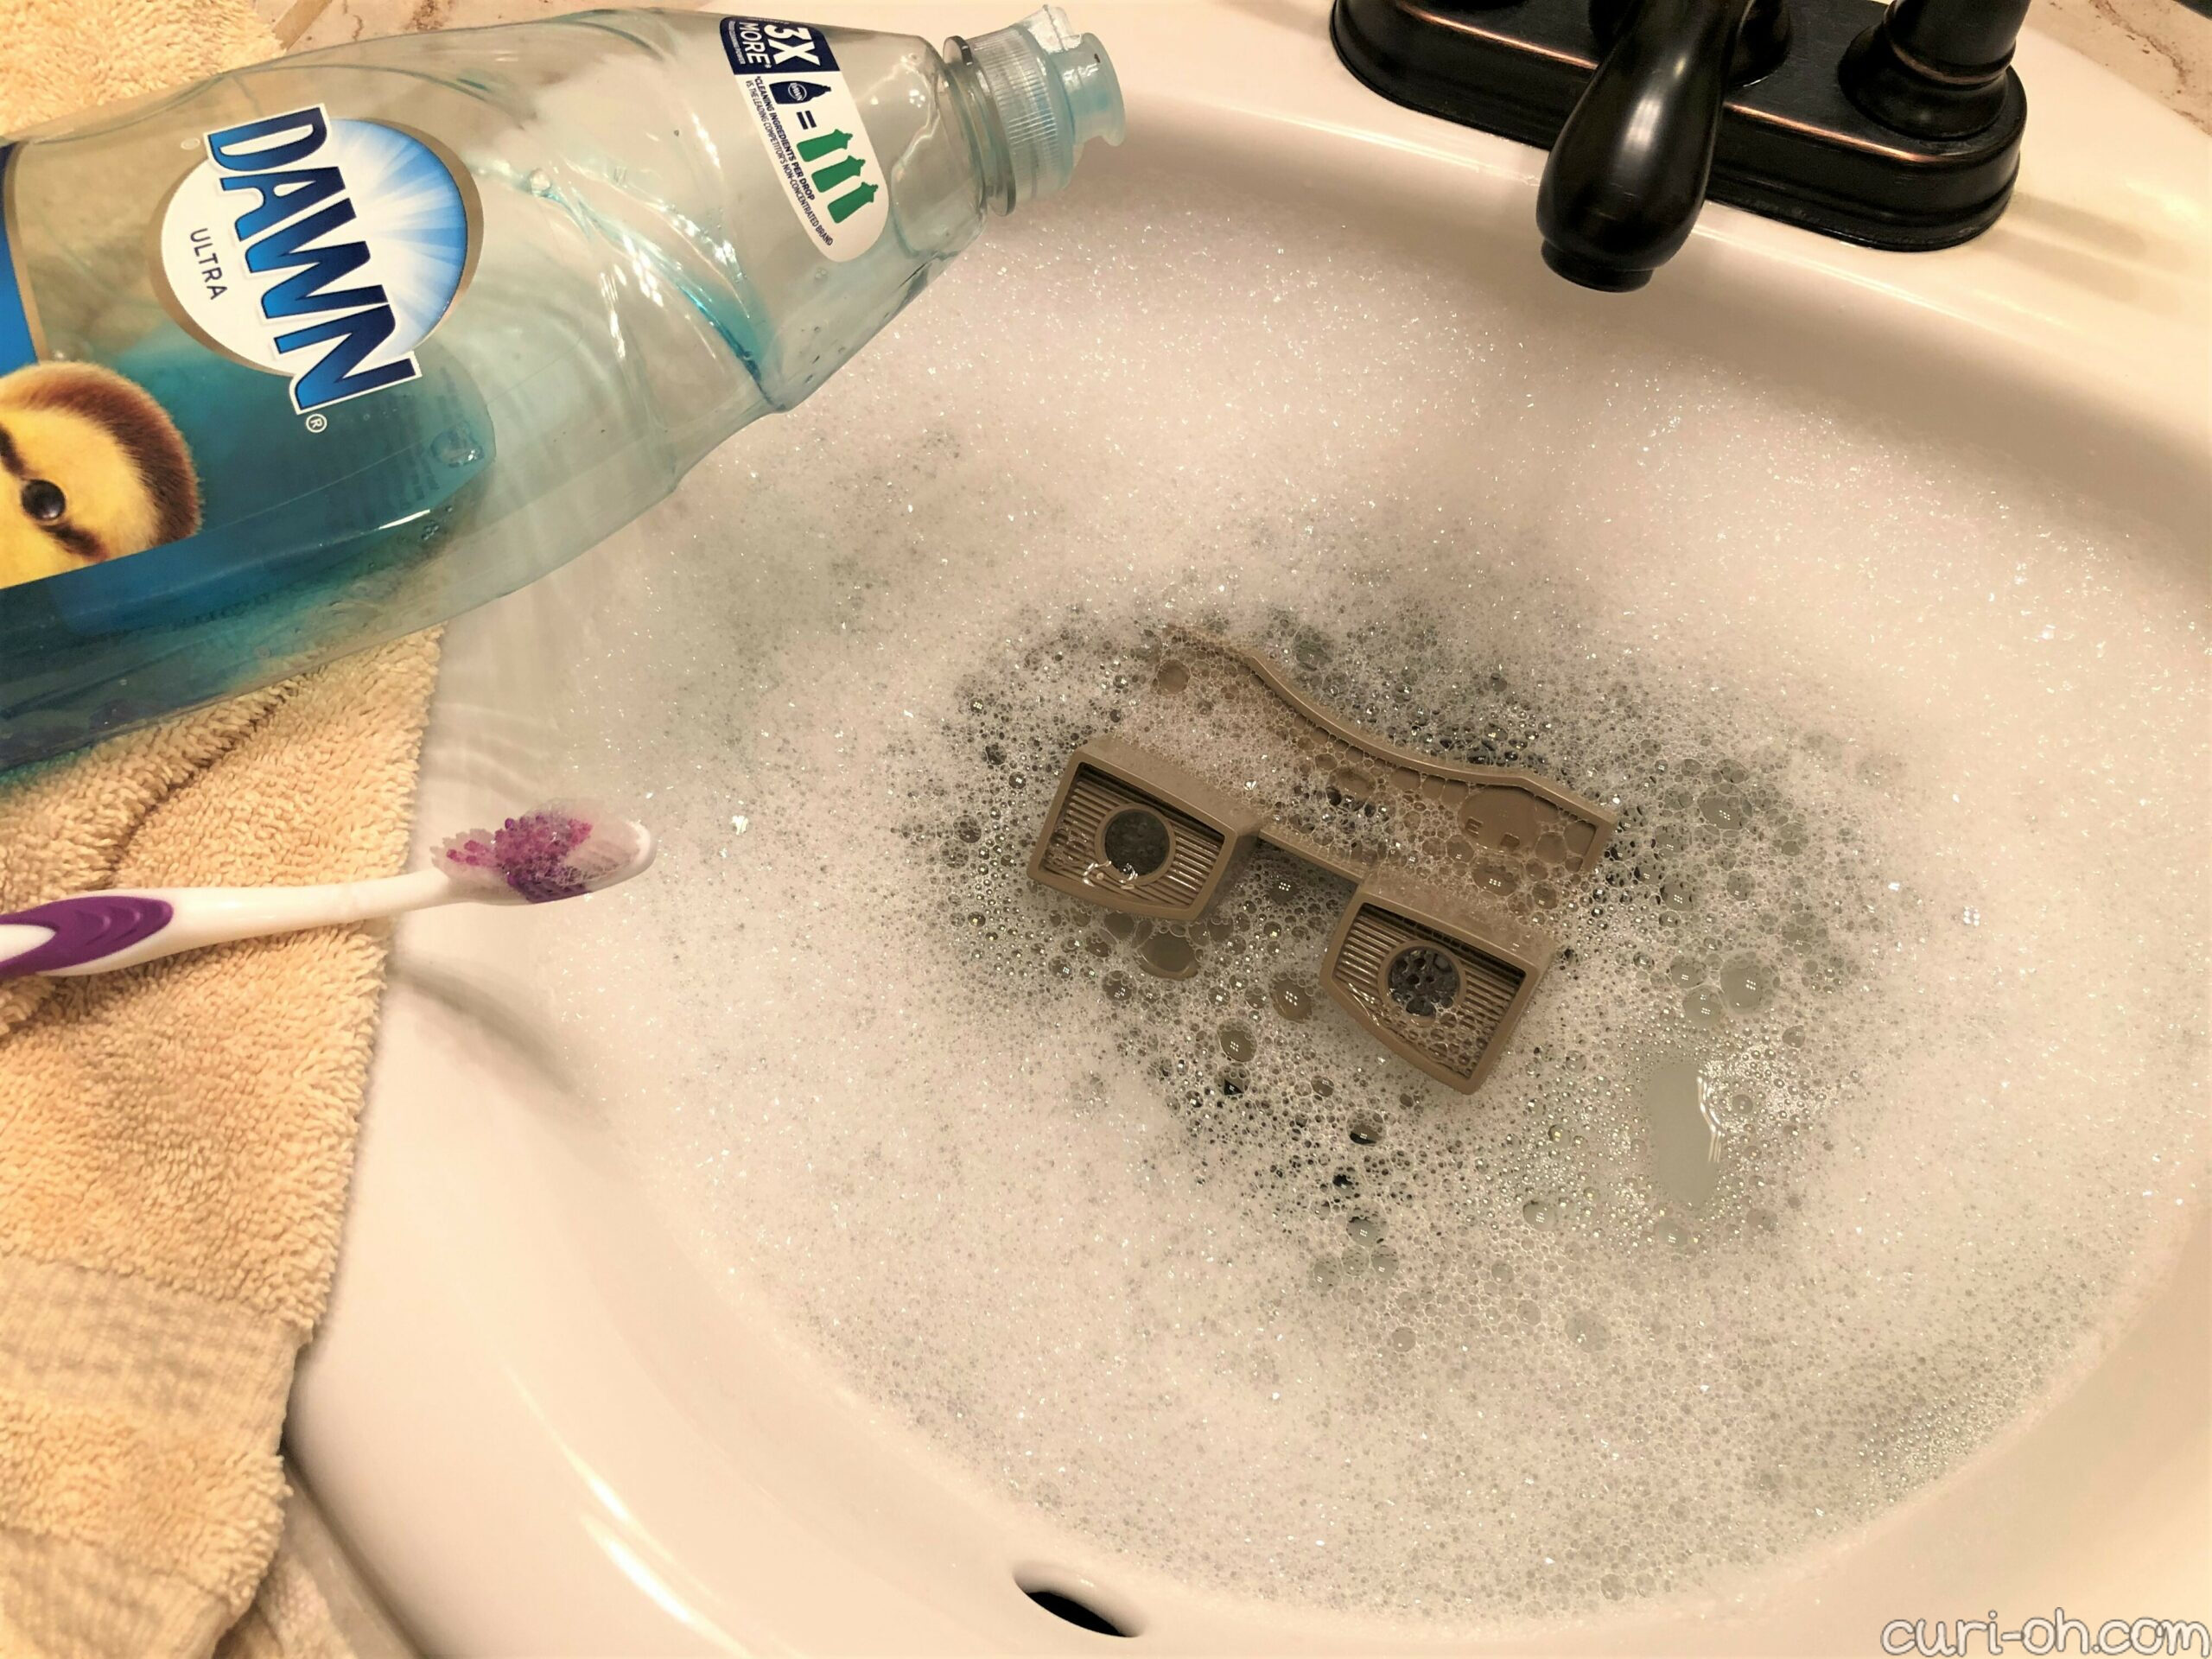
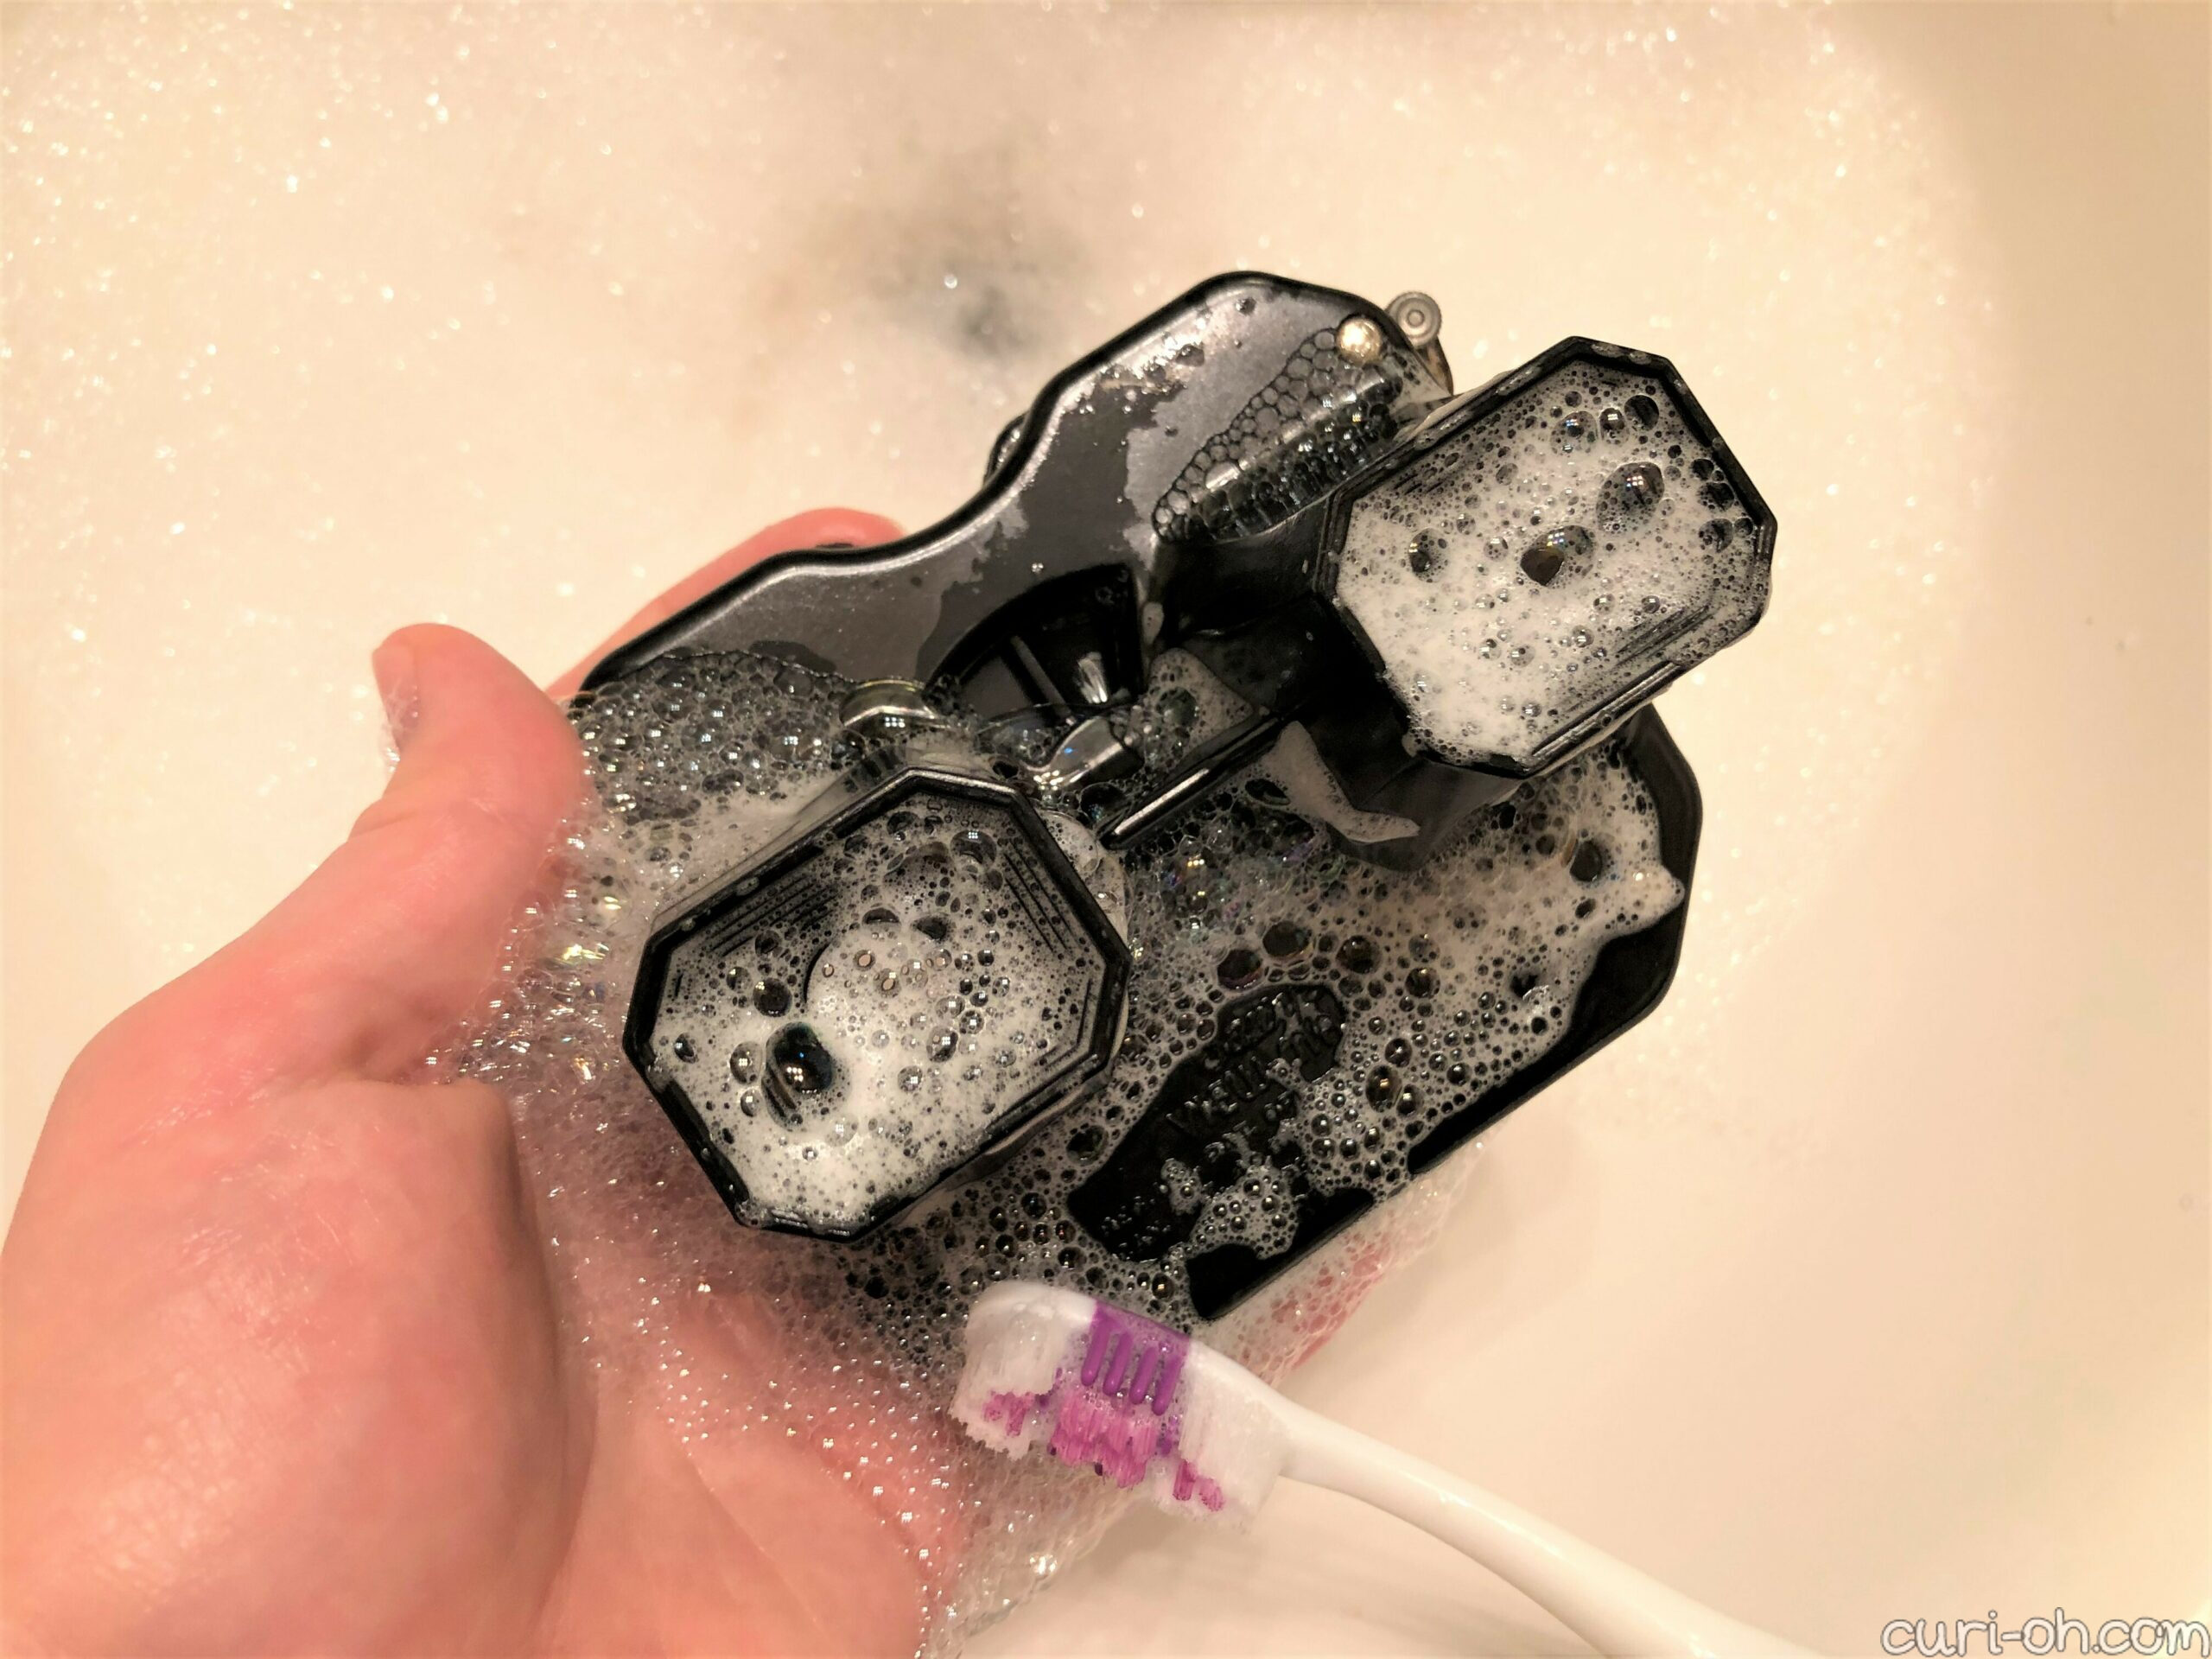
I placed ALL the pieces in a sink full of water and Dawn dish soap to clean. The tutorial I followed specifically set aside the metal pieces. Obviously, water can rust metal. However, I did not allow my metal pieces to sit in the water long and I dried them thoroughly and immediately upon removing them. That’s what I did, but use your own best judgement. There could be slight differences between yours and mine, particularly with the lengthy production run of this model. You can always just clean the metal parts with a cleaner which is metal-safe.
The body of my View-Master had a bit of dirt accumulation in the ridges and around the printed lettering, so I scrubbed those areas gently with a toothbrush.

Once it was fully dry, I reassembled it. You need to be sure that all pieces are correctly positioned, including the direction of the window lenses (foggy side out). I have included pictures of the reassembly below.

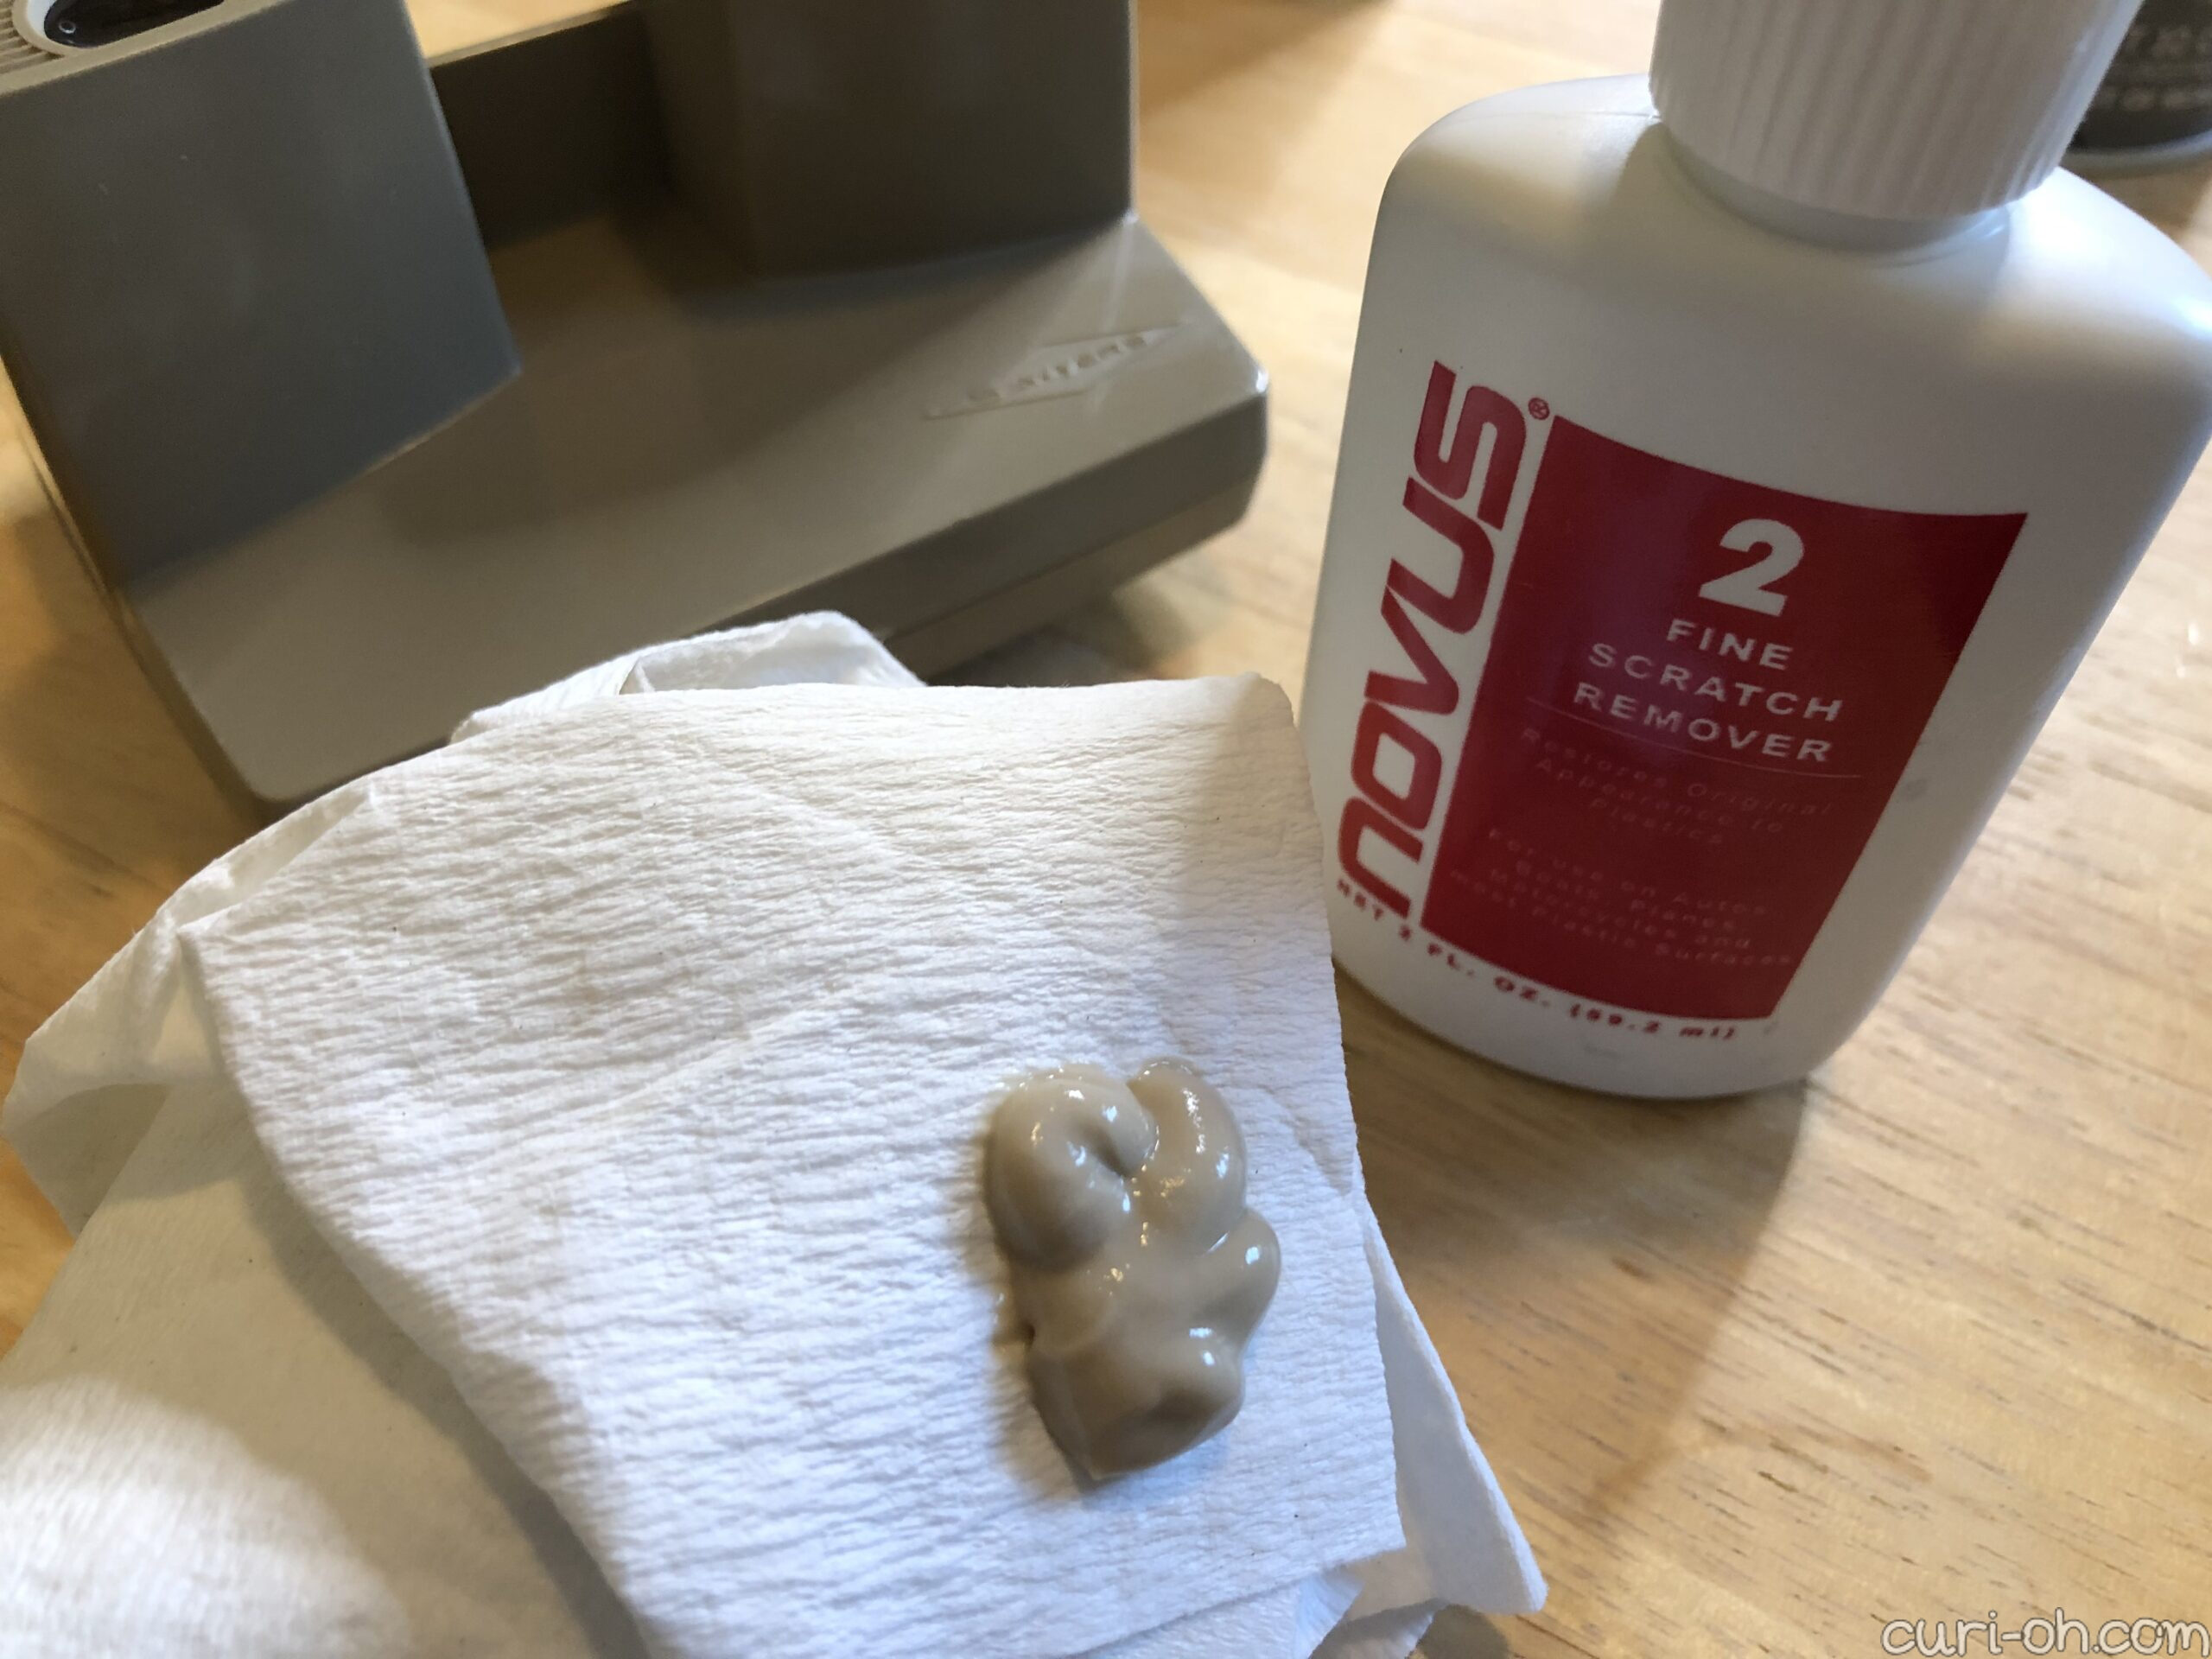
The tutorial I followed recommended Novus plastic polish to give the plastic extra shine. I would recommend polishing the pieces BEFORE reassembly though. I did it after and the polish worked its way into the seams and on the lenses and I had to take it apart again to clean that up. I tried Novus 1 and Novus 2, but neither seemed to make that much of a difference with mine, though my Model-G was already in good condition.
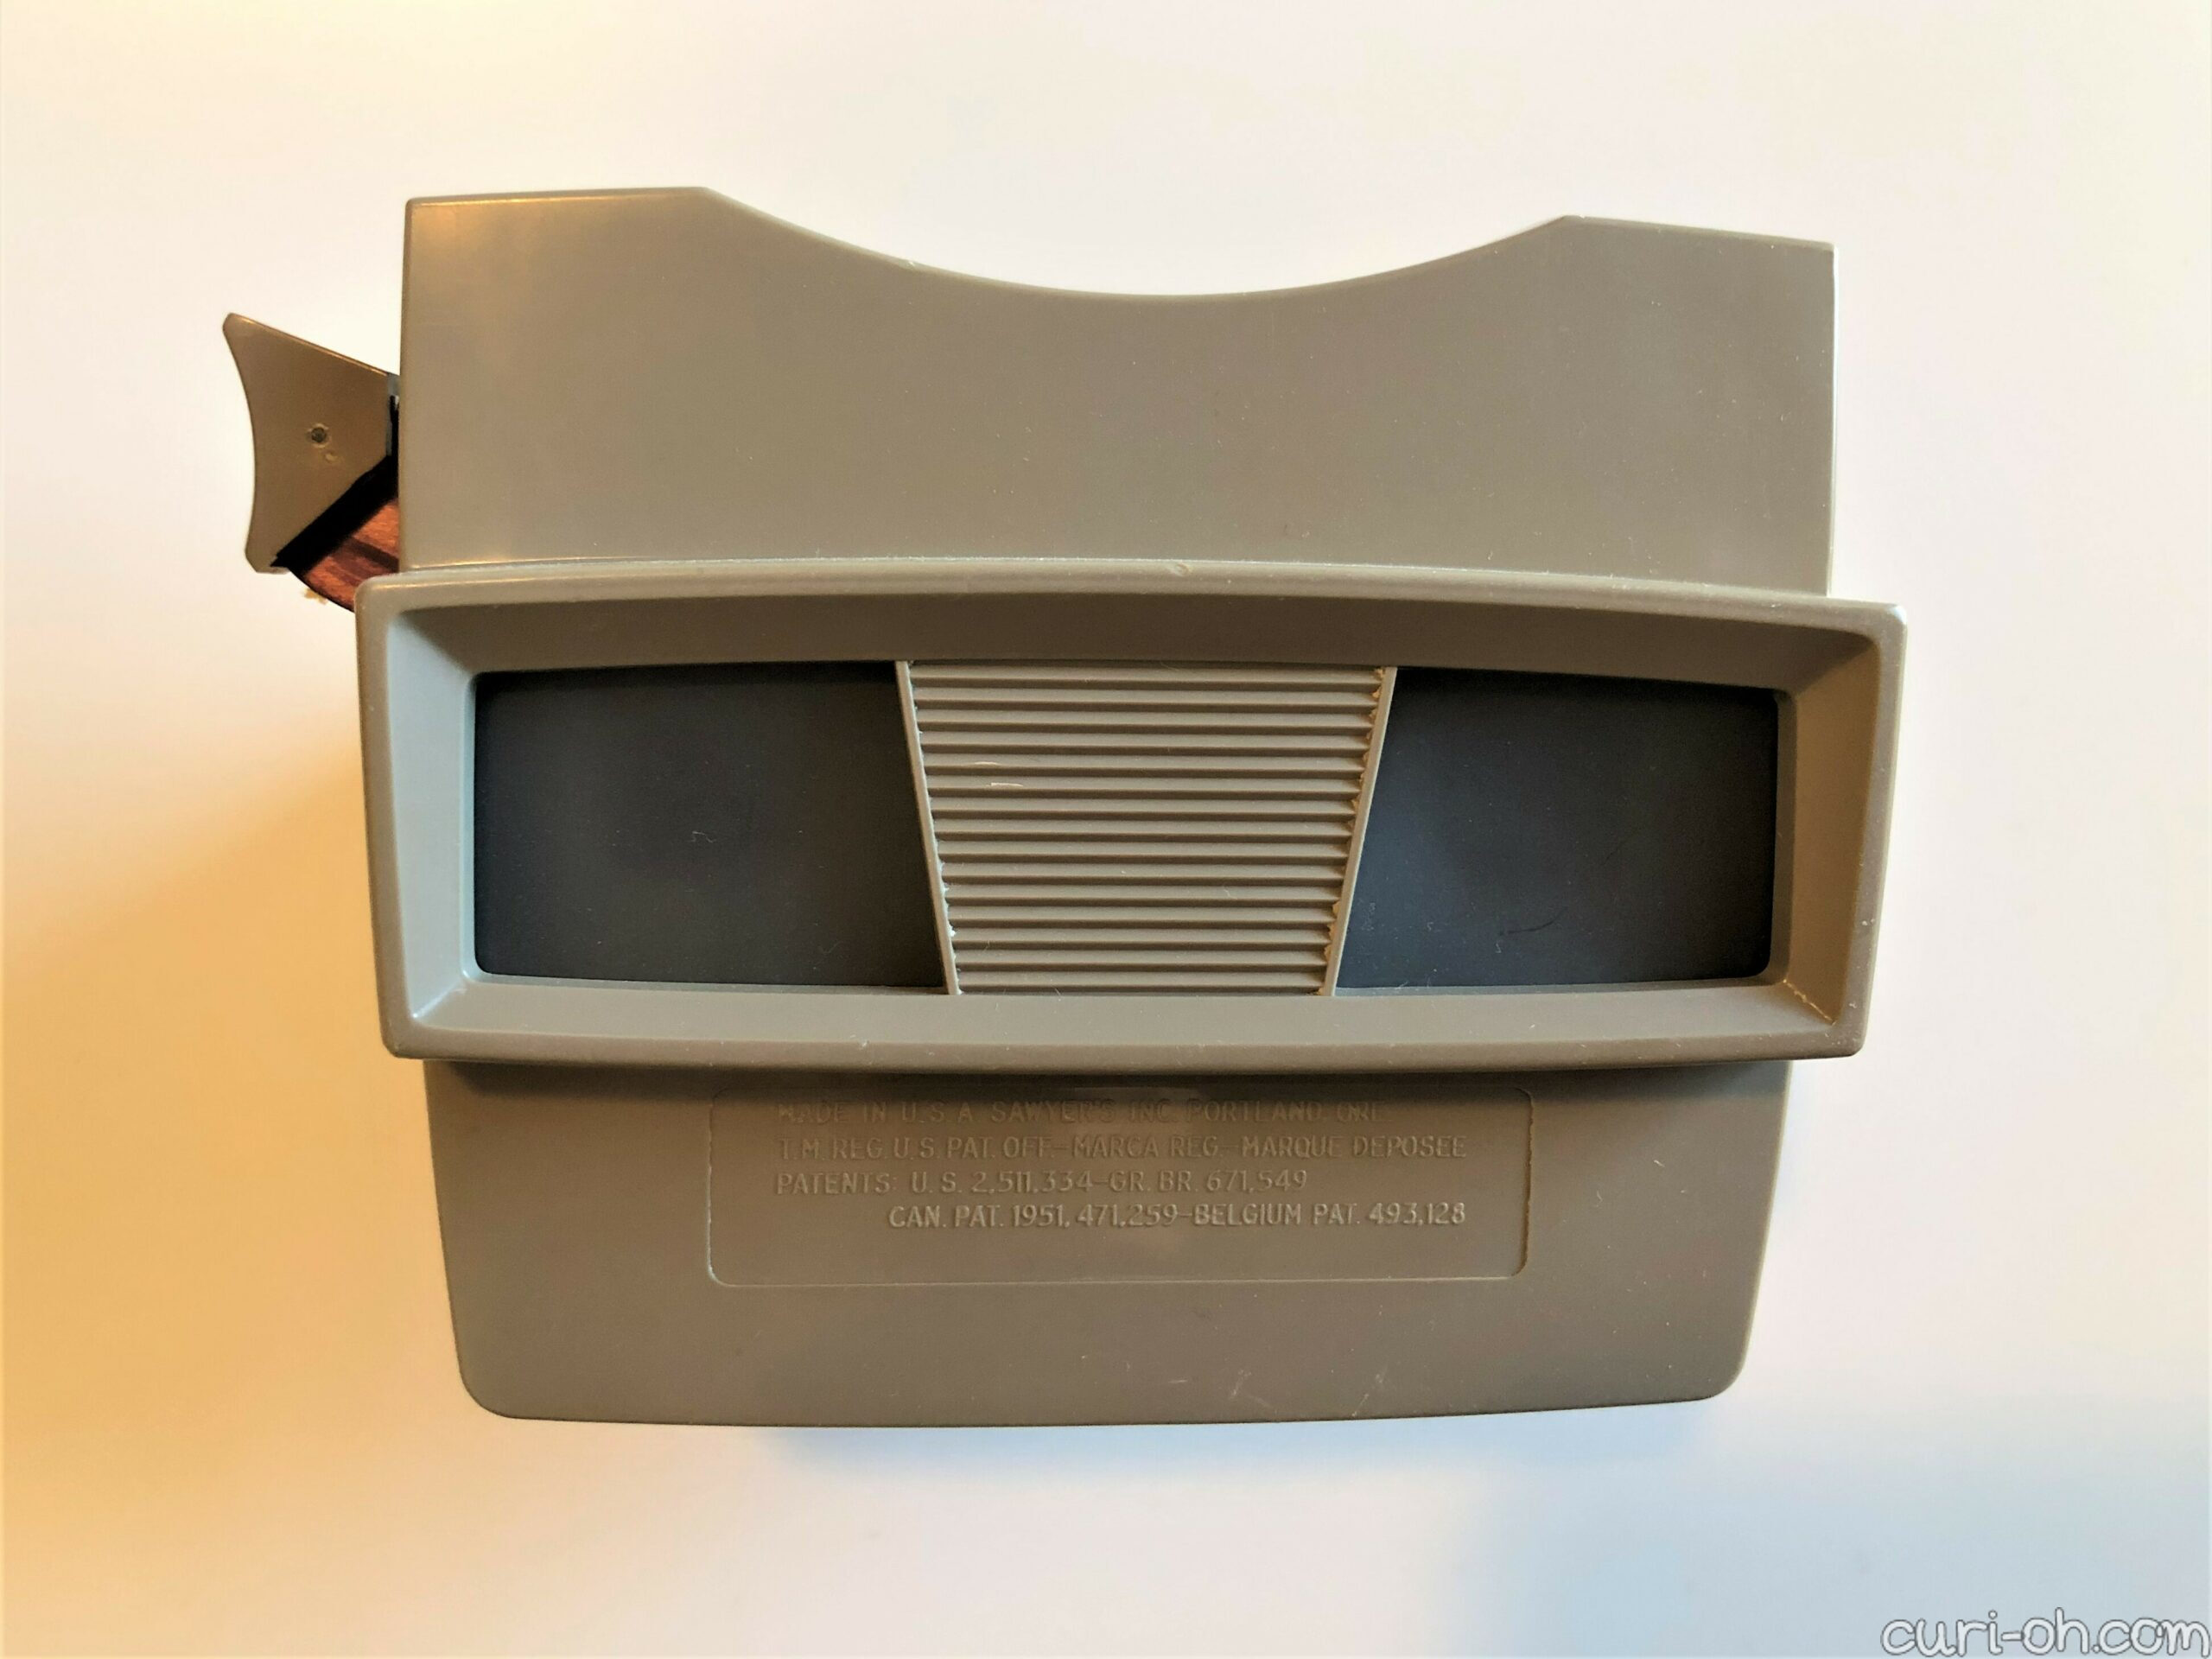
The Model-C from the 1940’s or 50’s was less tricky – because it cannot be taken apart! It is riveted shut. I gently removed the silver window frames with a credit card. These will bend and warp very easily so apply gentle pressure with a wide tool so as to distribute the force. Next, I removed the lenses.
I submerged the whole thing once more in Dawn and warm water and cleaned the body gently with a soft toothbrush. I immediately towel-dried it and followed that up with a hair dryer to the inner section, to hopefully avoid any potential for rust.
For this one, rather than polishing with Novus, the body can be polished with Brasso, since it is made of Bakelite.
Once more, I’m not sure how much that really did here, but I think more than the Novus, especially to the metal parts.
My window lenses were in good condition, but I’ve linked to a tutorial above on how to replace them if yours are too scratched or foggy.
On to the reels!
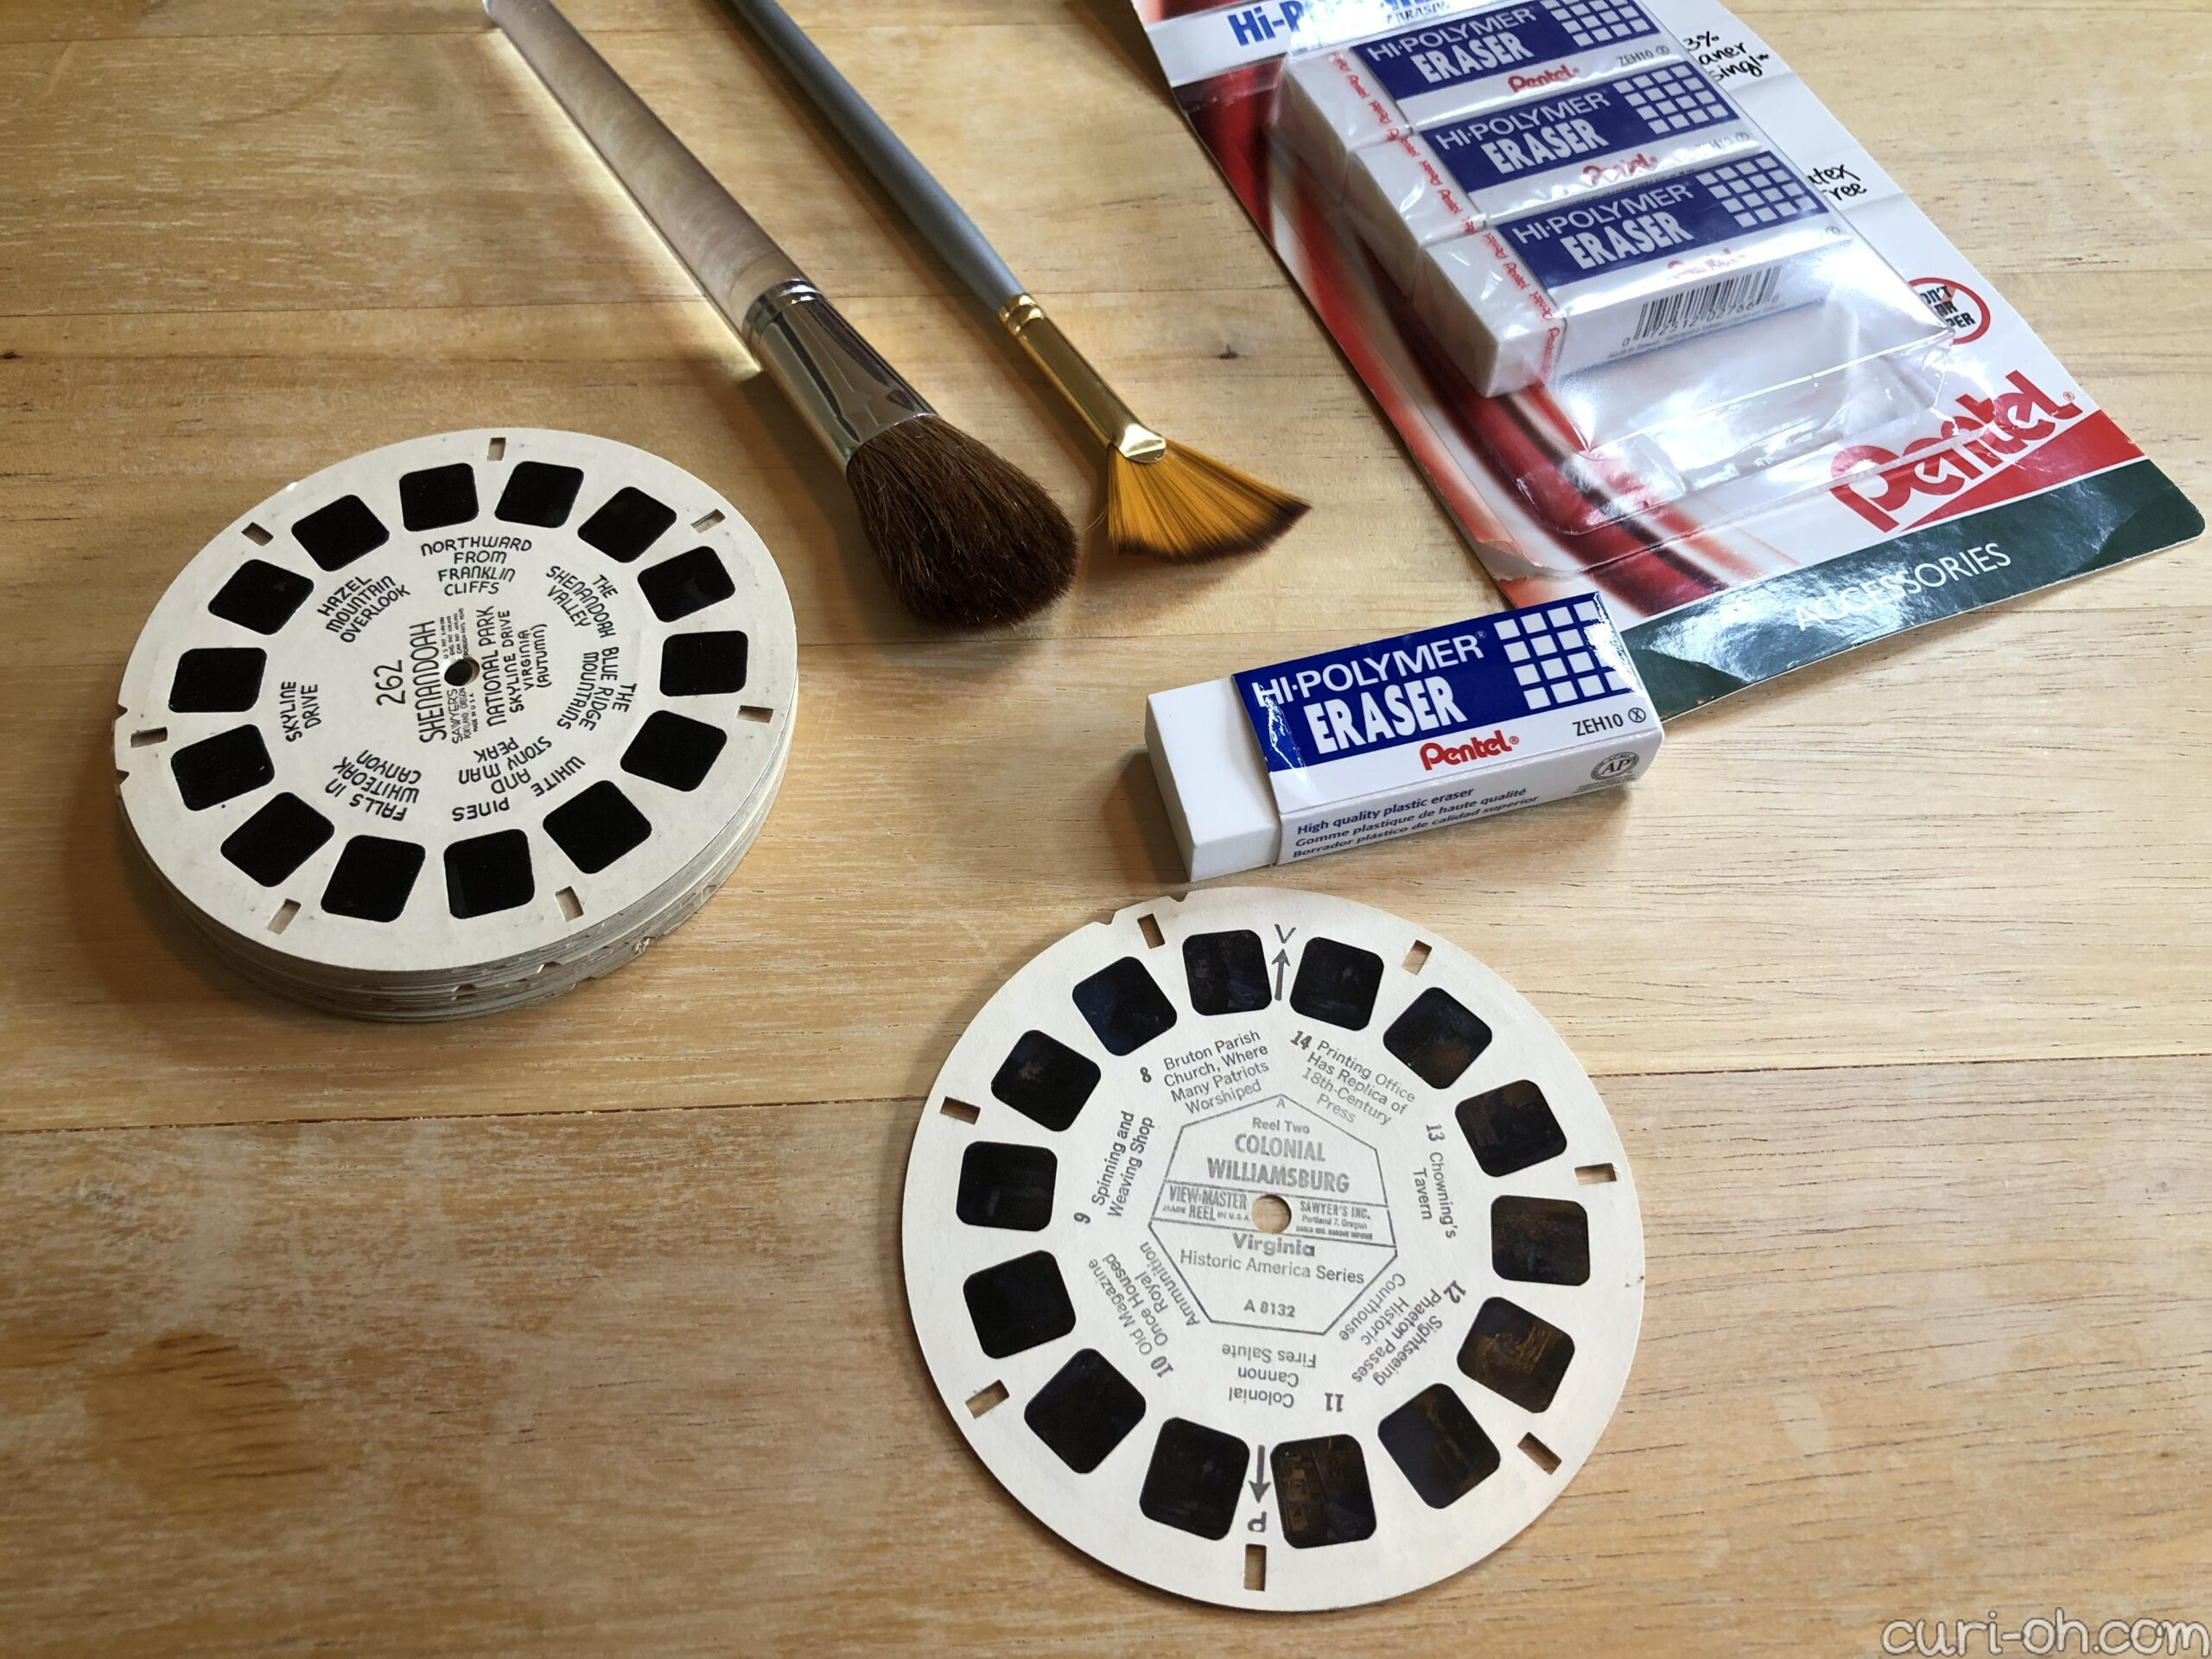
I came prepared to clean, but mine didn’t really need much. If they have markings or dirt on the paper part you can apparently clean it with a hi-polymer eraser, which is a super cheap and common thing which I was able to pick up at a supermarket. However, mine did not need that after all. So, I simply used a squeeze air blaster to blow away any dust.
This is interesting though:
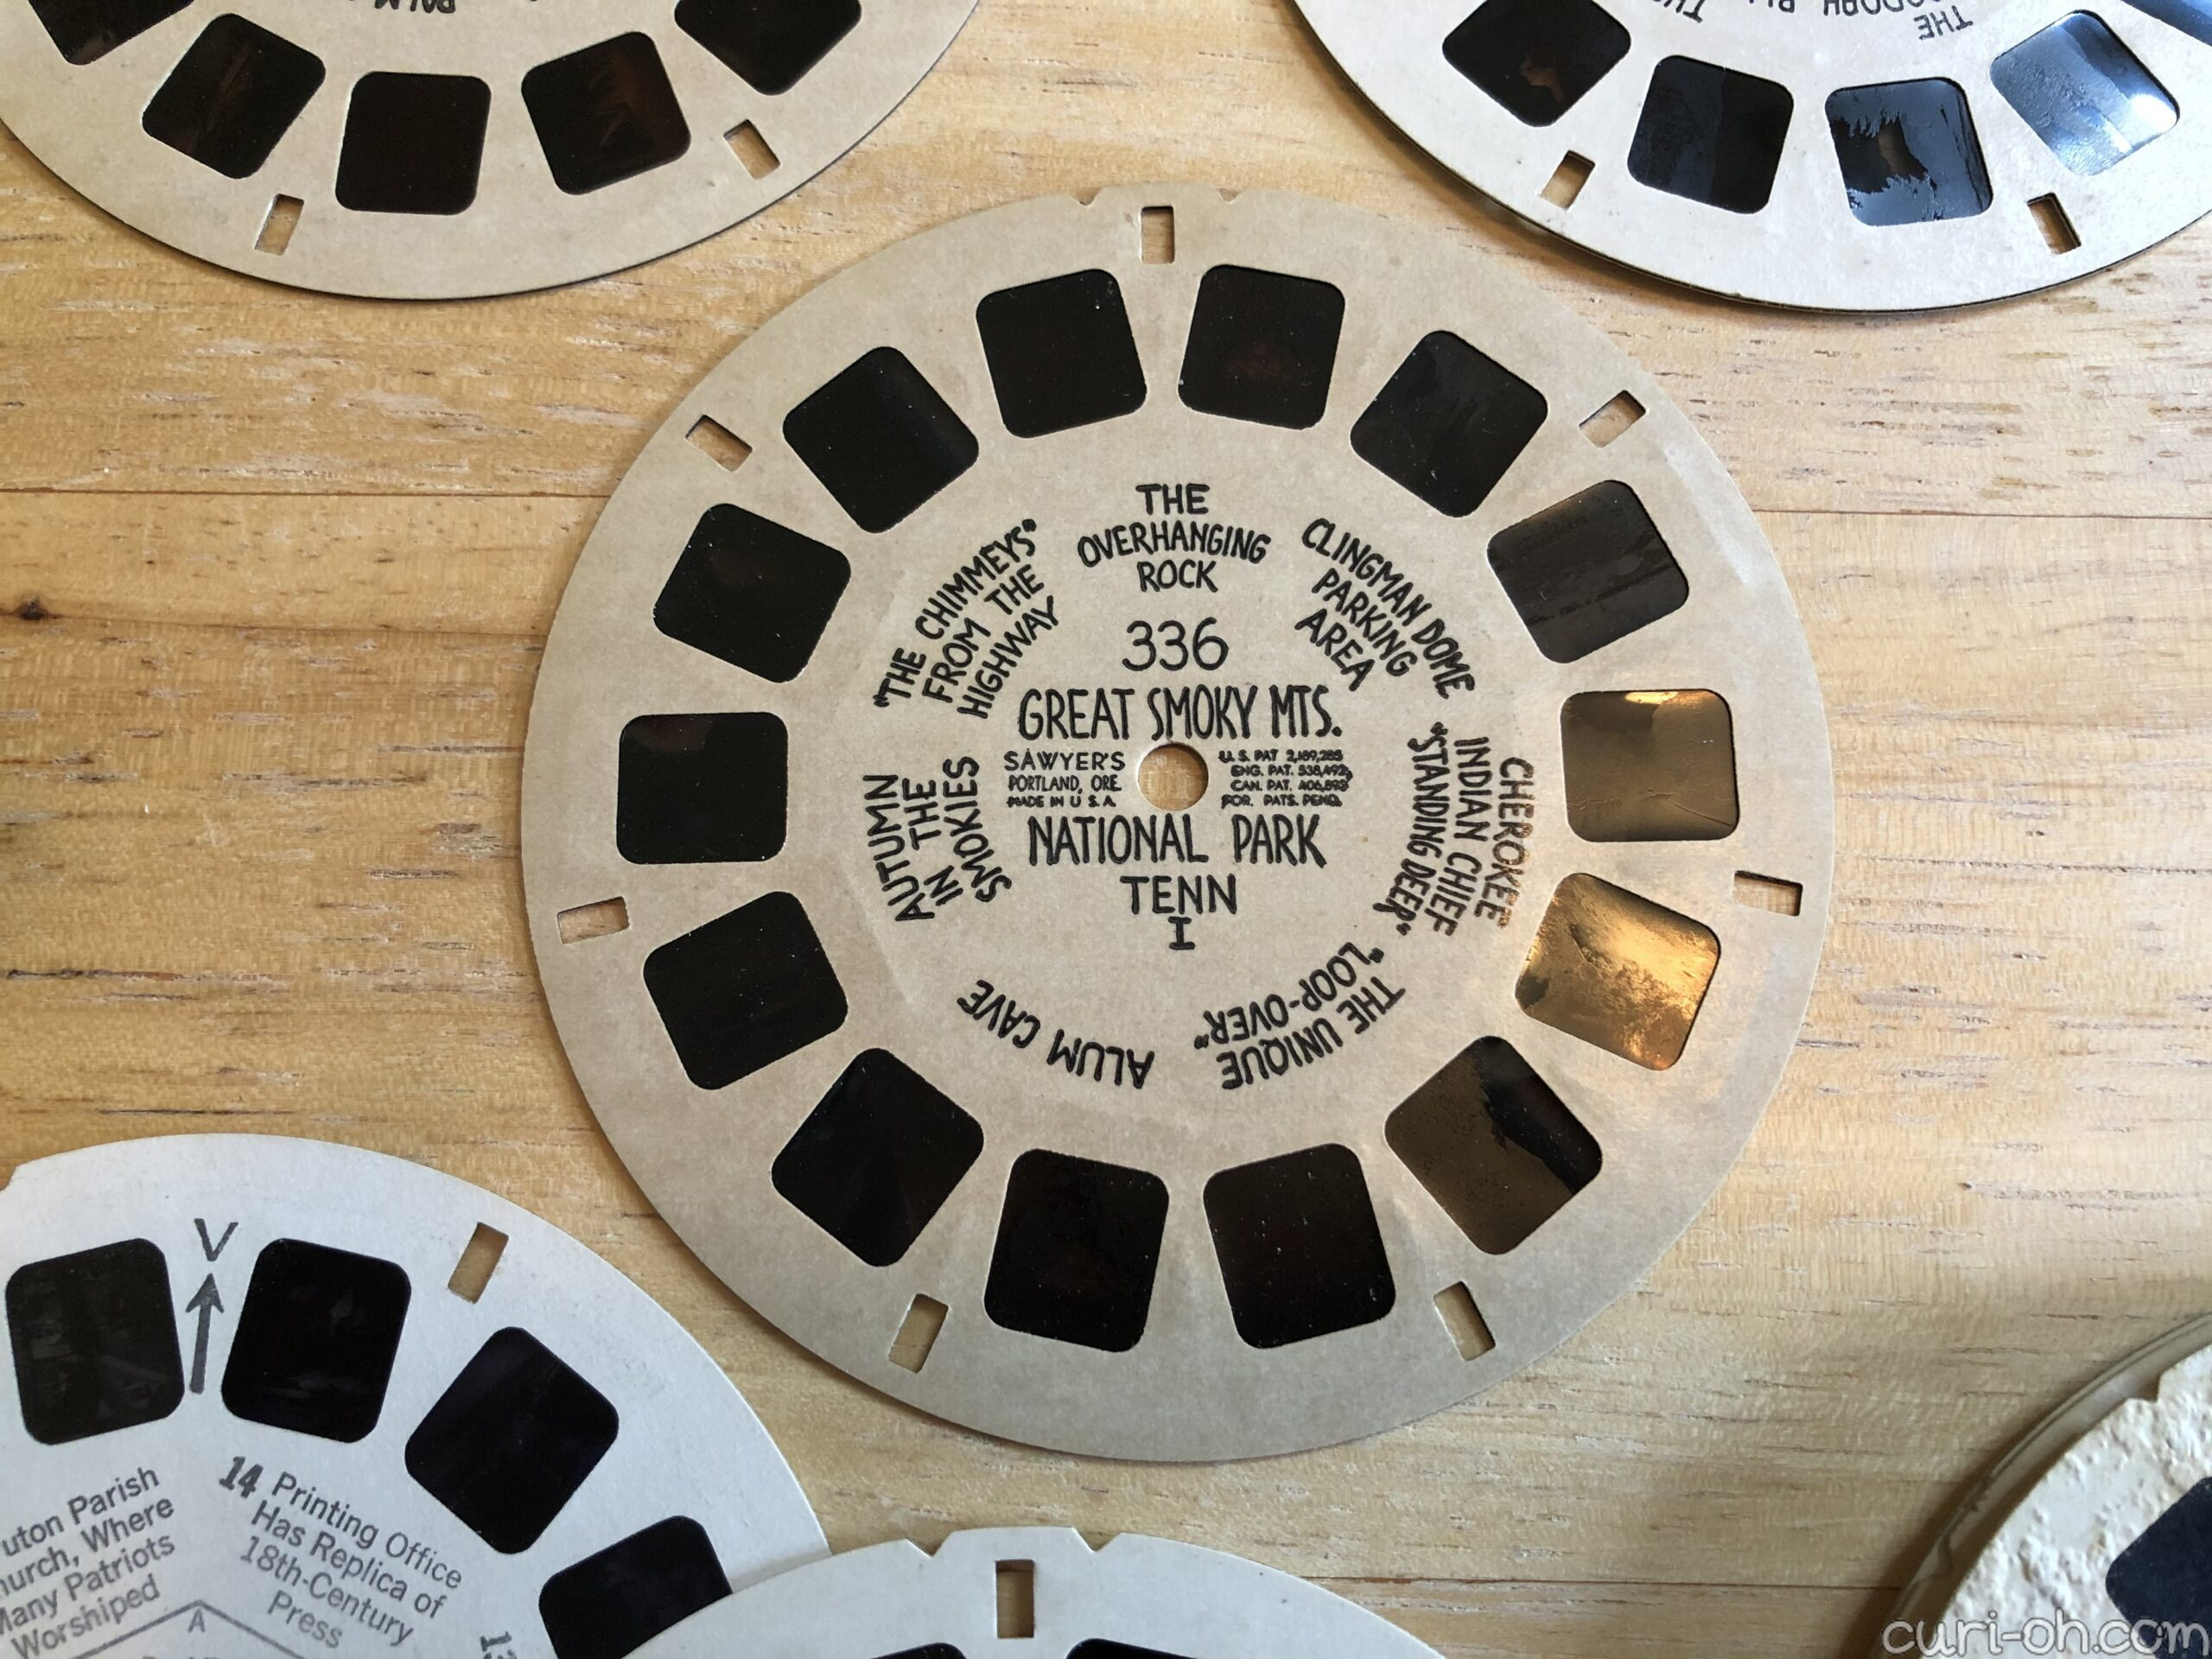
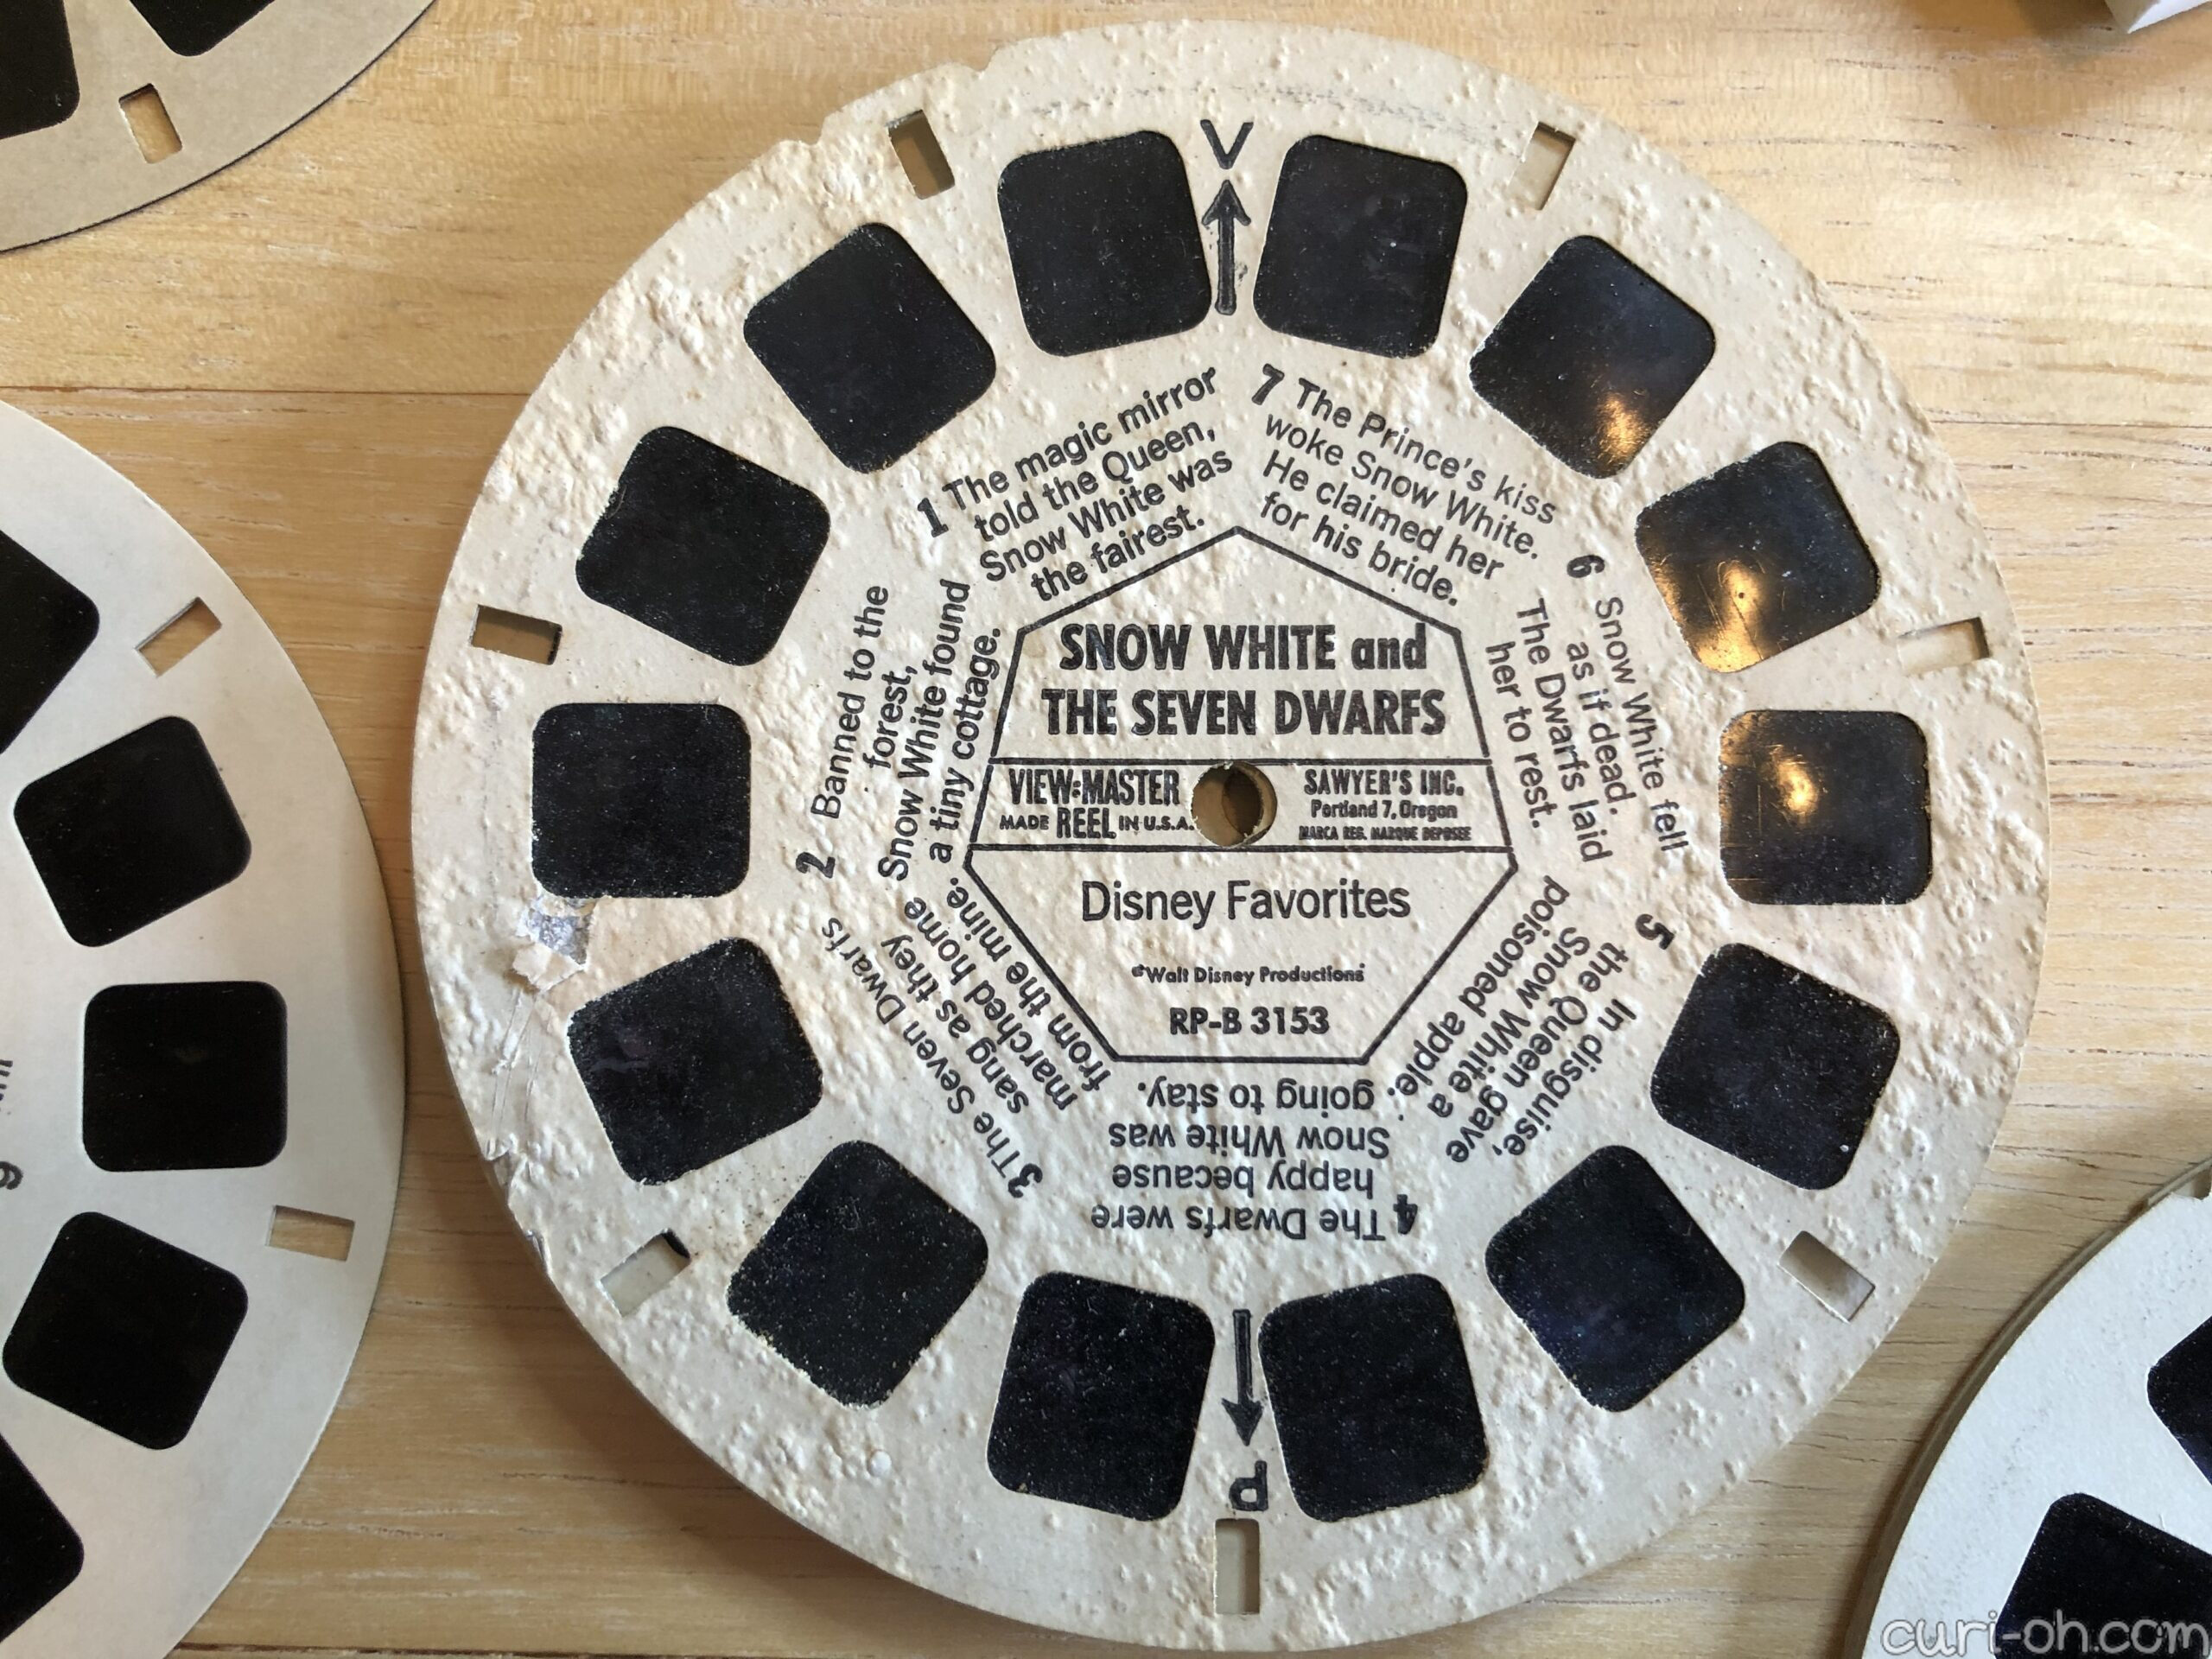
You can see how the left and right reels differ above. This is called “bubbling” or “blistering” and simply means the affected reel has been exposed to moisture at some point. This does degrade the quality in the eyes of collectors, so you want to store them in dry conditions.
Anyway, now you know what is inside a View-Master! Hope you enjoyed <3