Tin Cans Repurposed to Pencil Cups
This is a super basic DiY, but I love it because I LOVE recycled crafts almost as much as I love organization.
Since we’re working from home more recently with the Covid-19 pandemic, our kitchen table has become a giant work desk. In an attempt to get better organized there, I had a few organizational items in my shopping cart at the store one day when I stopped dead in my tracks. “What are you doing buying a pencil cup?!” I scolded. “Anything can be a cup, make something cute!”
Enter the humble tin can. As I cleaned one out for the recycling bin, I decided on this craft project to meet my workspace organizational needs. I say that, but I ended up using these for my fun office, and something basic and un-fun for my temporary workspace.
This is an old craft idea of course. You may have done one of these as a kid in school or at a summer camp. My dad had one that my sister made as a child on his desk at work for ages.
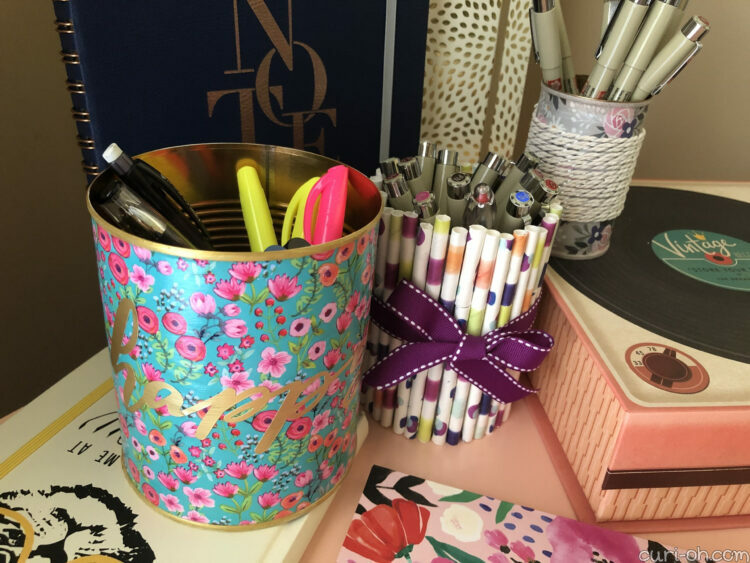
I made three, all different sizes, from tomato product cans, with the smallest being the tiny ones that tomato paste comes in, the middle size being the average, standard can size, and the large being, well, the large! These are all made from various papercrafting supplies, but with three different methods.
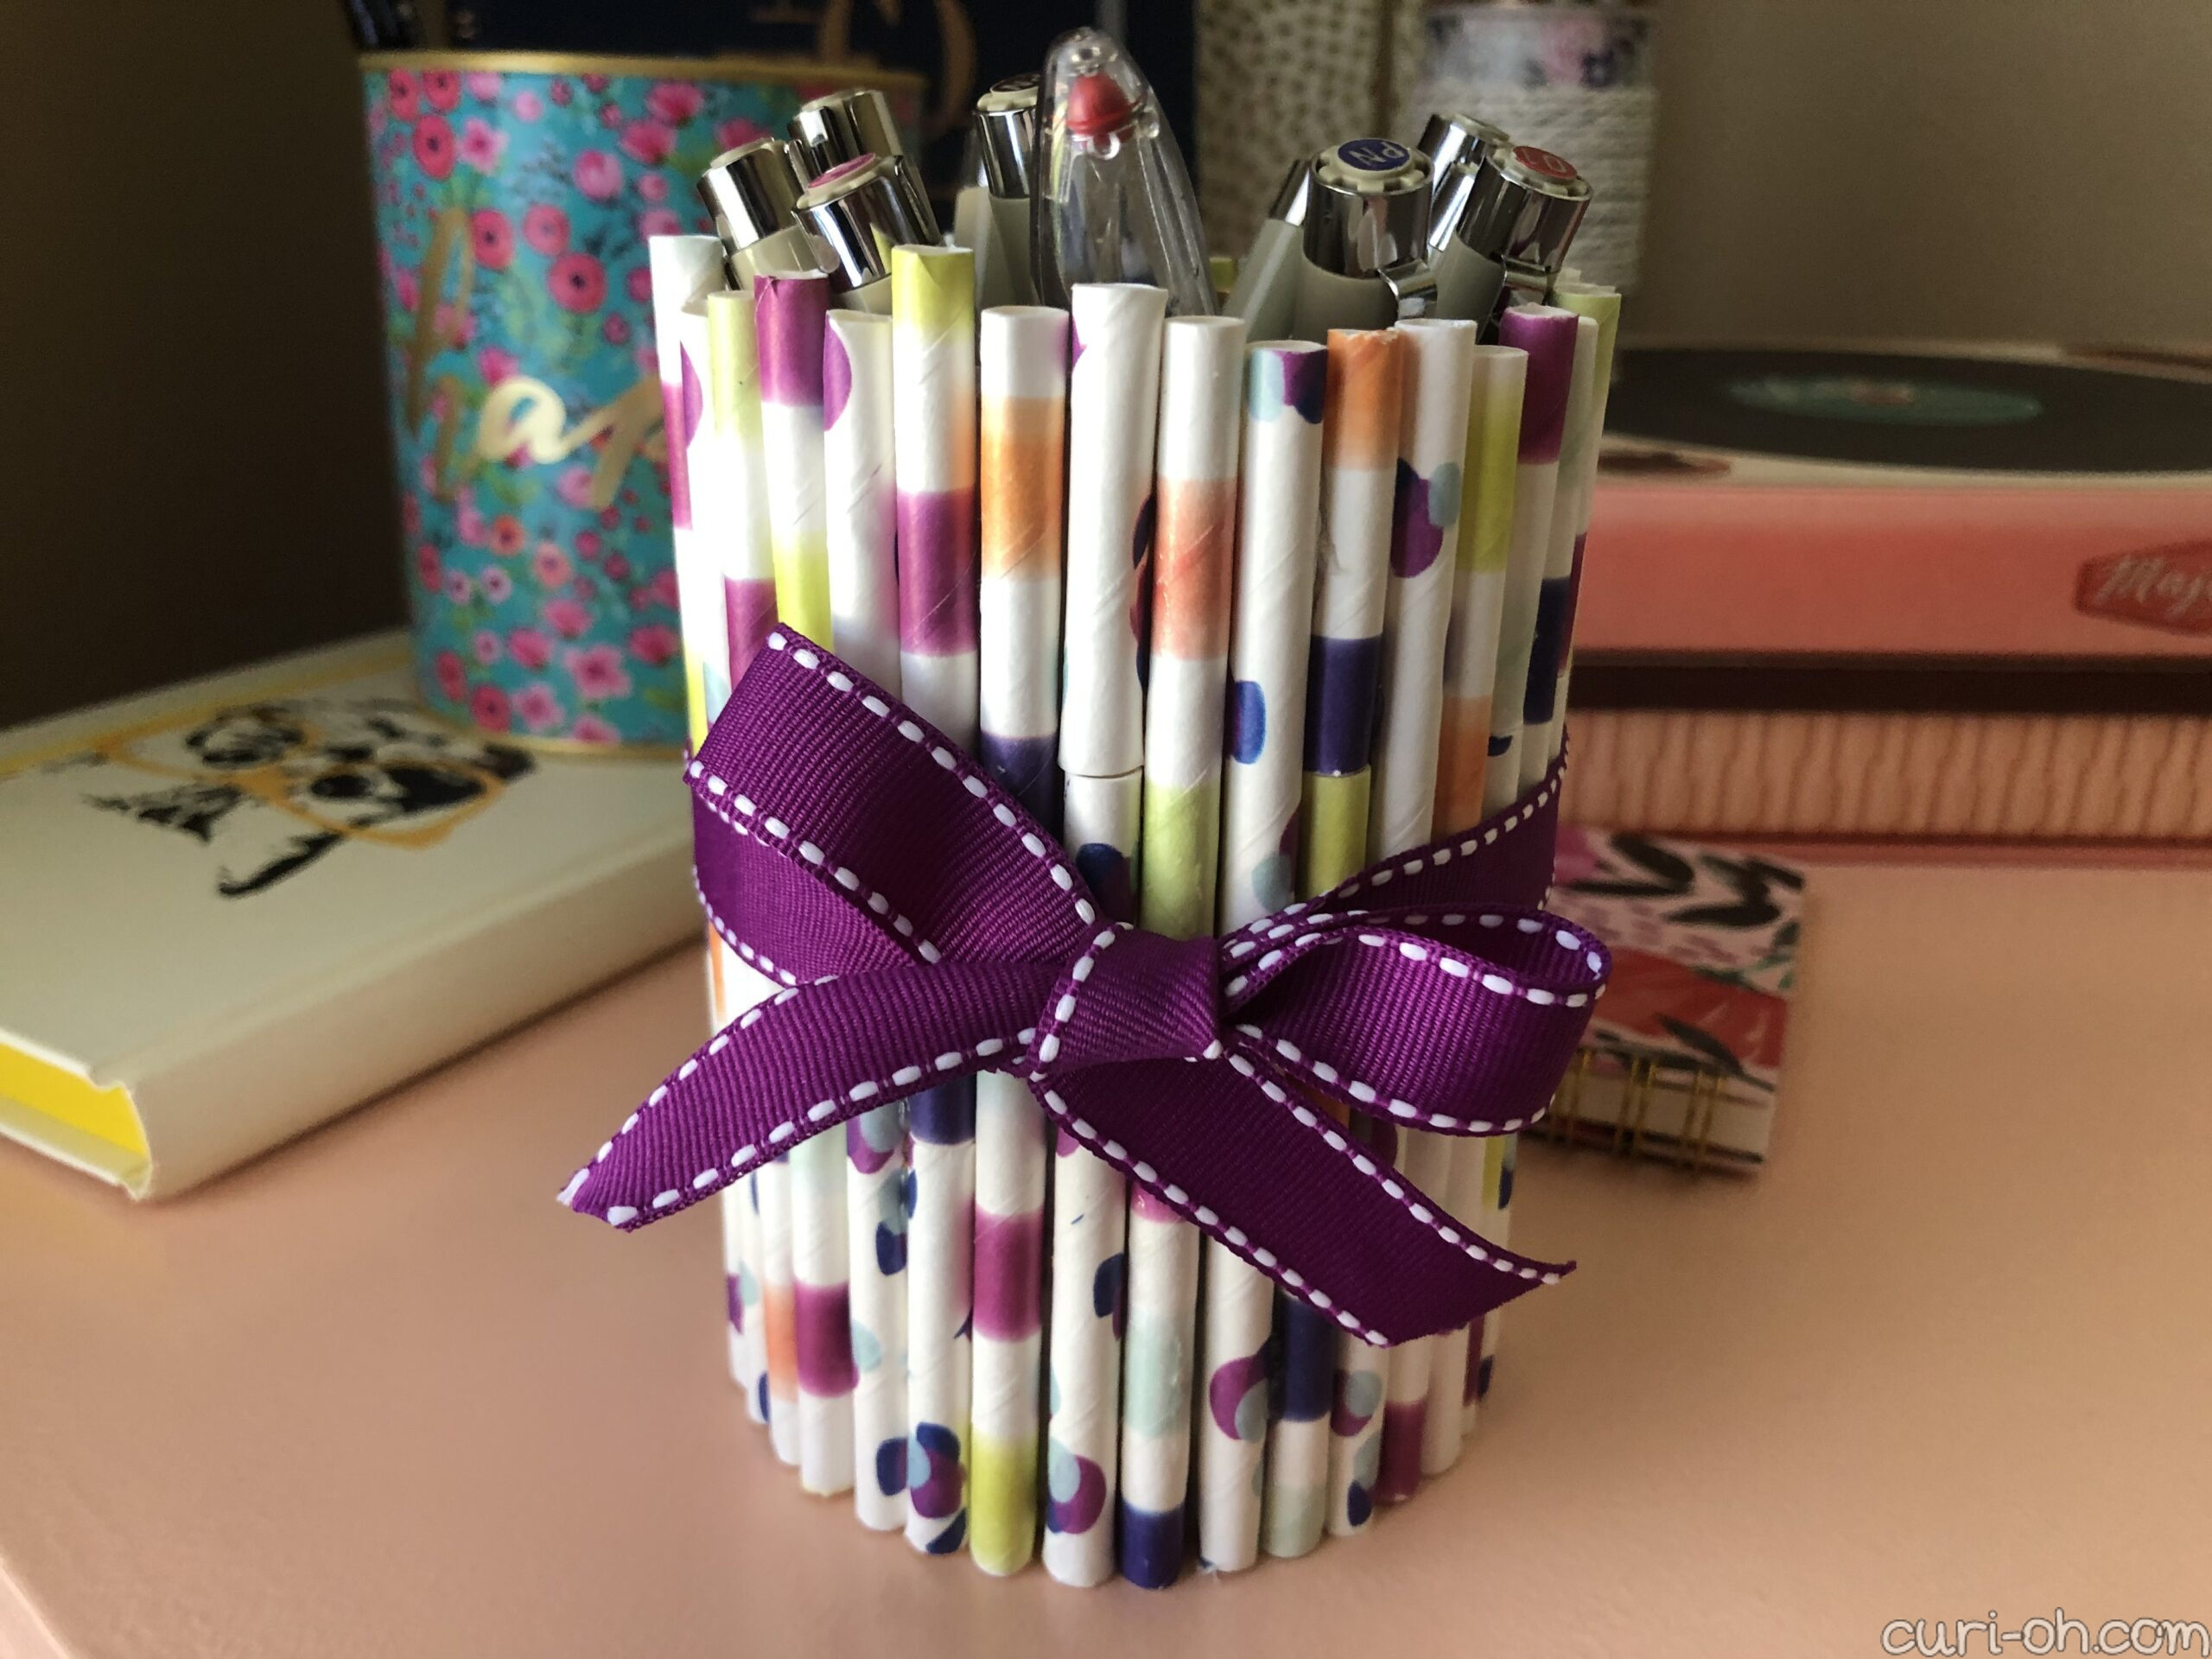
For the first one, I chose to decorate it with paper straws. Originally I planned to do only the one can and to do it this way. I had this brand new pack of cute paper straws and only used two before I accidentally spilled them on the ground. Of course, I wasn’t going to use them for food purposes anymore, so I just stuck them in my papercrafts box until a good use came along.

As you can see, the lips at the bottom and the top of the can will prevent the straw from touching the sides of the can. I tried to force it in various ways but nothing worked except good old hot glue, which is thick enough to fill the space between the two.
For a standard can size of approximately 15 ounces, I counted that it would take 38 paper straws to cover the surface if you wanted to avoid using any pieces. I did not have quite that many and when you cut the tops off you have a good sized piece left over, but a straw is not tall enough to get two whole pieces from one for this can size. I chose to use the remnants, but of course it’s not “perfect” that way. I finished it off with a cute ribbon.
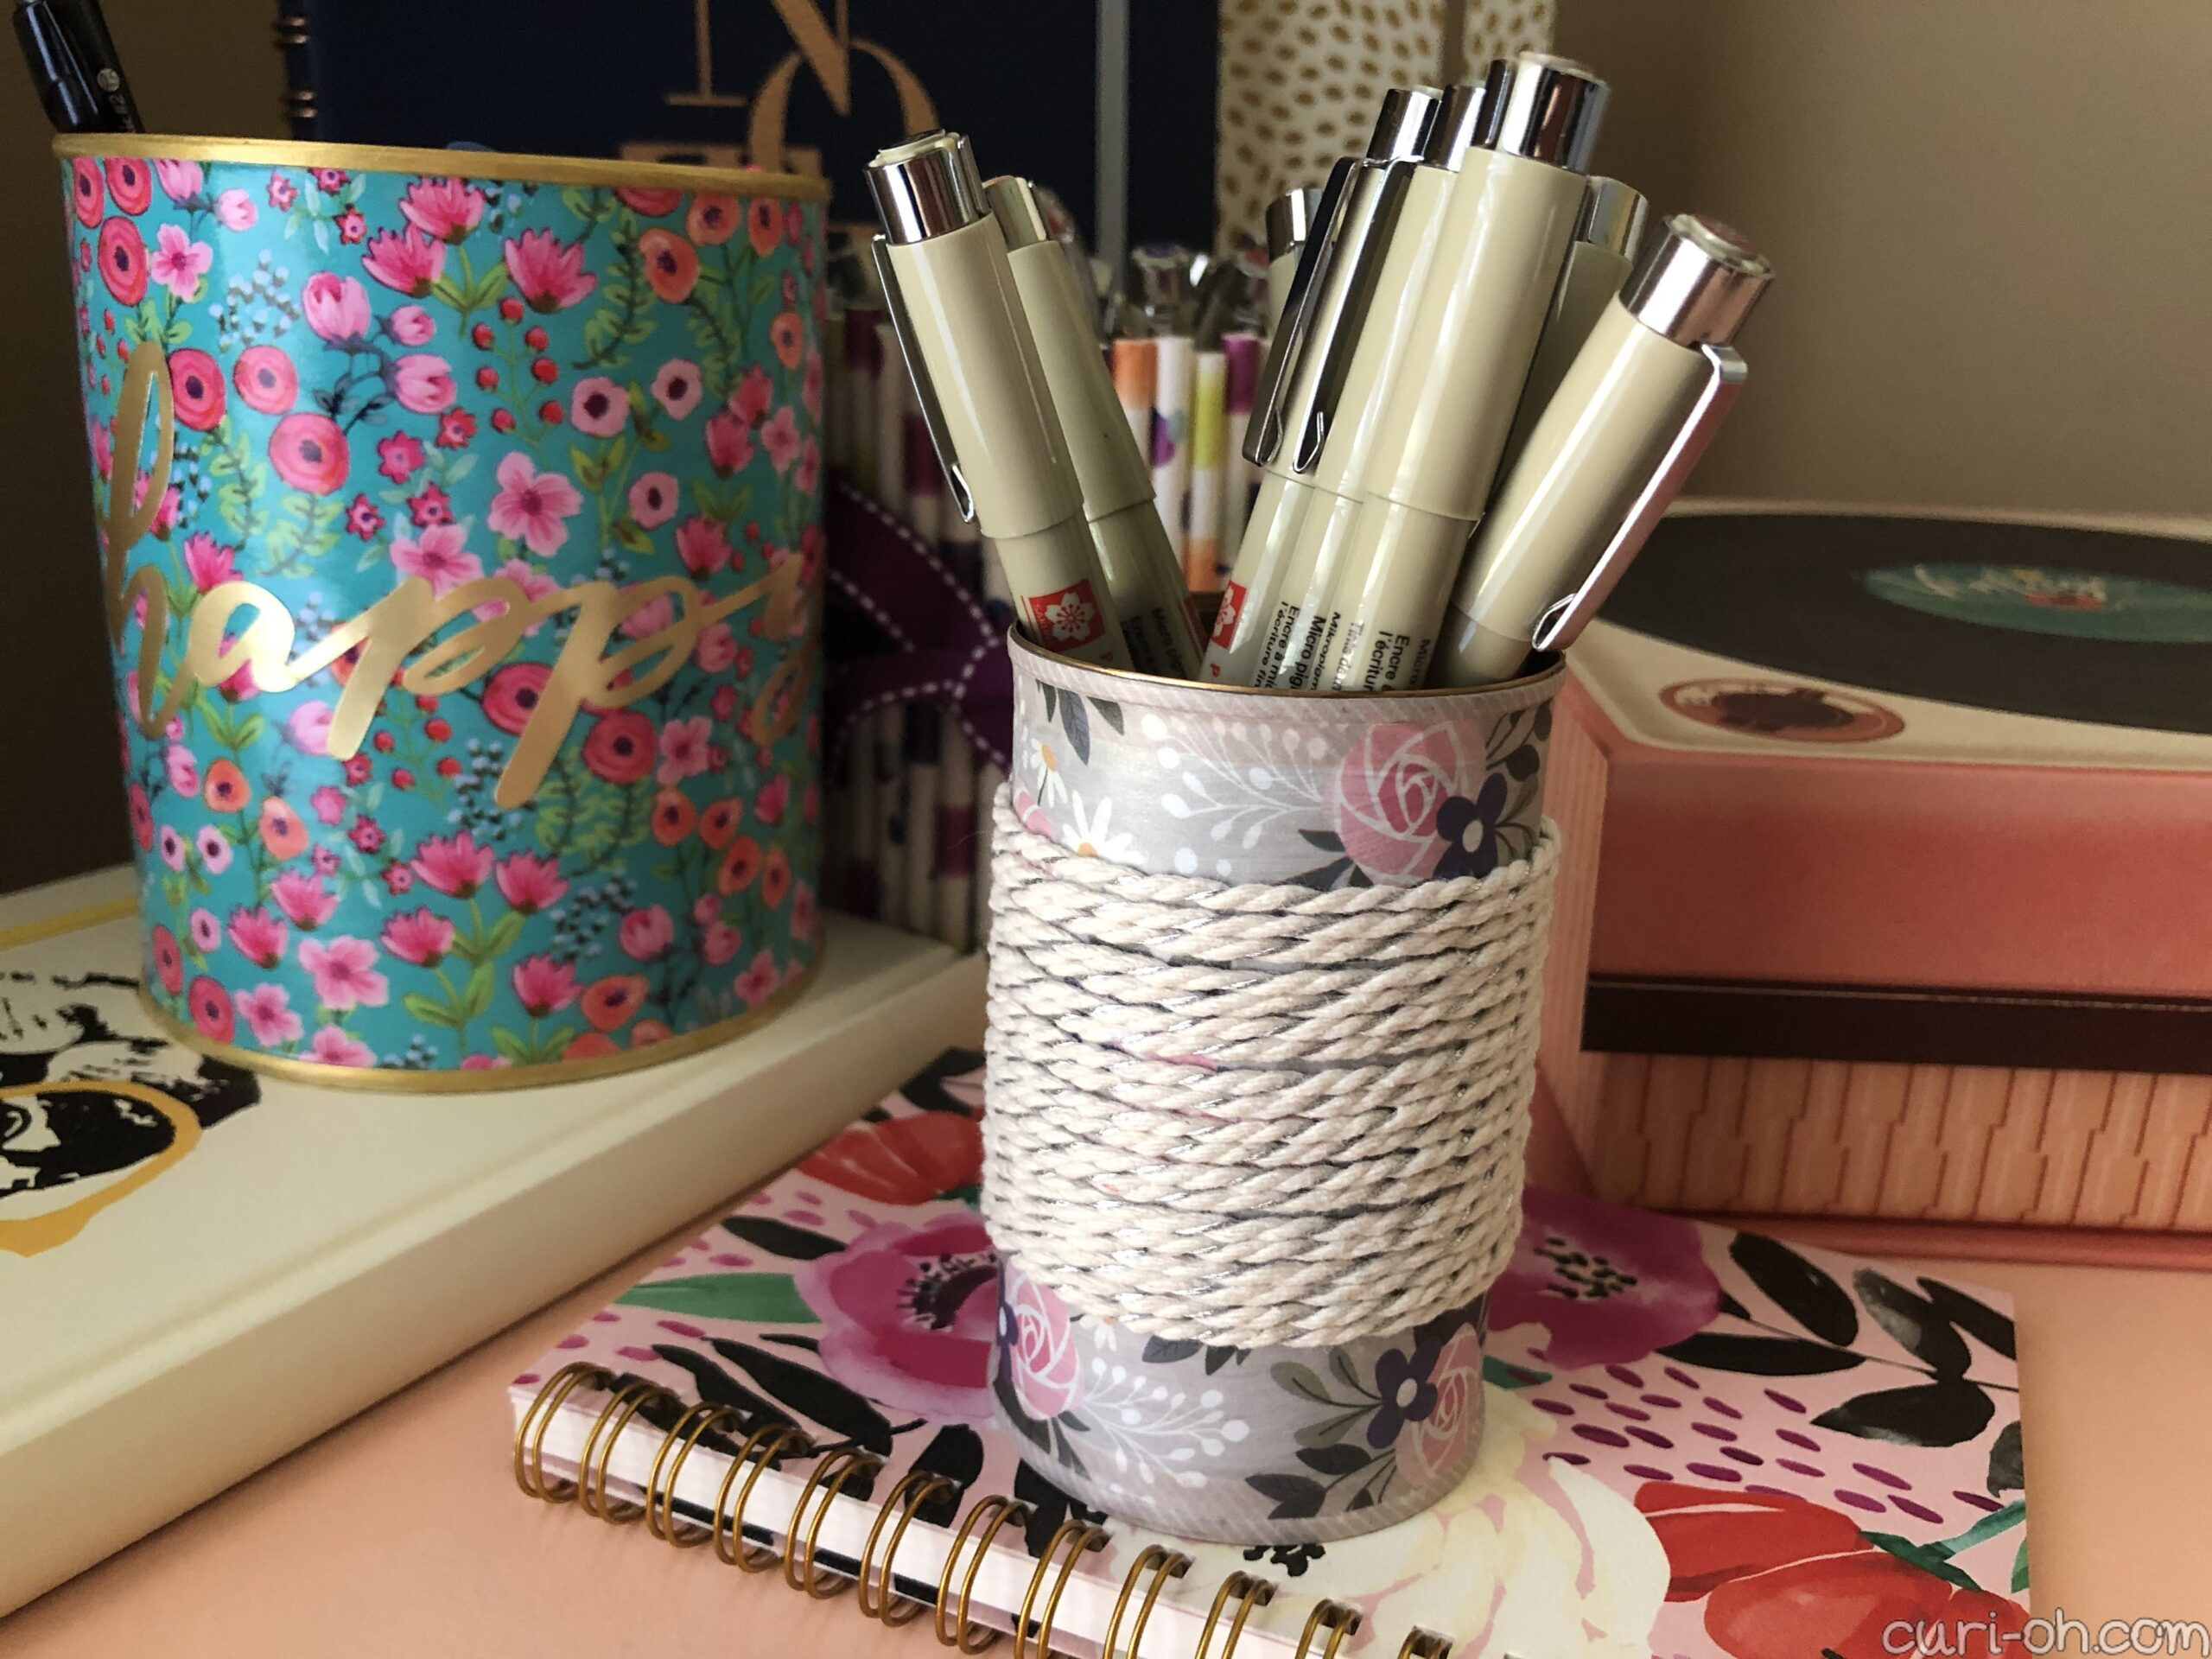
The next one was the easiest. My washi tape of choice was fairly transparent, so I applied a coat of white acrylic paint to the can’s exterior and let dry. I used one thin washi tape along the lips of the can and a thick one on the can’s body.
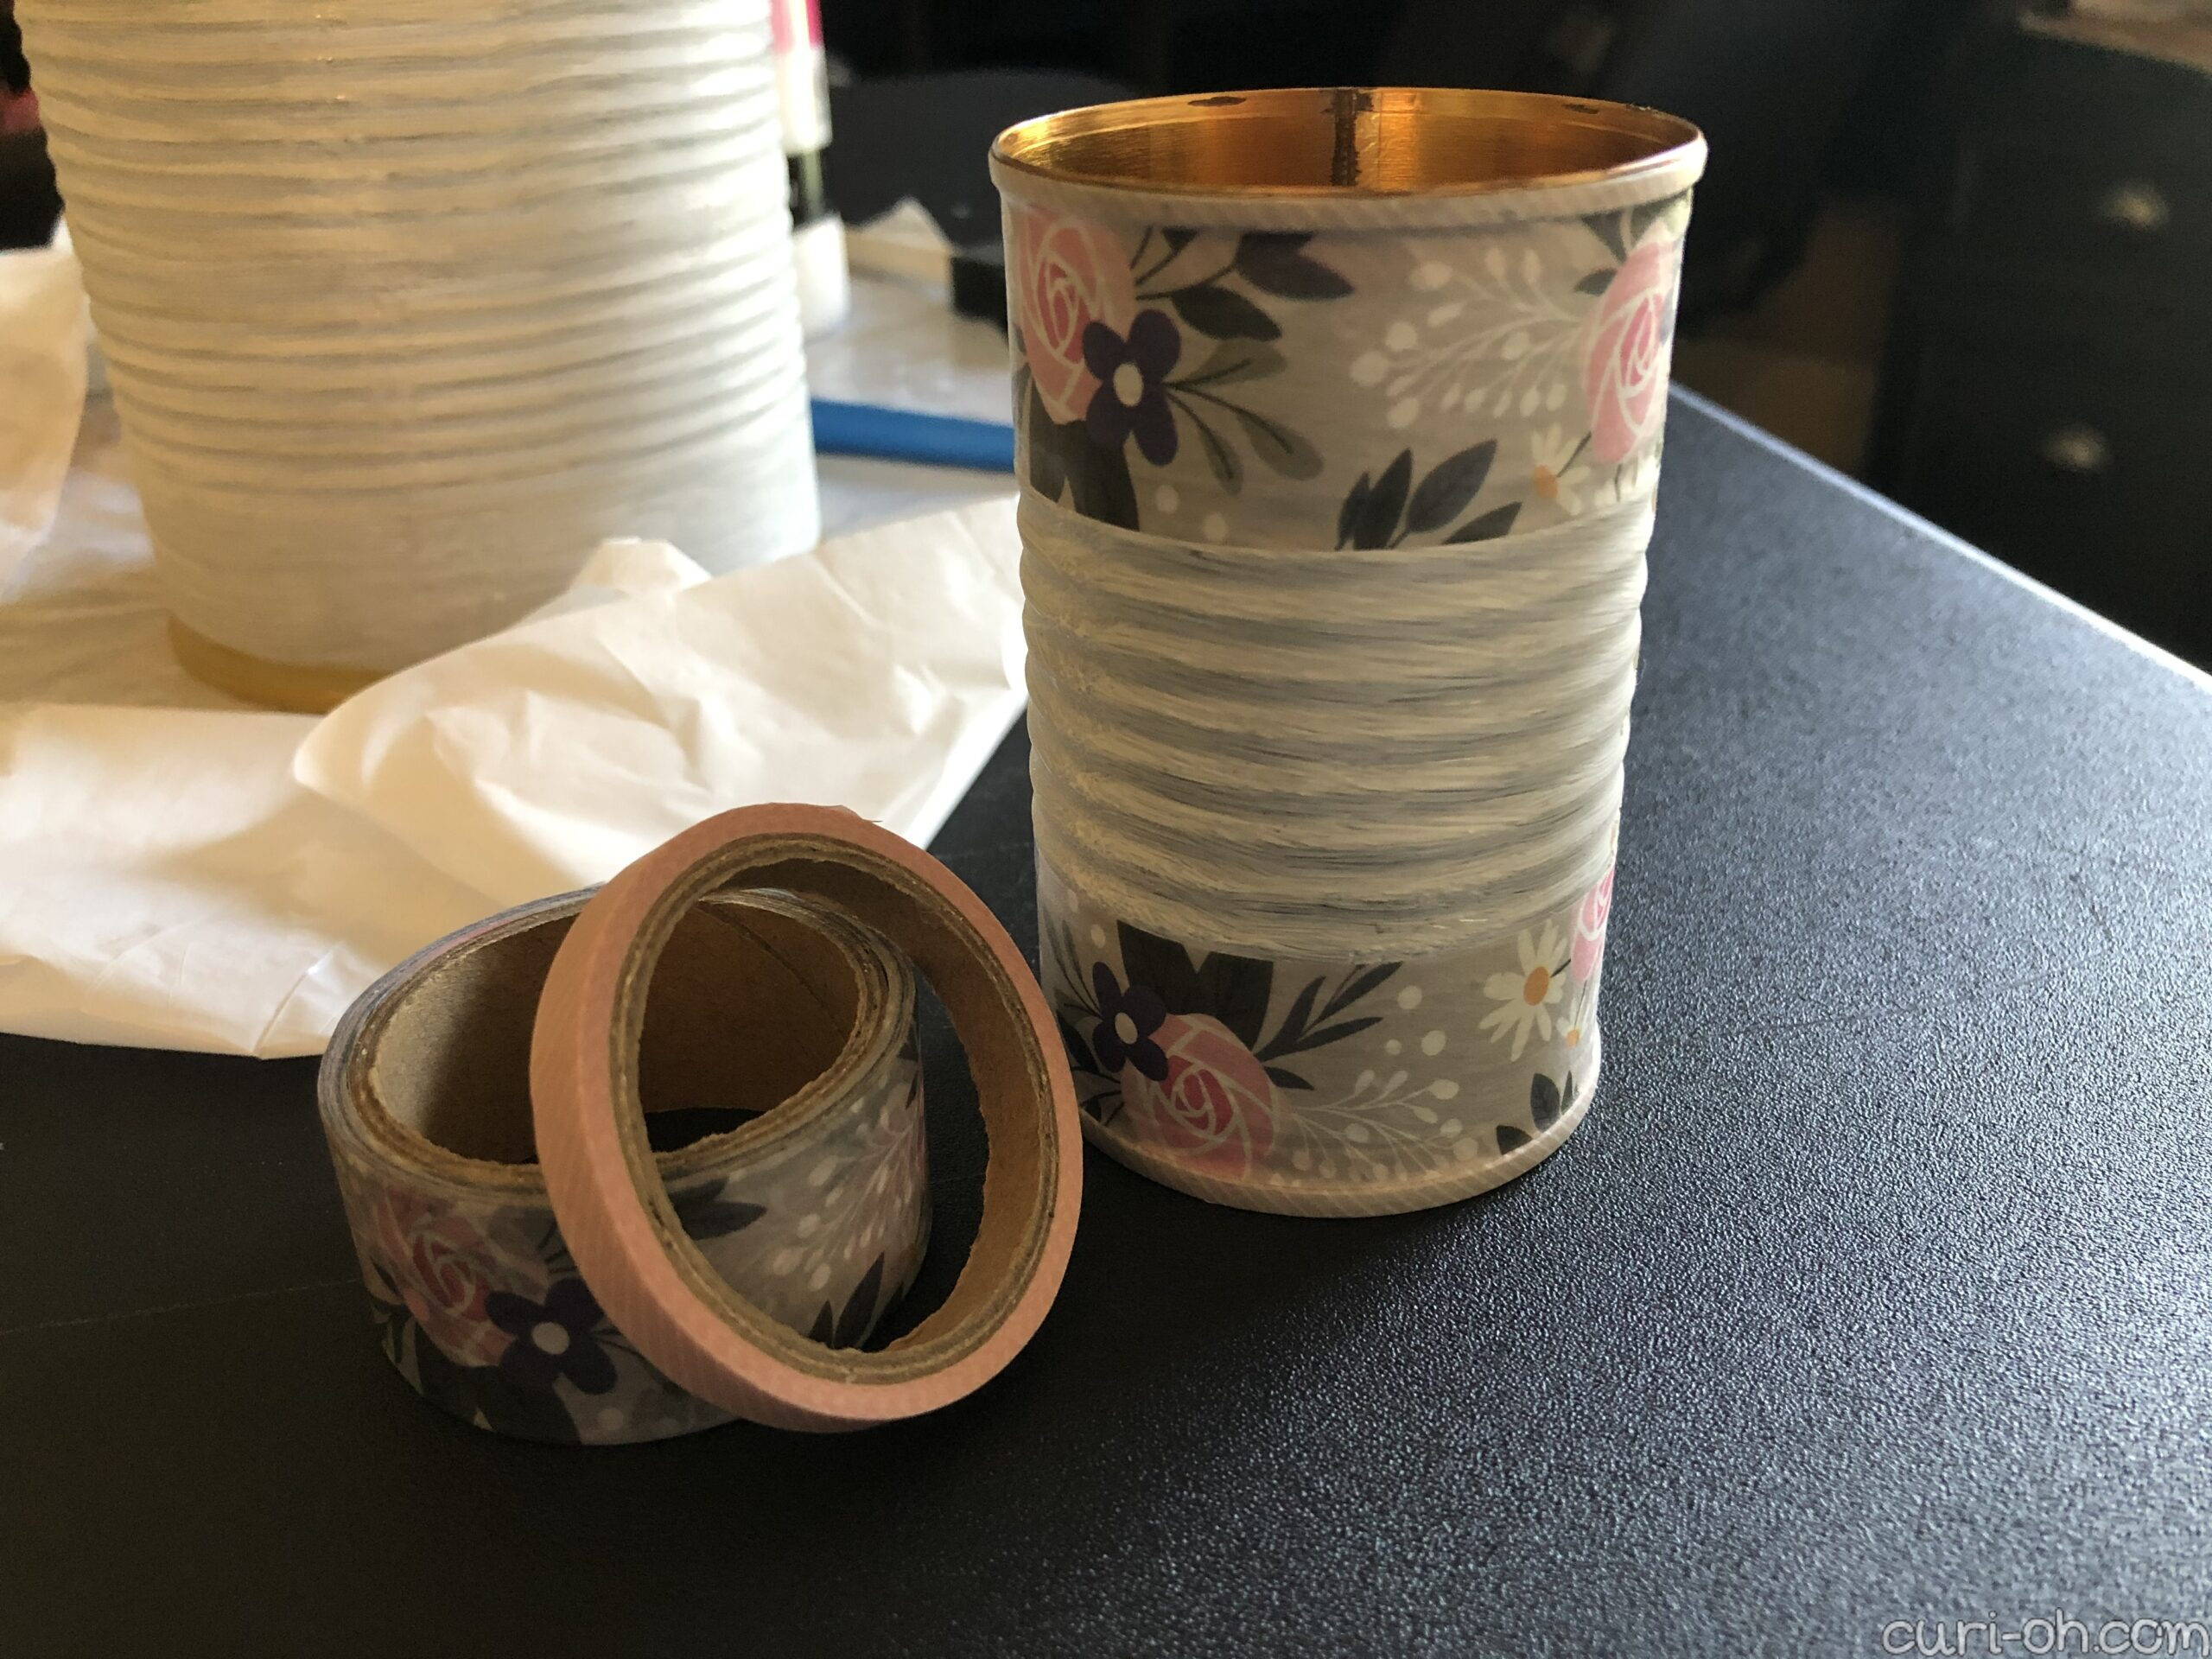
Once the tape was on, I applied a thin coat of clear craft glue to the middle and wound twine about it for decoration, tying it off at the back and allowing the glue to set.
I saved my favorite for last. I have been dying to use this gorgeous wrapping paper for something crafty.

I first applied a layer of white paint to the can to help the Mod Podge stick. I painted the lips of the can with gold acrylic paint. I also extended it a bit below the lips, onto the body, in case my cut of the wrapping paper or application of it weren’t exact.

I allowed that to dry and meanwhile used a ribbon measuring tape to measure the can and determine exactly what size to cut my wrapping paper. I then used a ruler to get a straight edge and cut an appropriately sized strip.
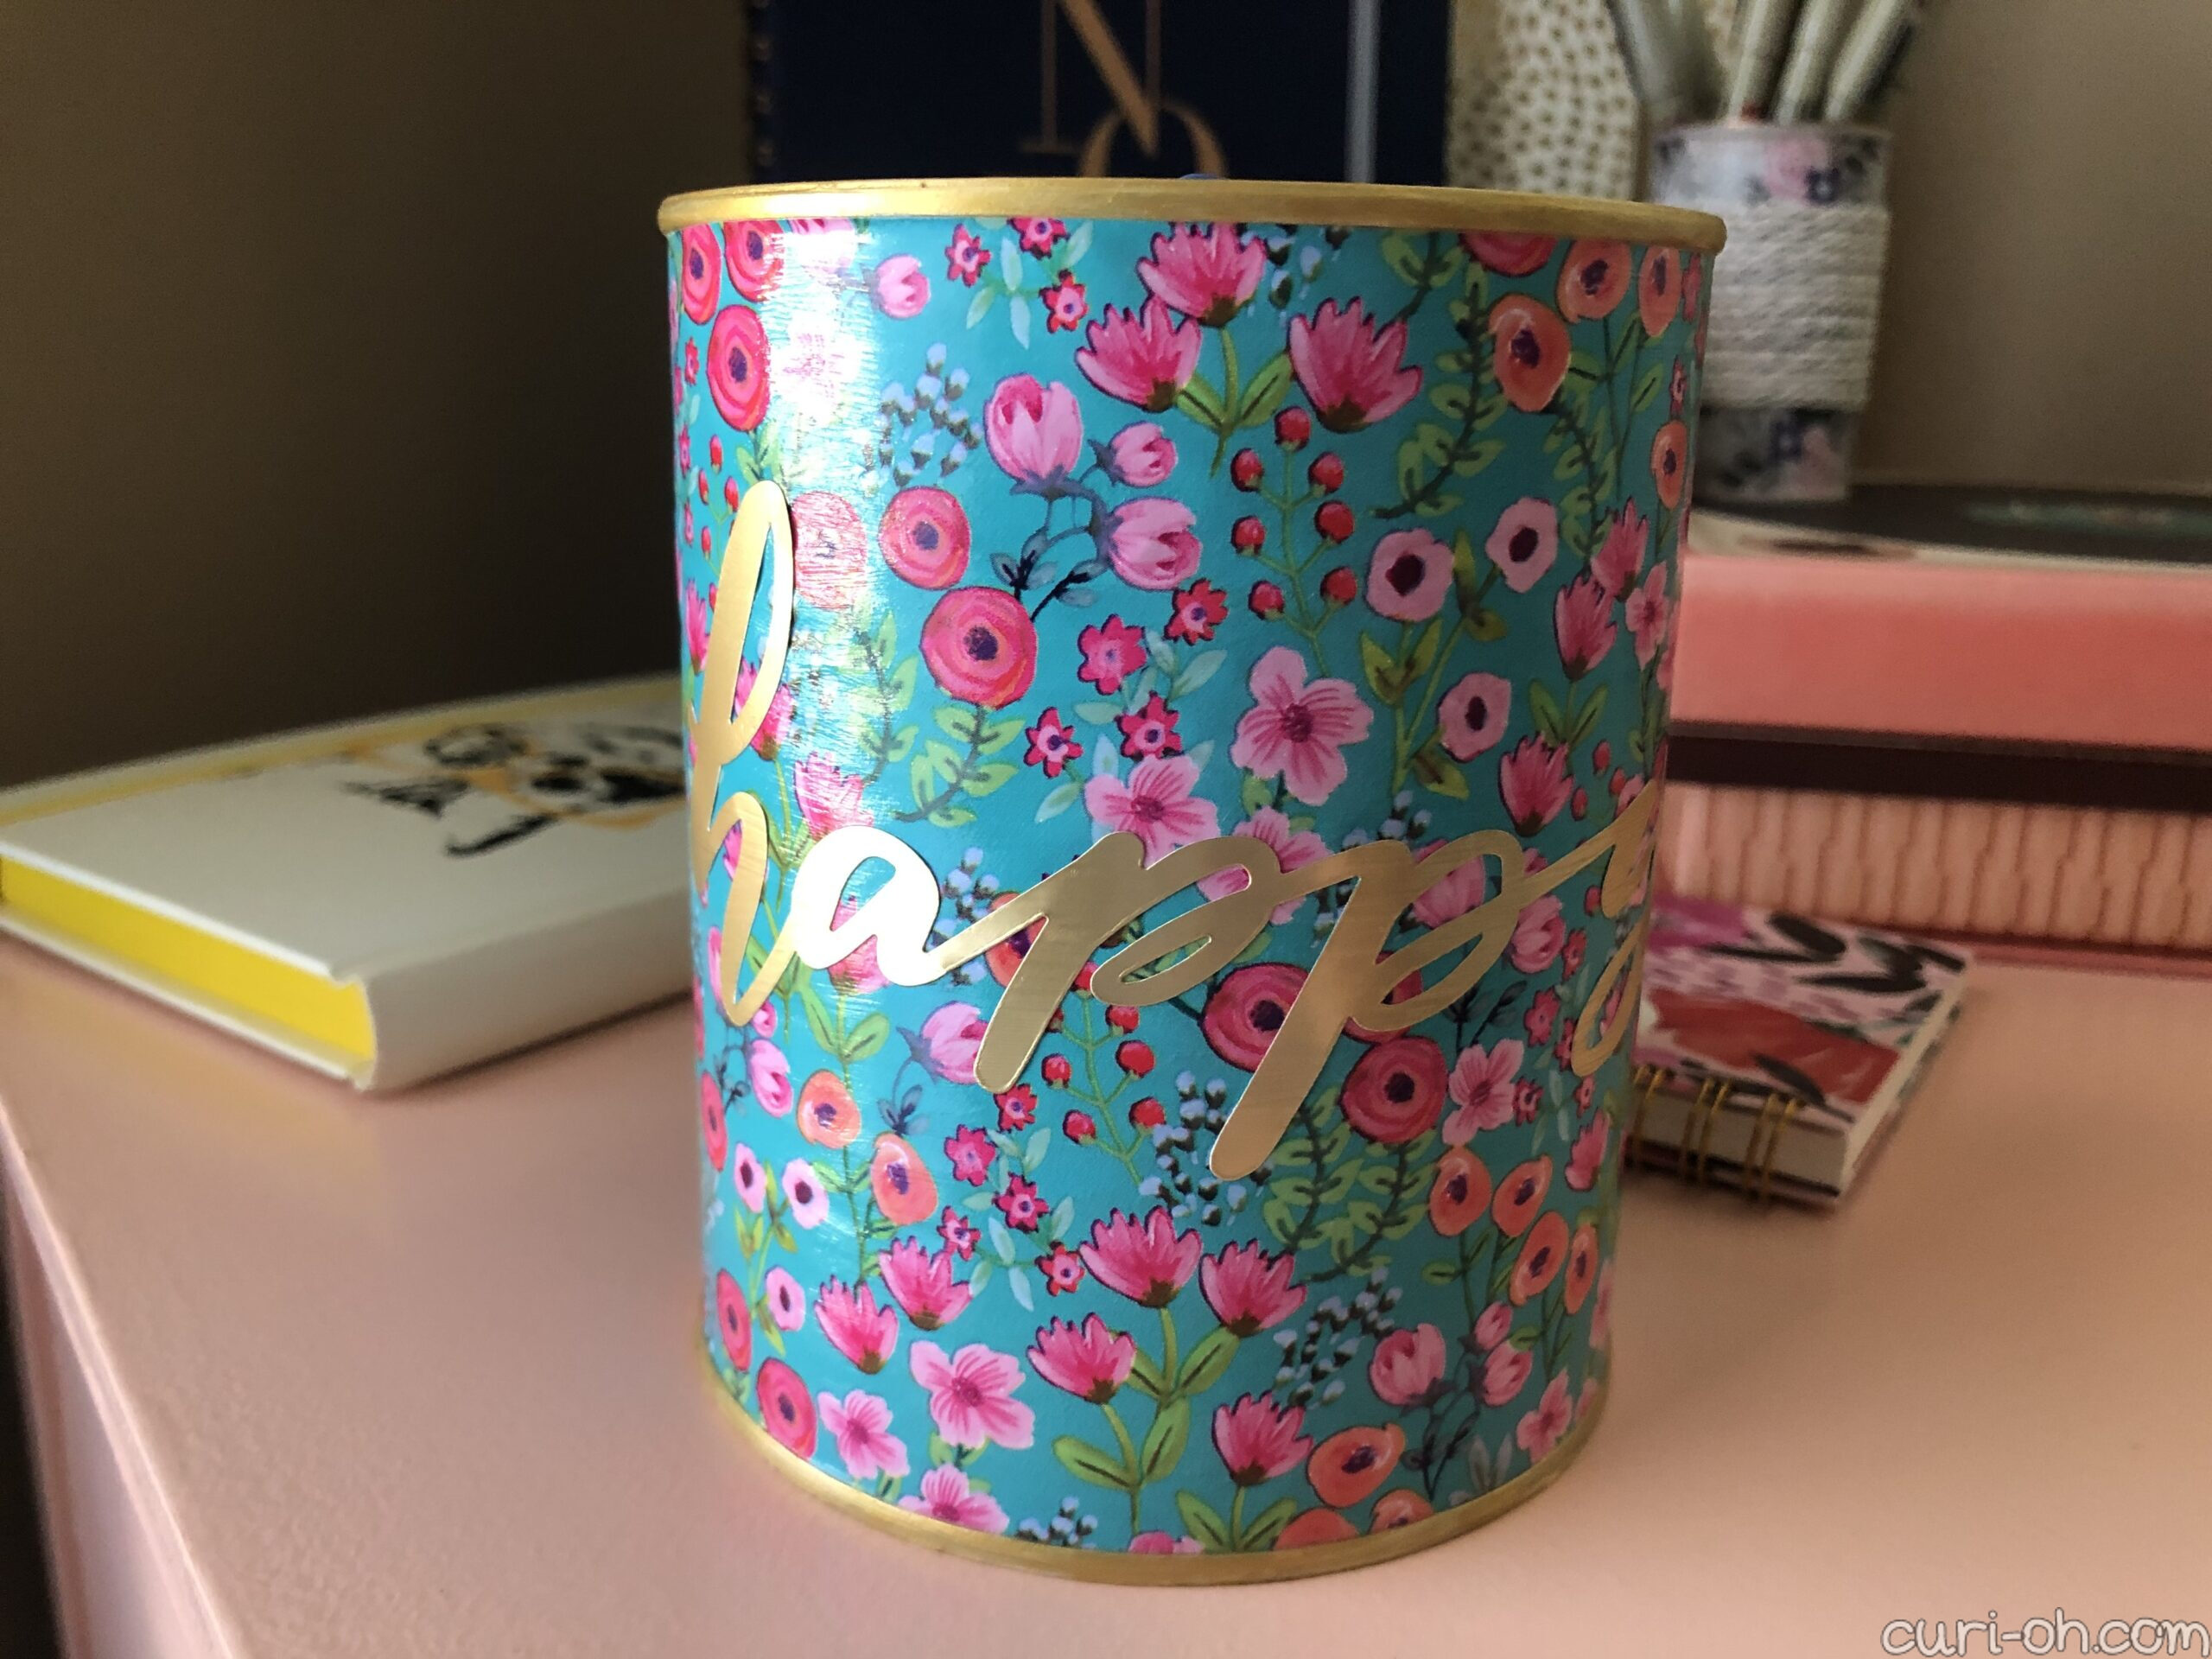
From there, once the paint was dry, I applied a thin layer of gloss Mod Podge to the surface of the can and quickly applied my strip of wrapping paper, compressing it down to form tightly to the can. I then painted a topcoat layer of the Mod Podge on the surface of the paper. If you need additional help, check out this tutorial from Mod Podge on the basics of decoupaging.
I had a bunch of gold stickers that came with a scrapbook paper pack, so once that was dry I chose one I liked and stuck it on there, strengthening the bond with a layer of the clear Mod Podge over the top. Much later, after these pictures, I did go back and add a couple more coats of the Mod Podge to make it more durable. It seemed fine, but I wanted to be safe since I love this one so much and don’t want it to be damaged.

There you have it! Tin cans repurposed to desk organization cups, three different ways. This basic DIY took no time, reduced waste, allowed me to create something cute and personal, and offered a great outlet to use up some random papercrafting supplies.
IN SUMMARY, I USED:
- Paper straws
- Hot glue
- Ribbon
- Scissors
- White acrylic paint
- Paint brush and palette
- Washi tape
- Twine
- Mod Podge
- Wrapping paper
- Gold acrylic paint
- A sticker
- Ribbon measuring tape
- Ruler
It’s so satisfying to save something from the landfill AND create something useful too!