Three Crafts With Fabric Paint
Crafting while moving has been difficult. #1: I have no time. #2: I will be ready to begin a project and then realize something I need for it is in storage. Grr!
Lately I’ve been on a forced hiatus from working on the new house though – and from things in general. I developed a horrendous sinus cold. Thank God it wasn’t Covid, but here in the third trimester of my pregnancy it has been surprisingly hard on me. However, the lull did give me time to do a bit of crafting. When all I felt like doing was sitting in my chair, it was nice to at least keep my hands and brain busy.
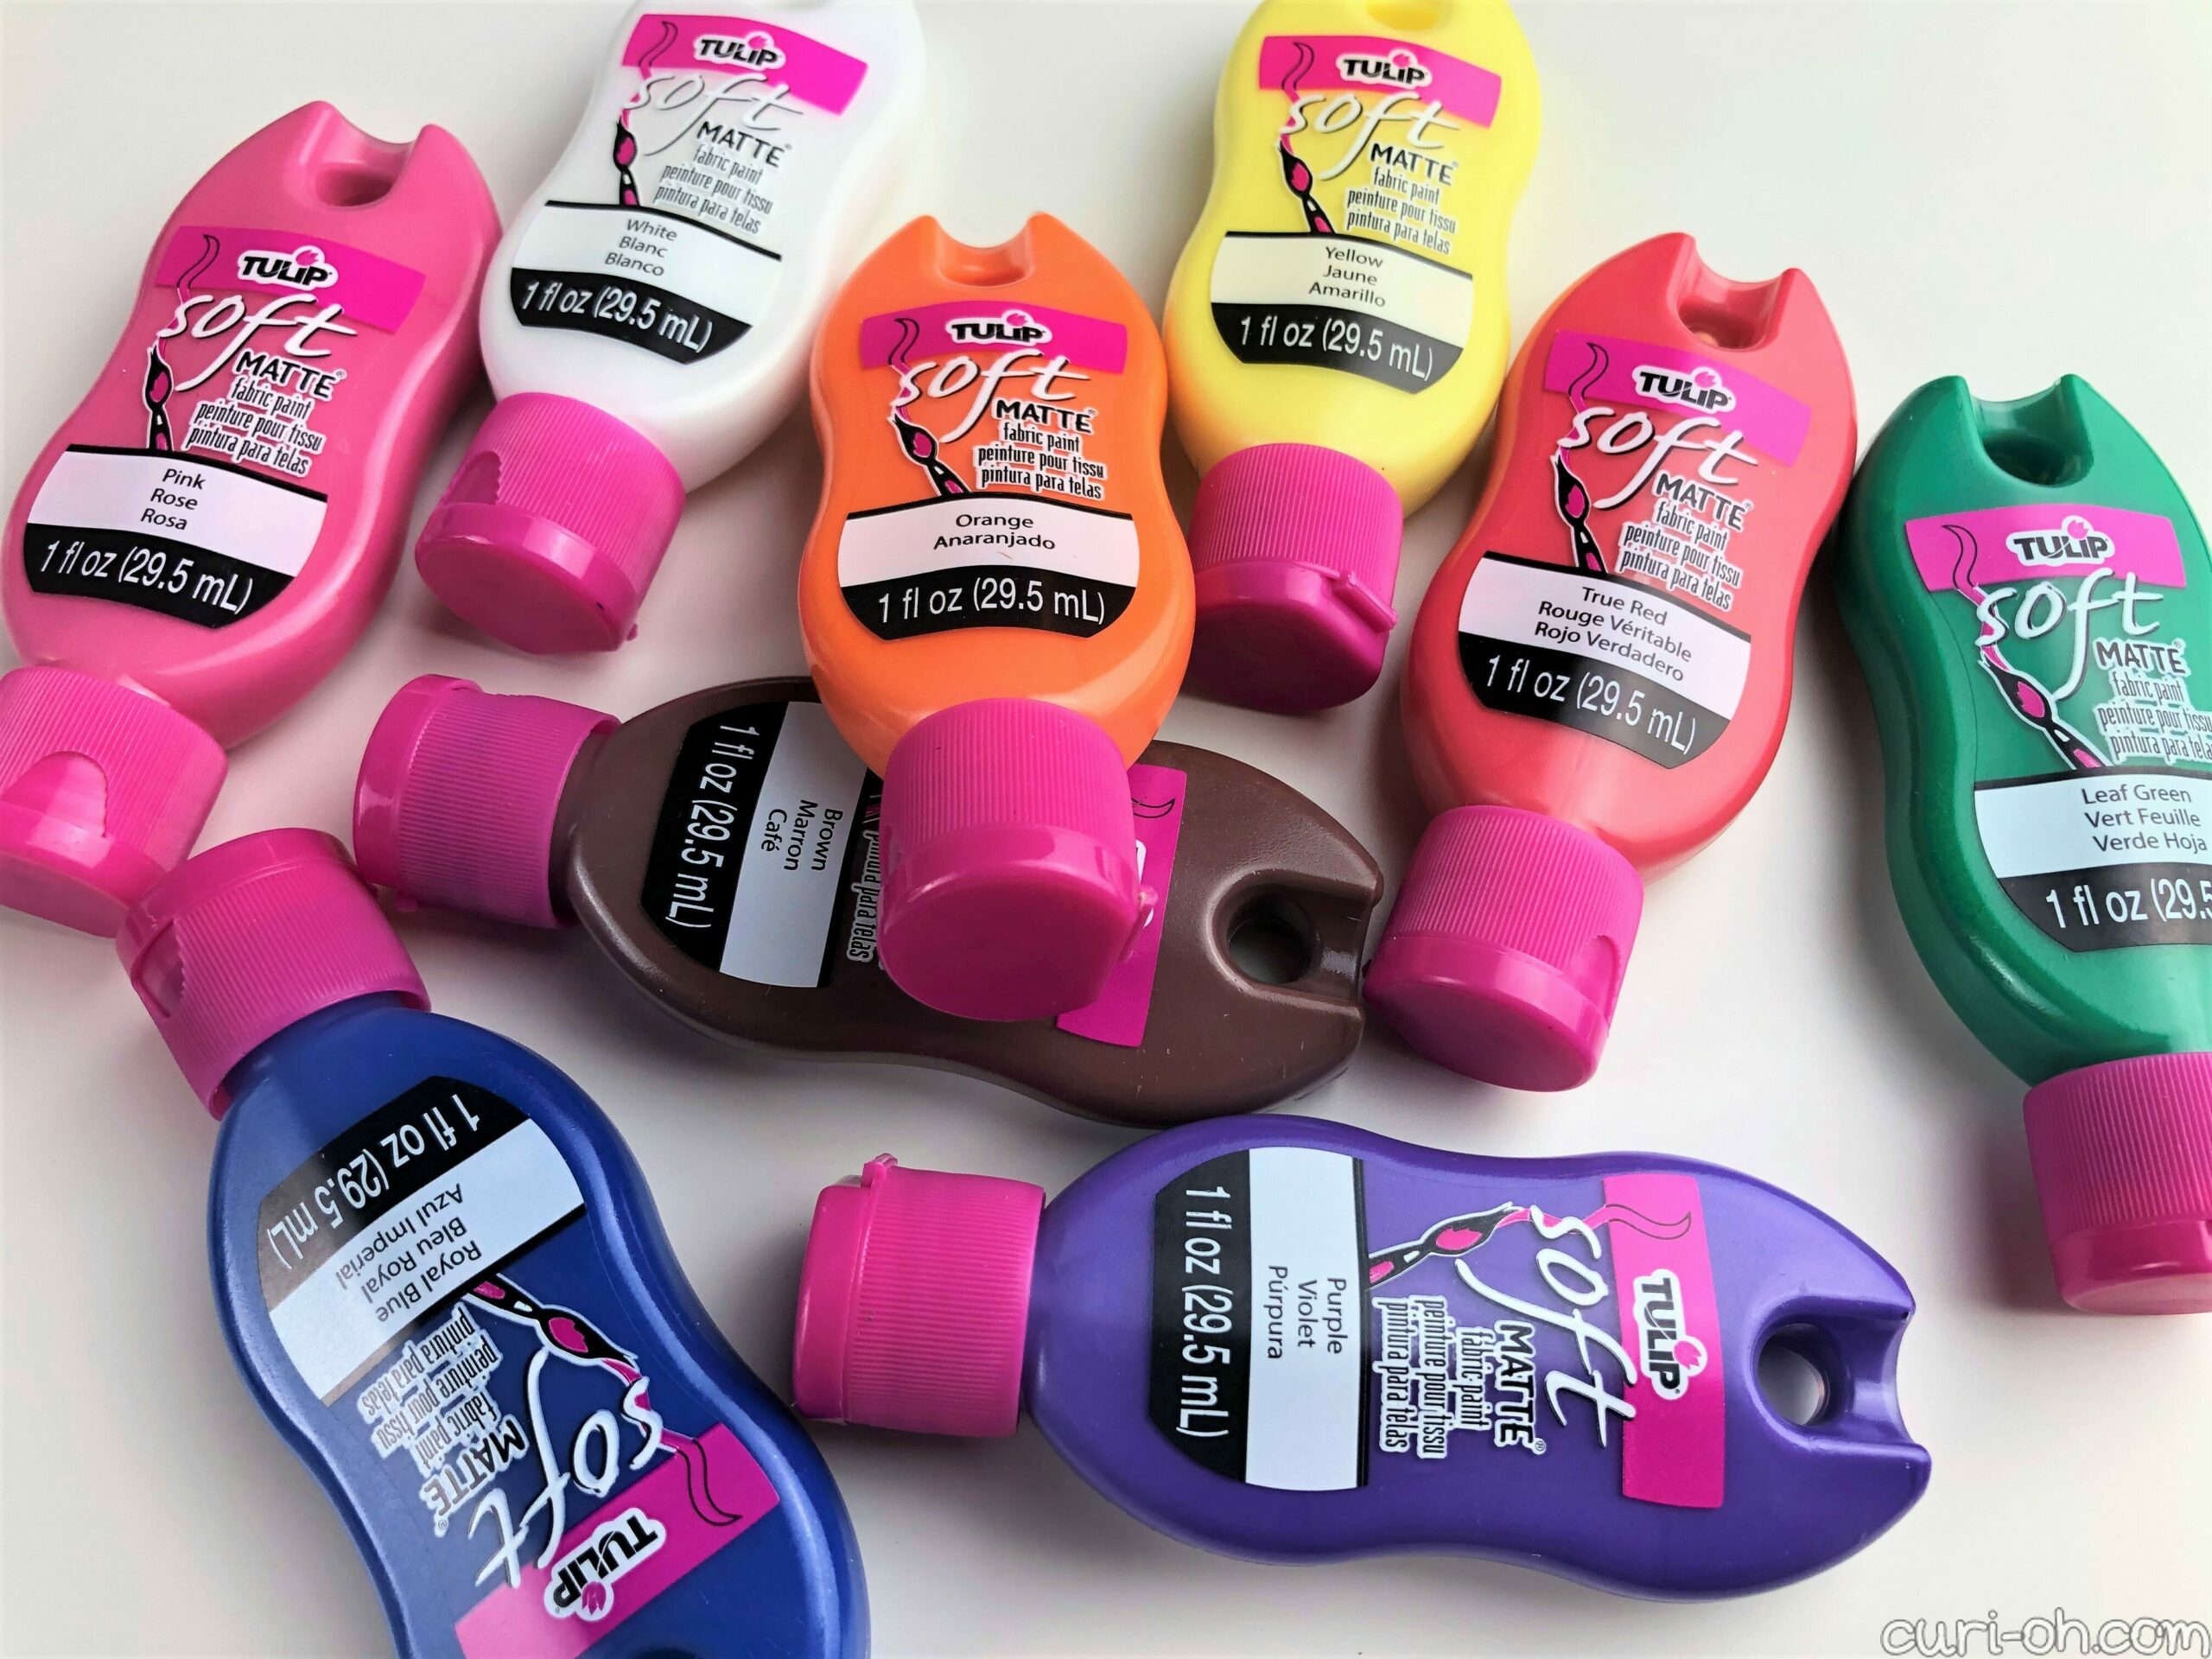
I had three little things available in my craft stash which I had set aside to use with the fabric paint I purchased for my Scribble Scrubbie makeover. I had all the supplies I needed for once, so this seemed like the perfect time to finally complete these.
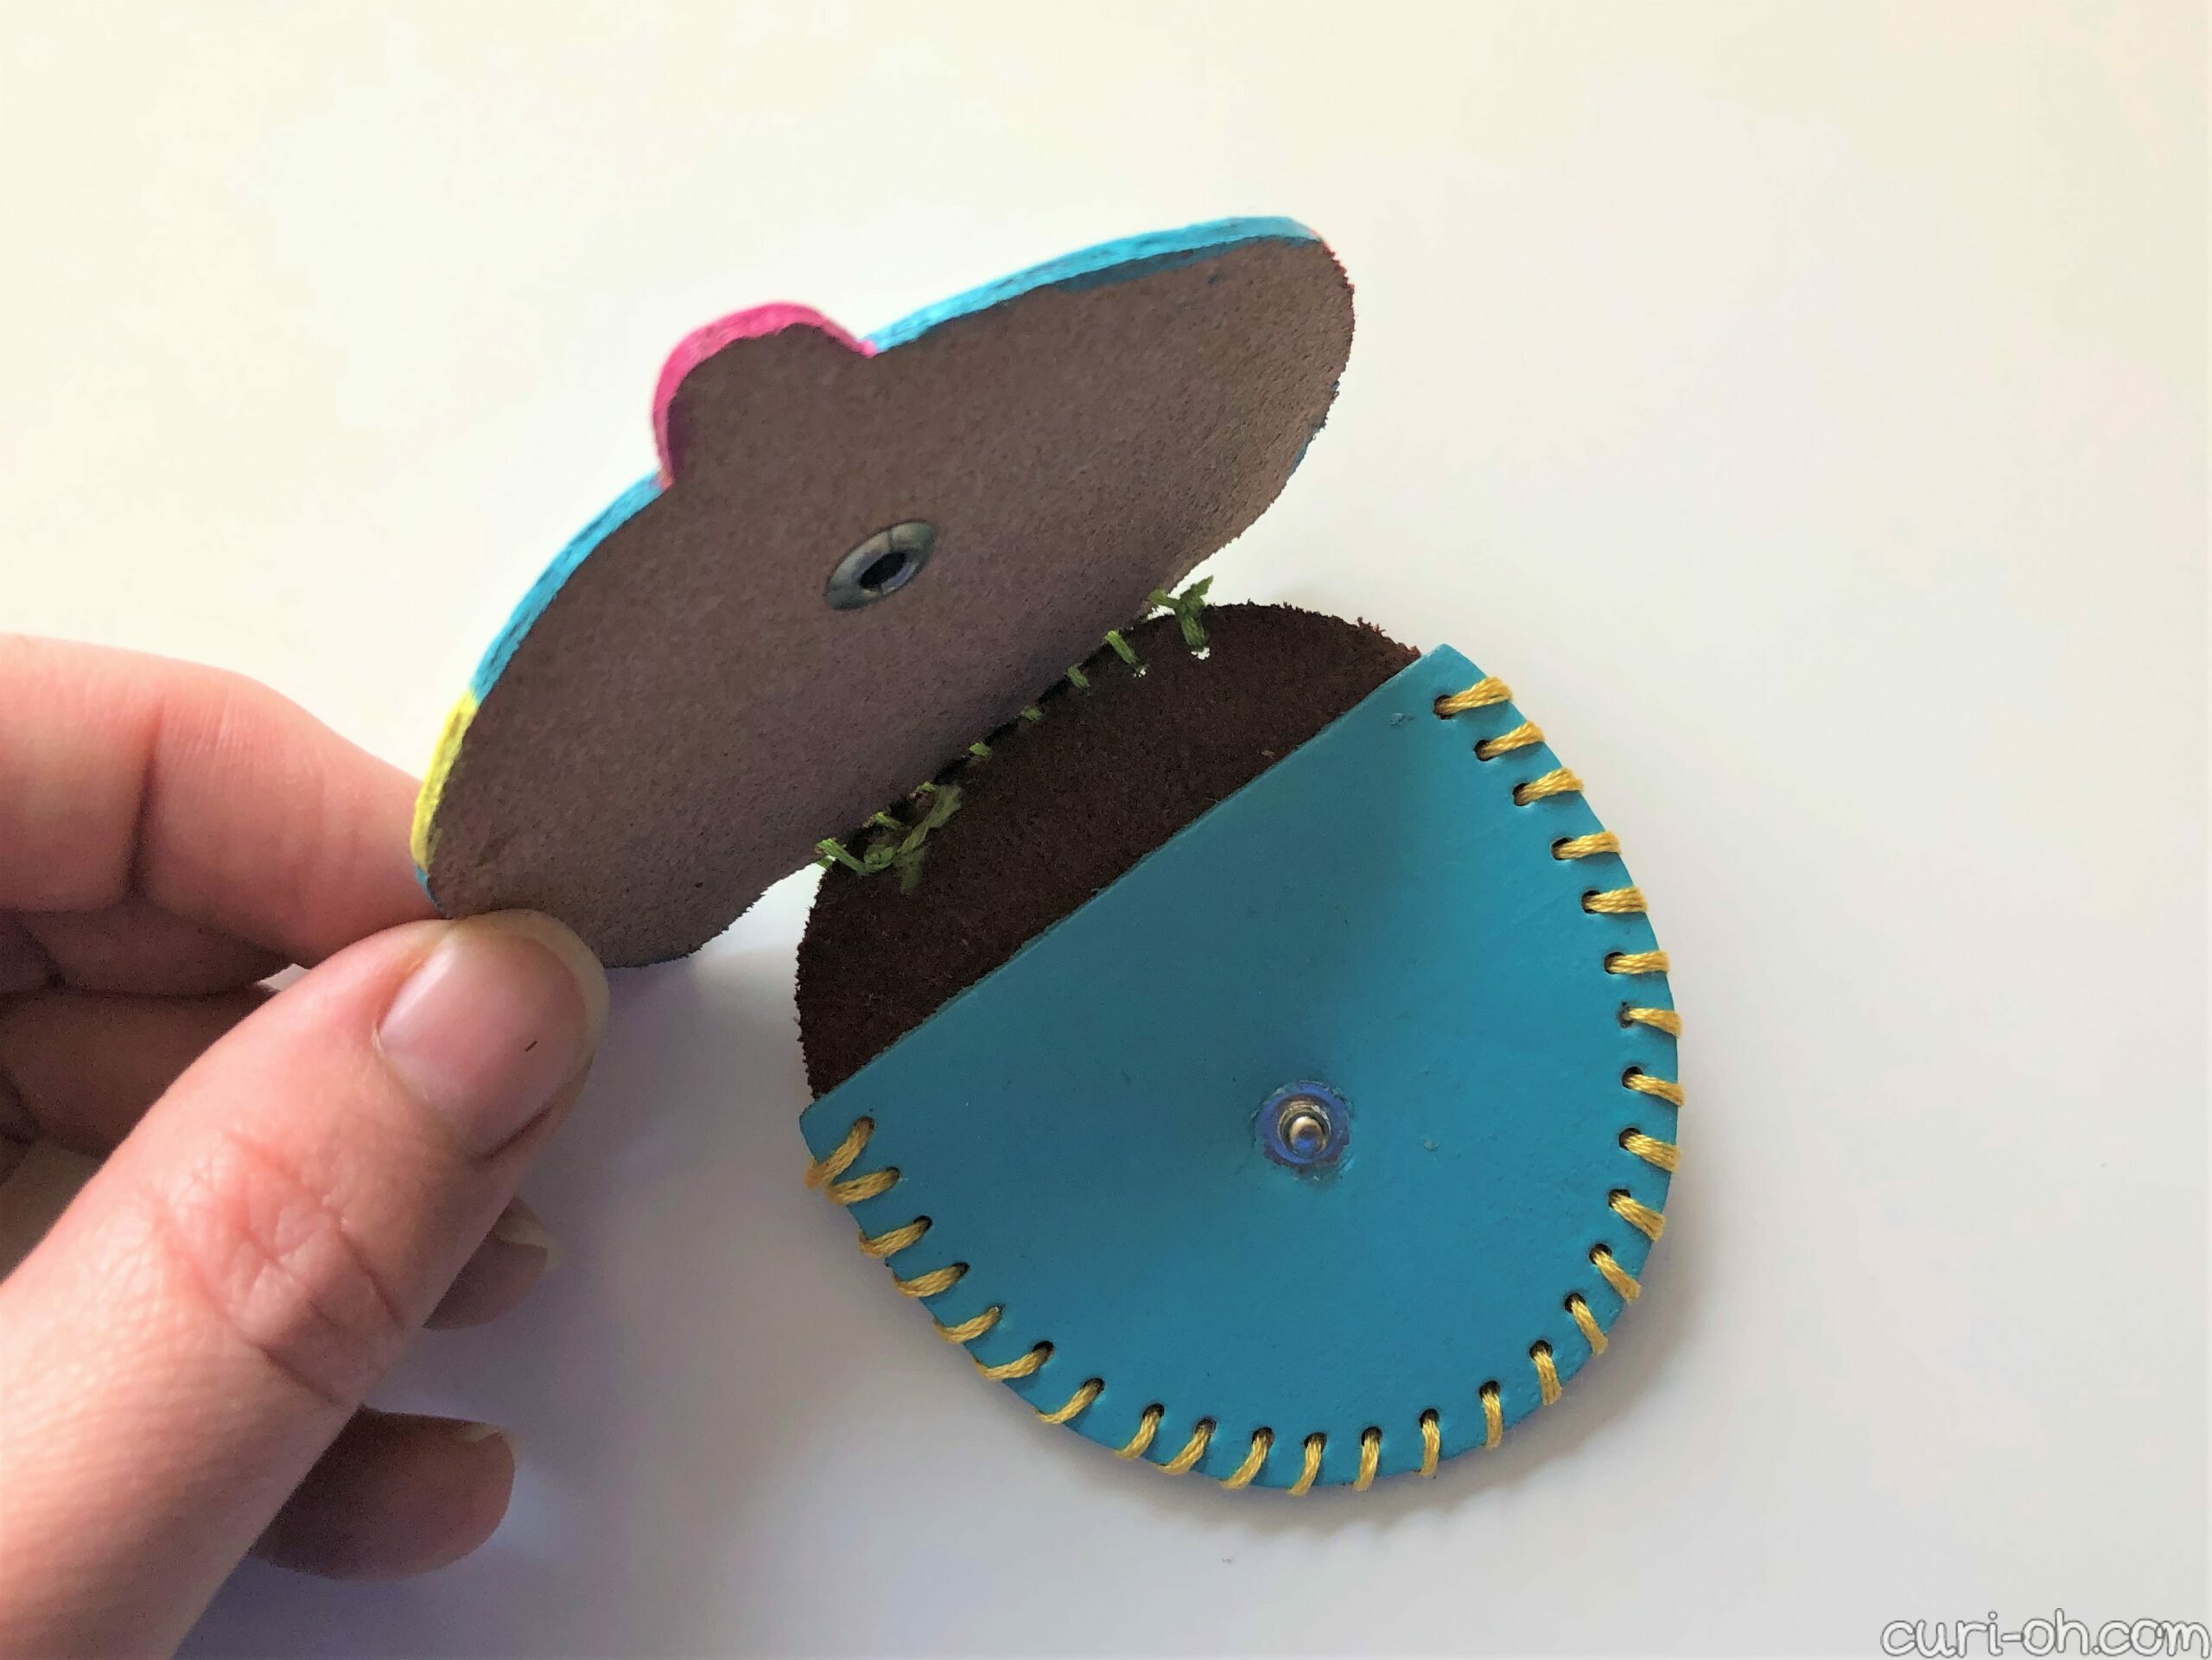
I guess I’ll start with the one you have seen before. This sad little guy was a find in Thrift Tales #3 – a vintage DiY coin purse kit.
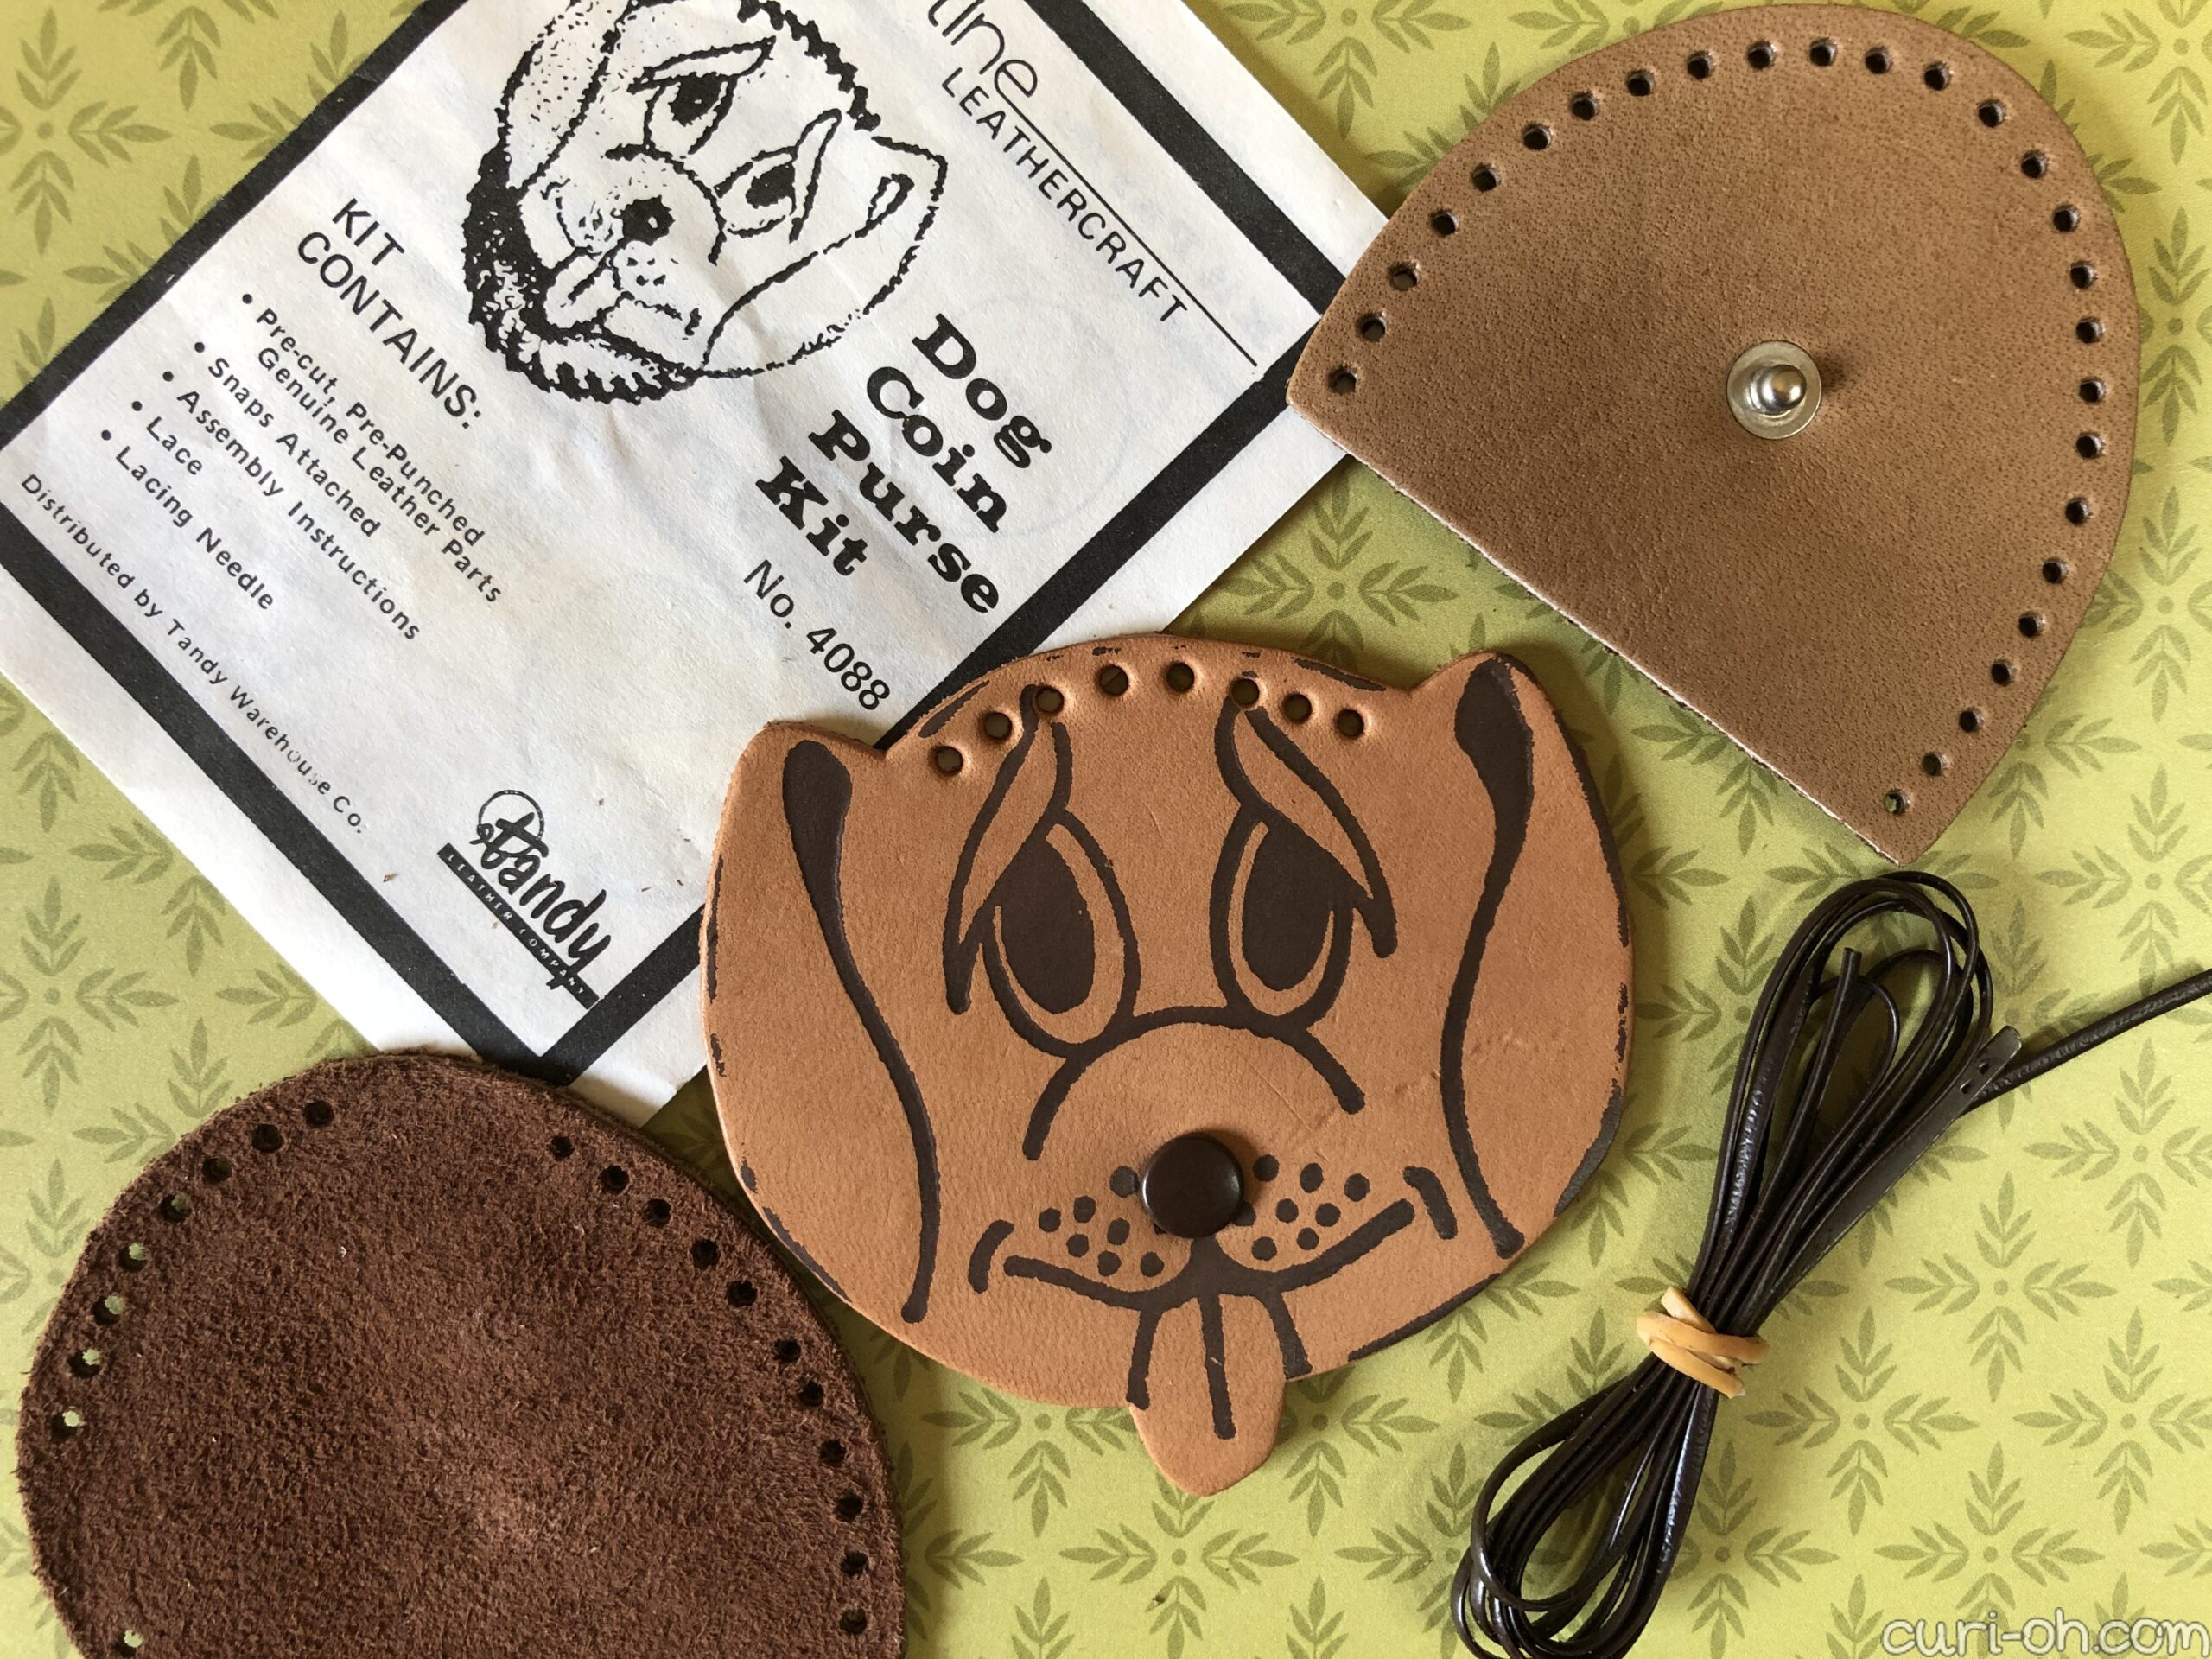
This isn’t a useful item for me, and I don’t think it would be even for a kid. The interior section for coins is tiny! I just bought it because it’s a neat vintage kit and I wanted to complete it. However, I couldn’t STAND how sad he looked. That expression had to go.
Being that the front is leather, I originally intended to buy leather paint. I bought some leather paint markers, but I only had colors and no neutrals. I really didn’t want to spend the money on those supplies when this was all I could think of to use them for anyway, so I decided to just try fabric paint.
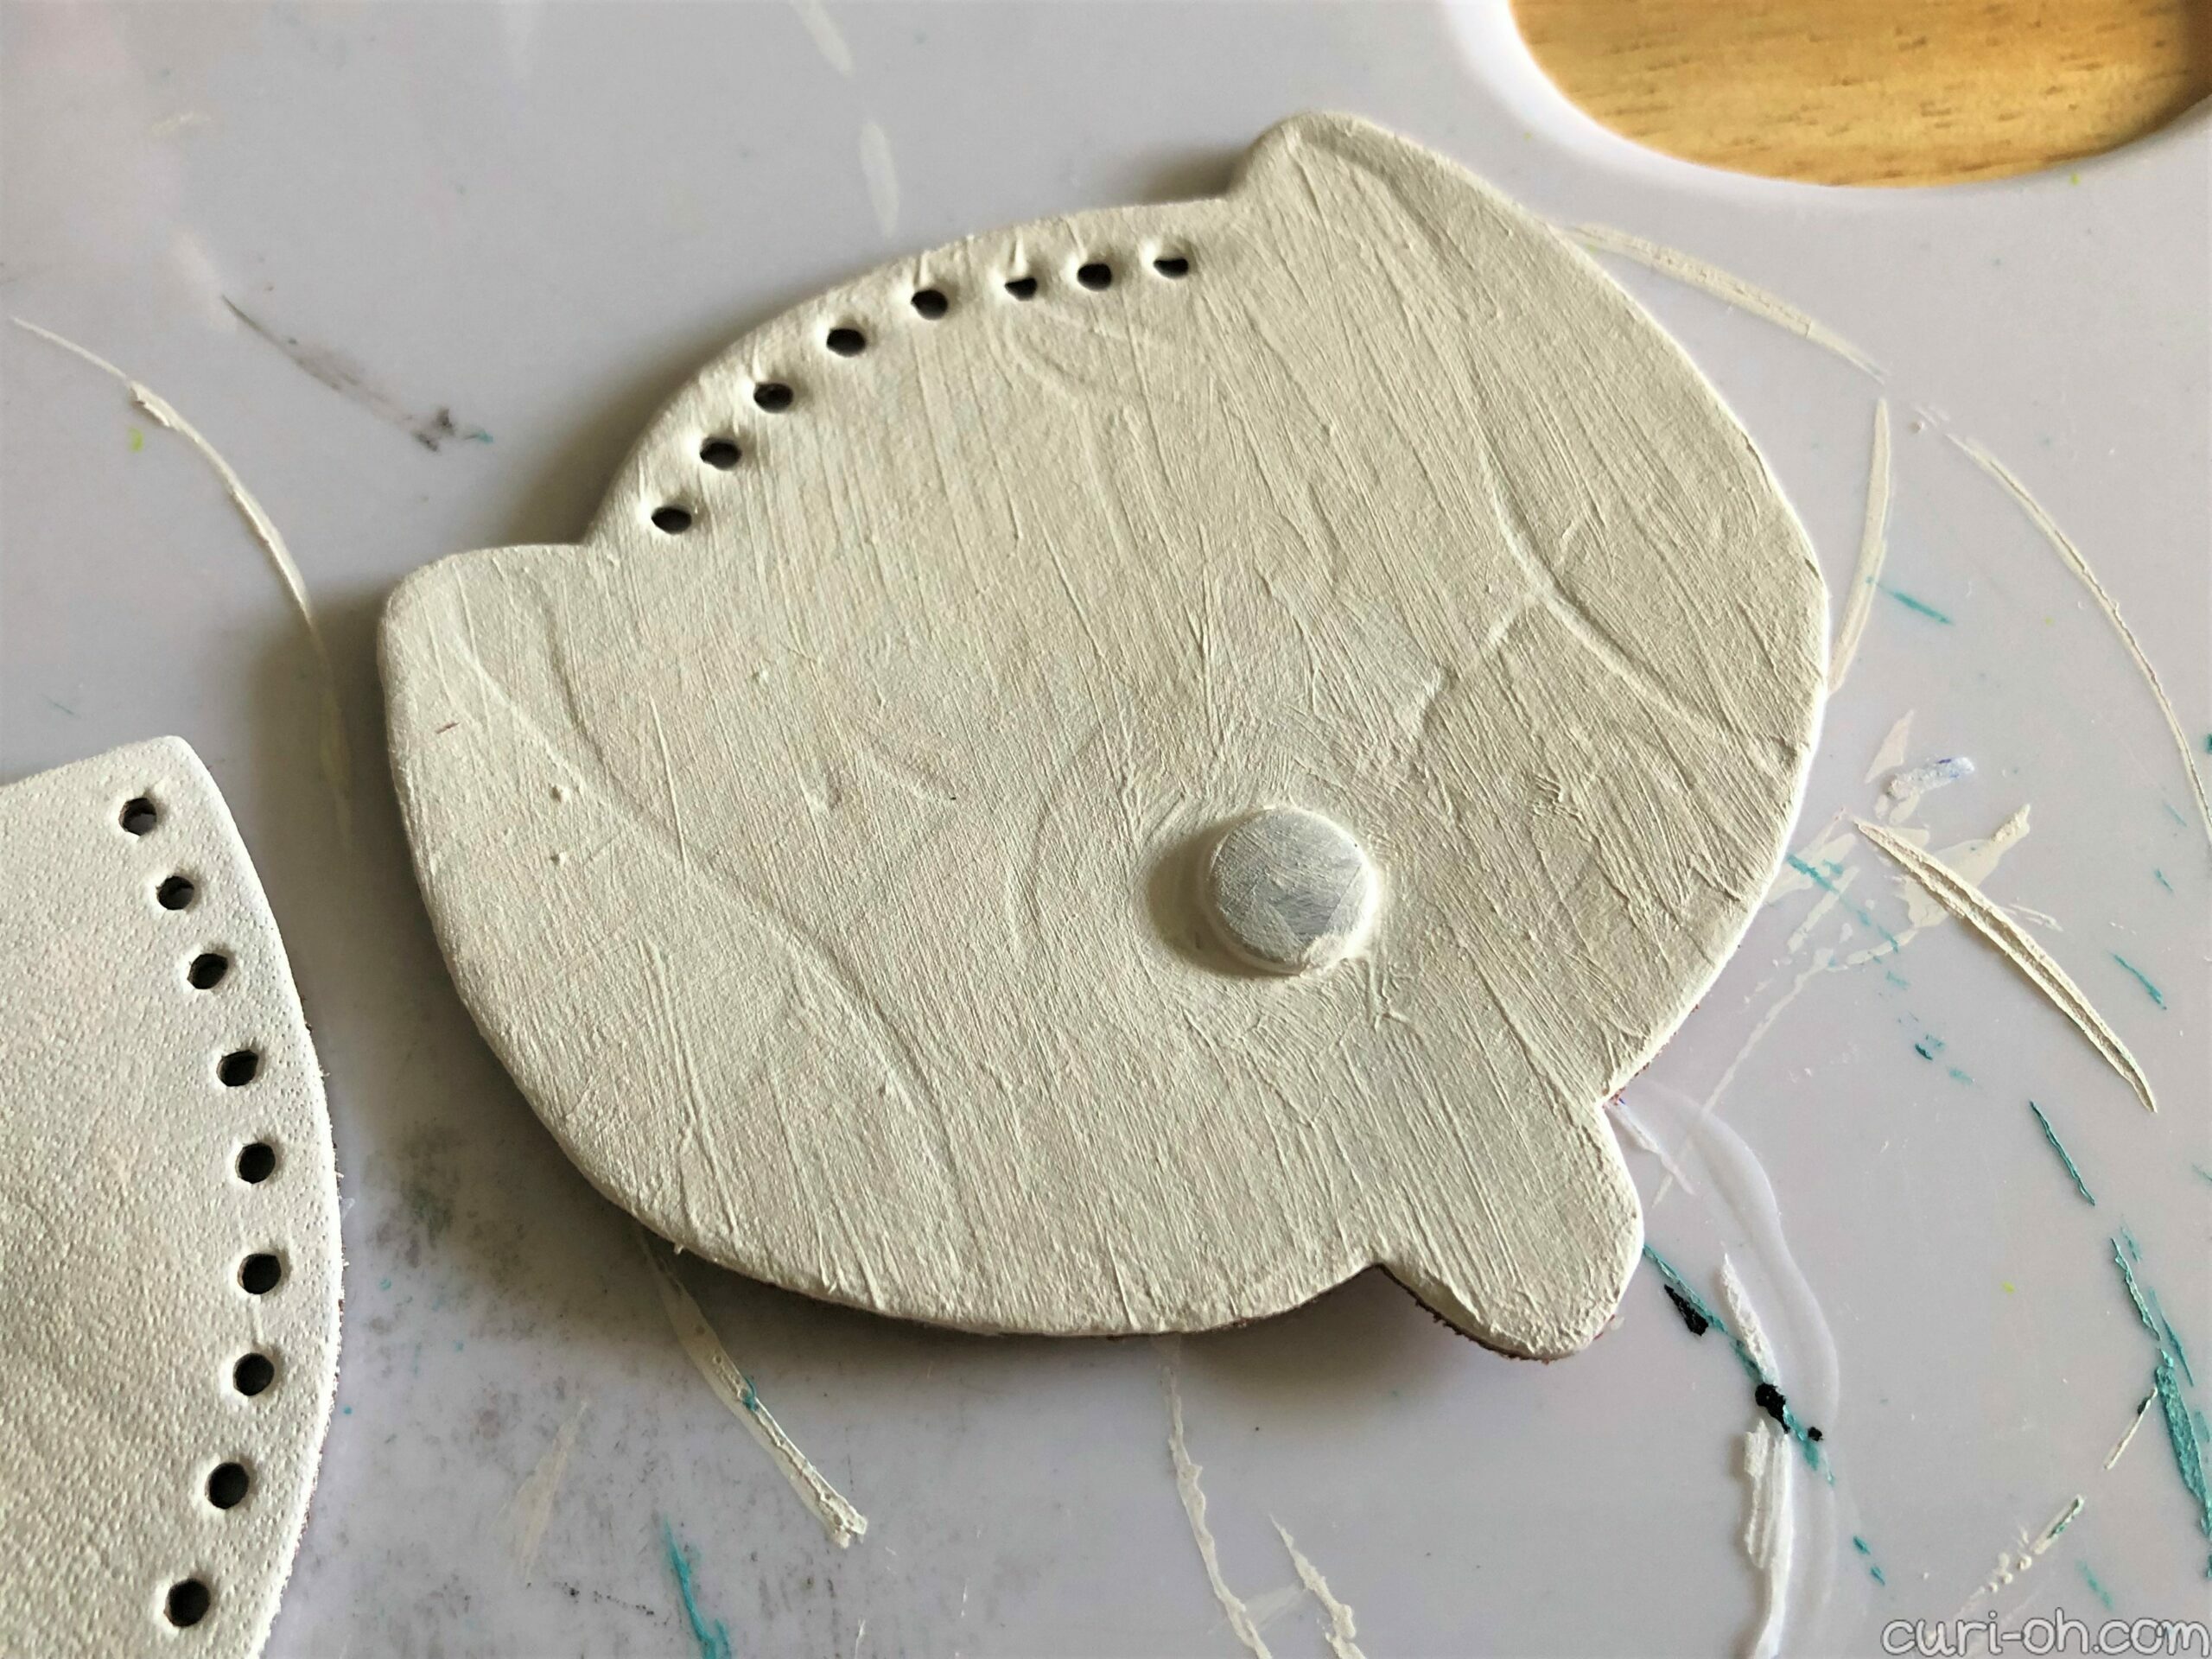
I applied several coats of white fabric paint to create a base coat. The face design was slightly indented into the leather, so I hoped the paint would help fill it in. It did only slightly. In retrospect, the 3D fabric paint I own may have been a better choice. Additionally, I was left with some brush marks in the paint, despite being careful!
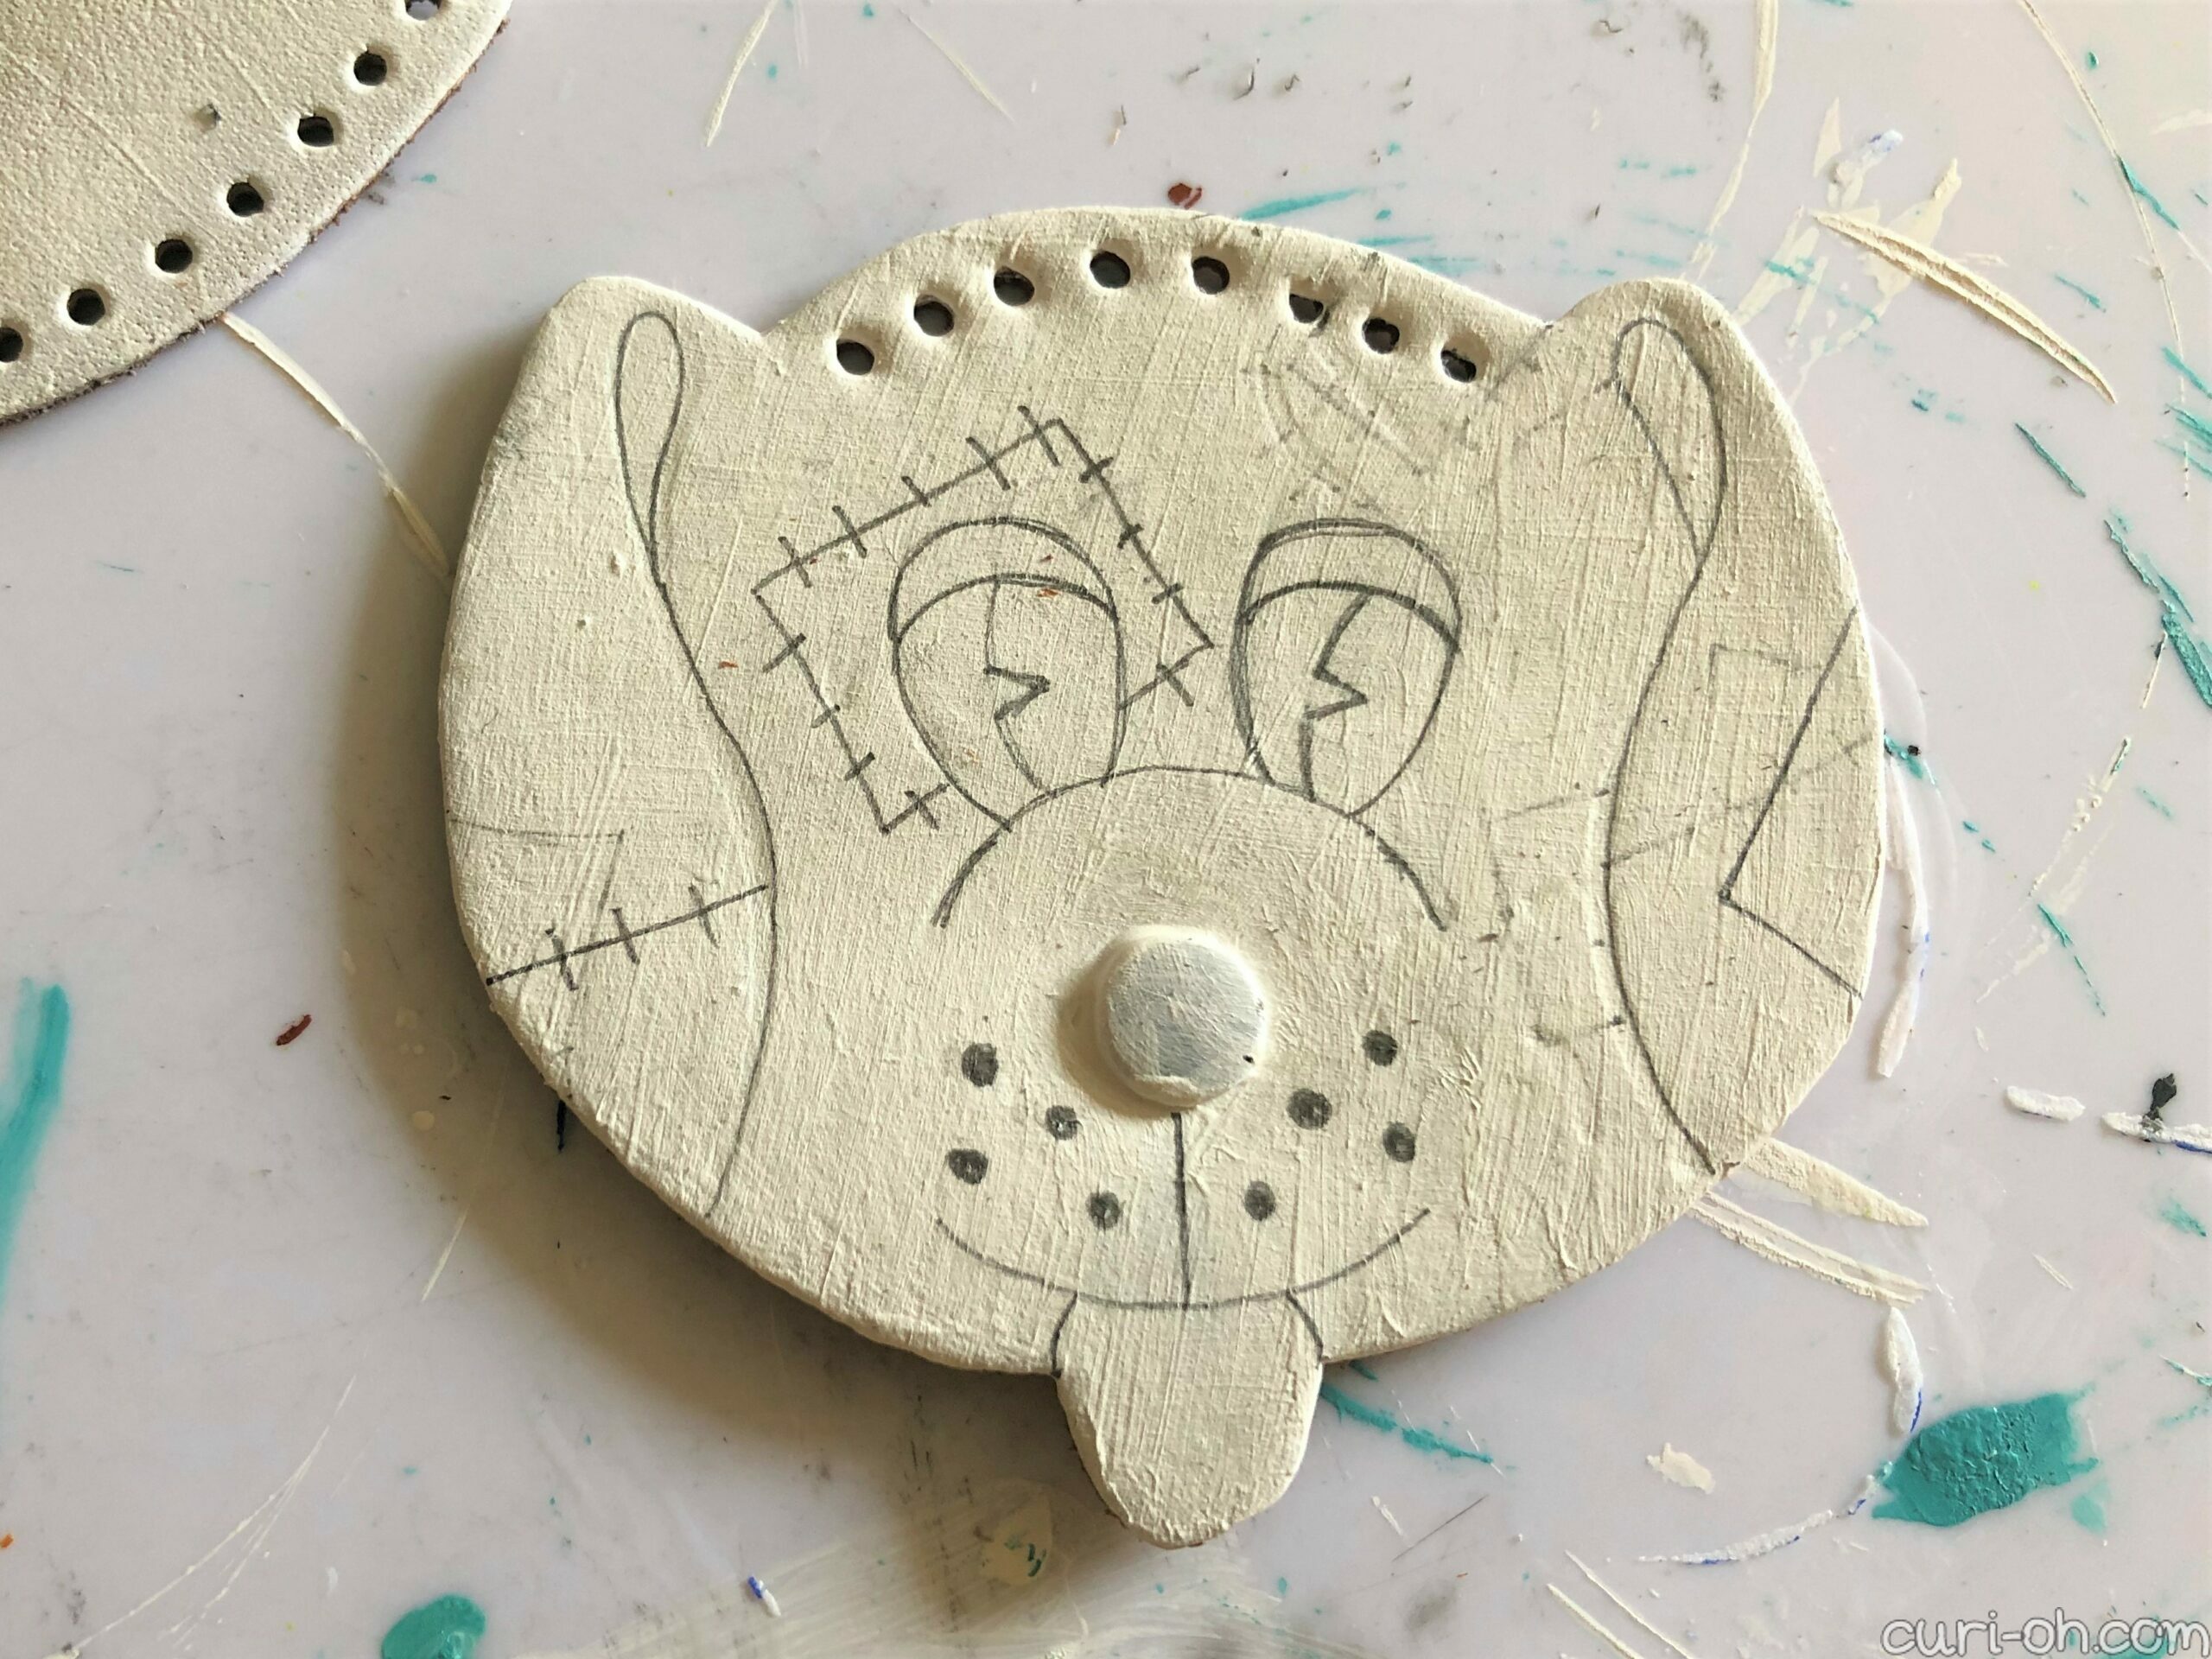
I decided to use the existing lines as much as possible for my new design in case the old indentations showed through too much. I went with a patchwork theme and knew I wanted to add a button on the nose. With the patchwork theme and my color choices, I was randomly reminded of a plush toy bear I had in the 90’s called a “Doodle Bear” which you could write on with markers, then wash to make it clean again. I think the colors of mine were maybe similar and I seem to remember patches.
I’m not sure just how old this kit may be, but to give a nod to its vintage age, I painted the eyes with the old timey slit pupil design, common in the earliest of cartoon animation.

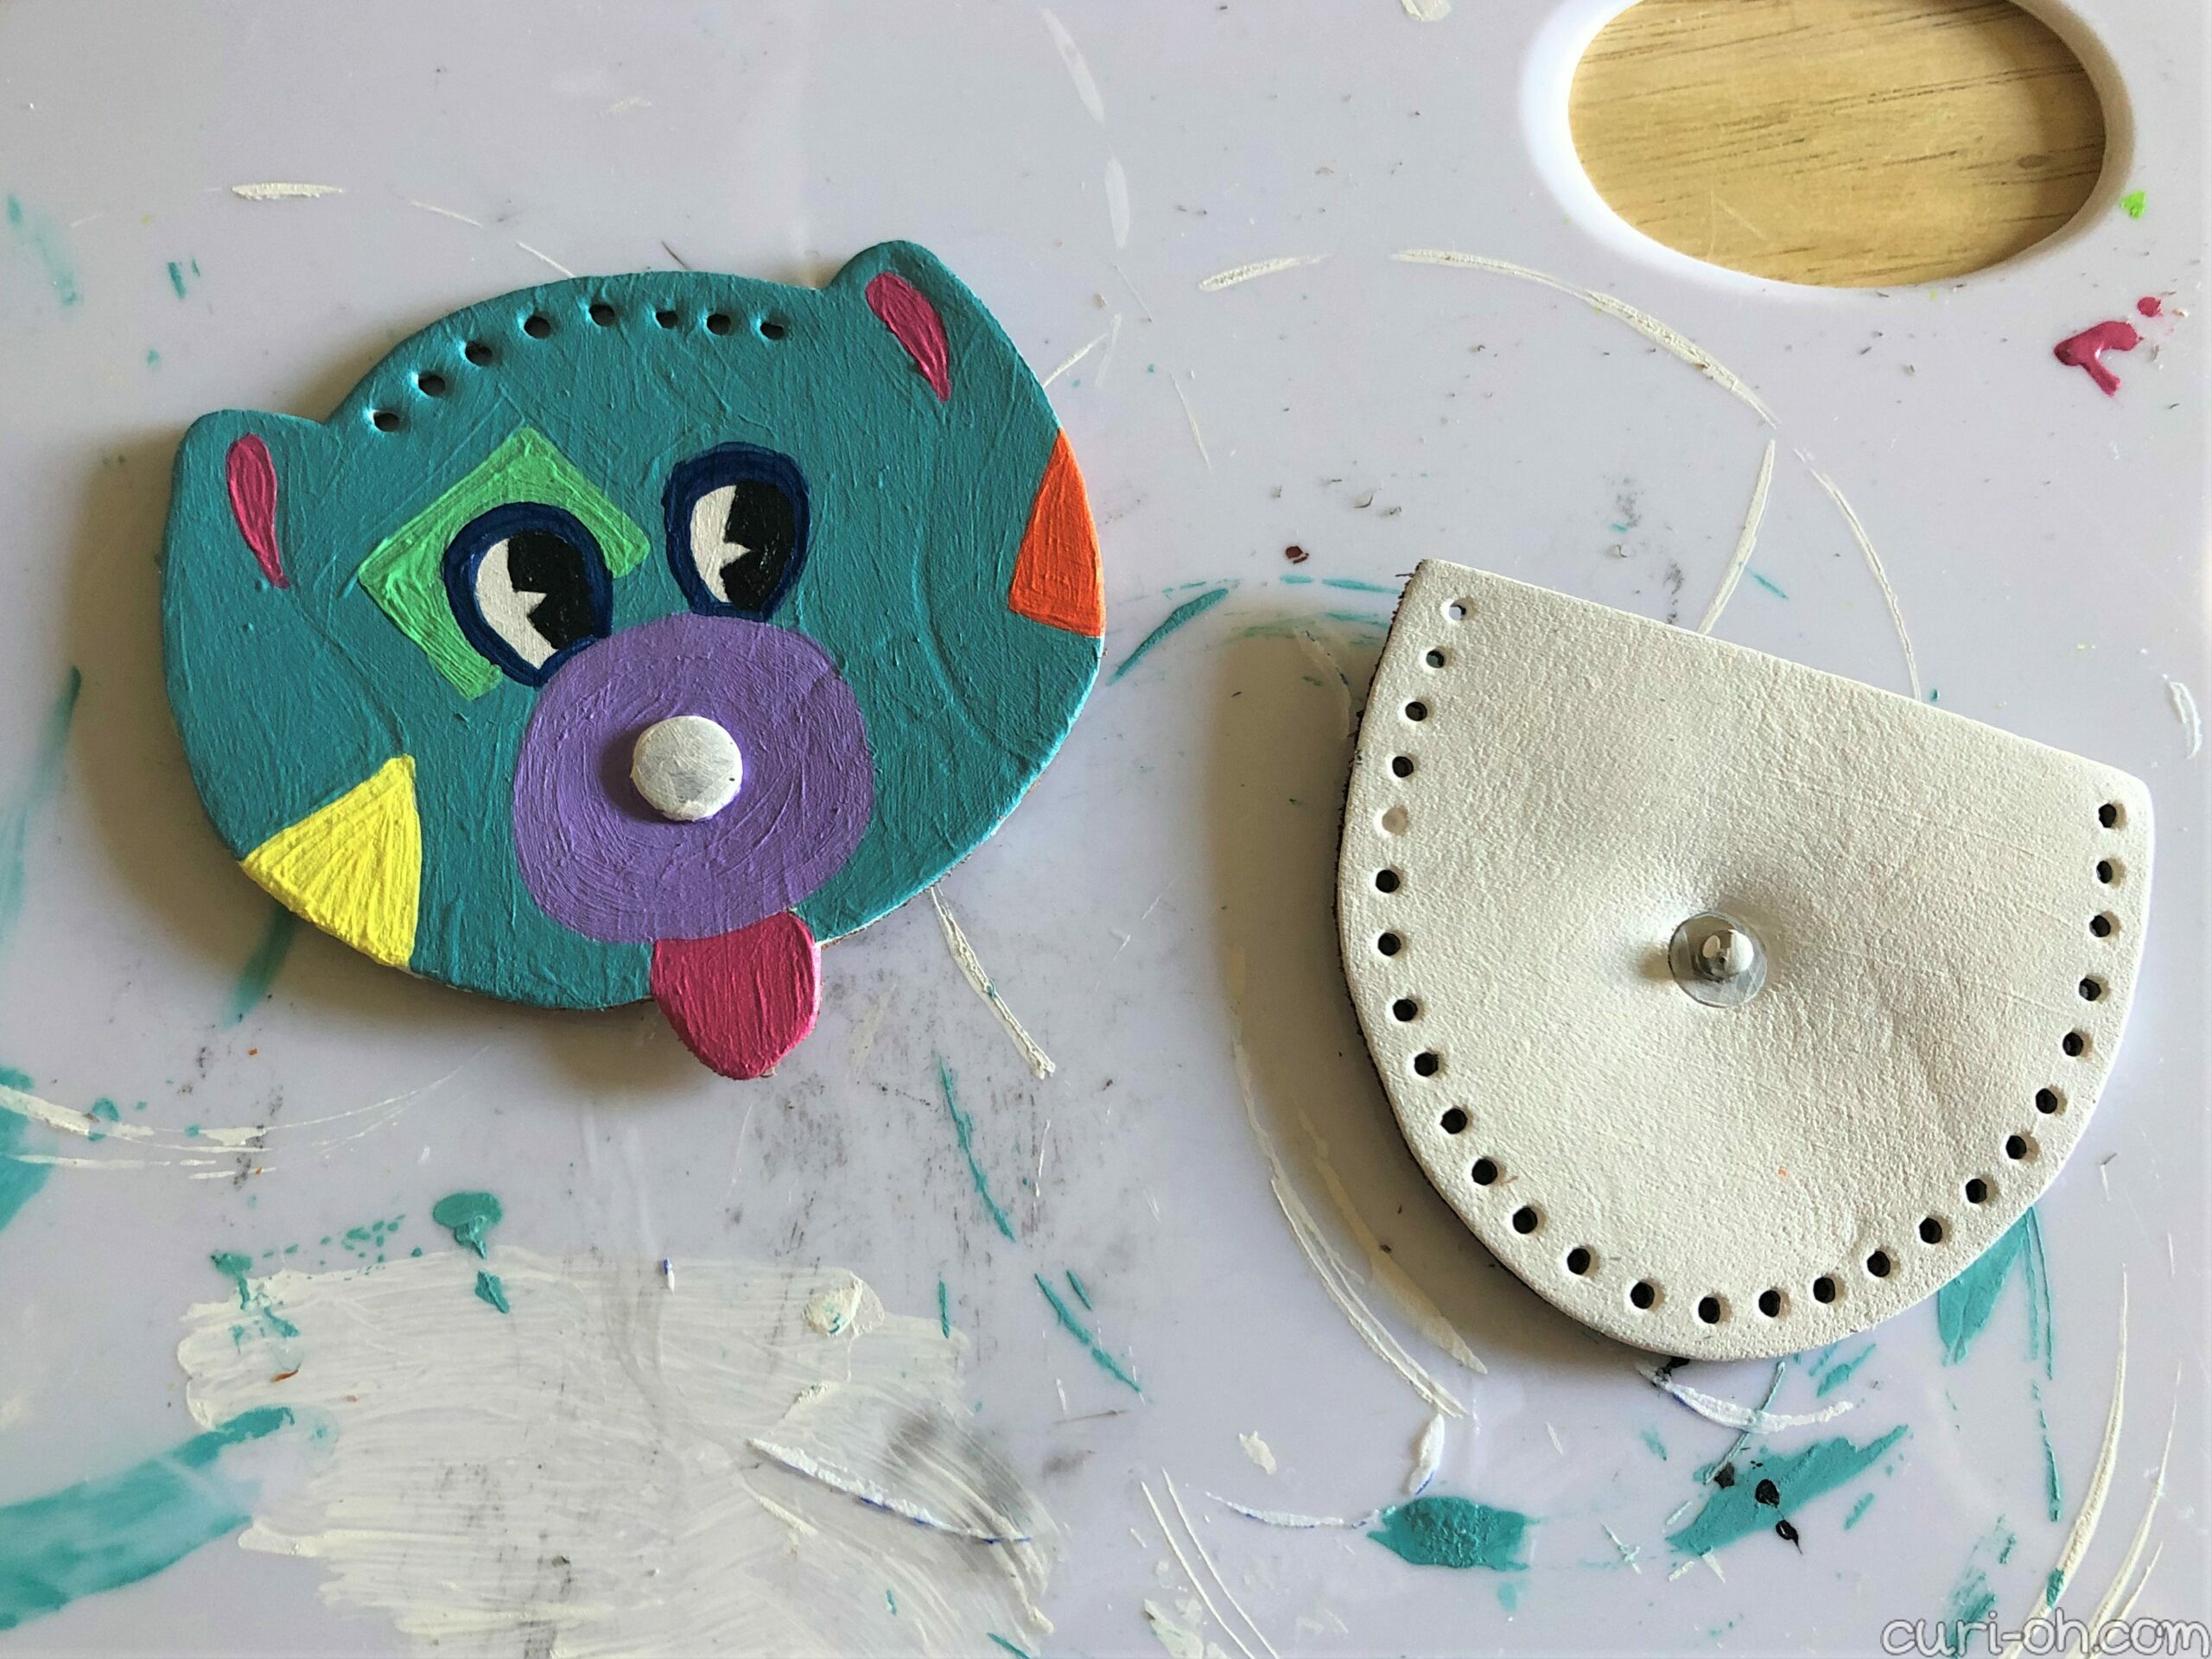
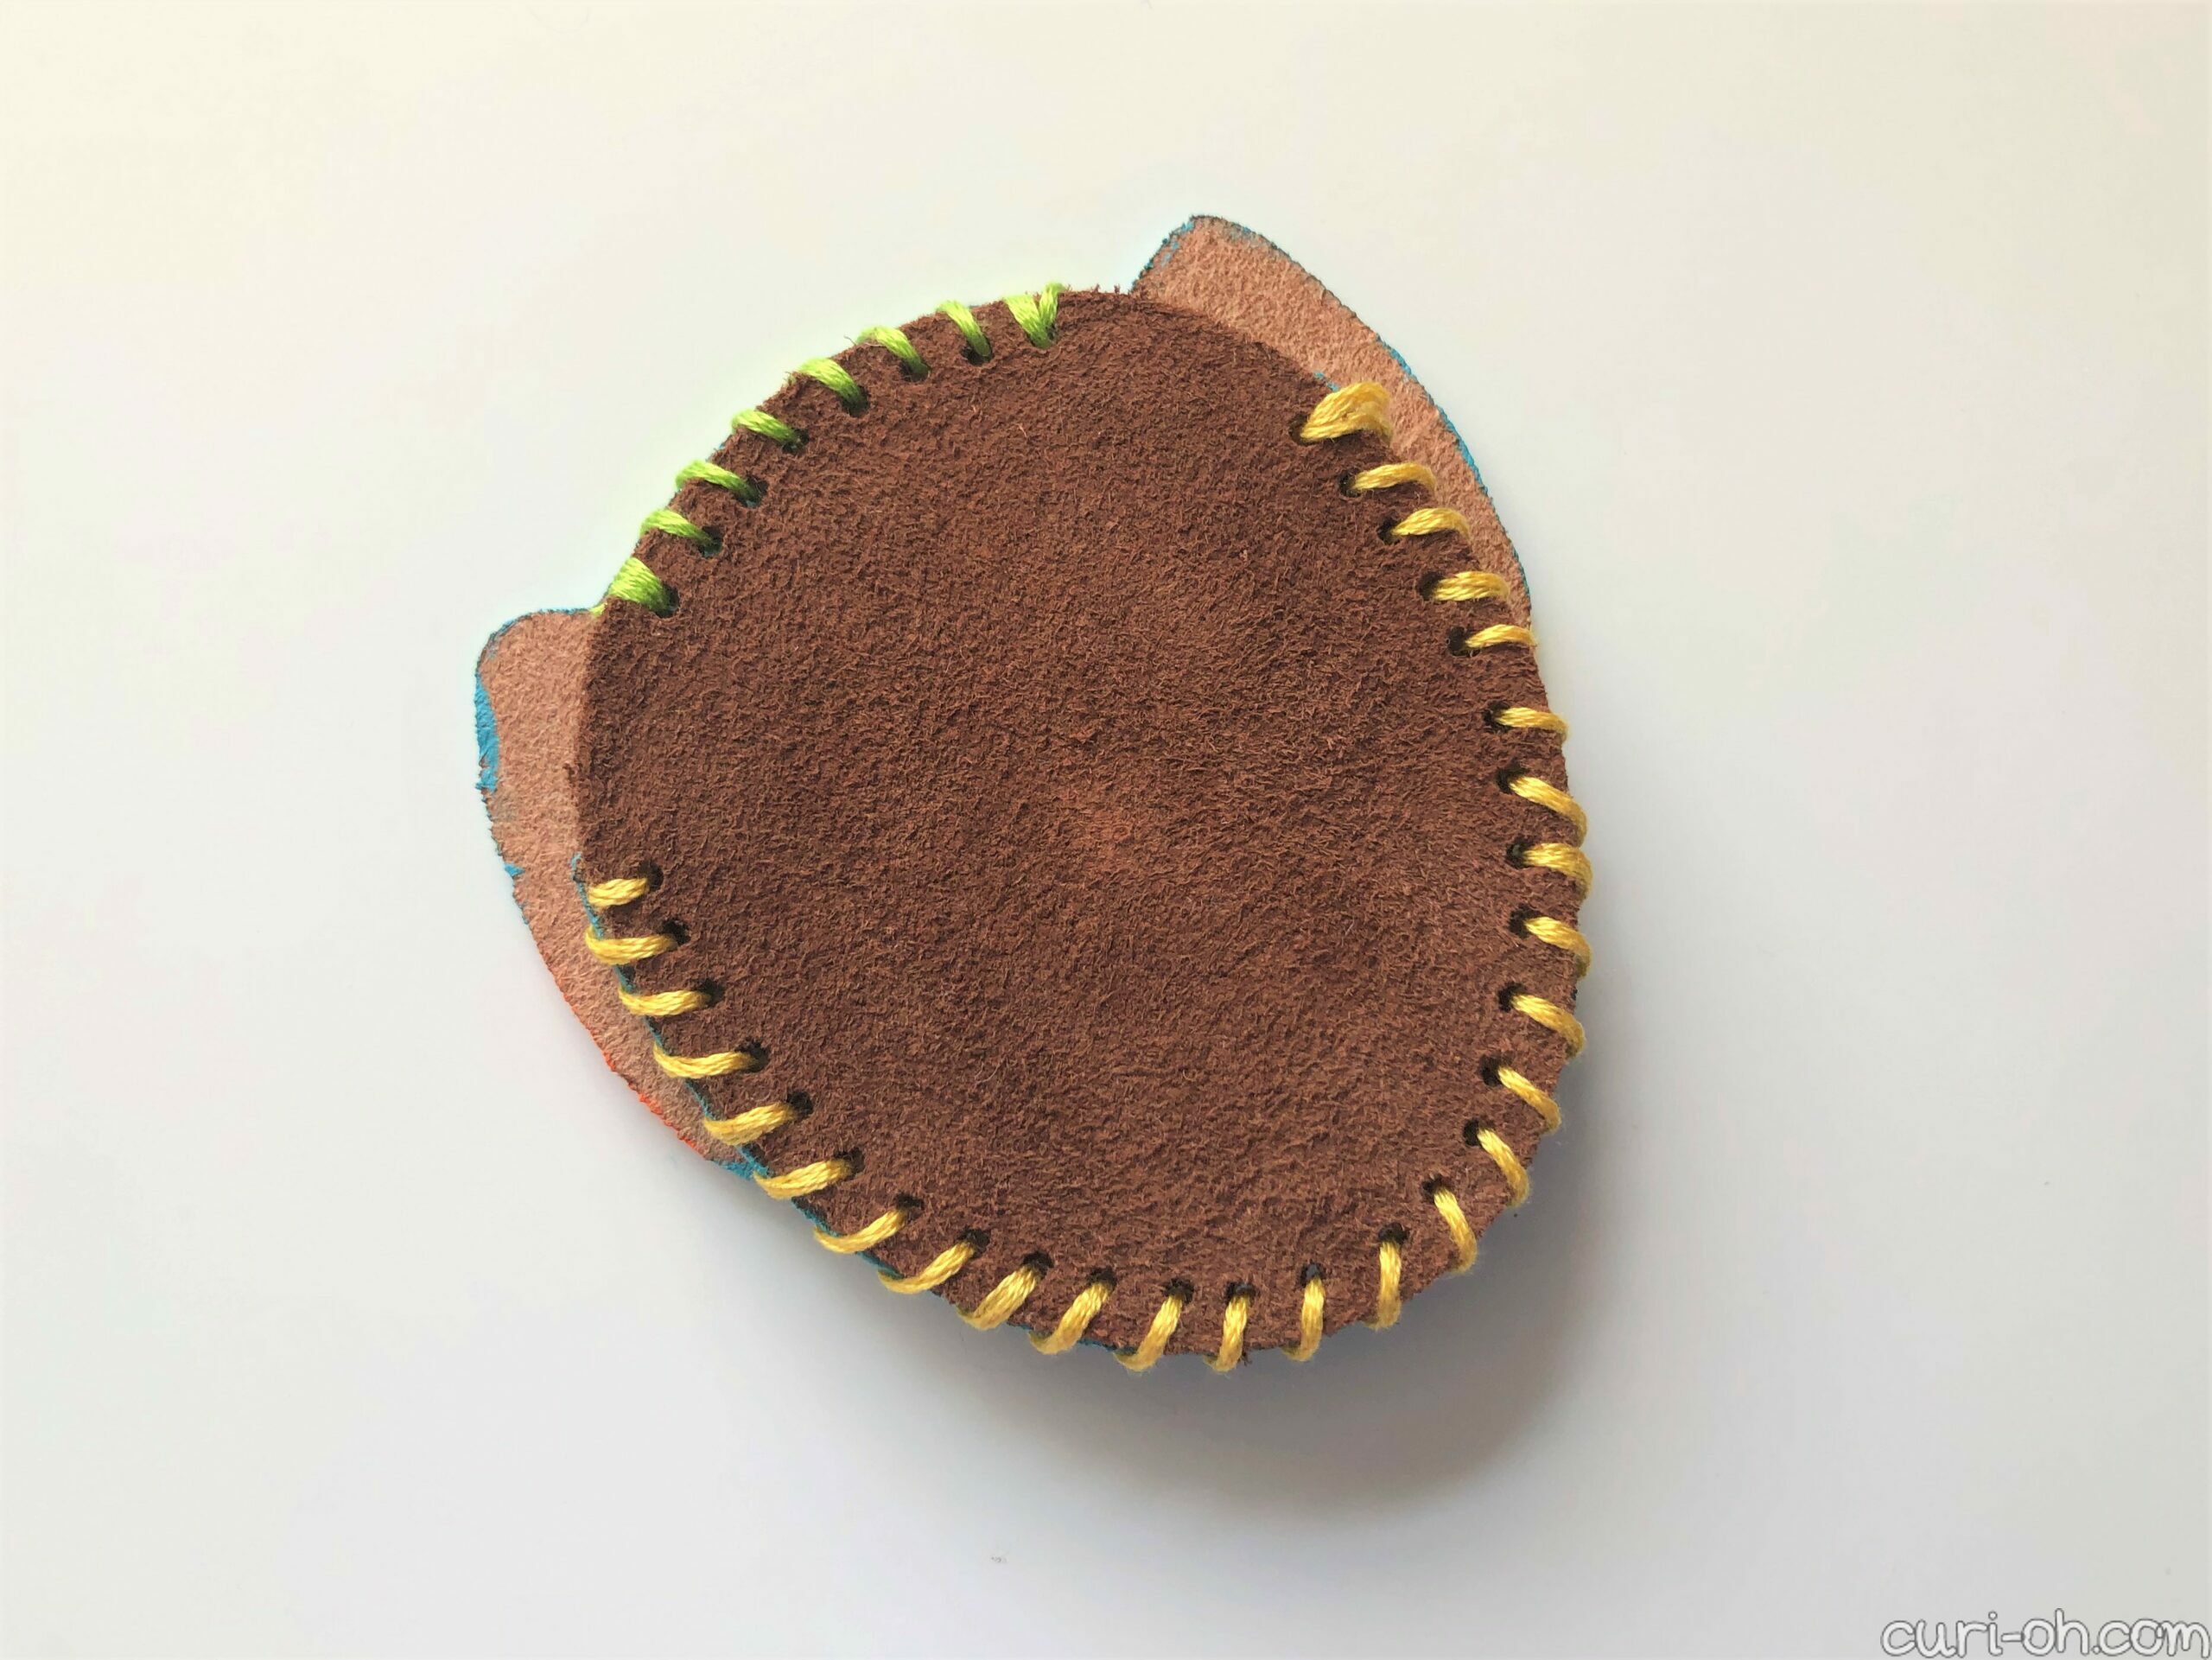
I did the outlining and detail work with a Posca paint pen and glued on a button nose. I decided not to use the needle and thread that came with the kit. The needle was a bit crusty looking and the “lace” was pretty stiff. I used six strand embroidery floss and a large needle, though that honestly probably made it less sturdy, were it to face actual use. Lastly, I sealed the front with a layer of Mod Podge. I didn’t have any other sealer on hand and I thought it would do the job.
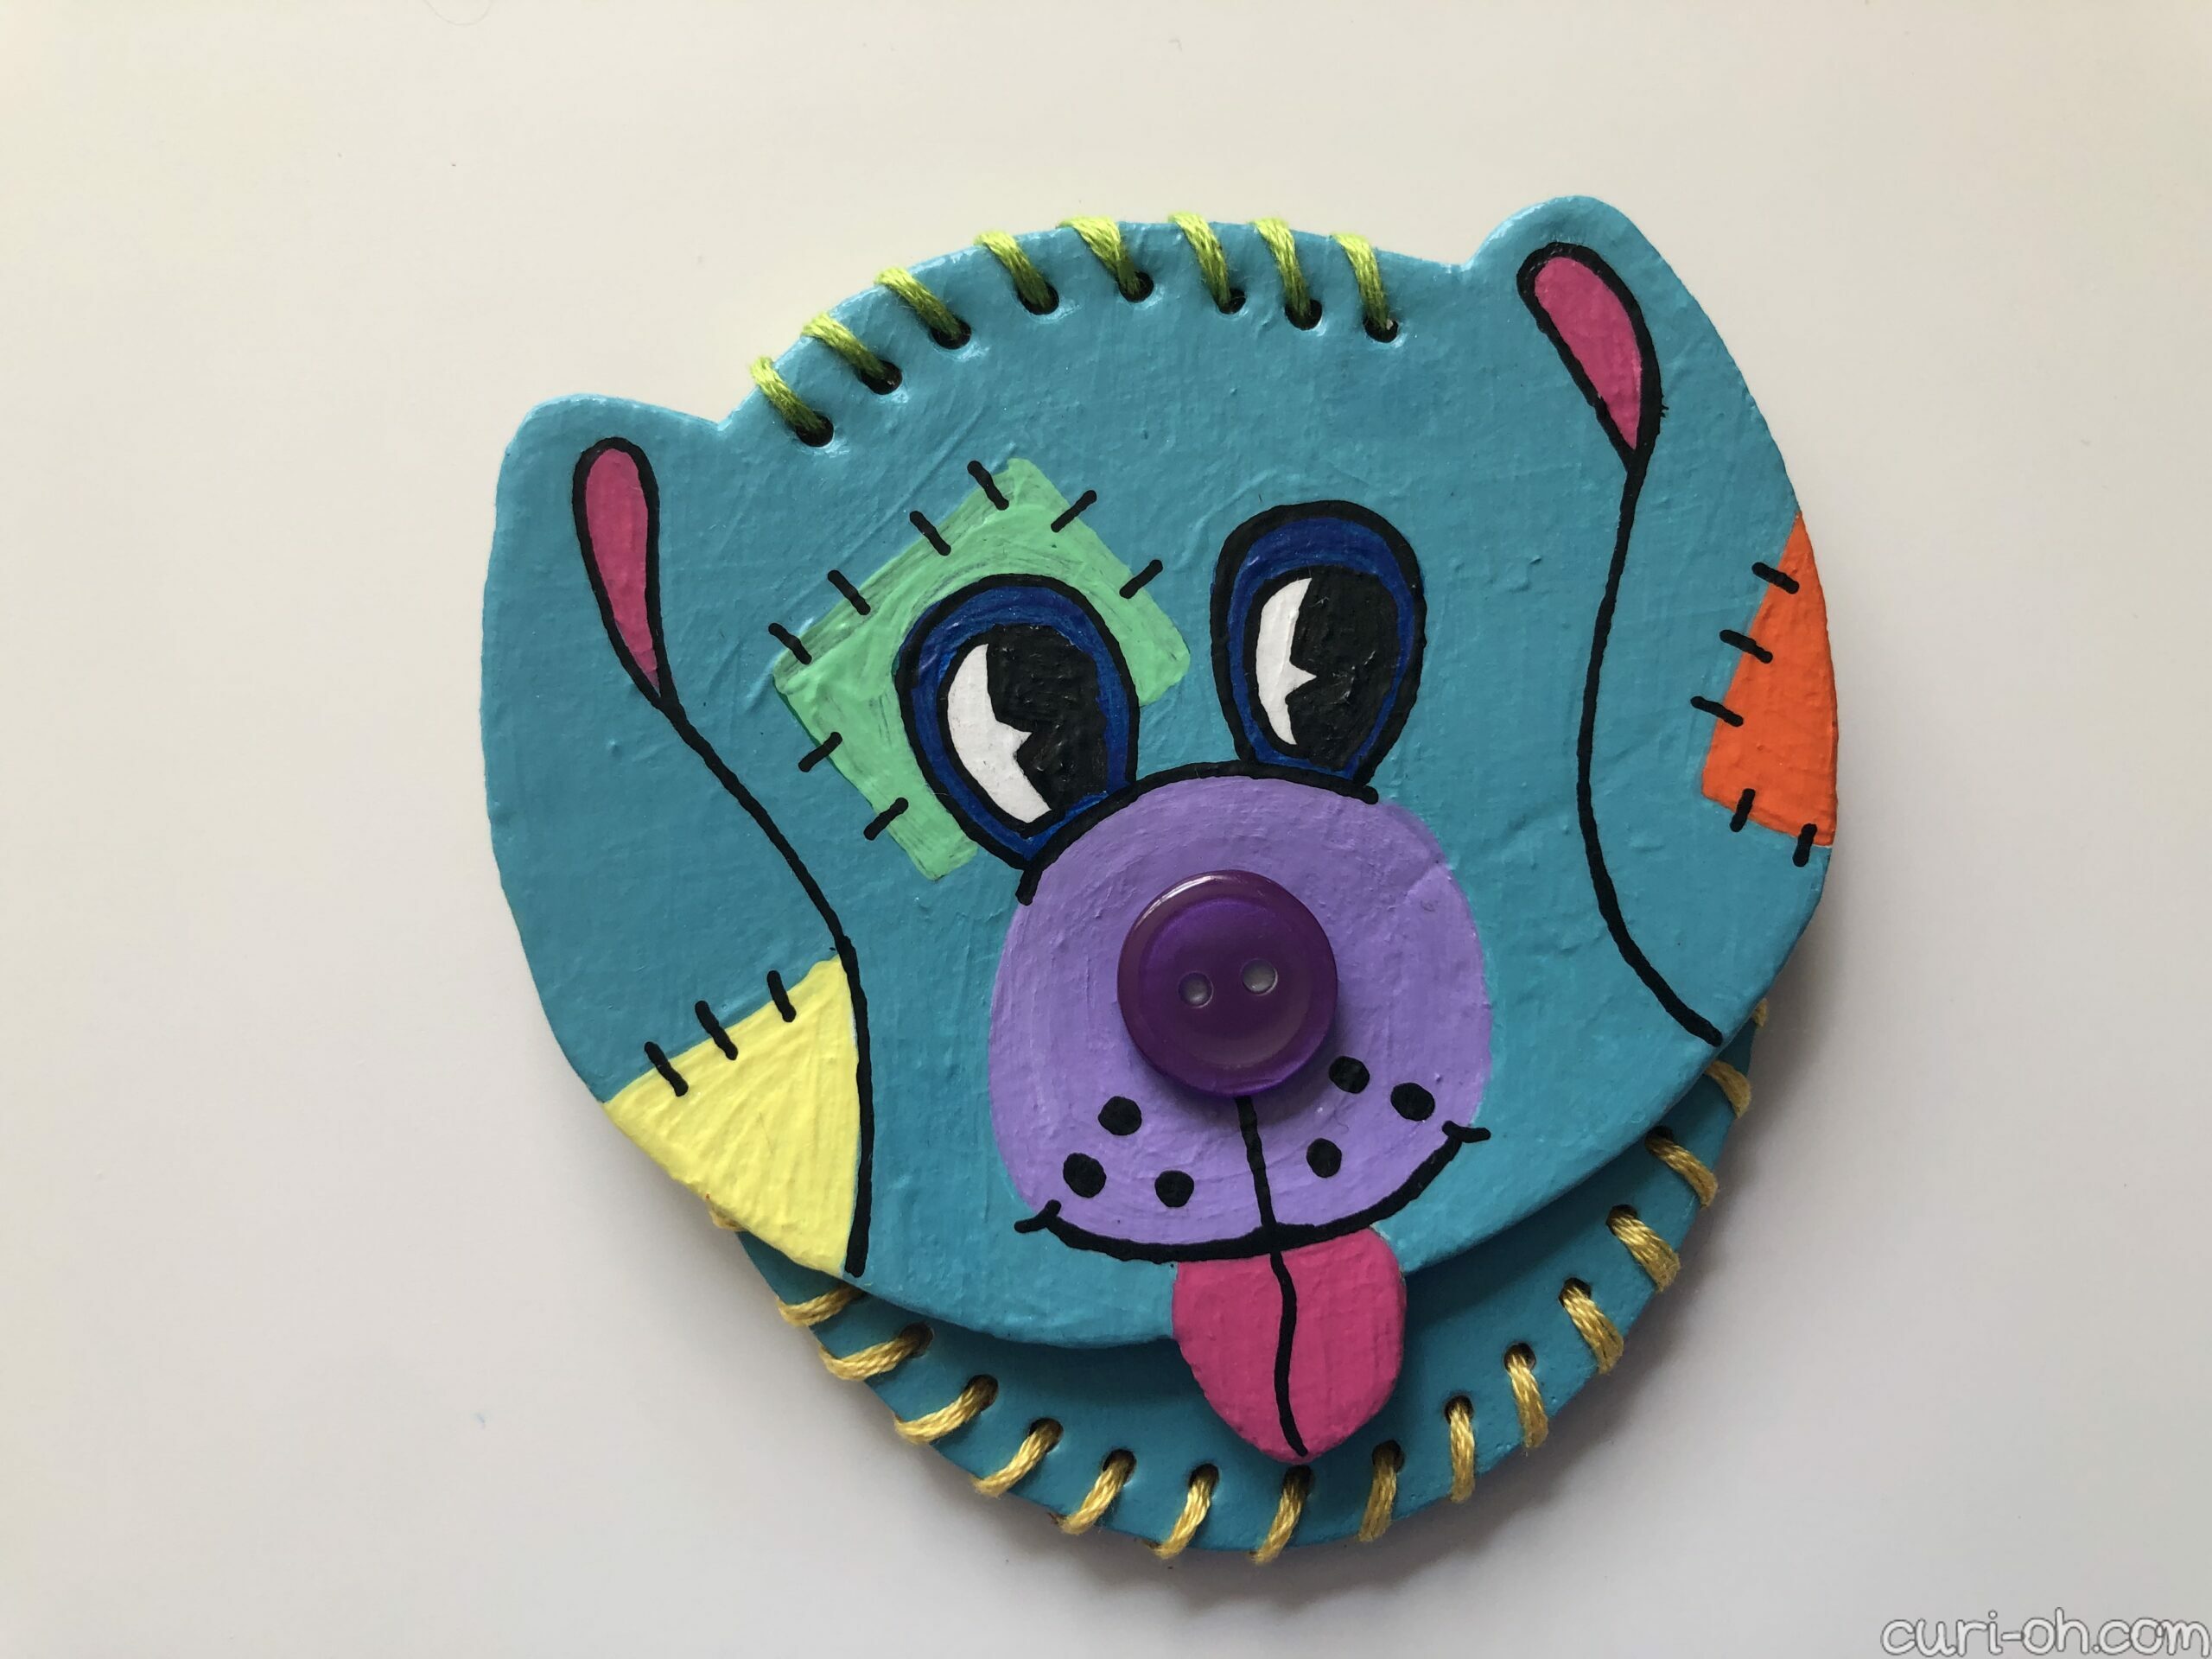
I’m pleased with how it turned out! He certainly looks much happier and I think I did pretty well on the face for someone who cannot draw. I like my color and design decisions.
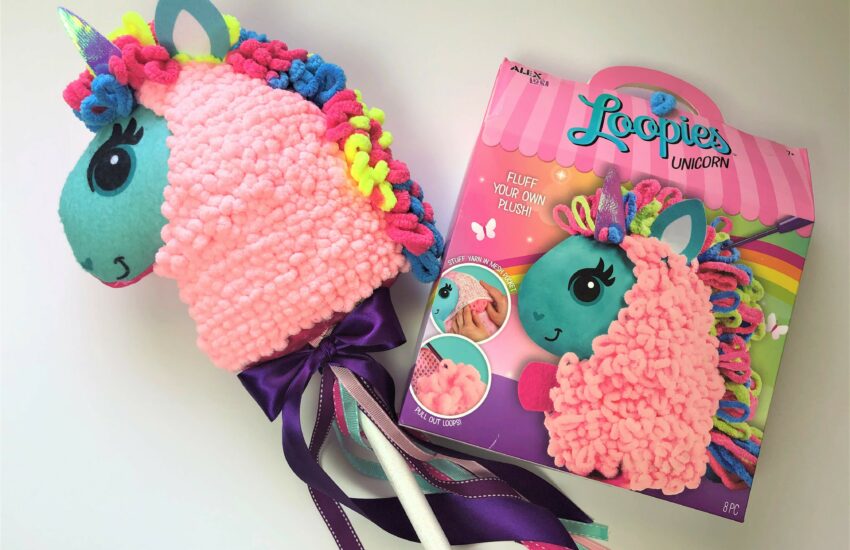
My next one was an obvious choice for a must-do fabric paint craft for me.

I love watching YouTuber Moriah Elizabeth’s videos, particularly her “Squishy Makeovers” series. In it she takes these squishy toys and remodels them into cute new creations, though hers usually begin with damaged squishies sent to her by fans which she repairs and resculpts by combining pieces together from multiple toys. It always seems like so much fun and has made me want to try my hand simply at painting one.
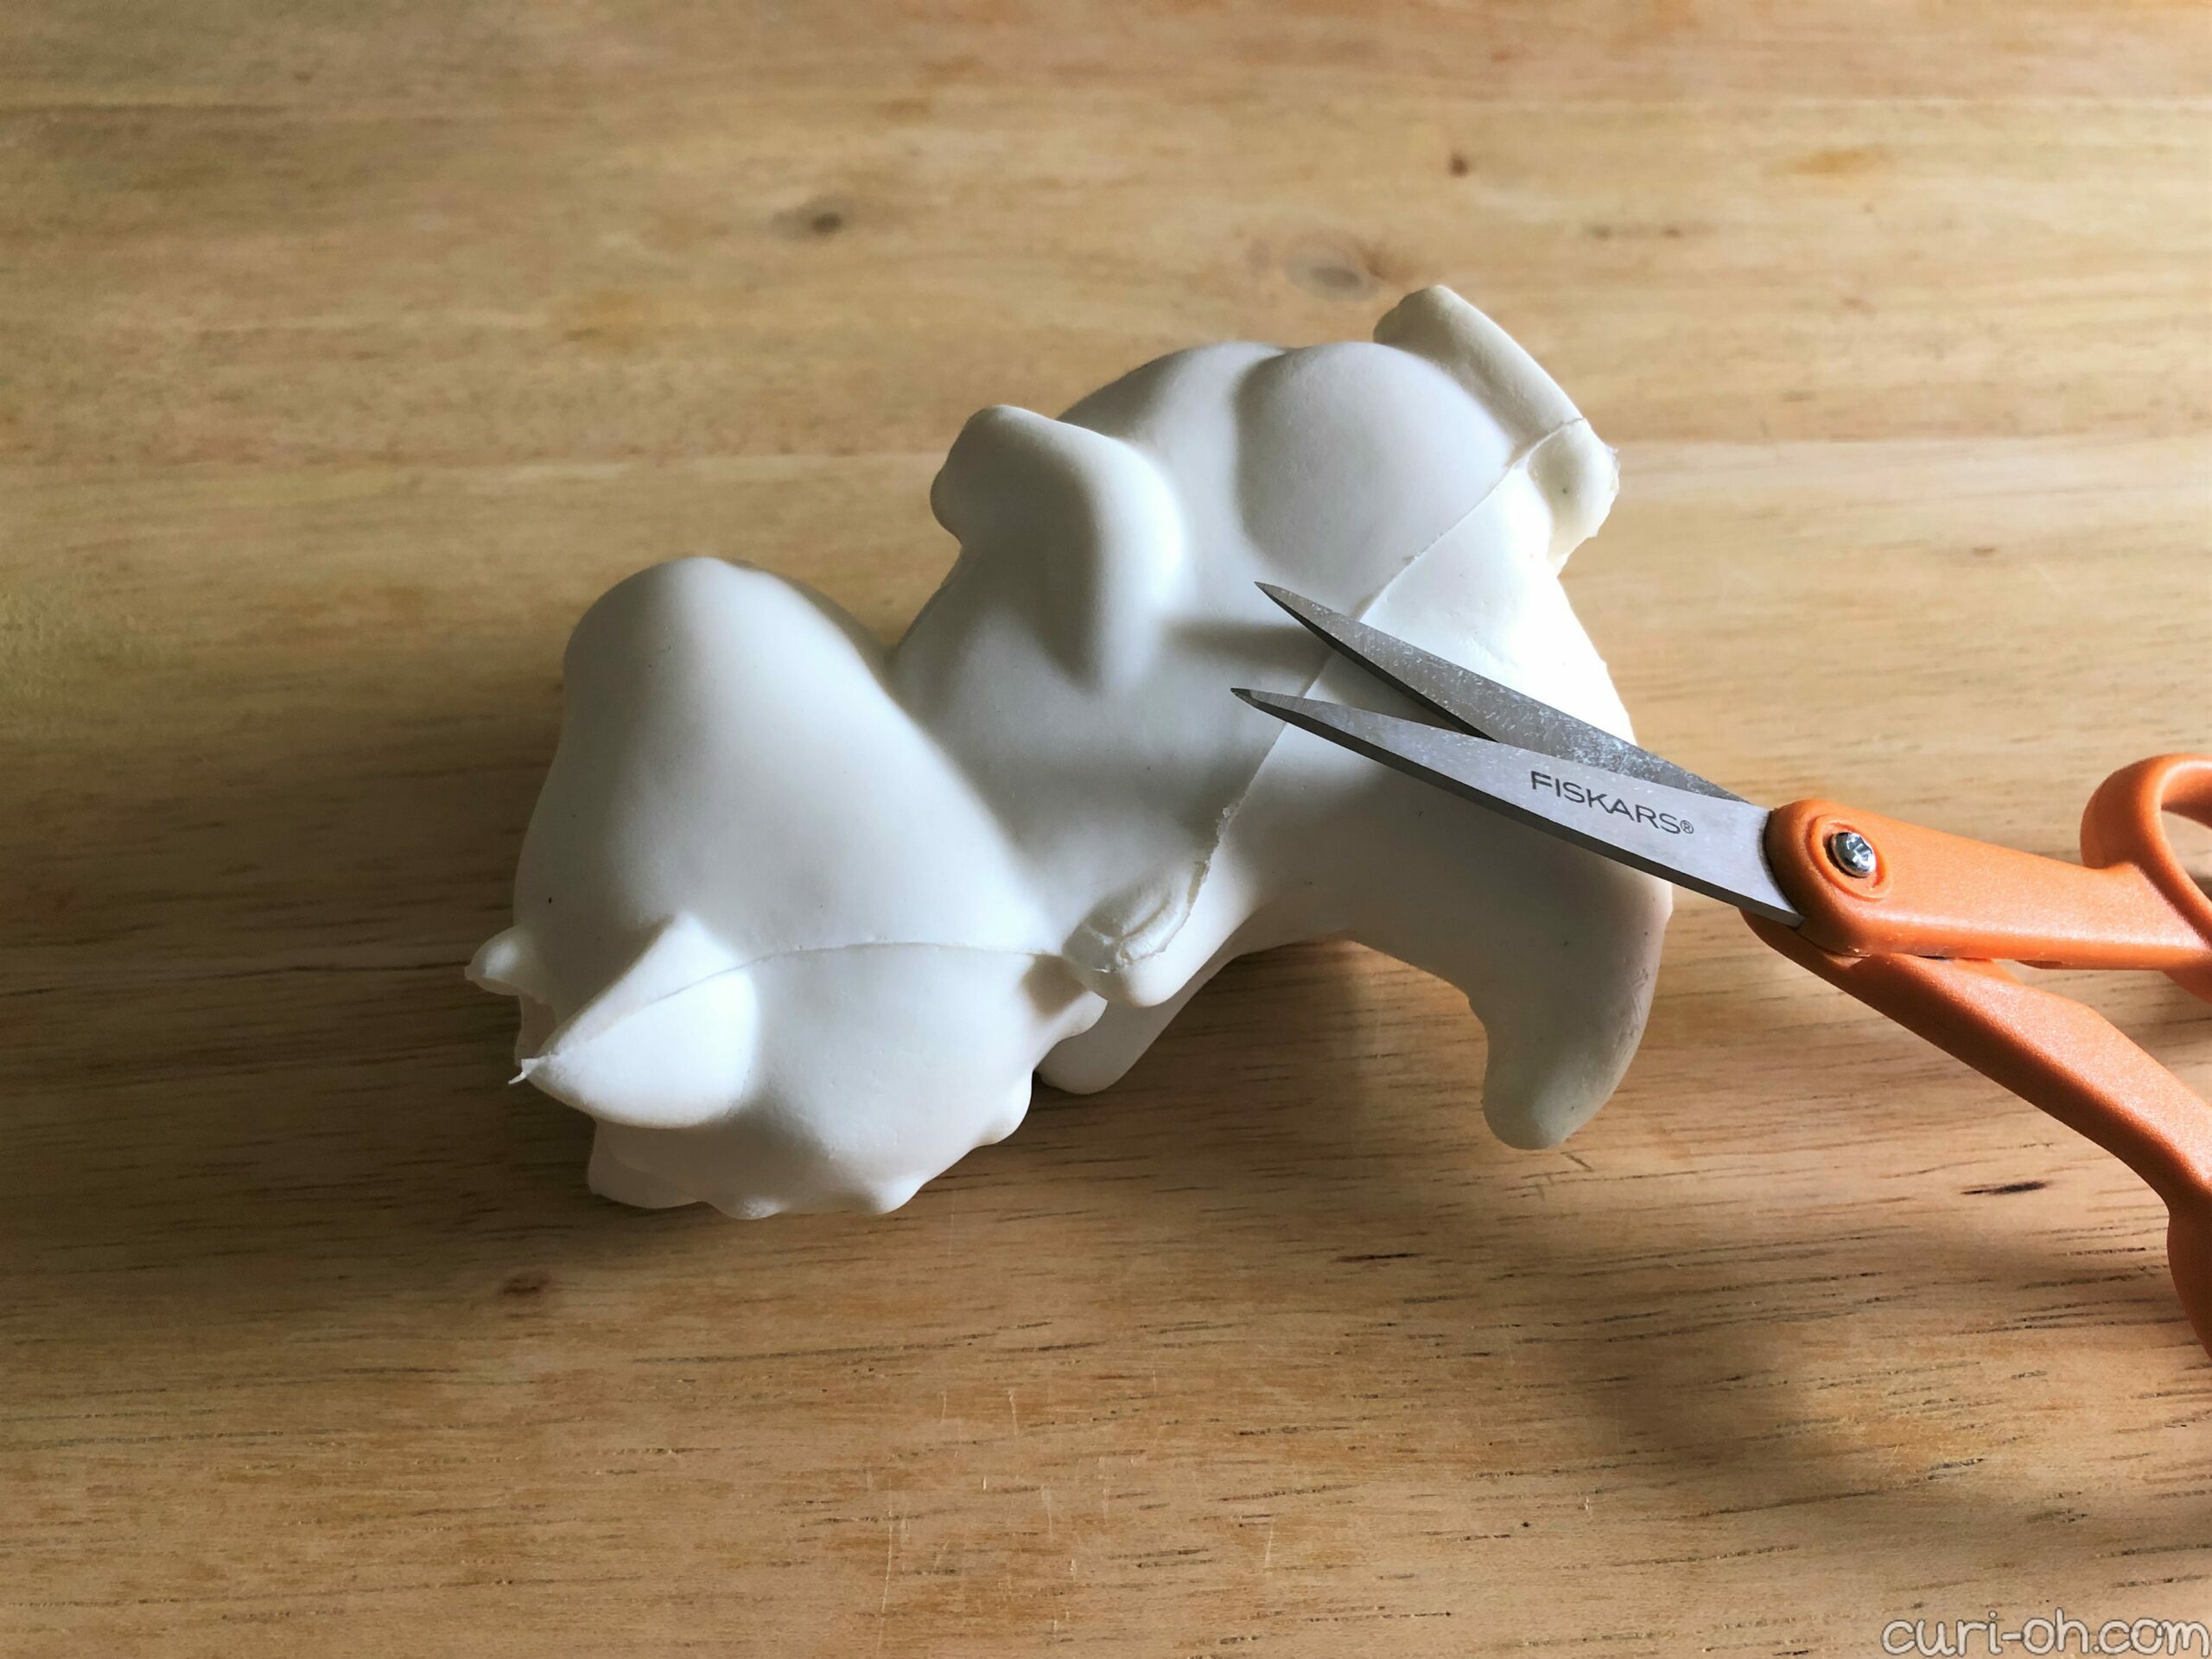
I picked up this chubby dragon from Hobby Lobby a long time ago, which is a bare squishy ready to be customized. To begin, I trimmed some of the worst of the edging and loose bits to make it as smooth as possible. I then gave the dragon a very light sanding with super fine grit sandpaper, to help the paint stick.

I loved the first idea I had for a theme, so I went with it! The belly bands made me think of a bumblebee and from that point on, it could be nothing else!
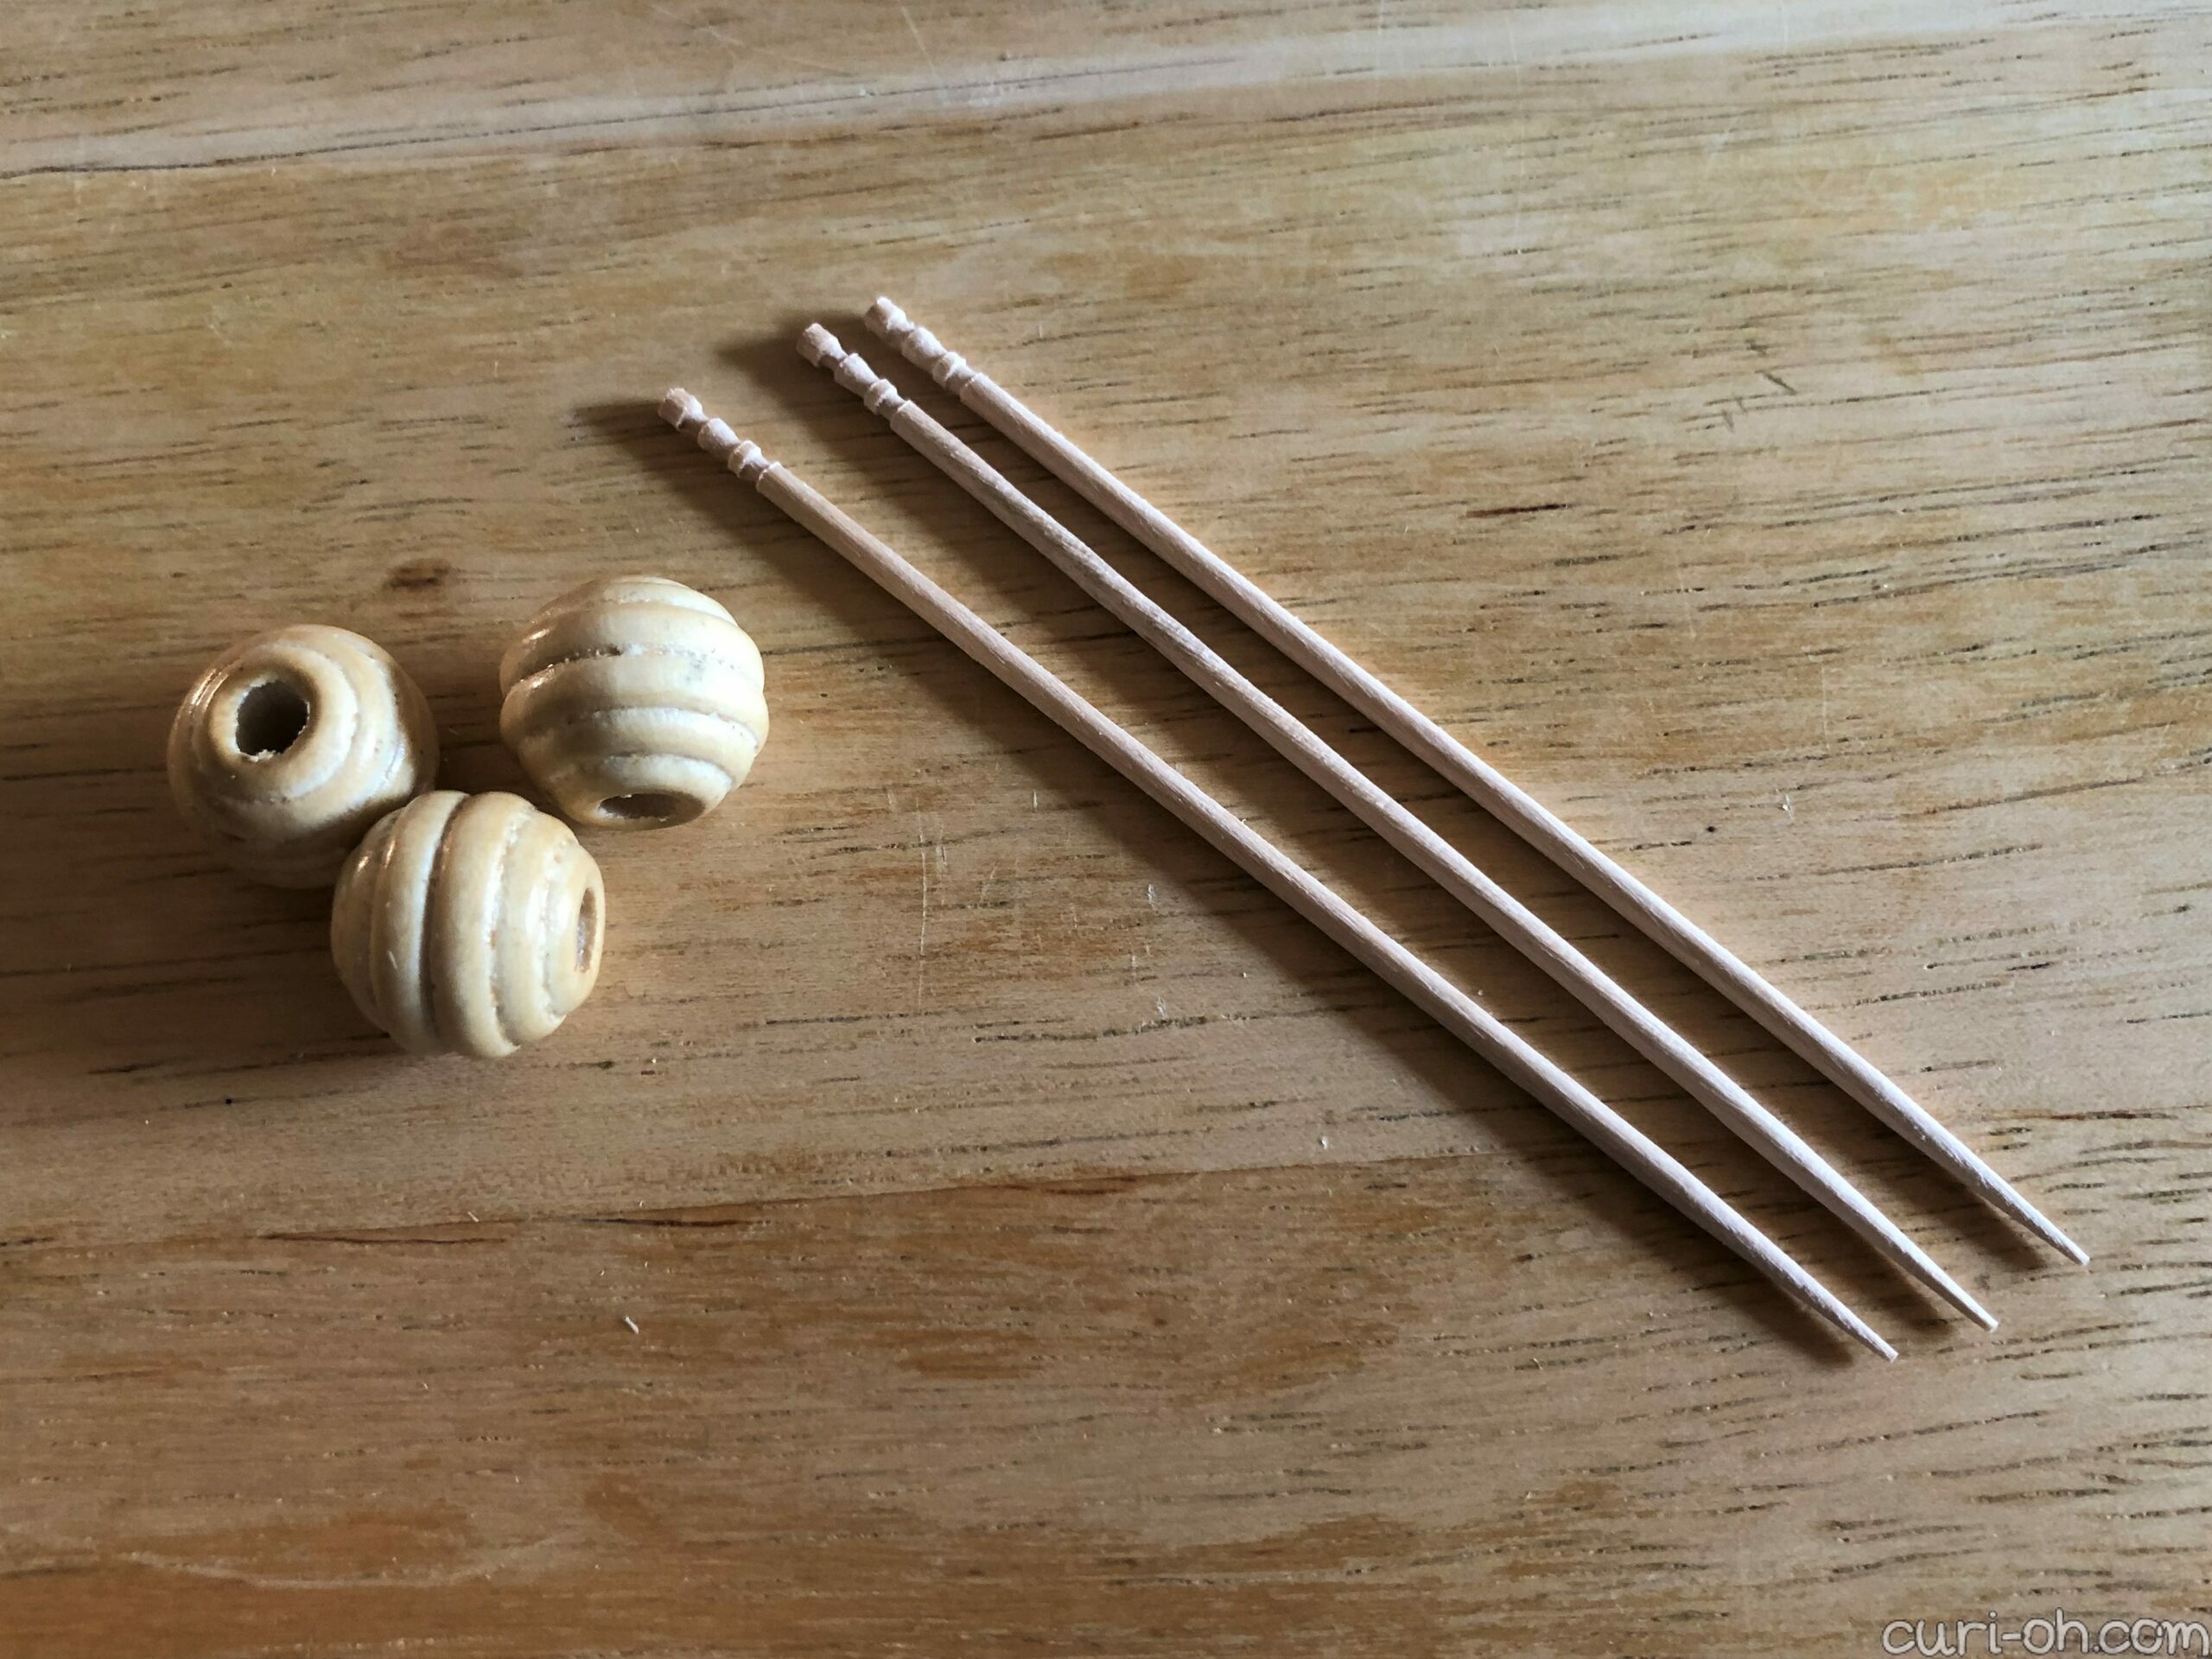
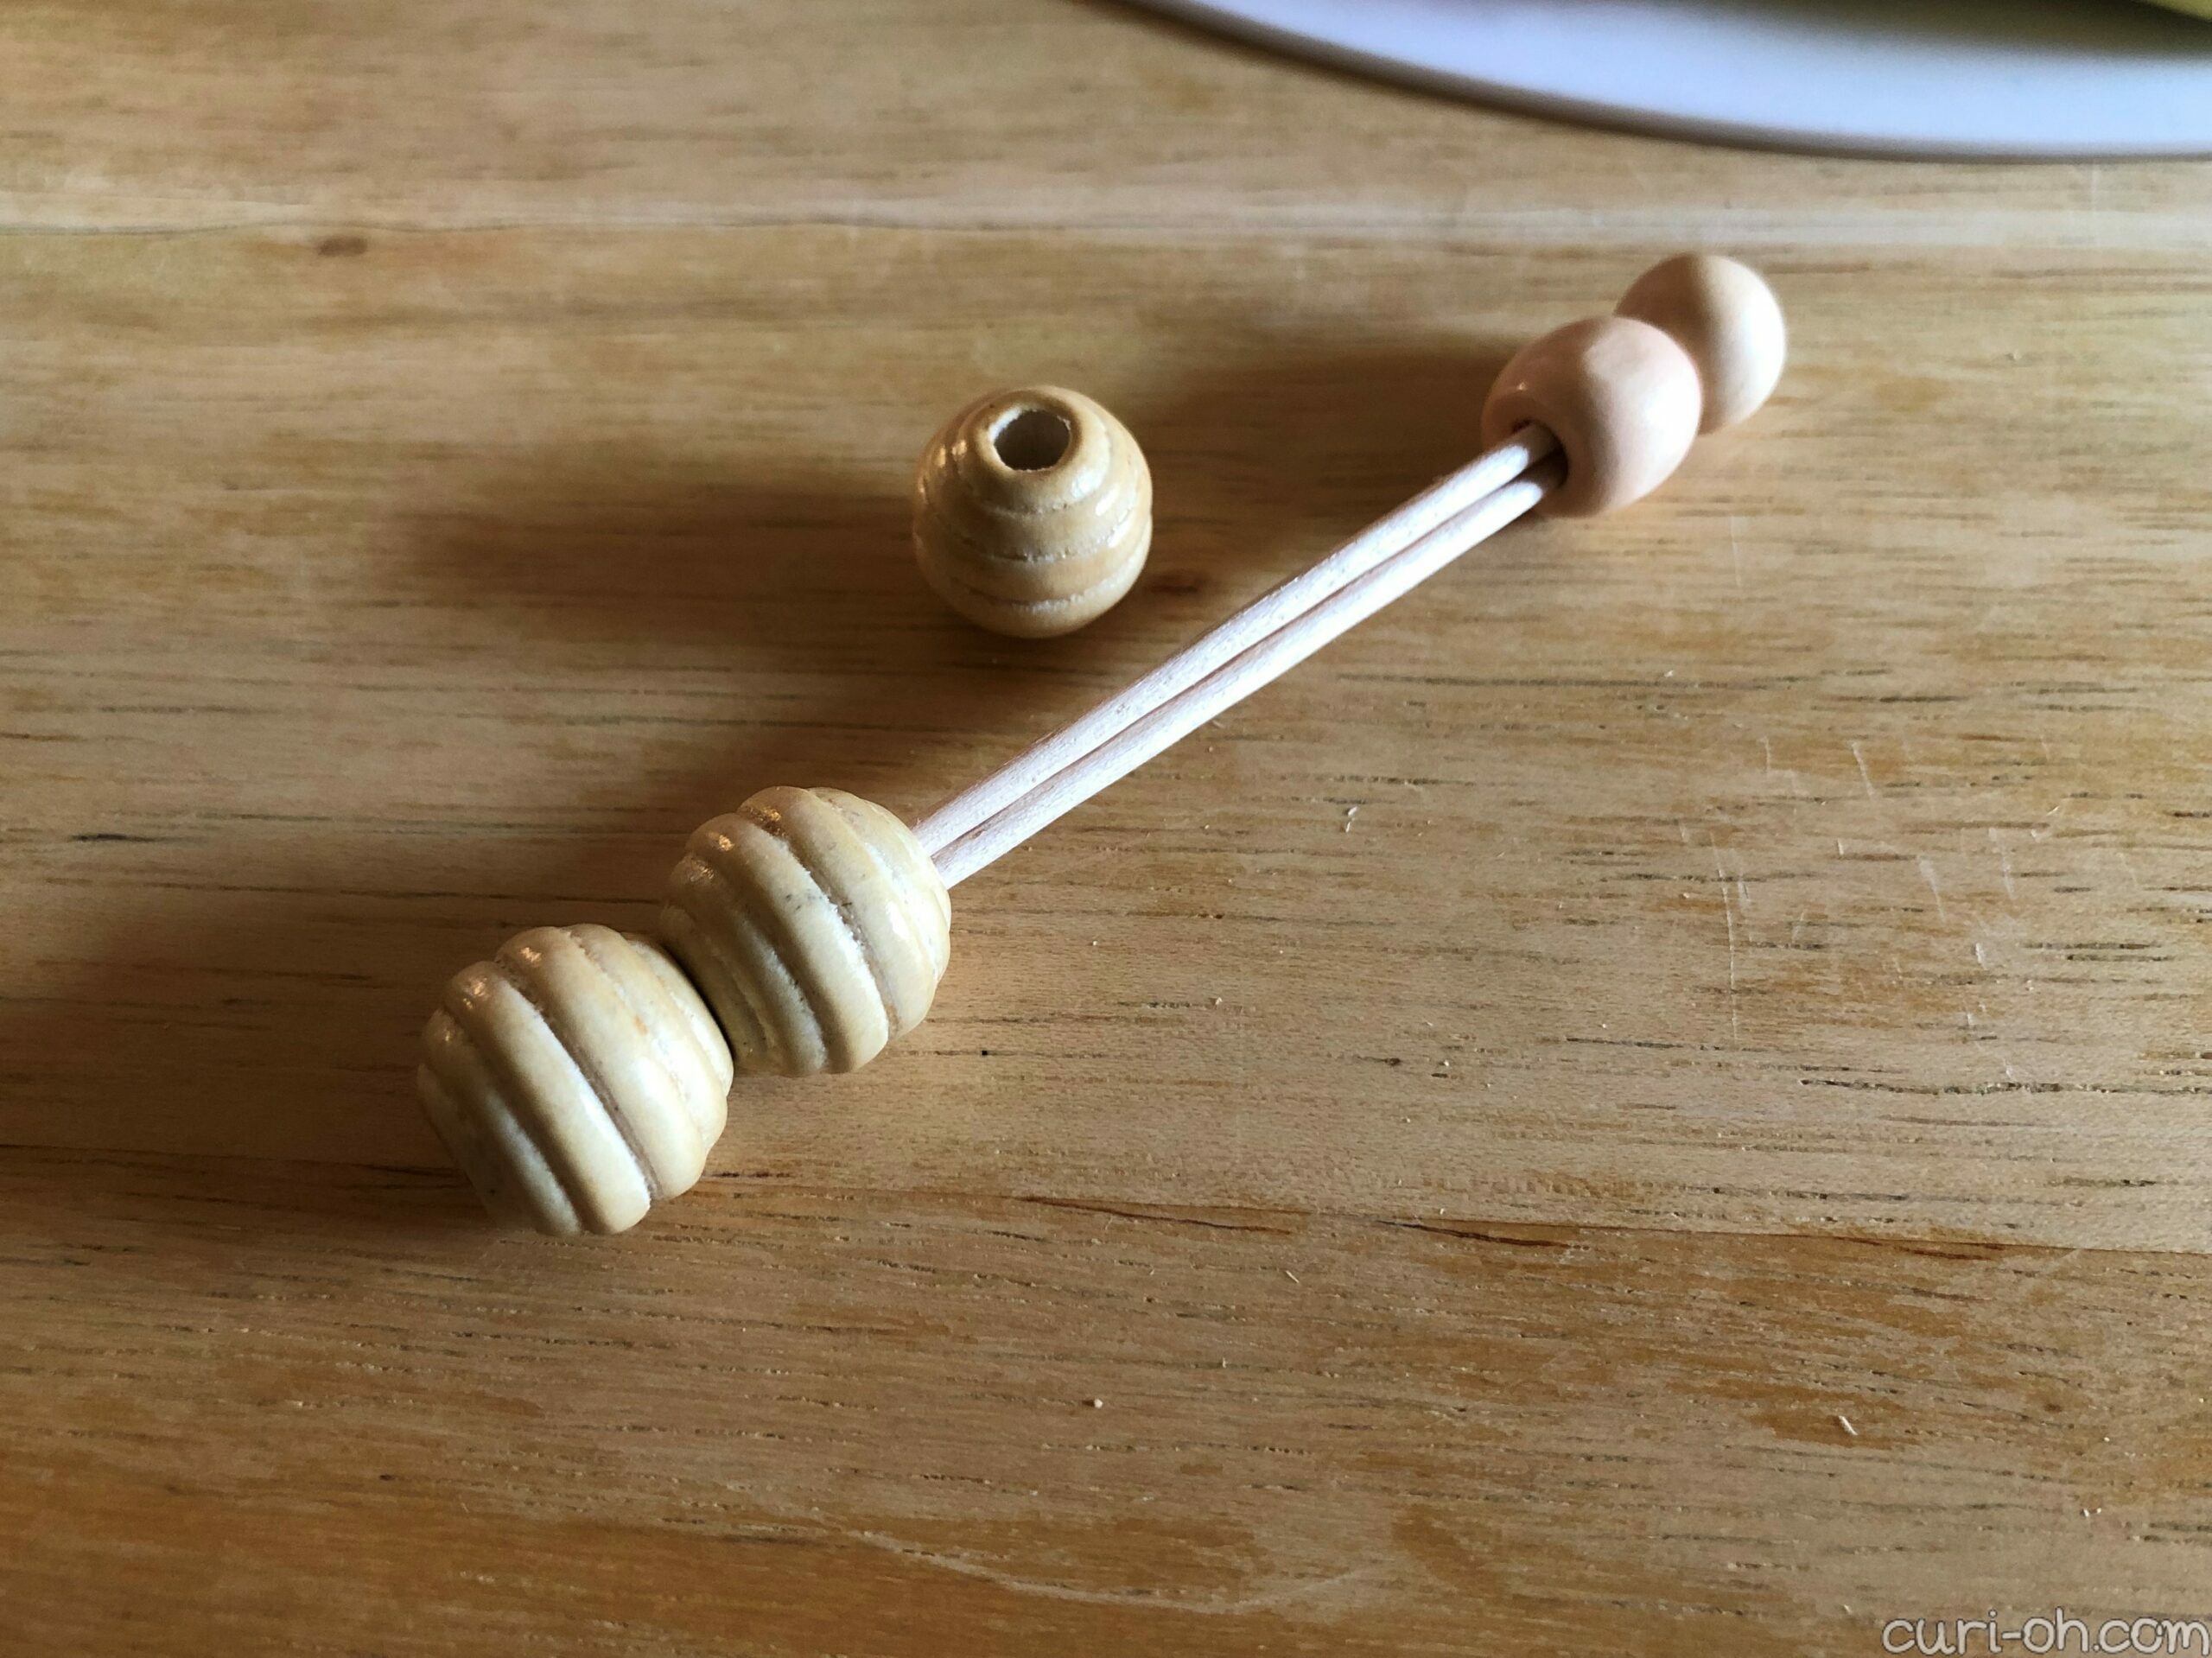
I decided I wanted to make an accessory for her, so in between coats I worked on that. I made a honey pot out of the lid from a Burt’s Bees moisturizer and a honey dipper from some extra long toothpicks and a few macrame beads. I kept tweaking my design for both as I went. I sanded the honey pot before painting. I used fabric paint on the dragon and acrylic paint on the accessories.

In the end, this is how it all turned out:
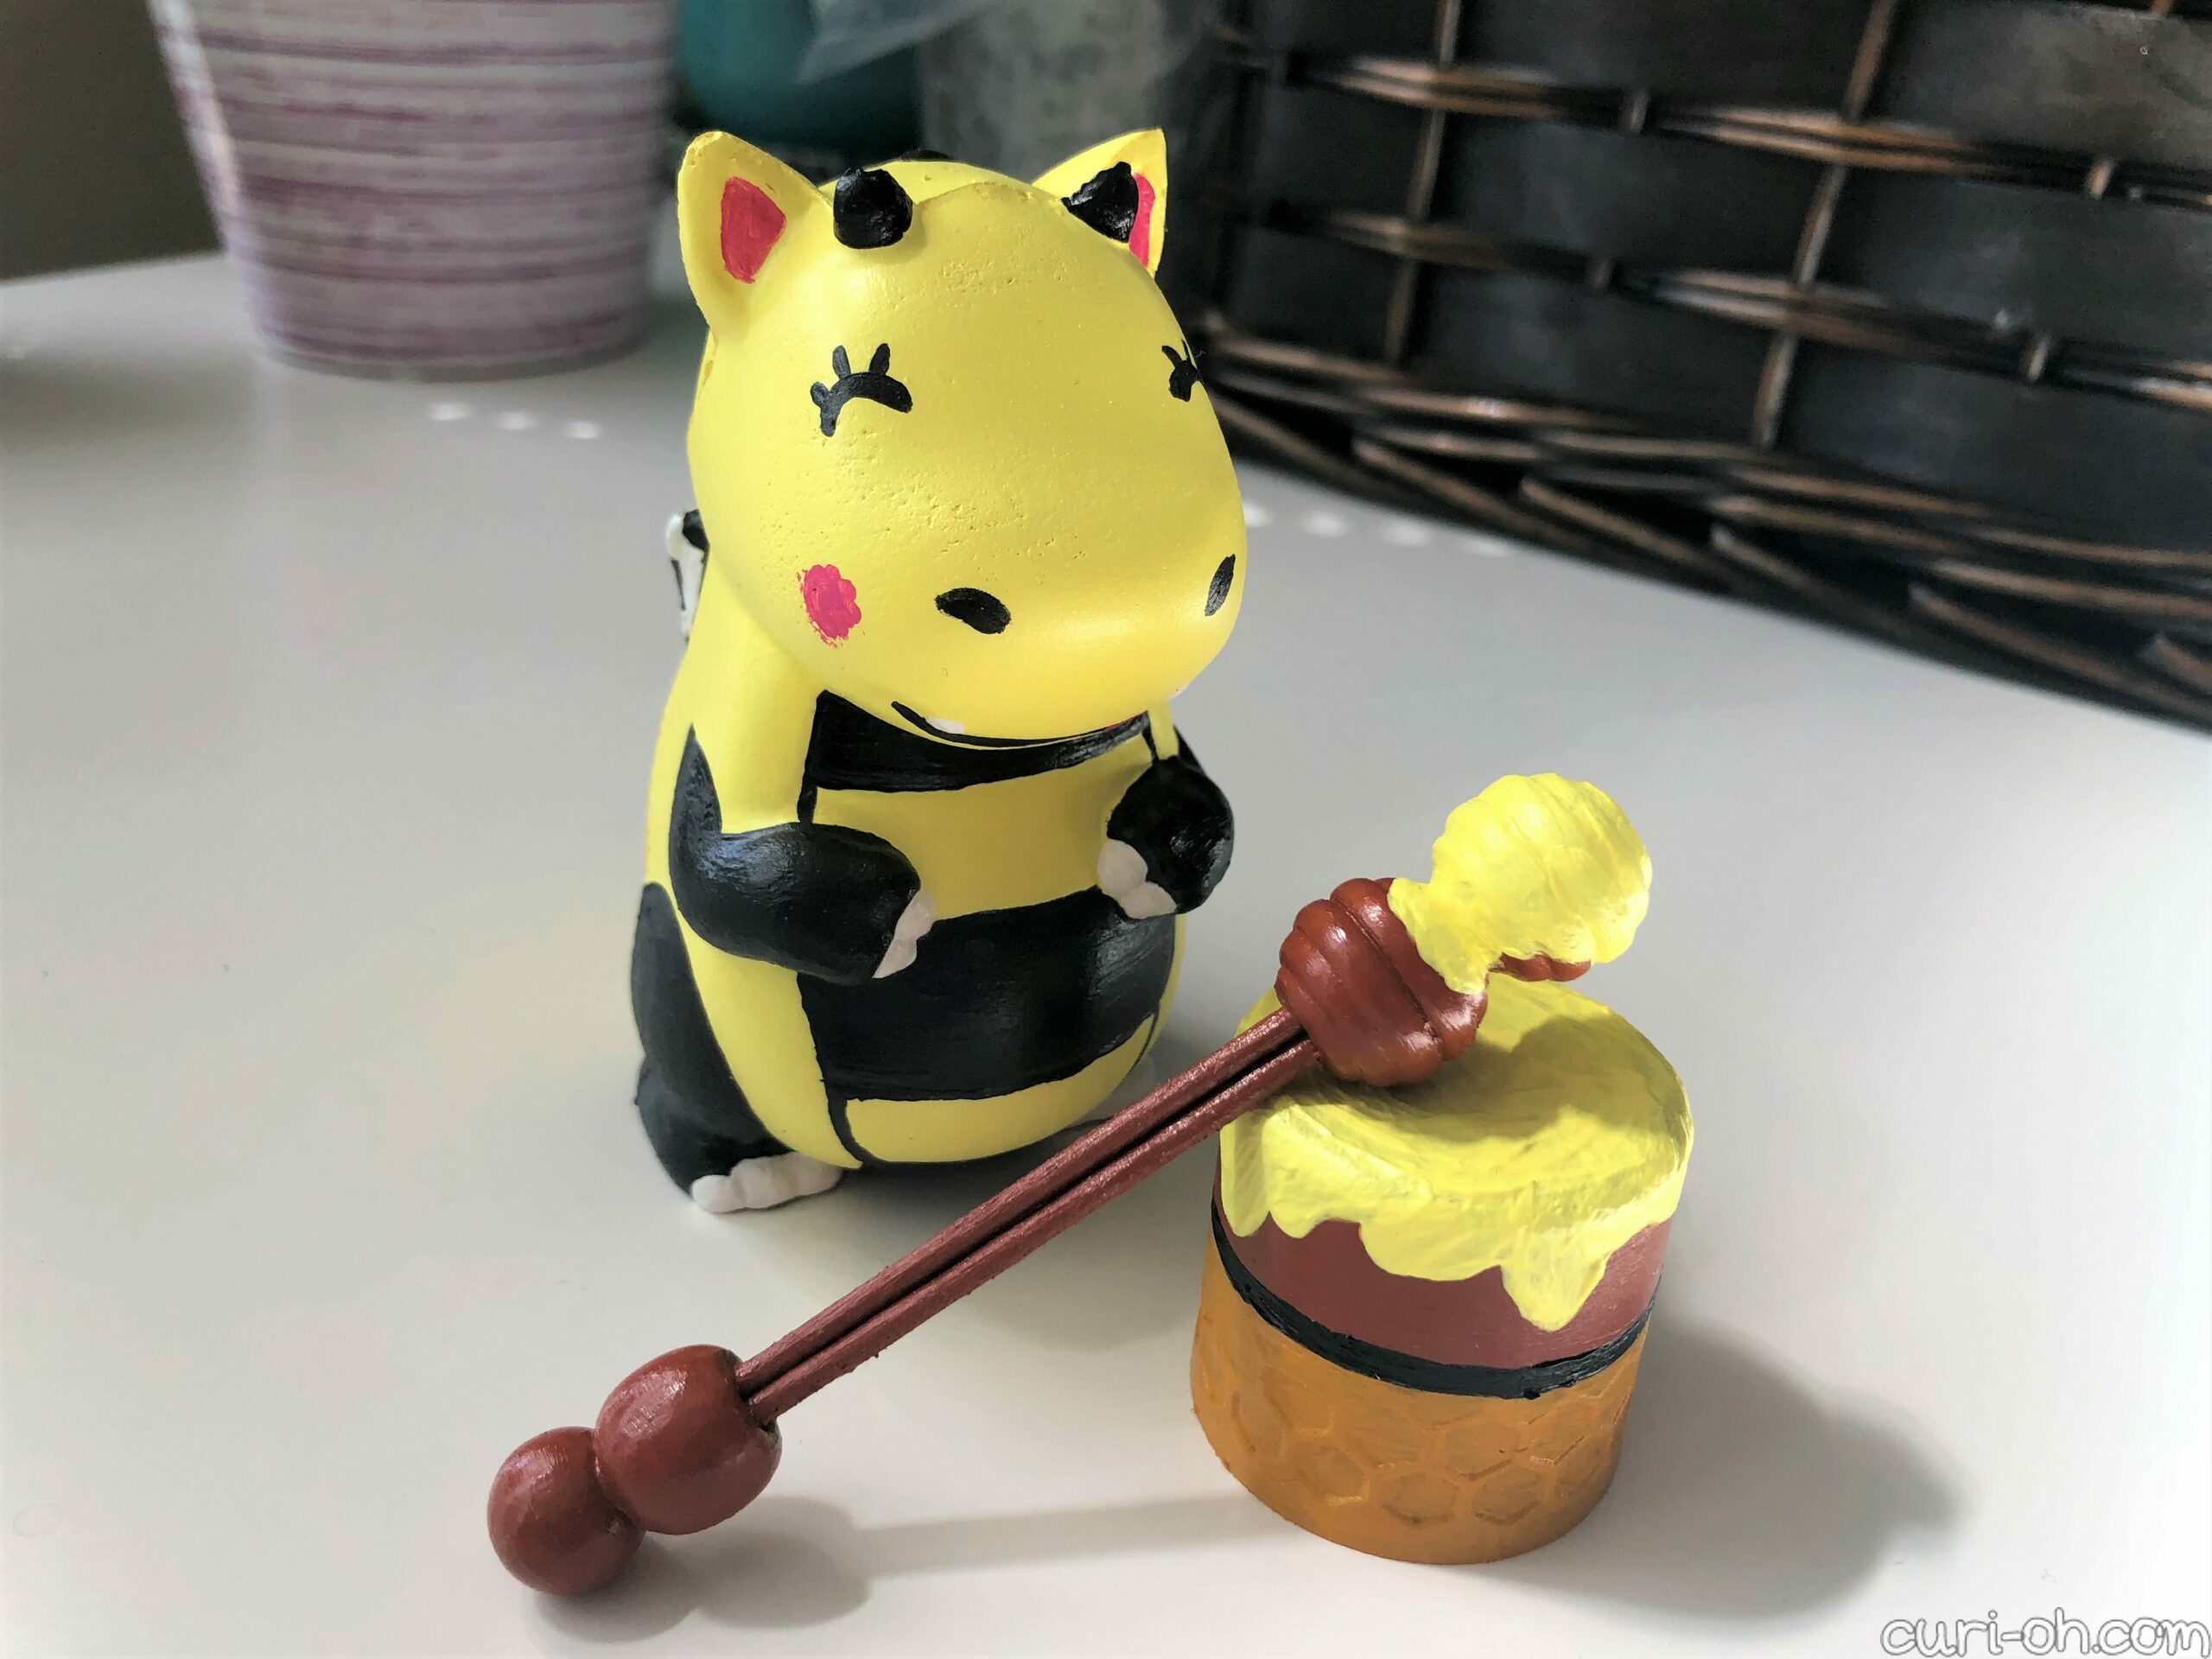
I initially painted the honey a golden color, but then there was no coordination between the dragon and the accessories, so I added the yellow fabric paint on top. As I write this, I find the dipper wants to stick to the pot, so I may go back and seal those two with Mod Podge or something.
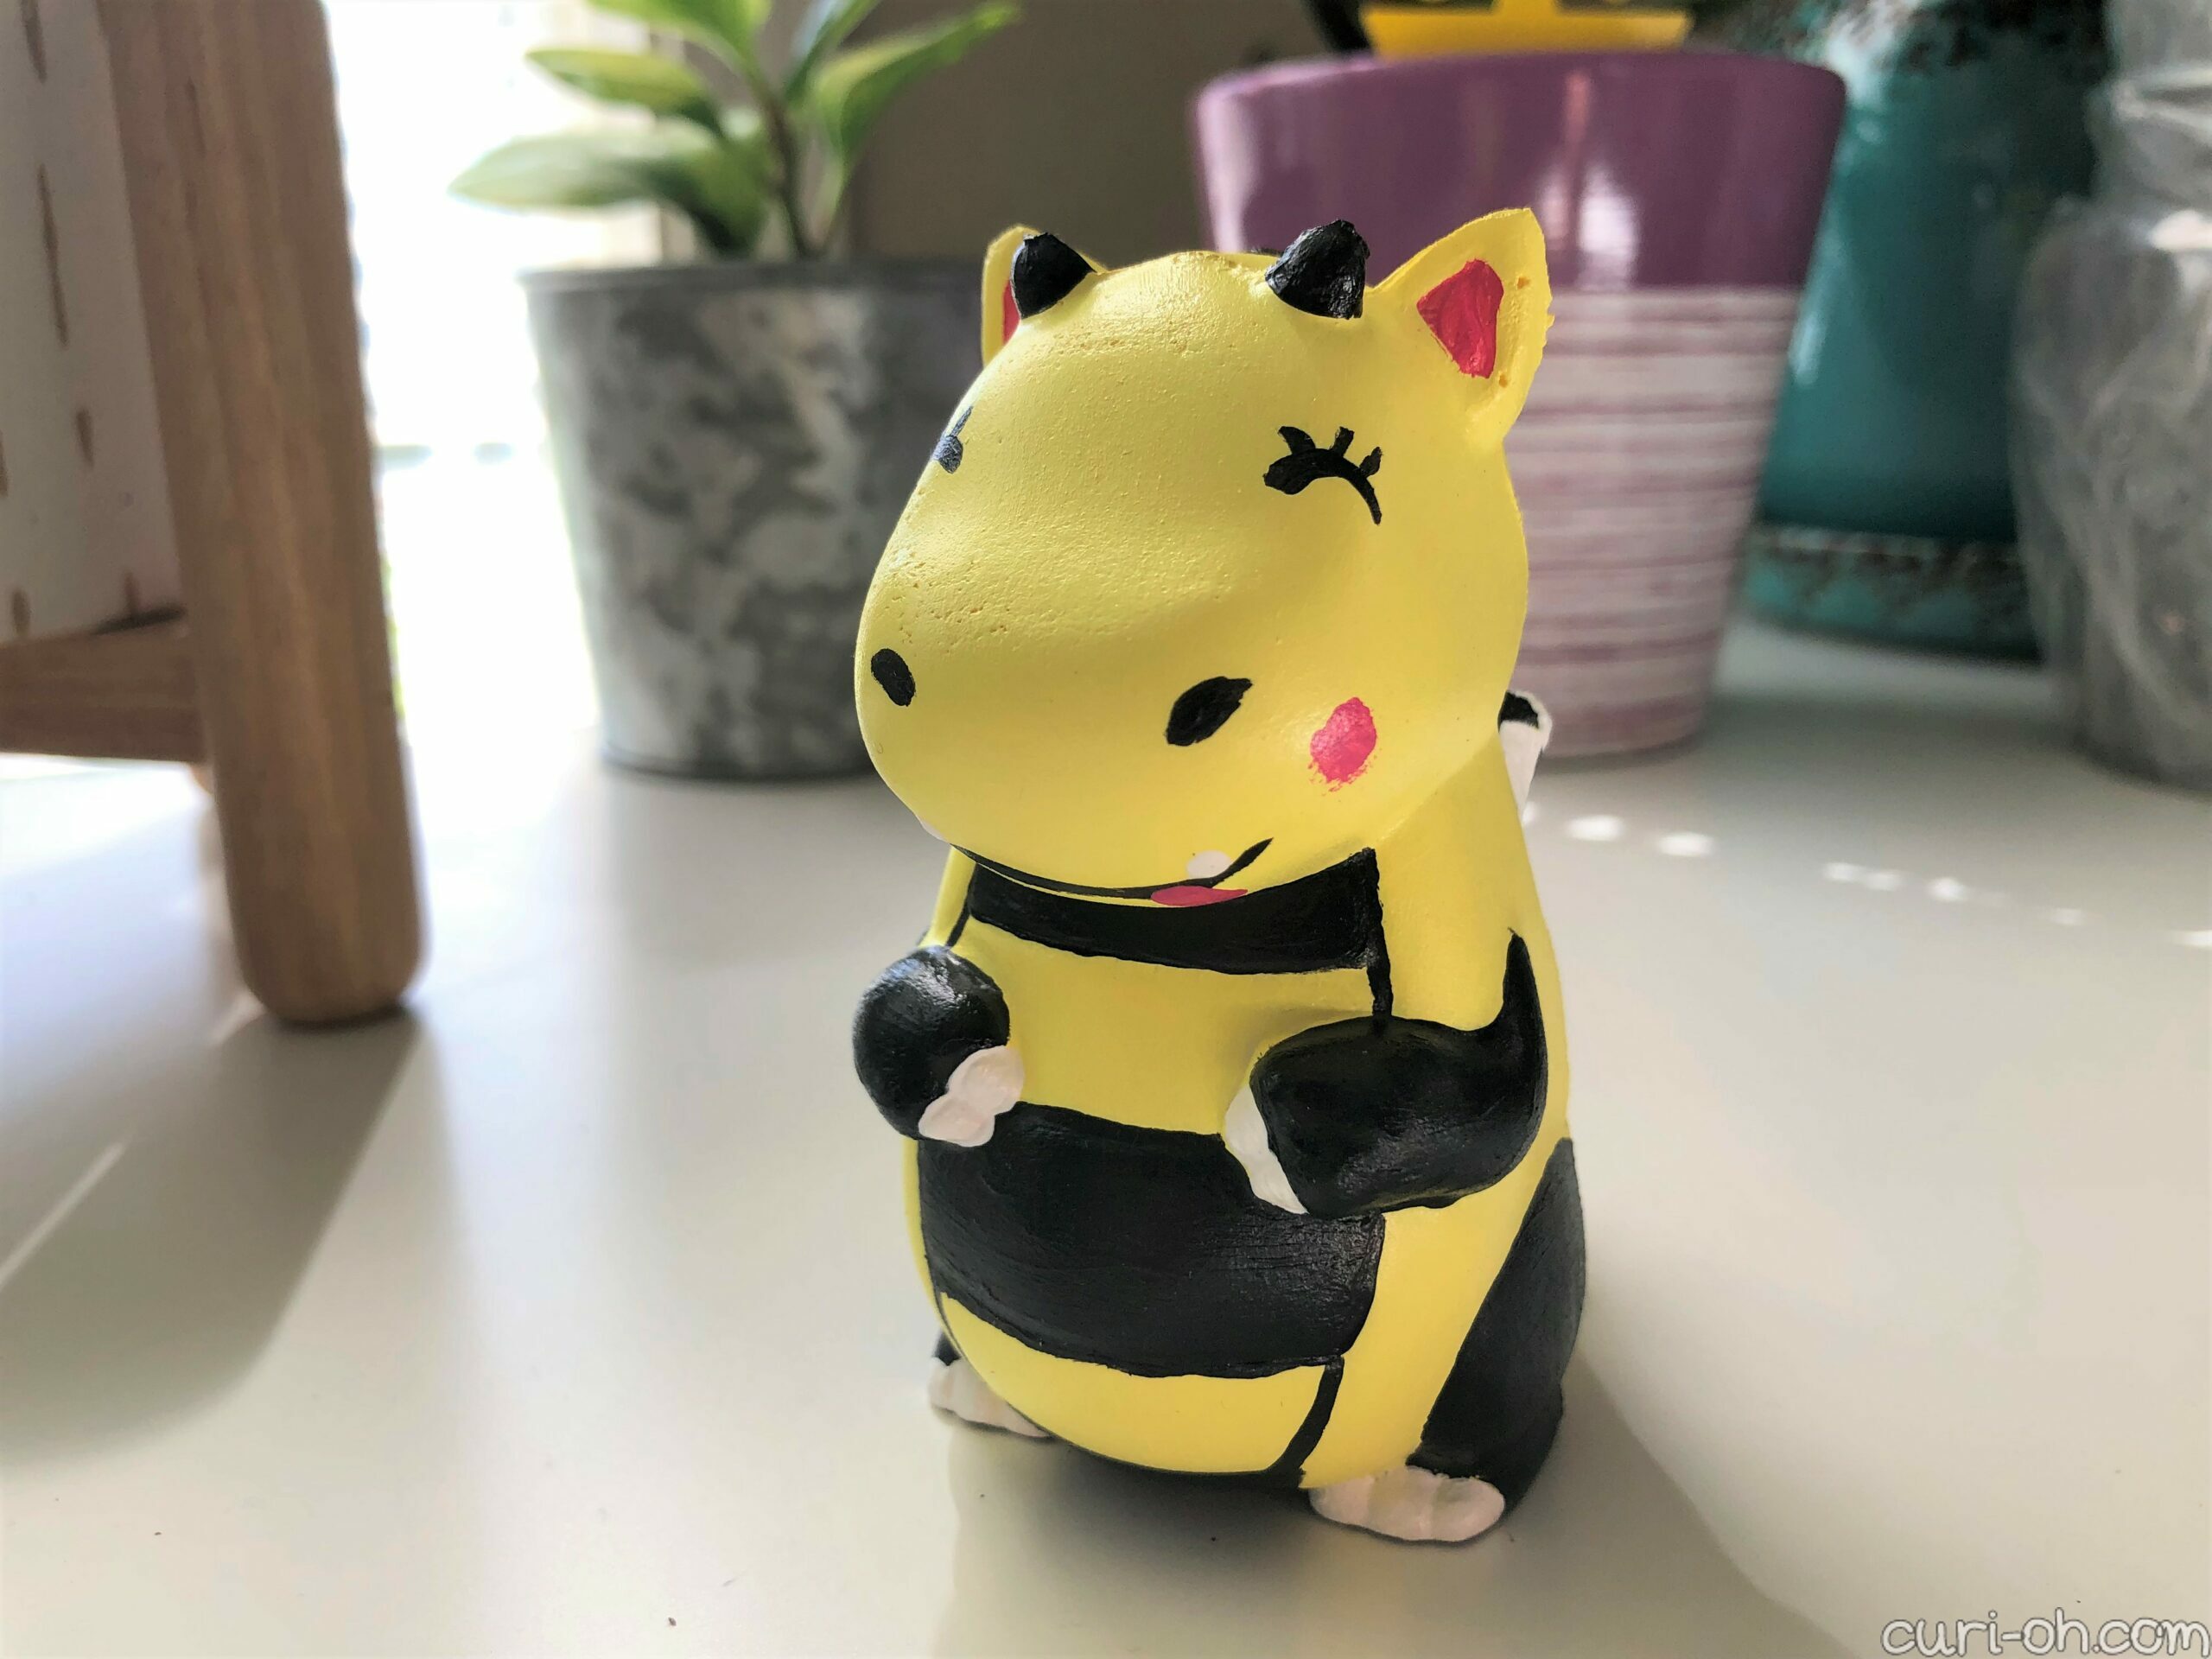
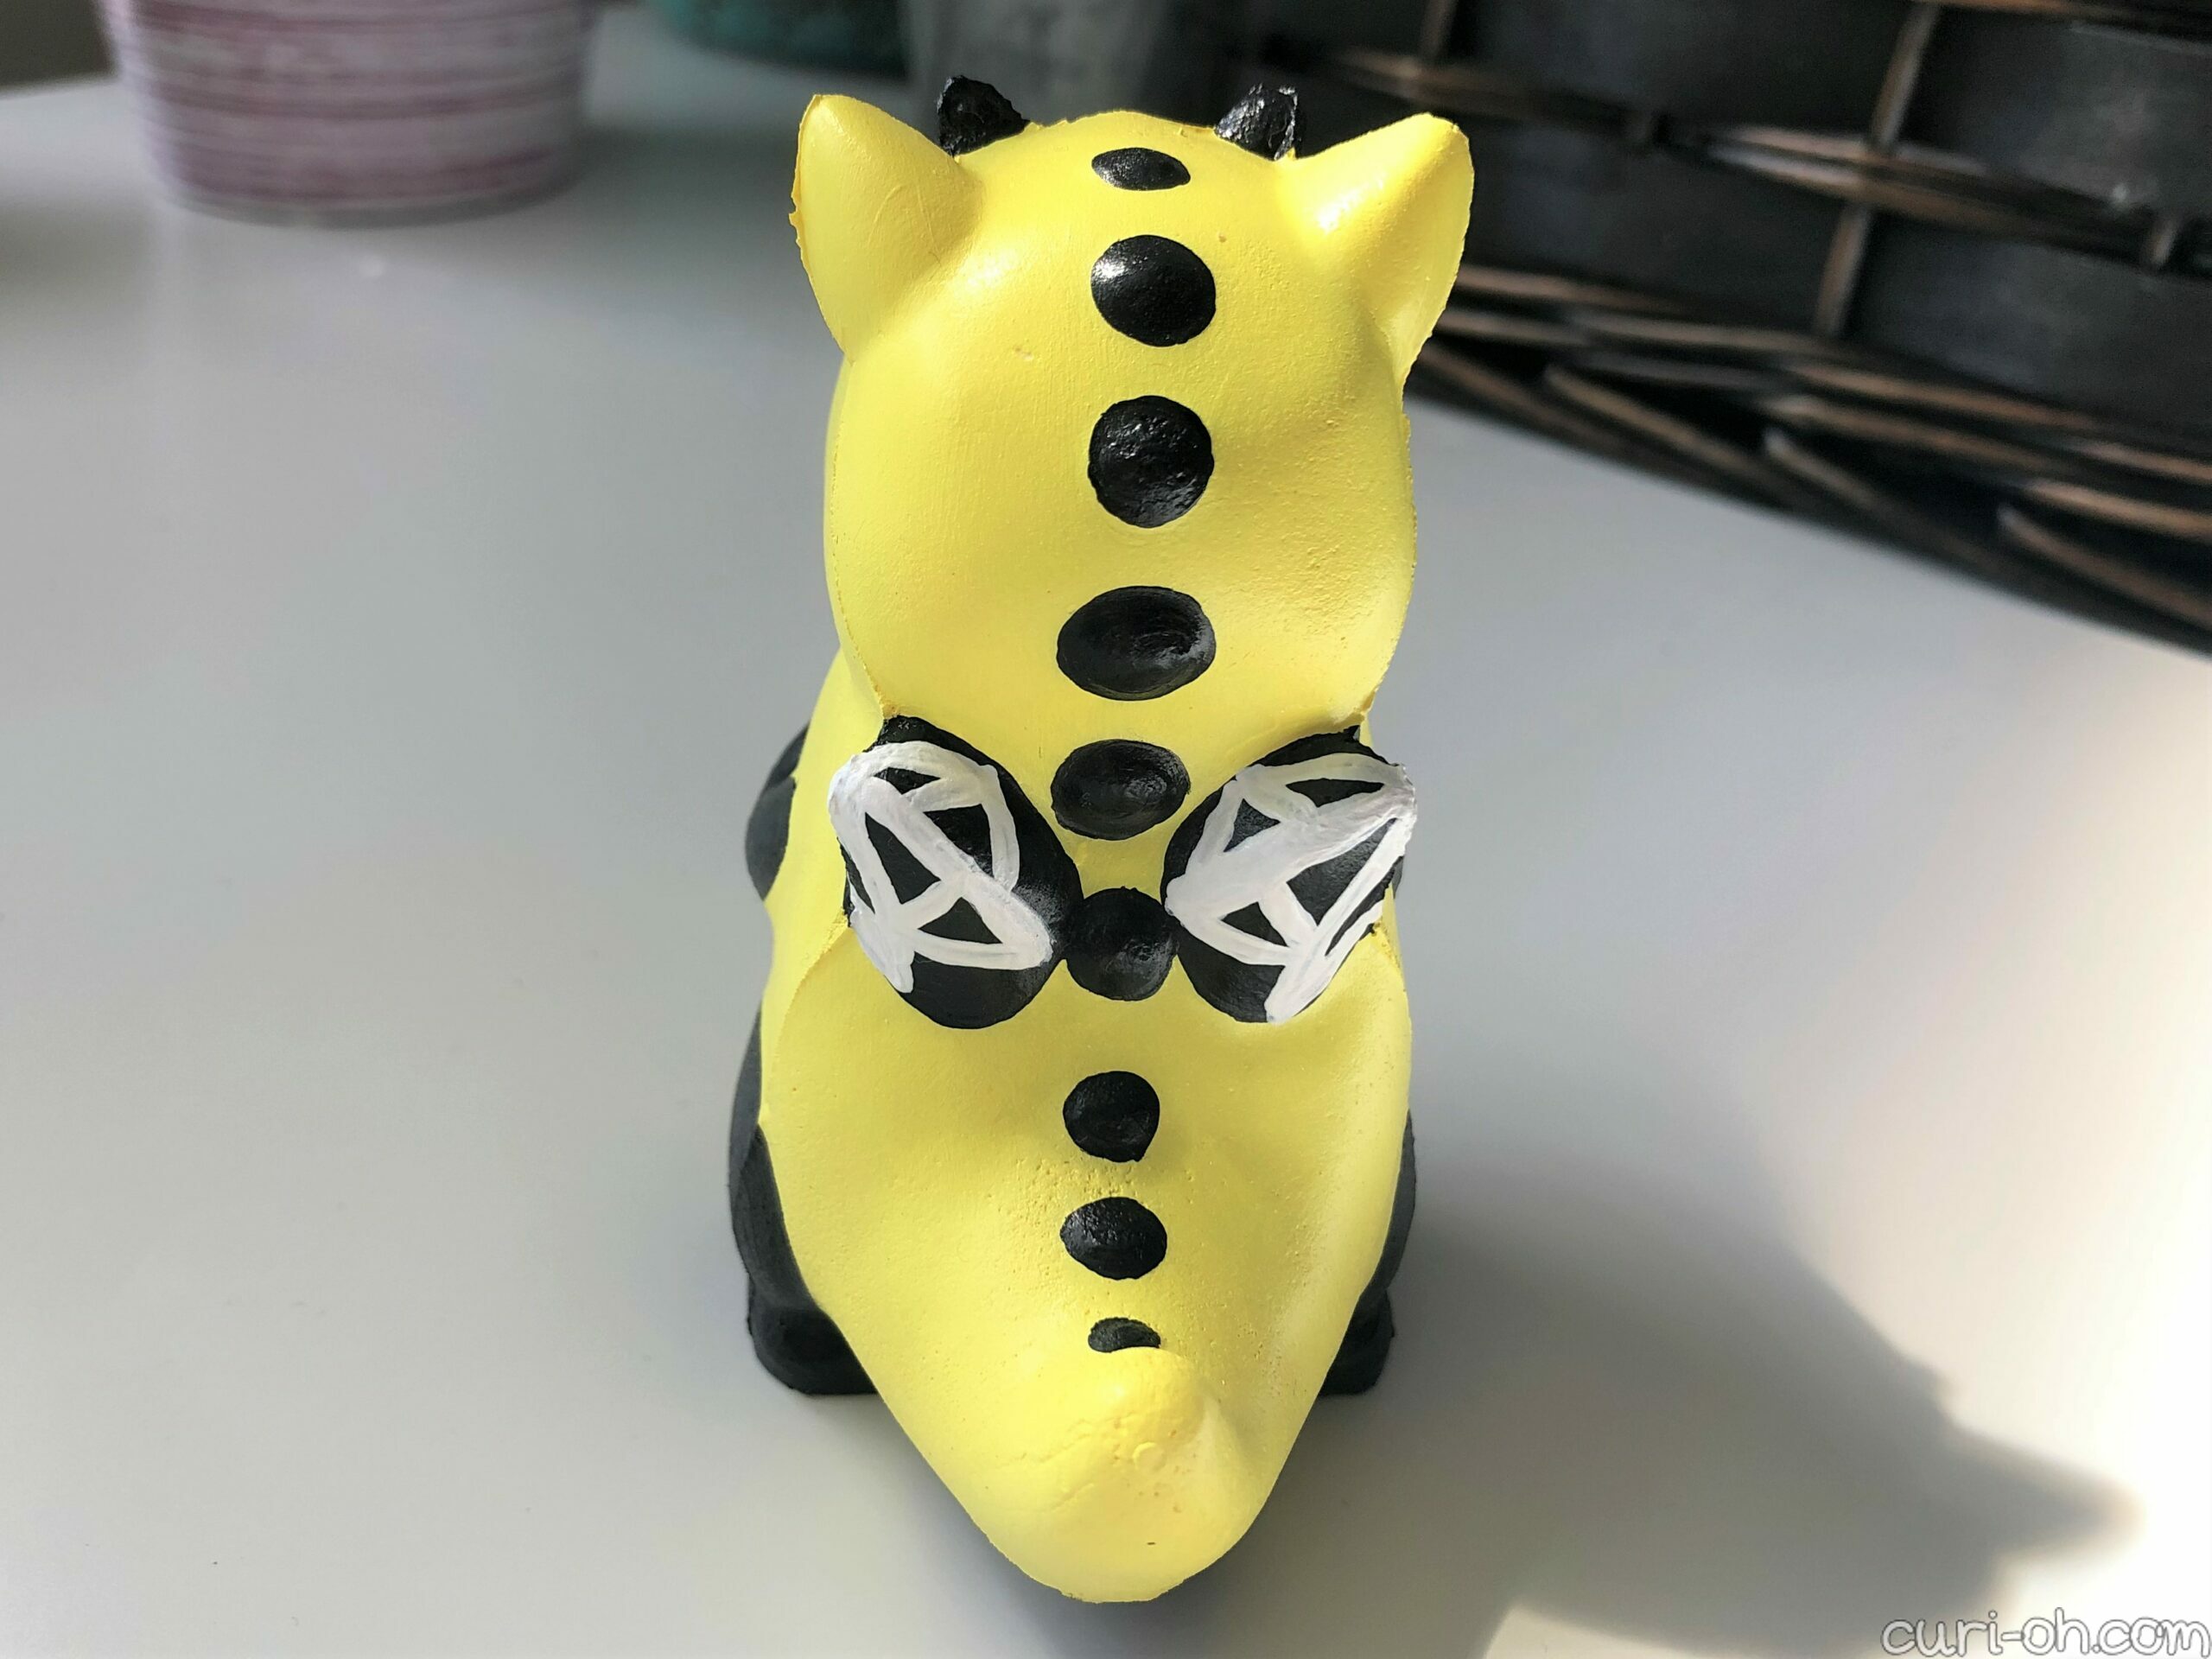
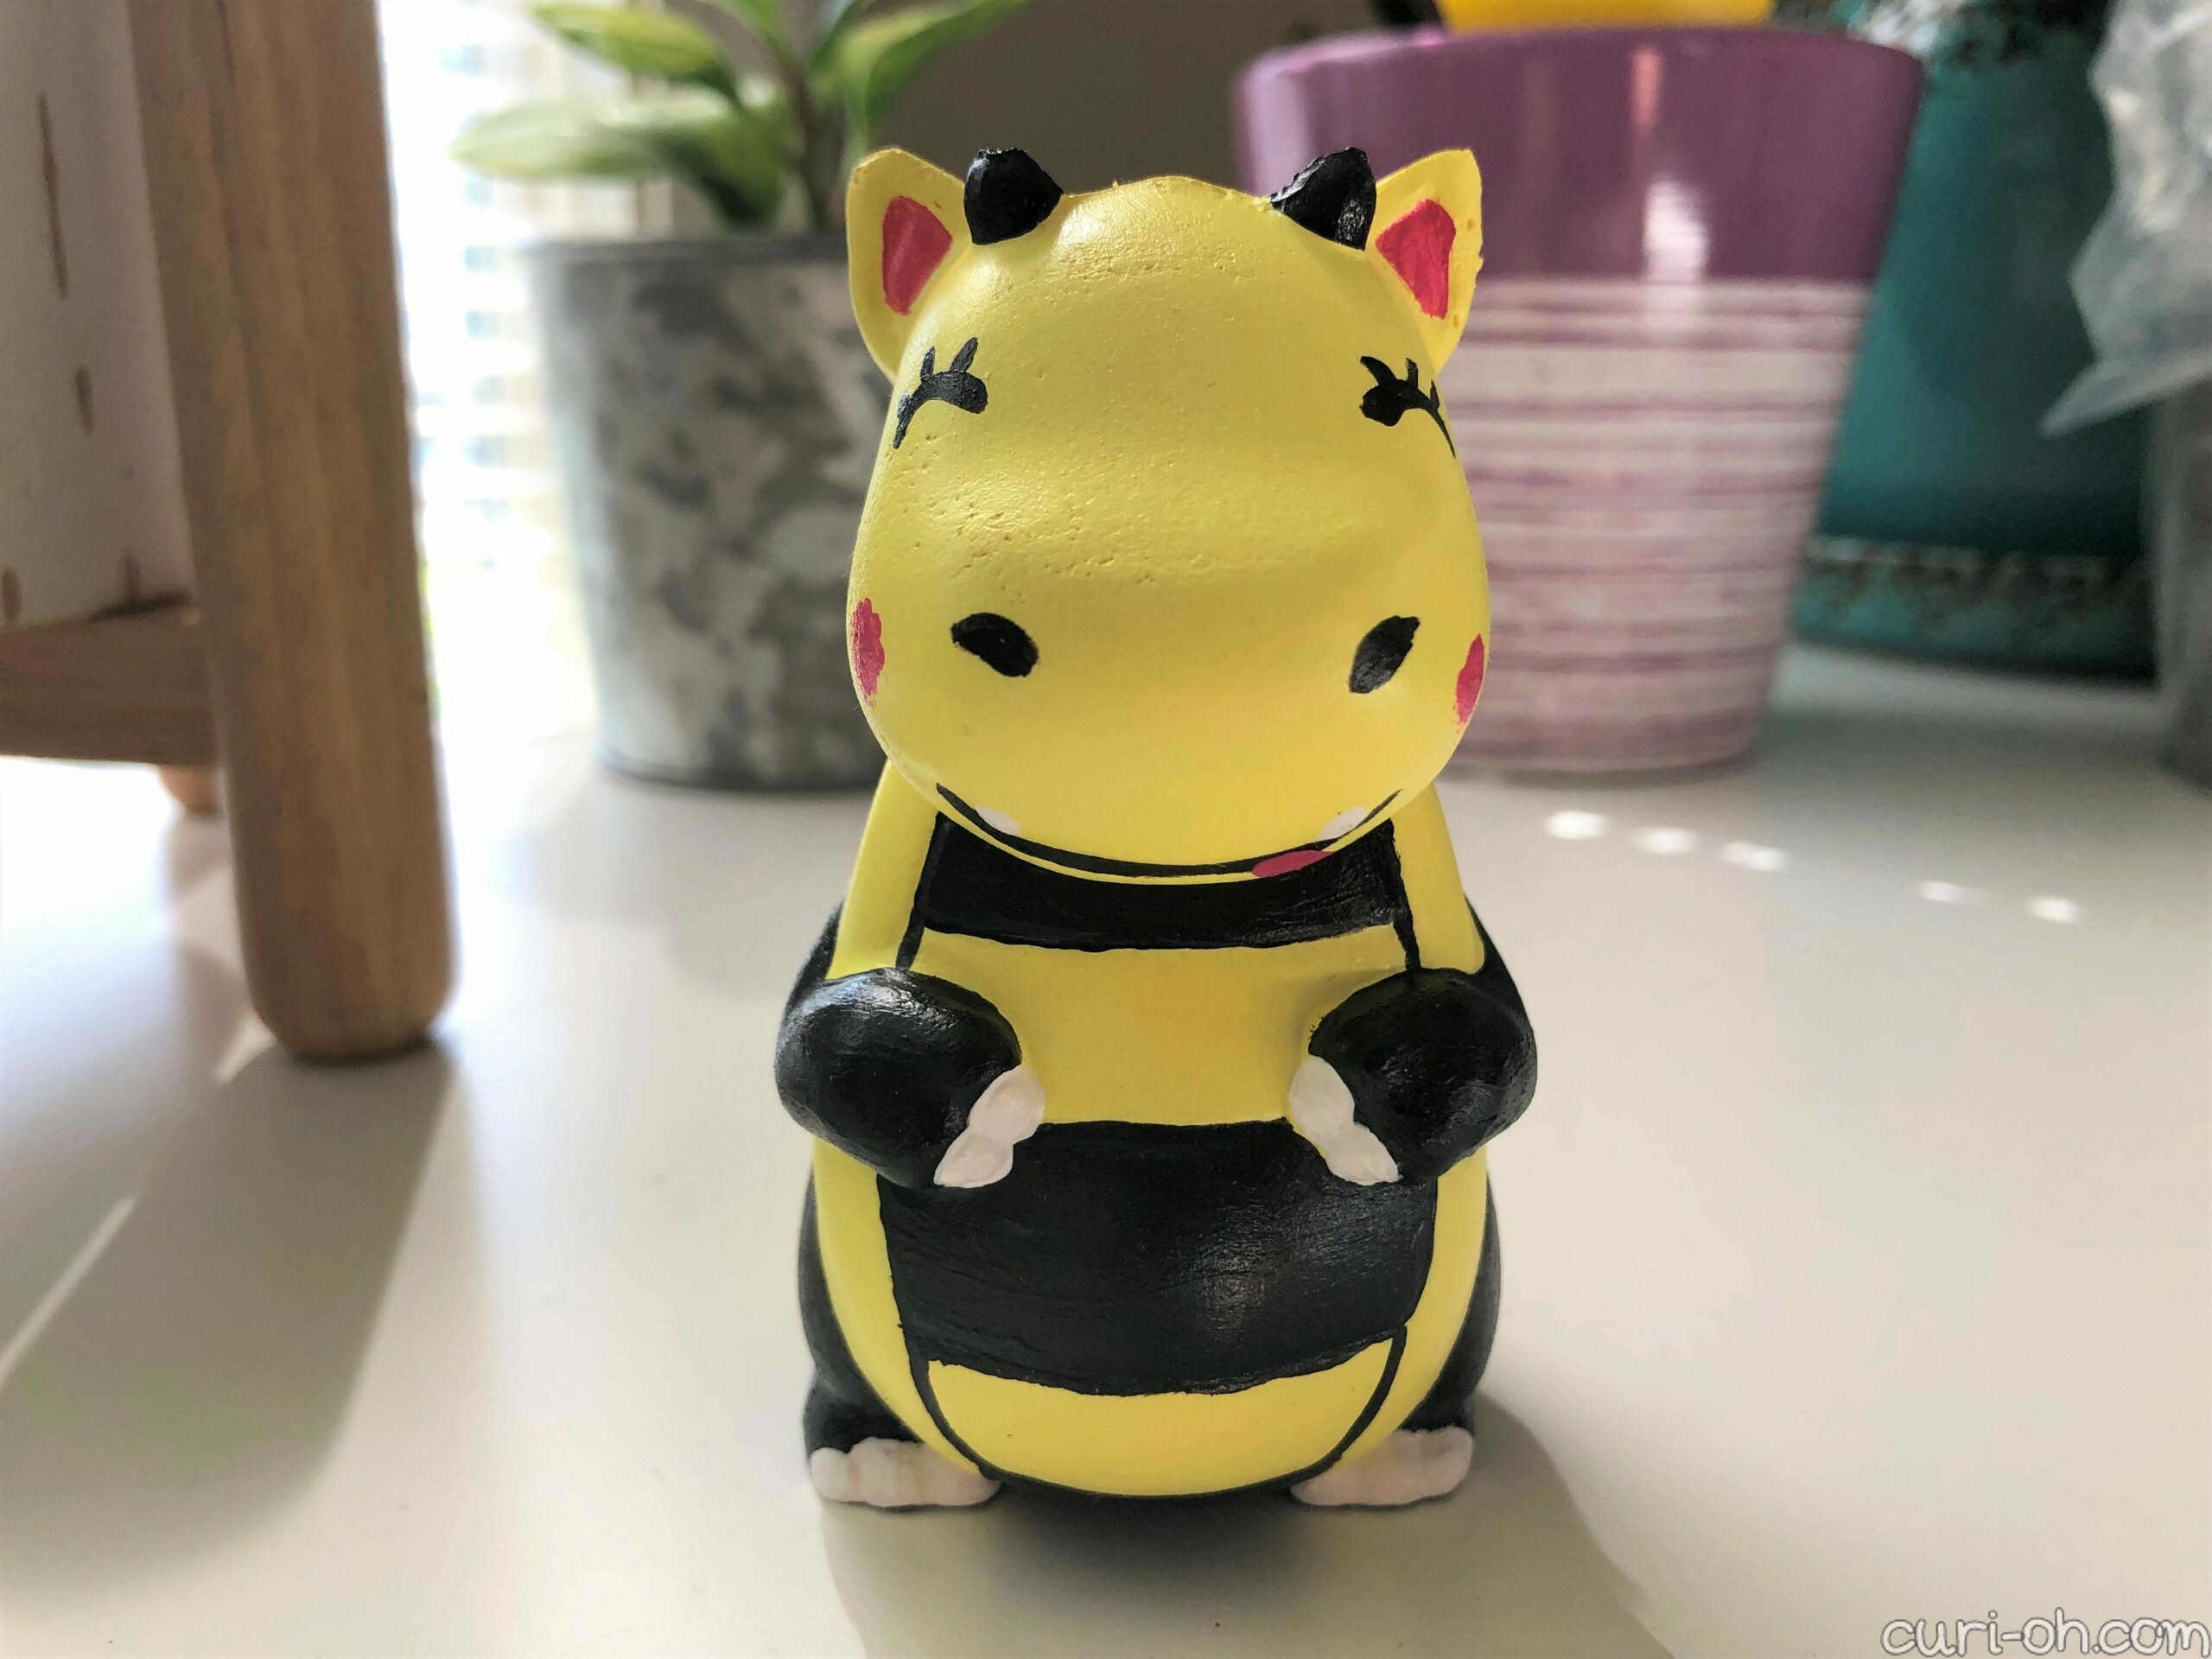
As for the dragon, I love how adorable she is! If I paint another squishy in the future though, I may cut more into the seam to eliminate the line and seal it all with a layer of puffy or slick fabric paint. Moriah Elizabeth does this in a lot of her videos, but she is usually doing extensive repairs. It may be beneficial to have that base coat layer on any squishy though since they are so porous.
I saved the best for last! Well, I love the dragon, but I’m most proud of this next one.
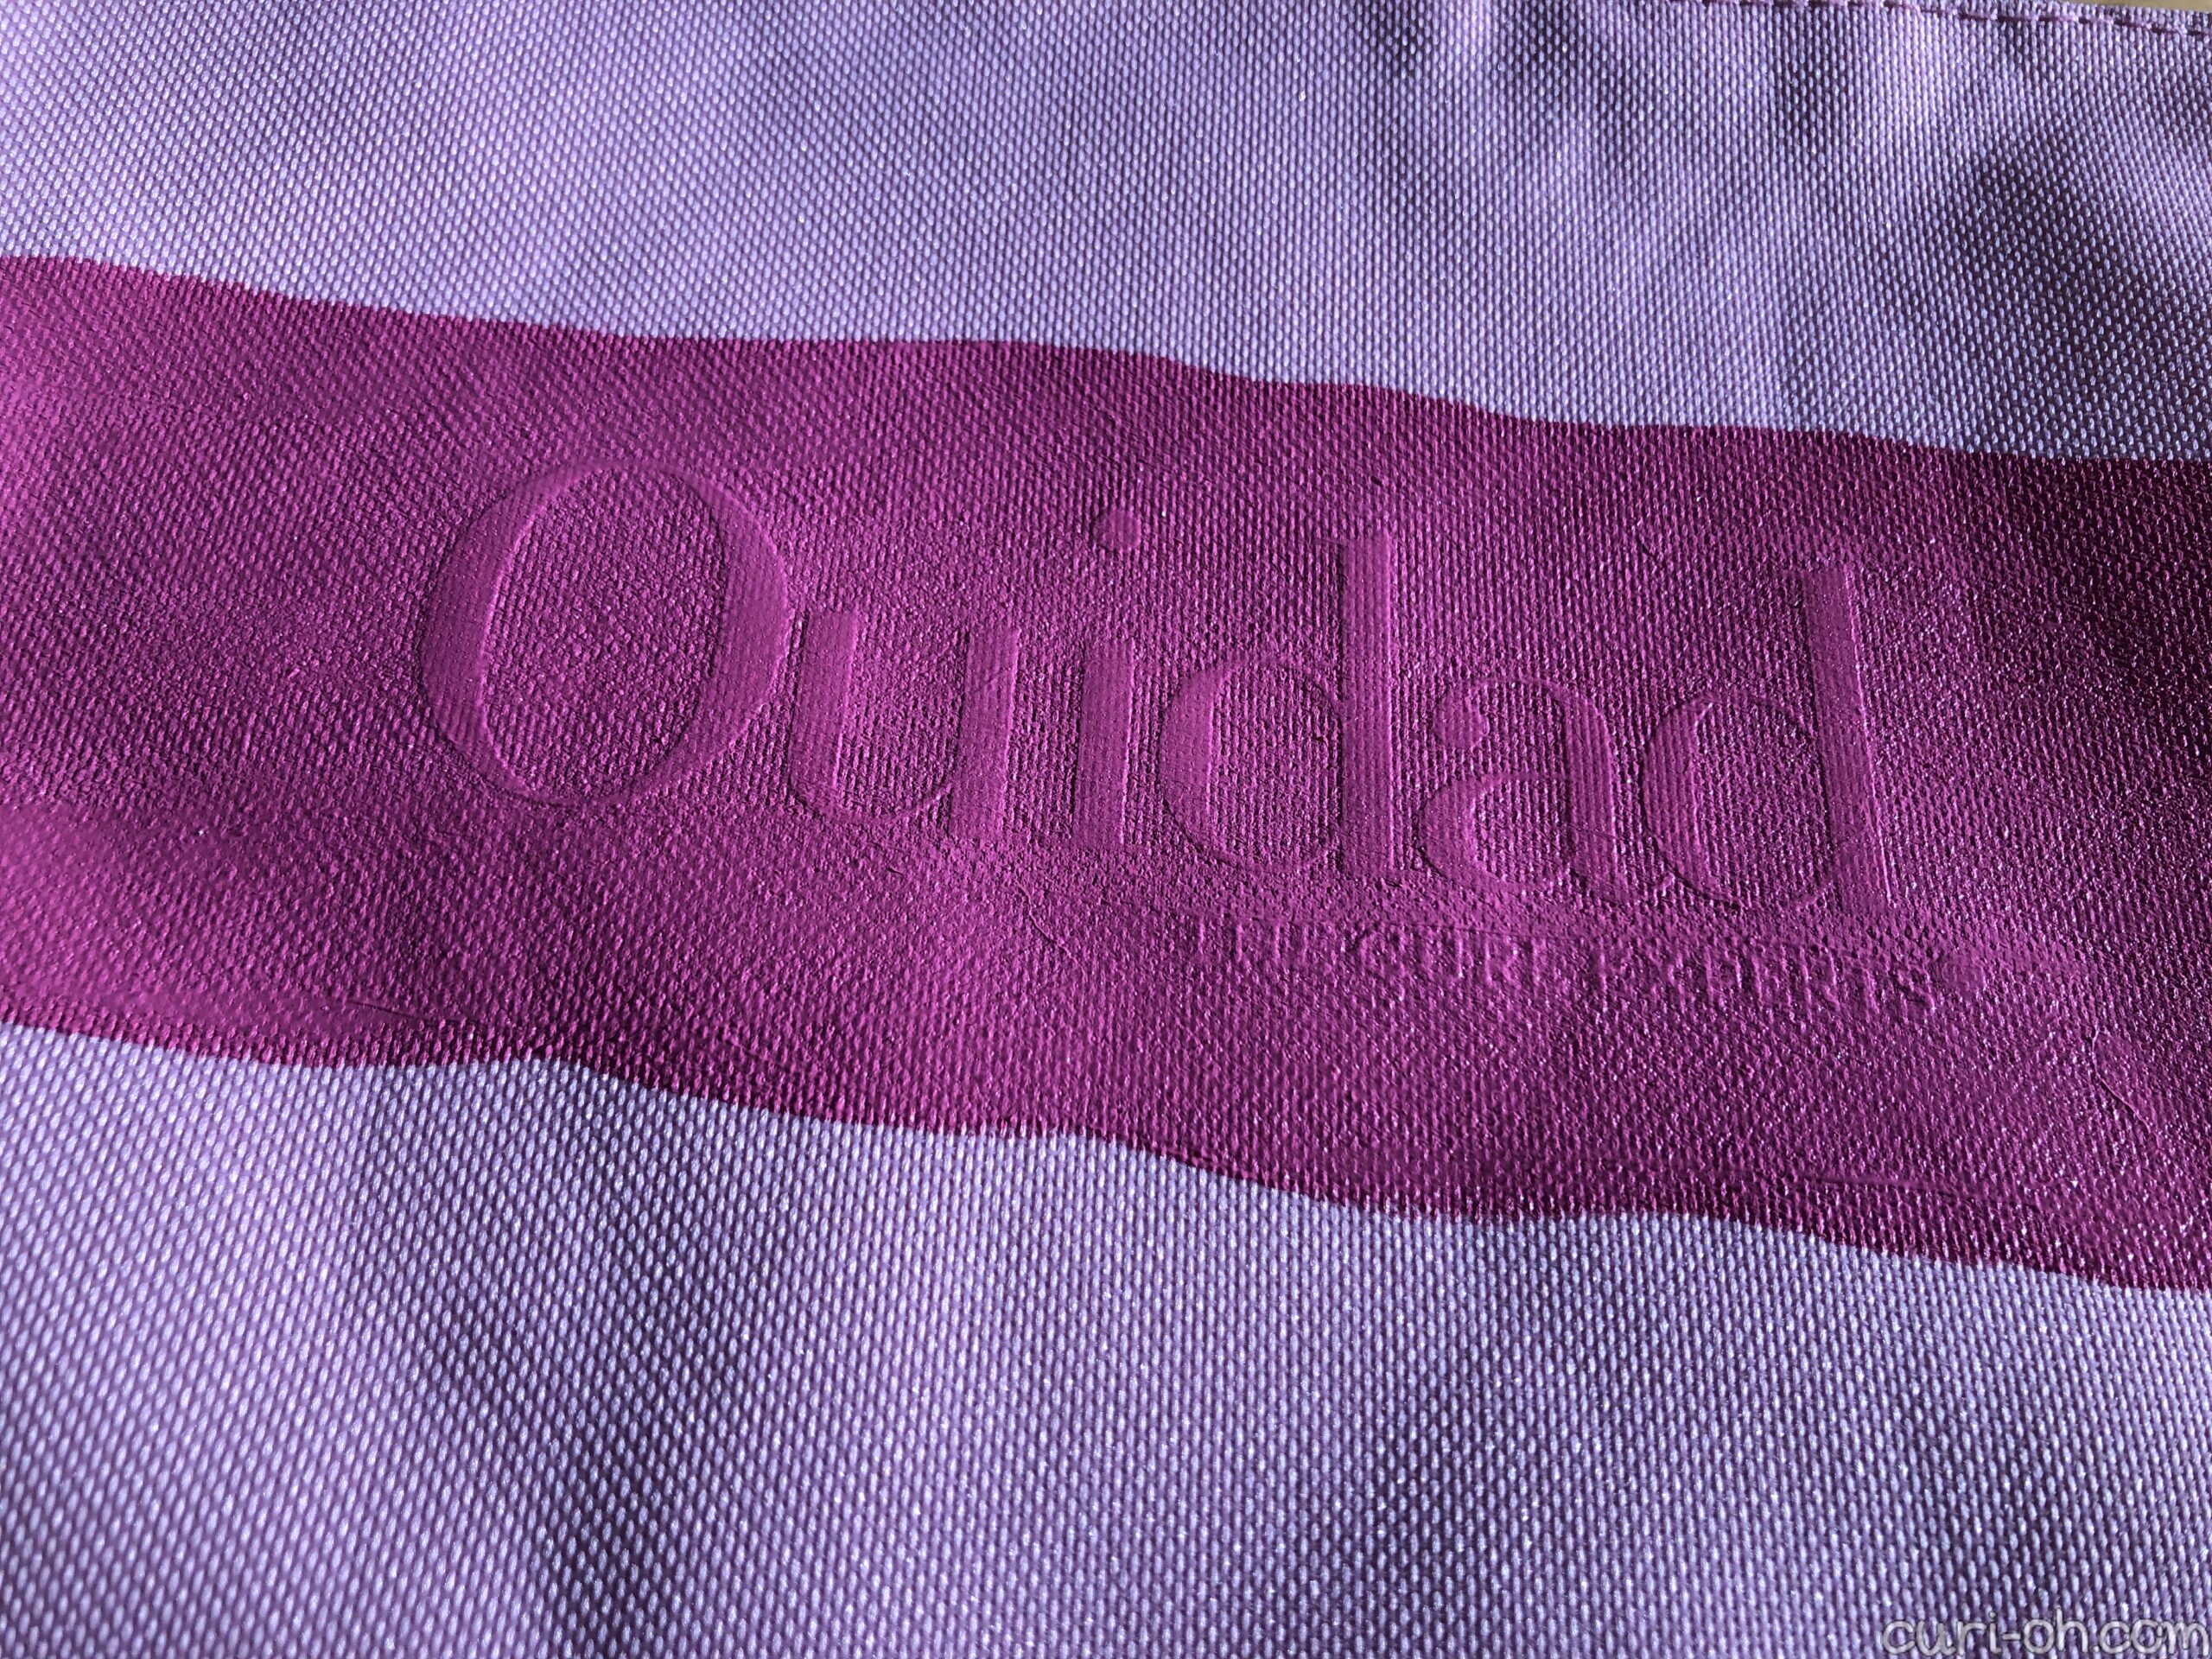
I have a giant stash of baggies I’ve received over the years, mostly freebies as part of beauty gift with purchase promotions. Most of them are quite adorable, but sometimes I get one like this that is just “branded.”
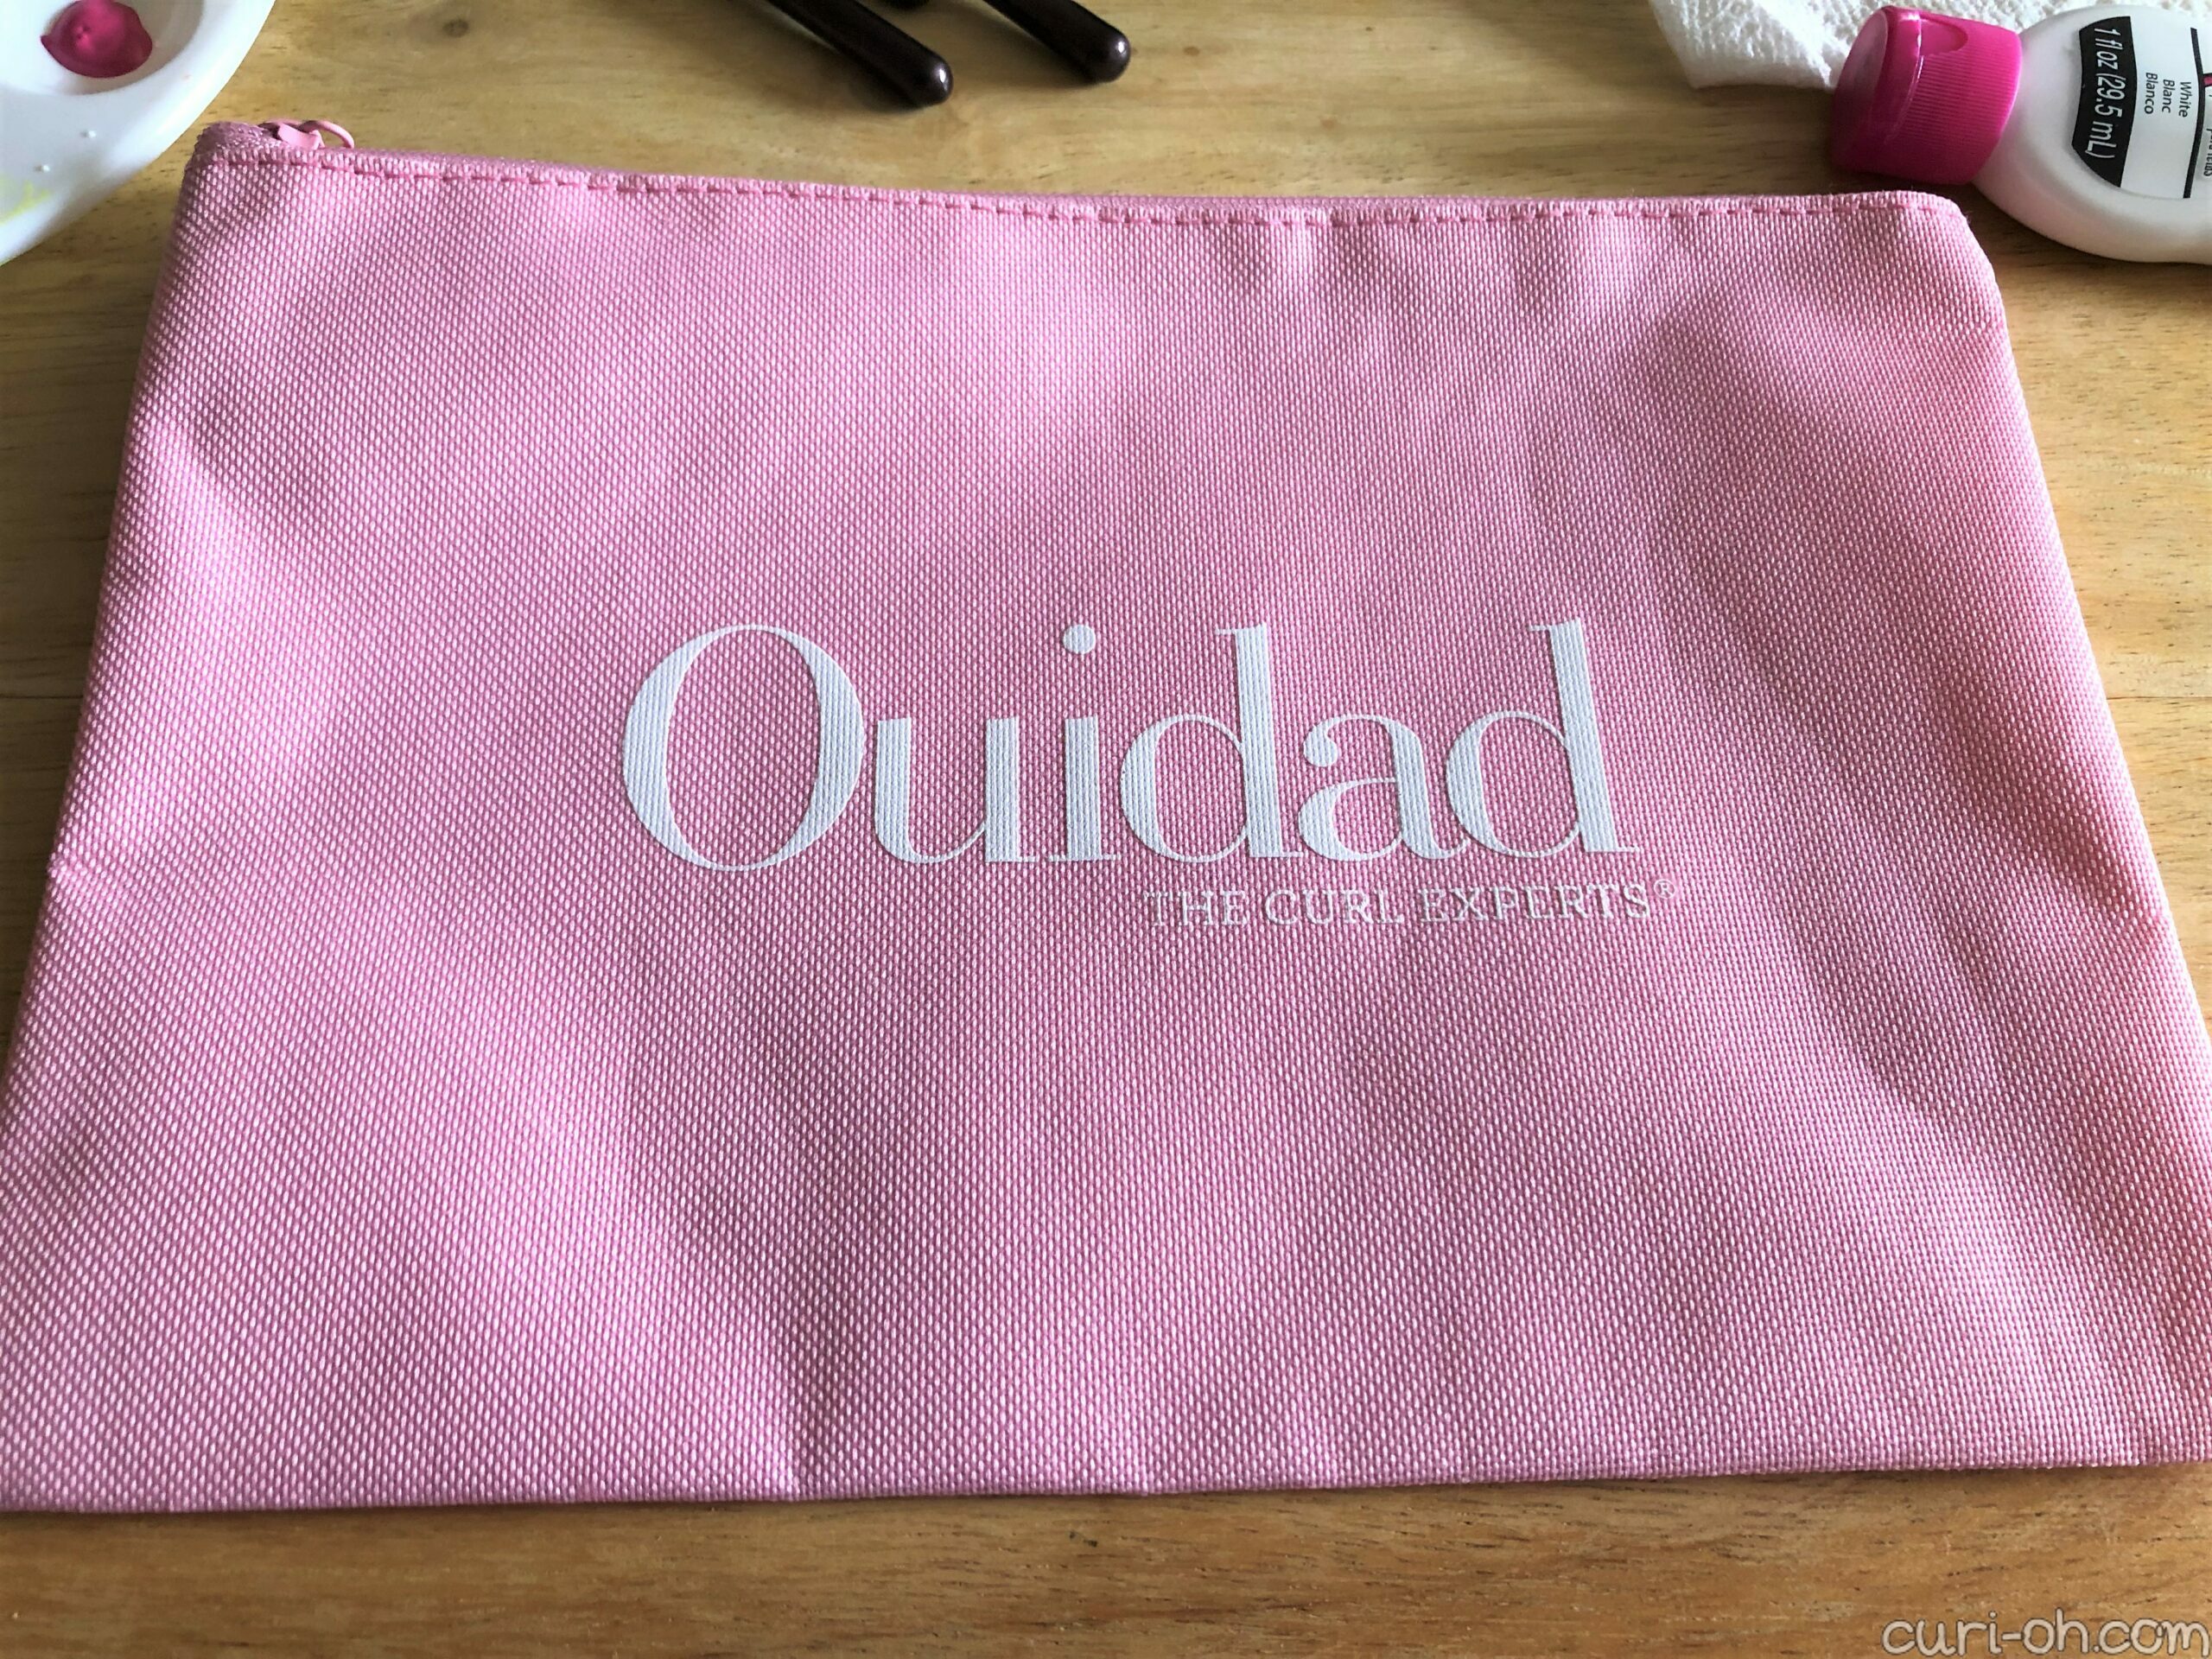
Which, it’s FINE, but why would I ever use this when I have more baggies than I will ever use already? So what a great candidate for a makeover!
With that color pink, all I could think was strawberry cake. I loved the idea, so away I went!
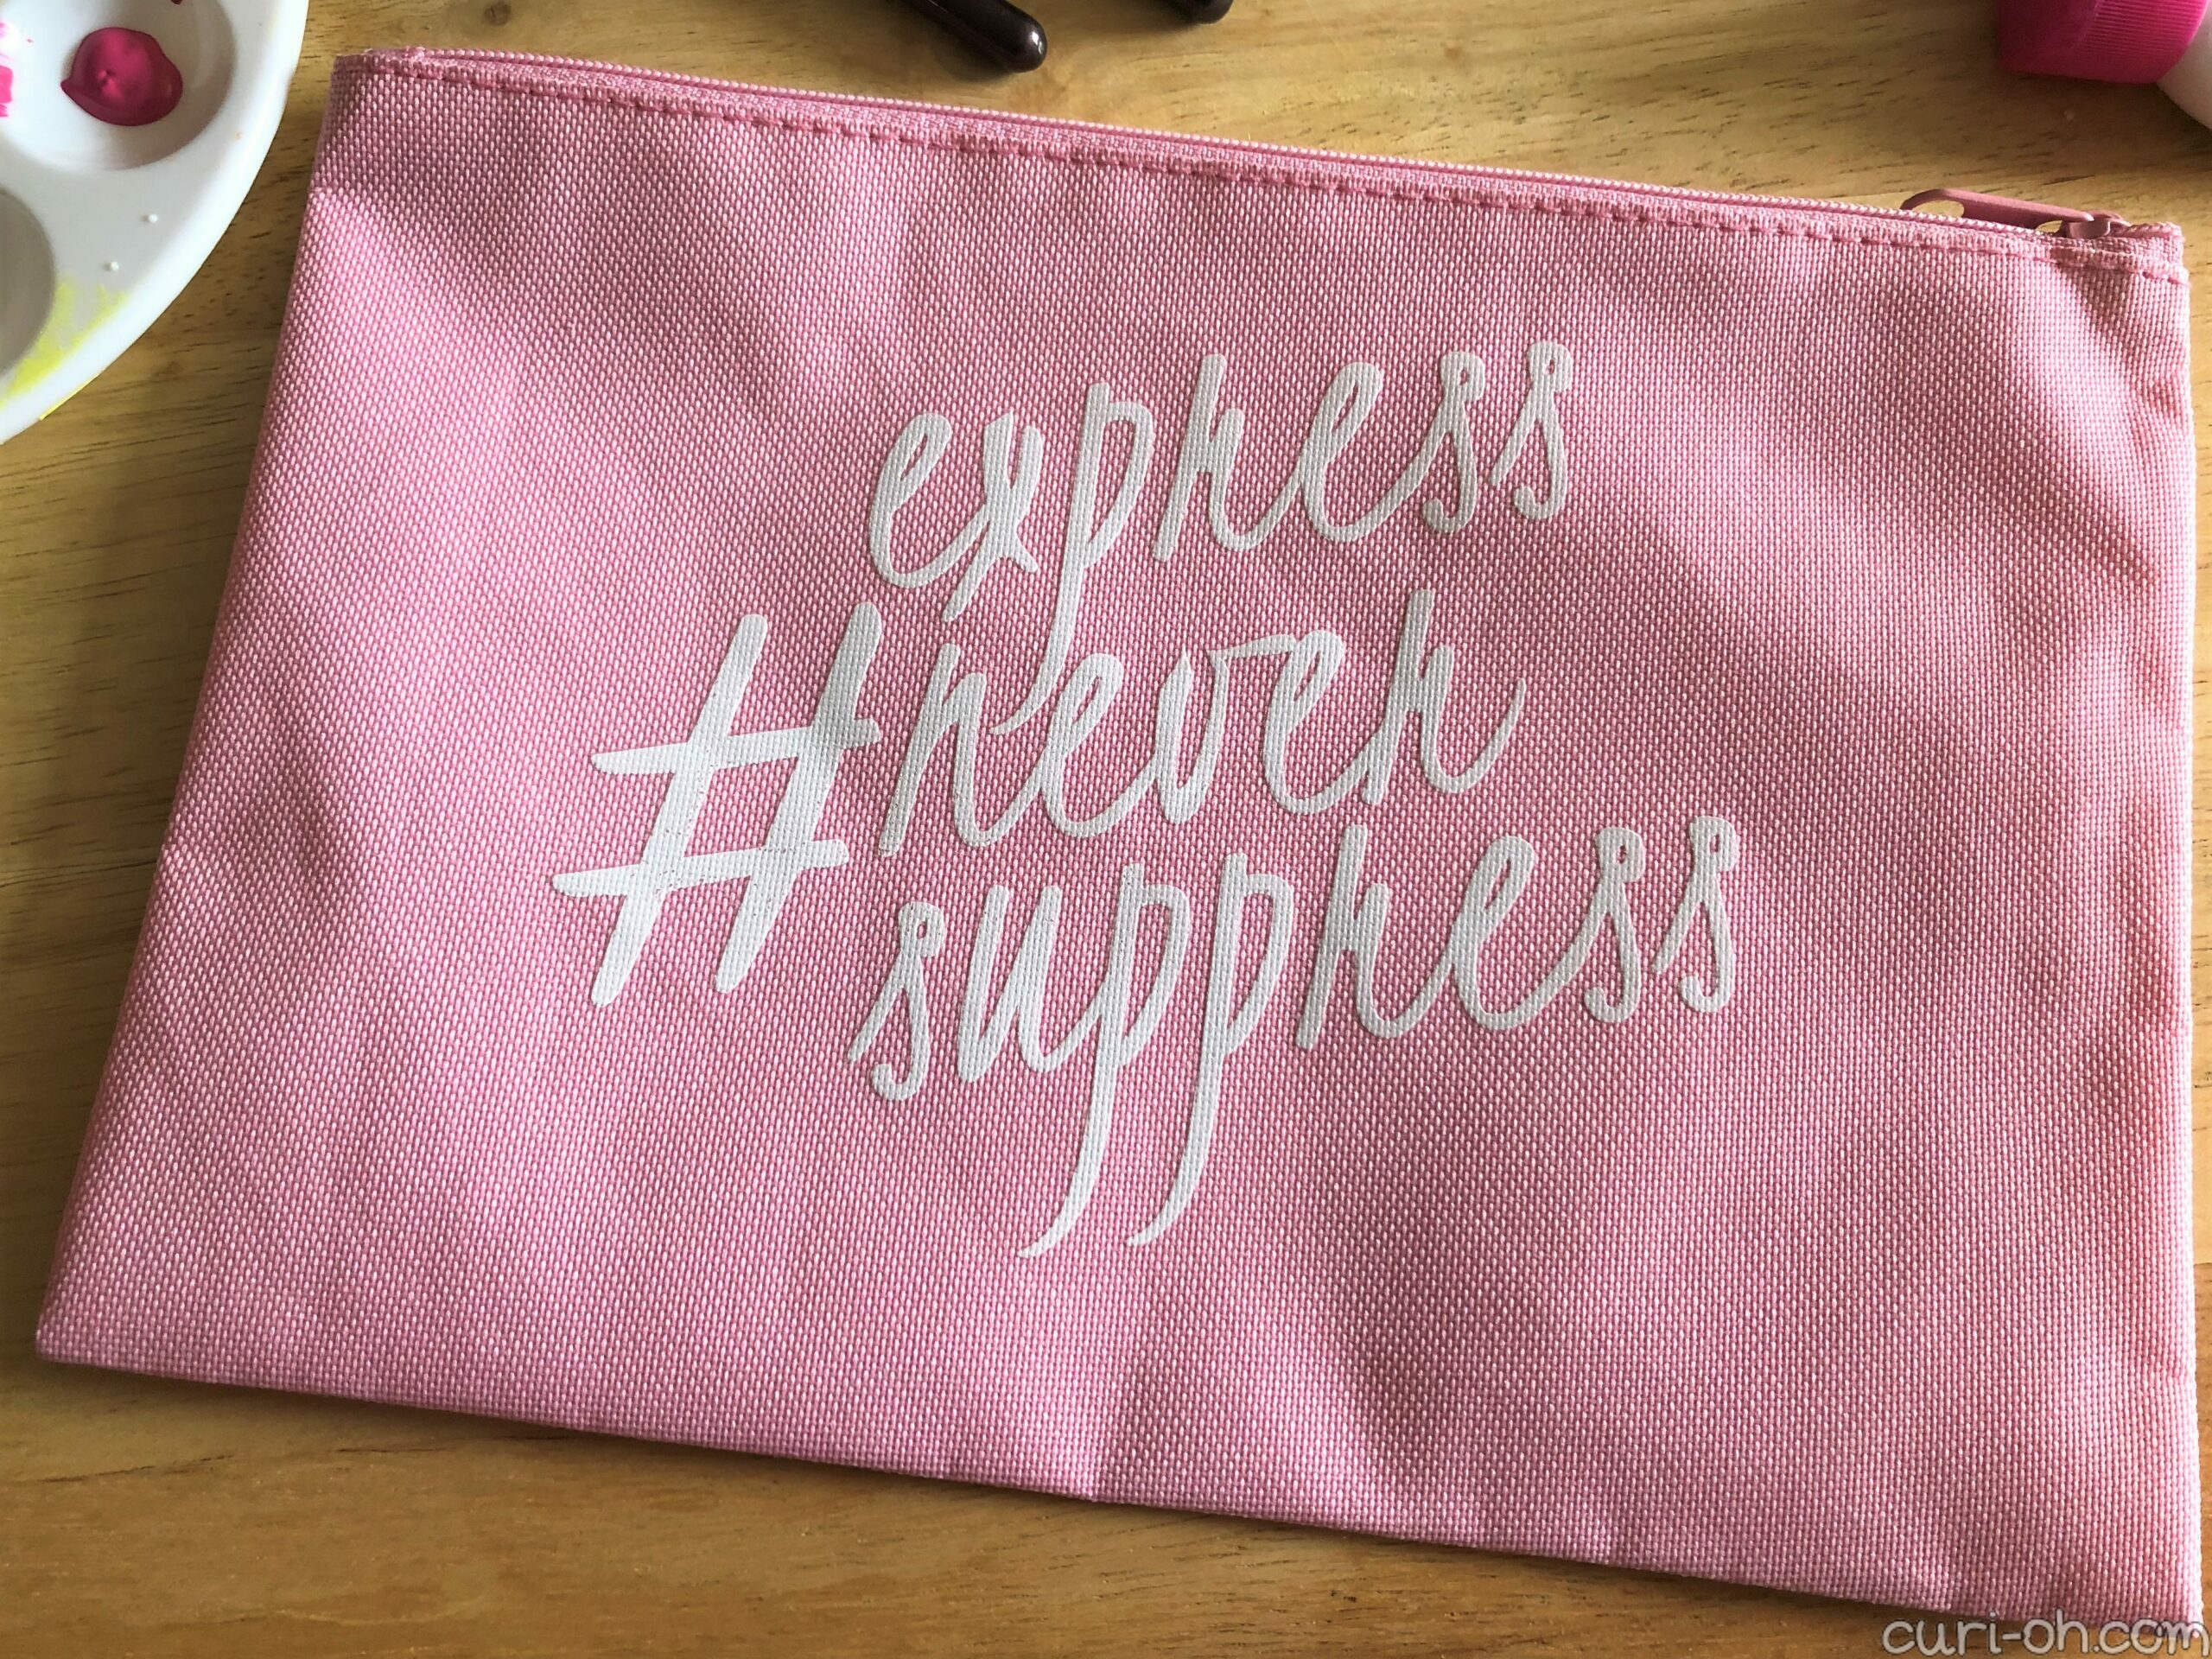
I picked at the wording to see if it would come off, but that wasn’t happening. I hoped that if I painted on enough layers it would maybe mask it. I even mixed some 3D white paint in with the pink to give it some body, but that idea wasn’t going anywhere.
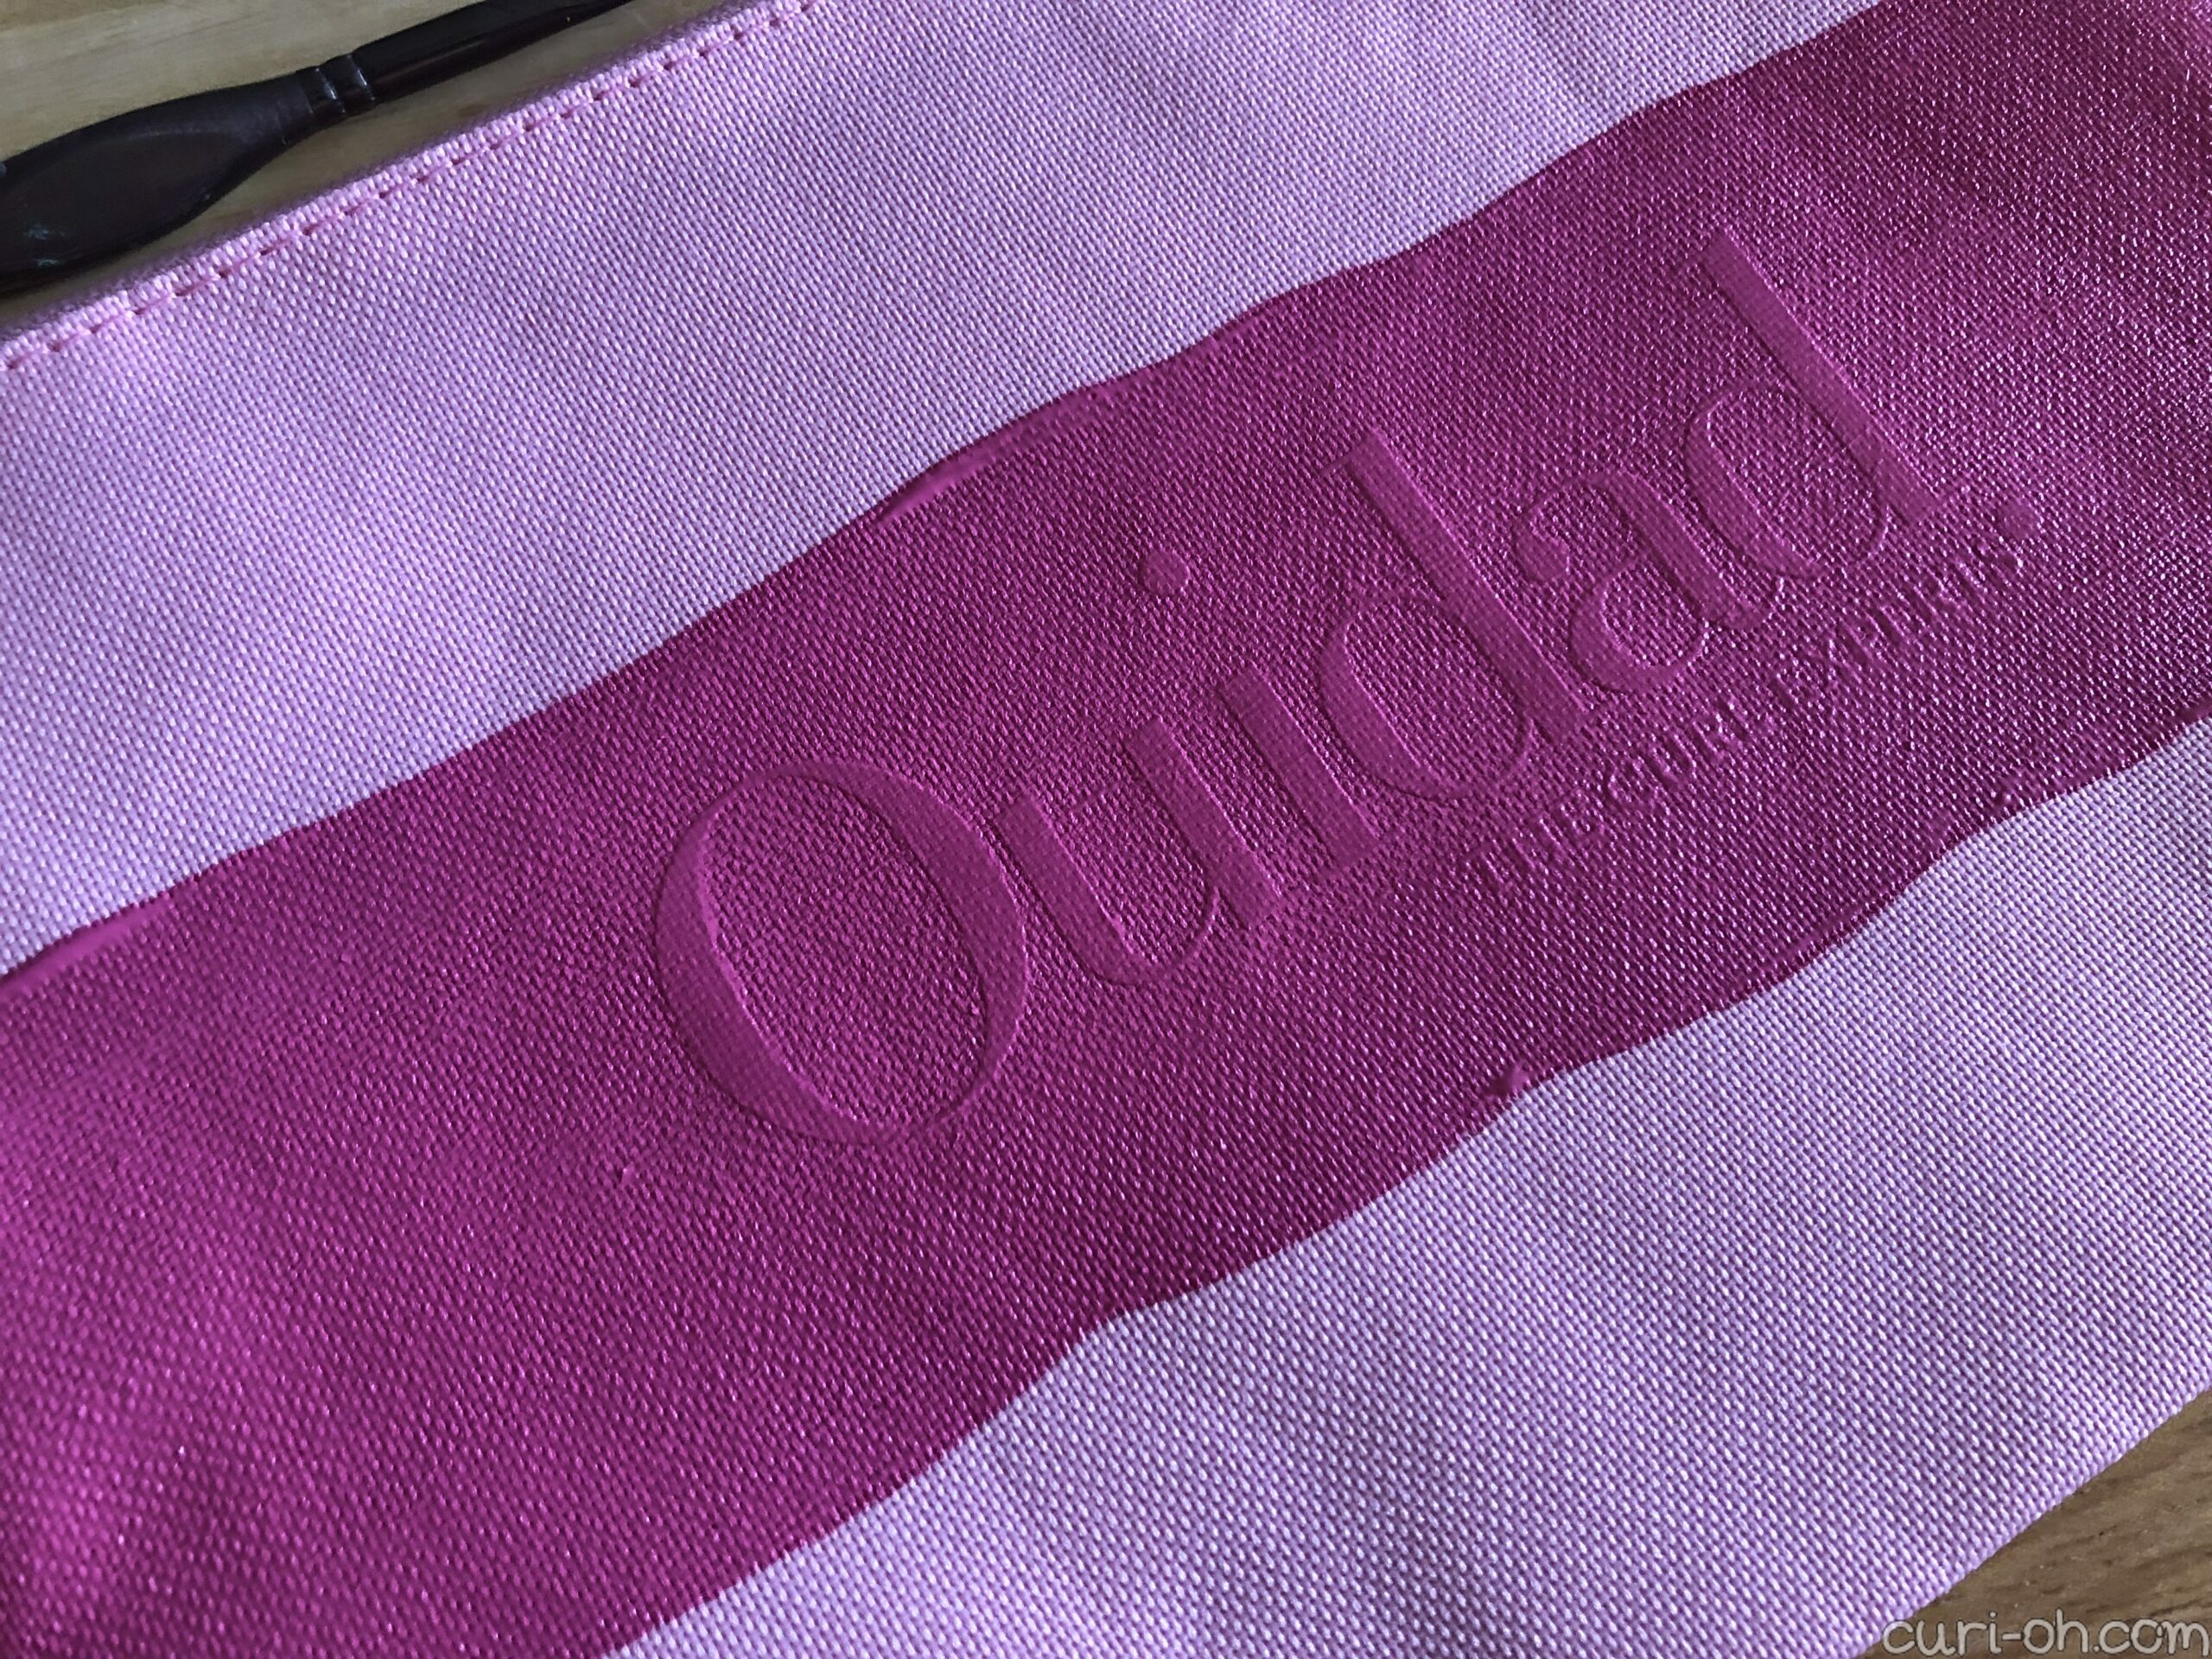
It was clear I would have to cover it.
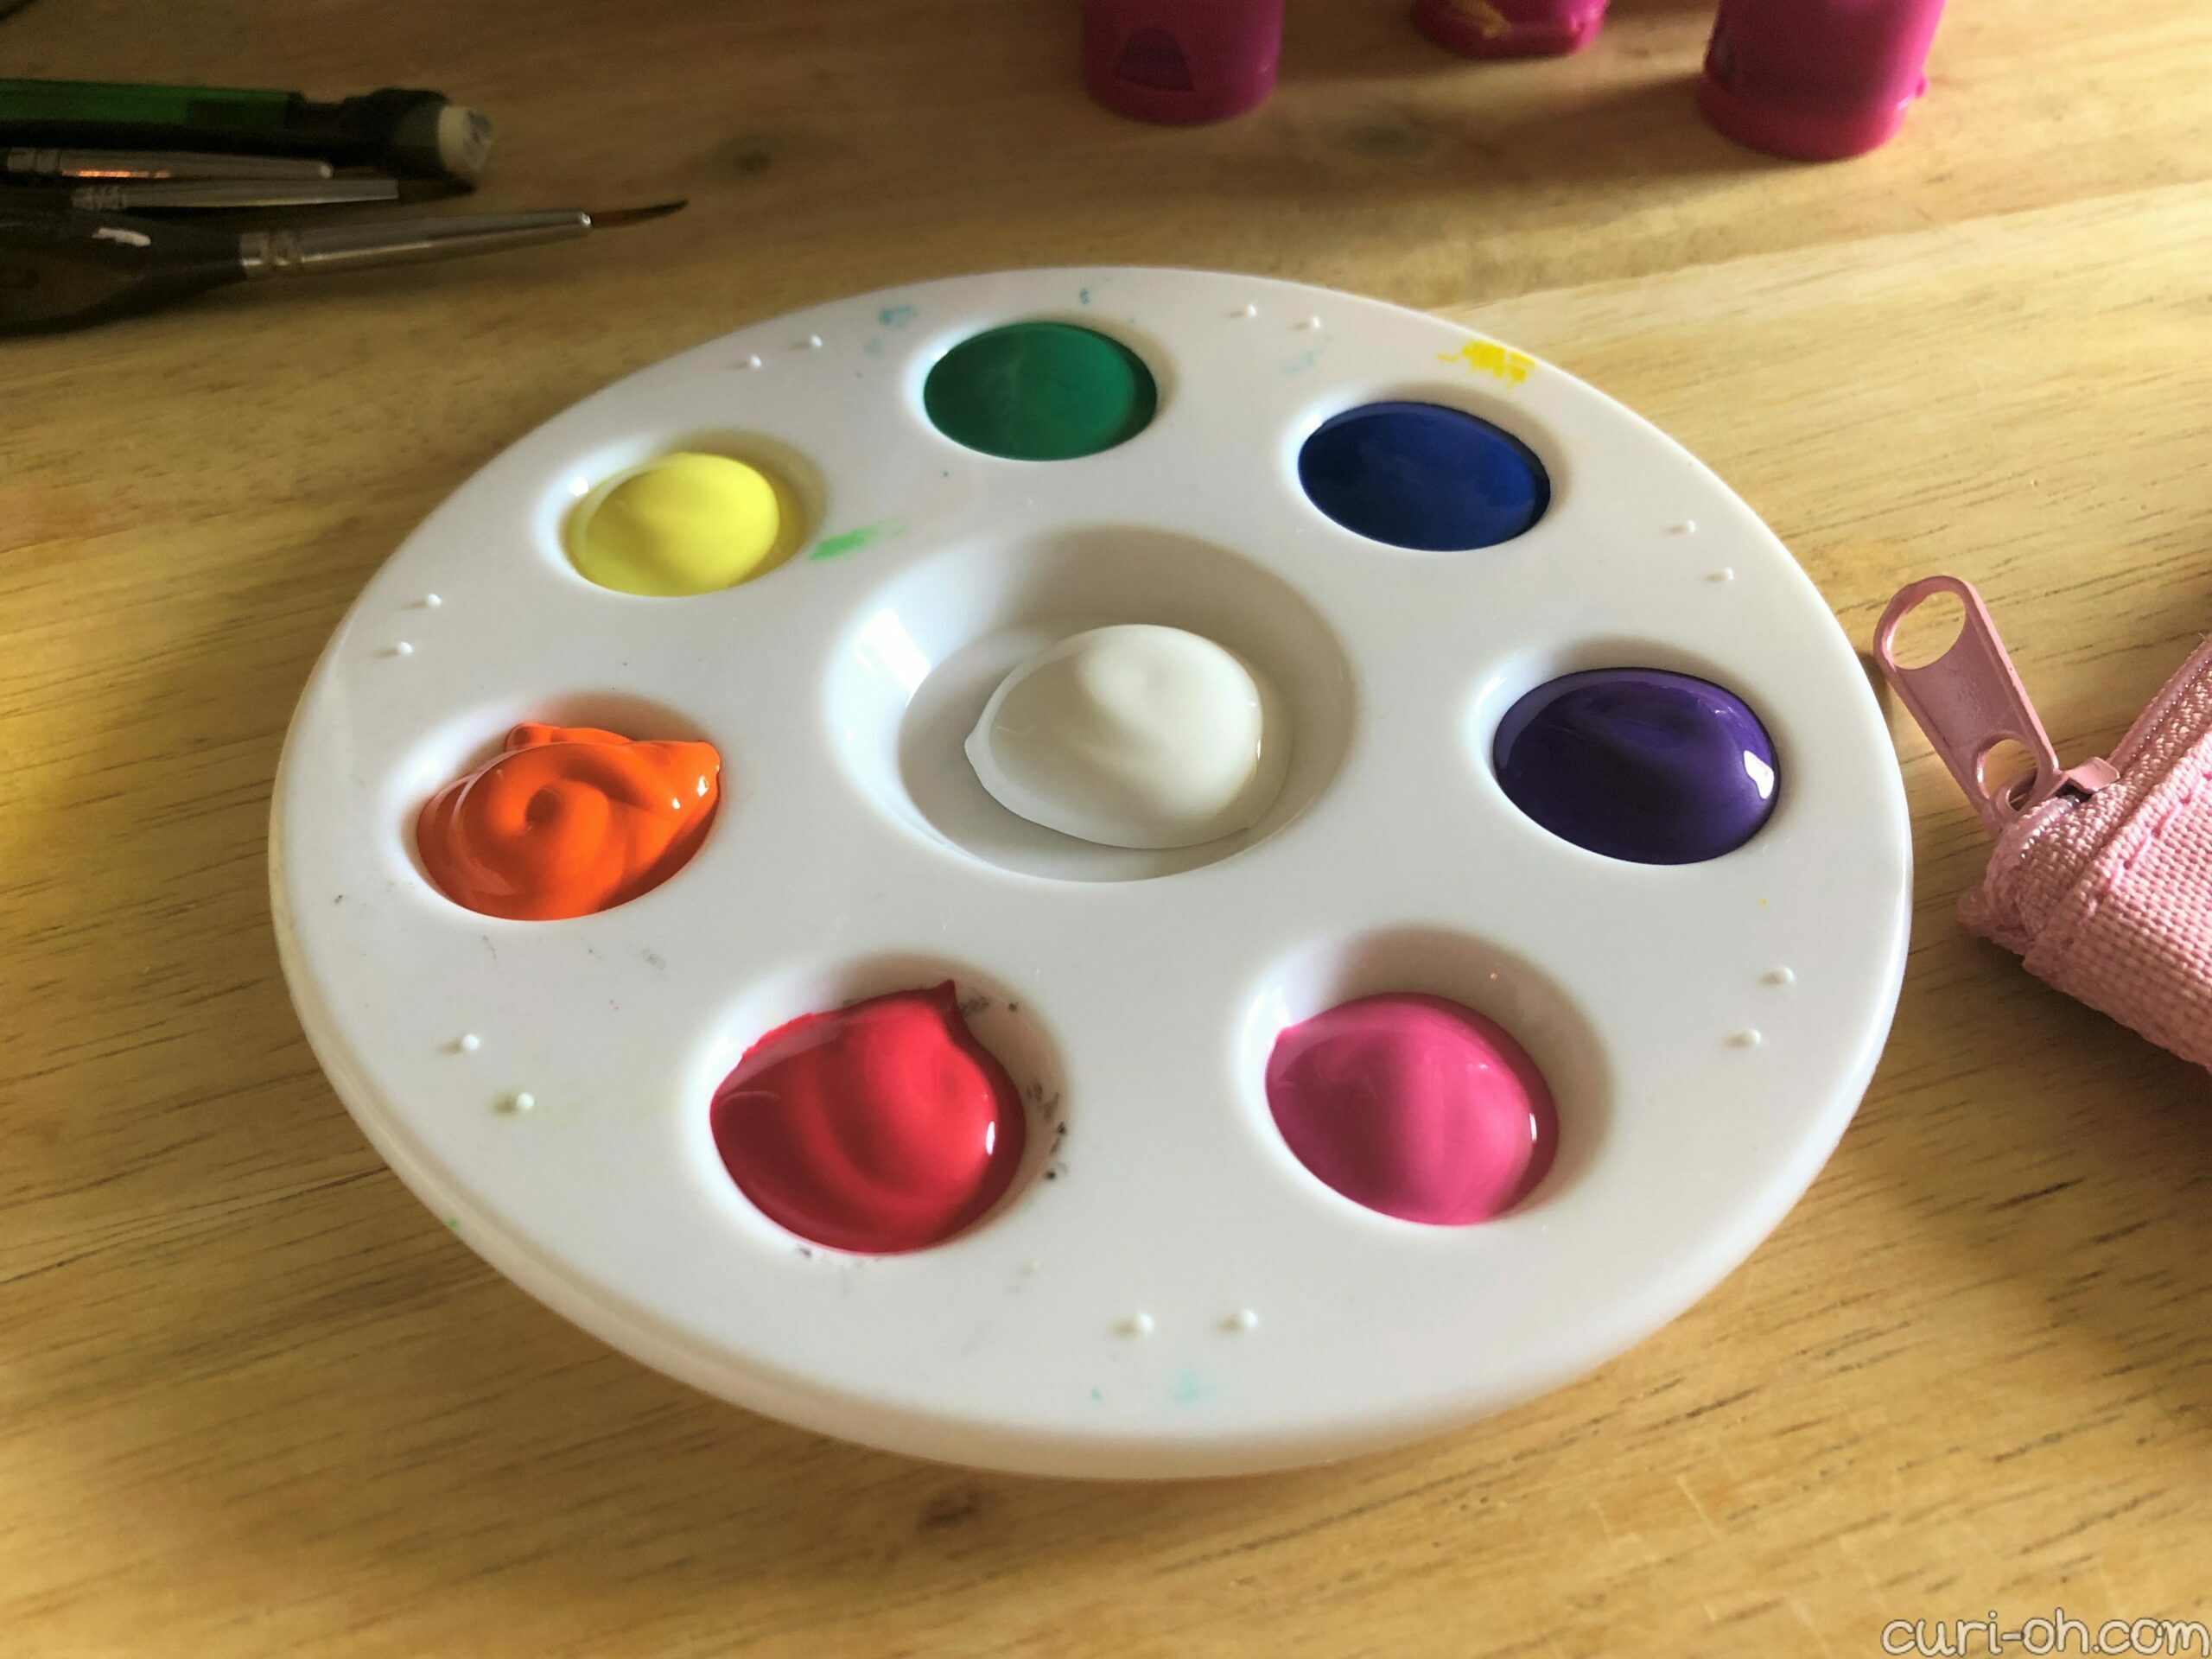
Initially I painted on sprinkles in the default fabric paint colors I had, but I found them to be too dark. I went in later and lightened them all with white 3D fabric paint, which left me with this:

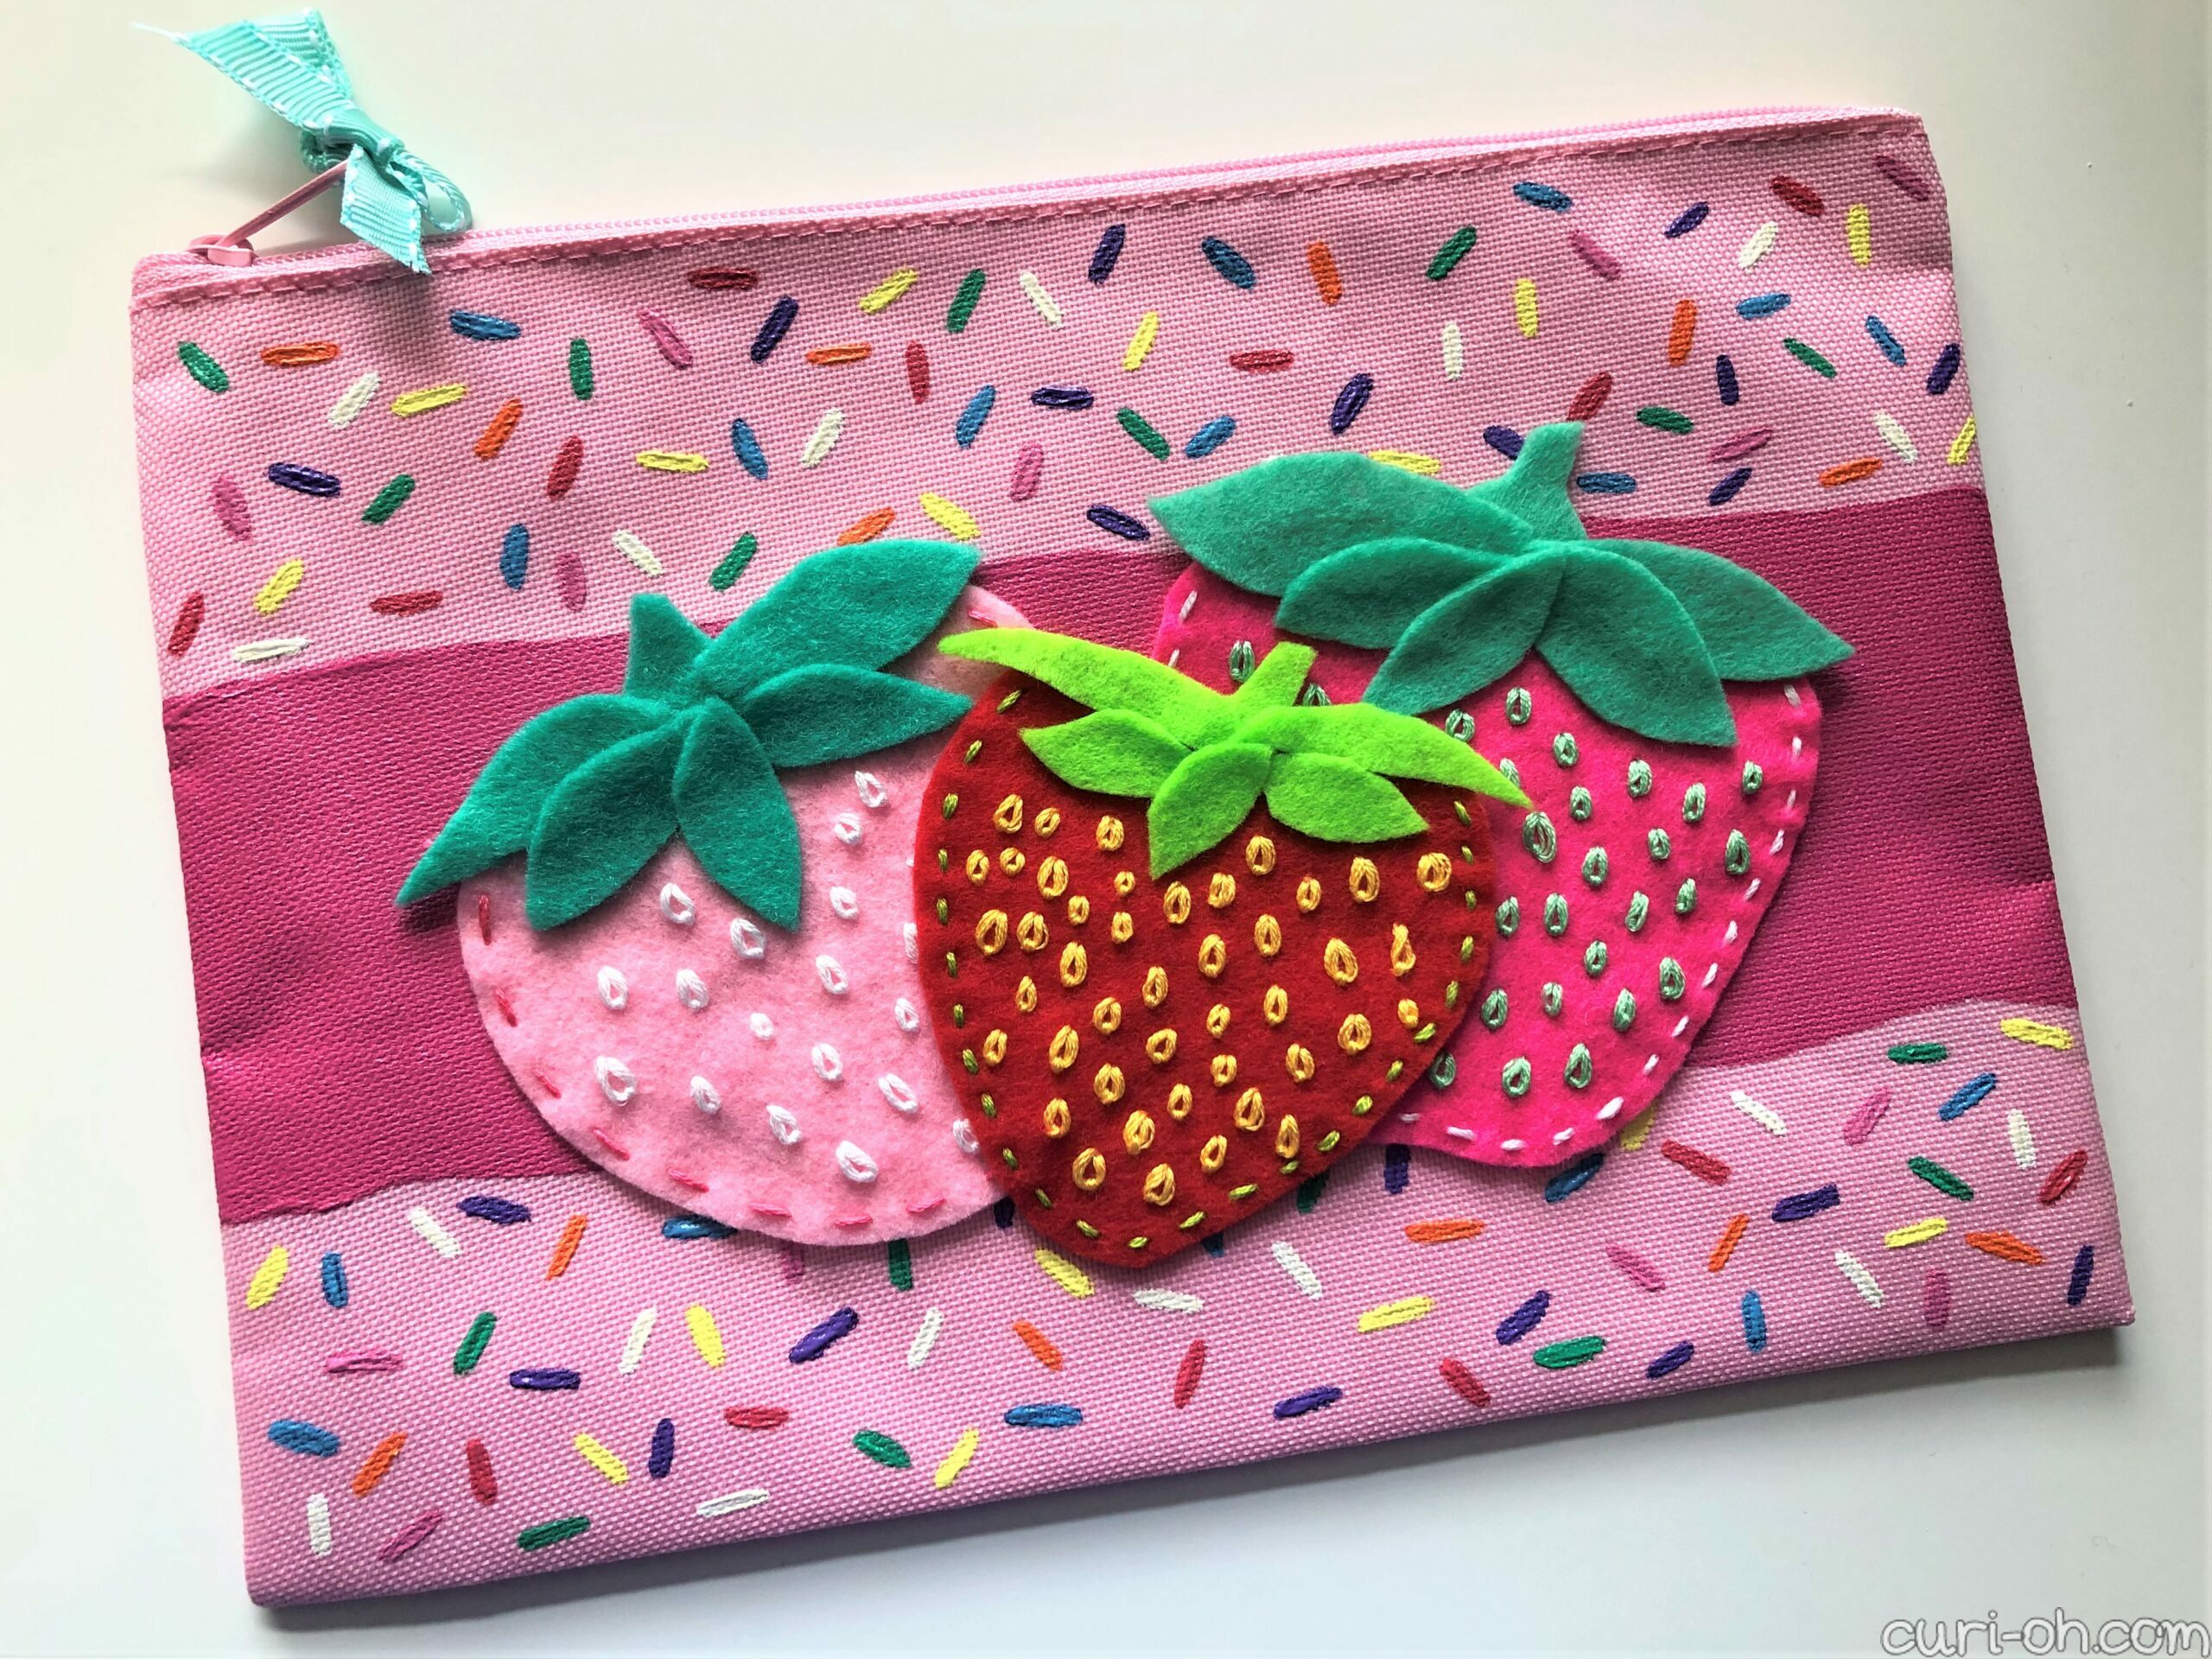
LOVE! I added a leftover scrap piece of ribbon to the zipper pull and sealed its cut edges with Fray Check.
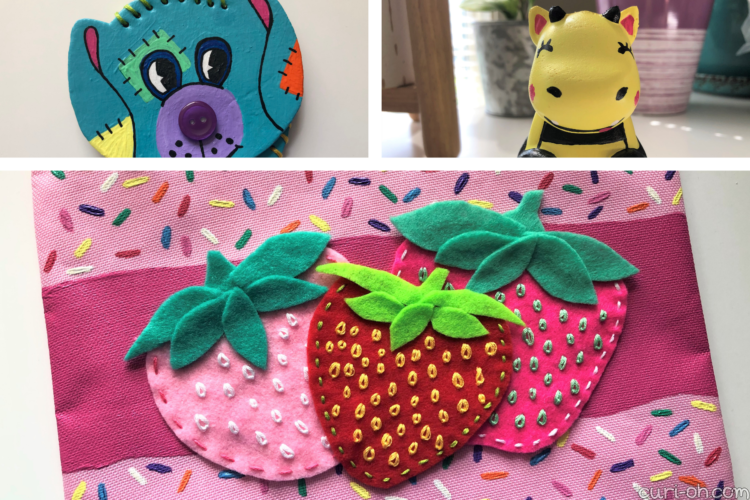
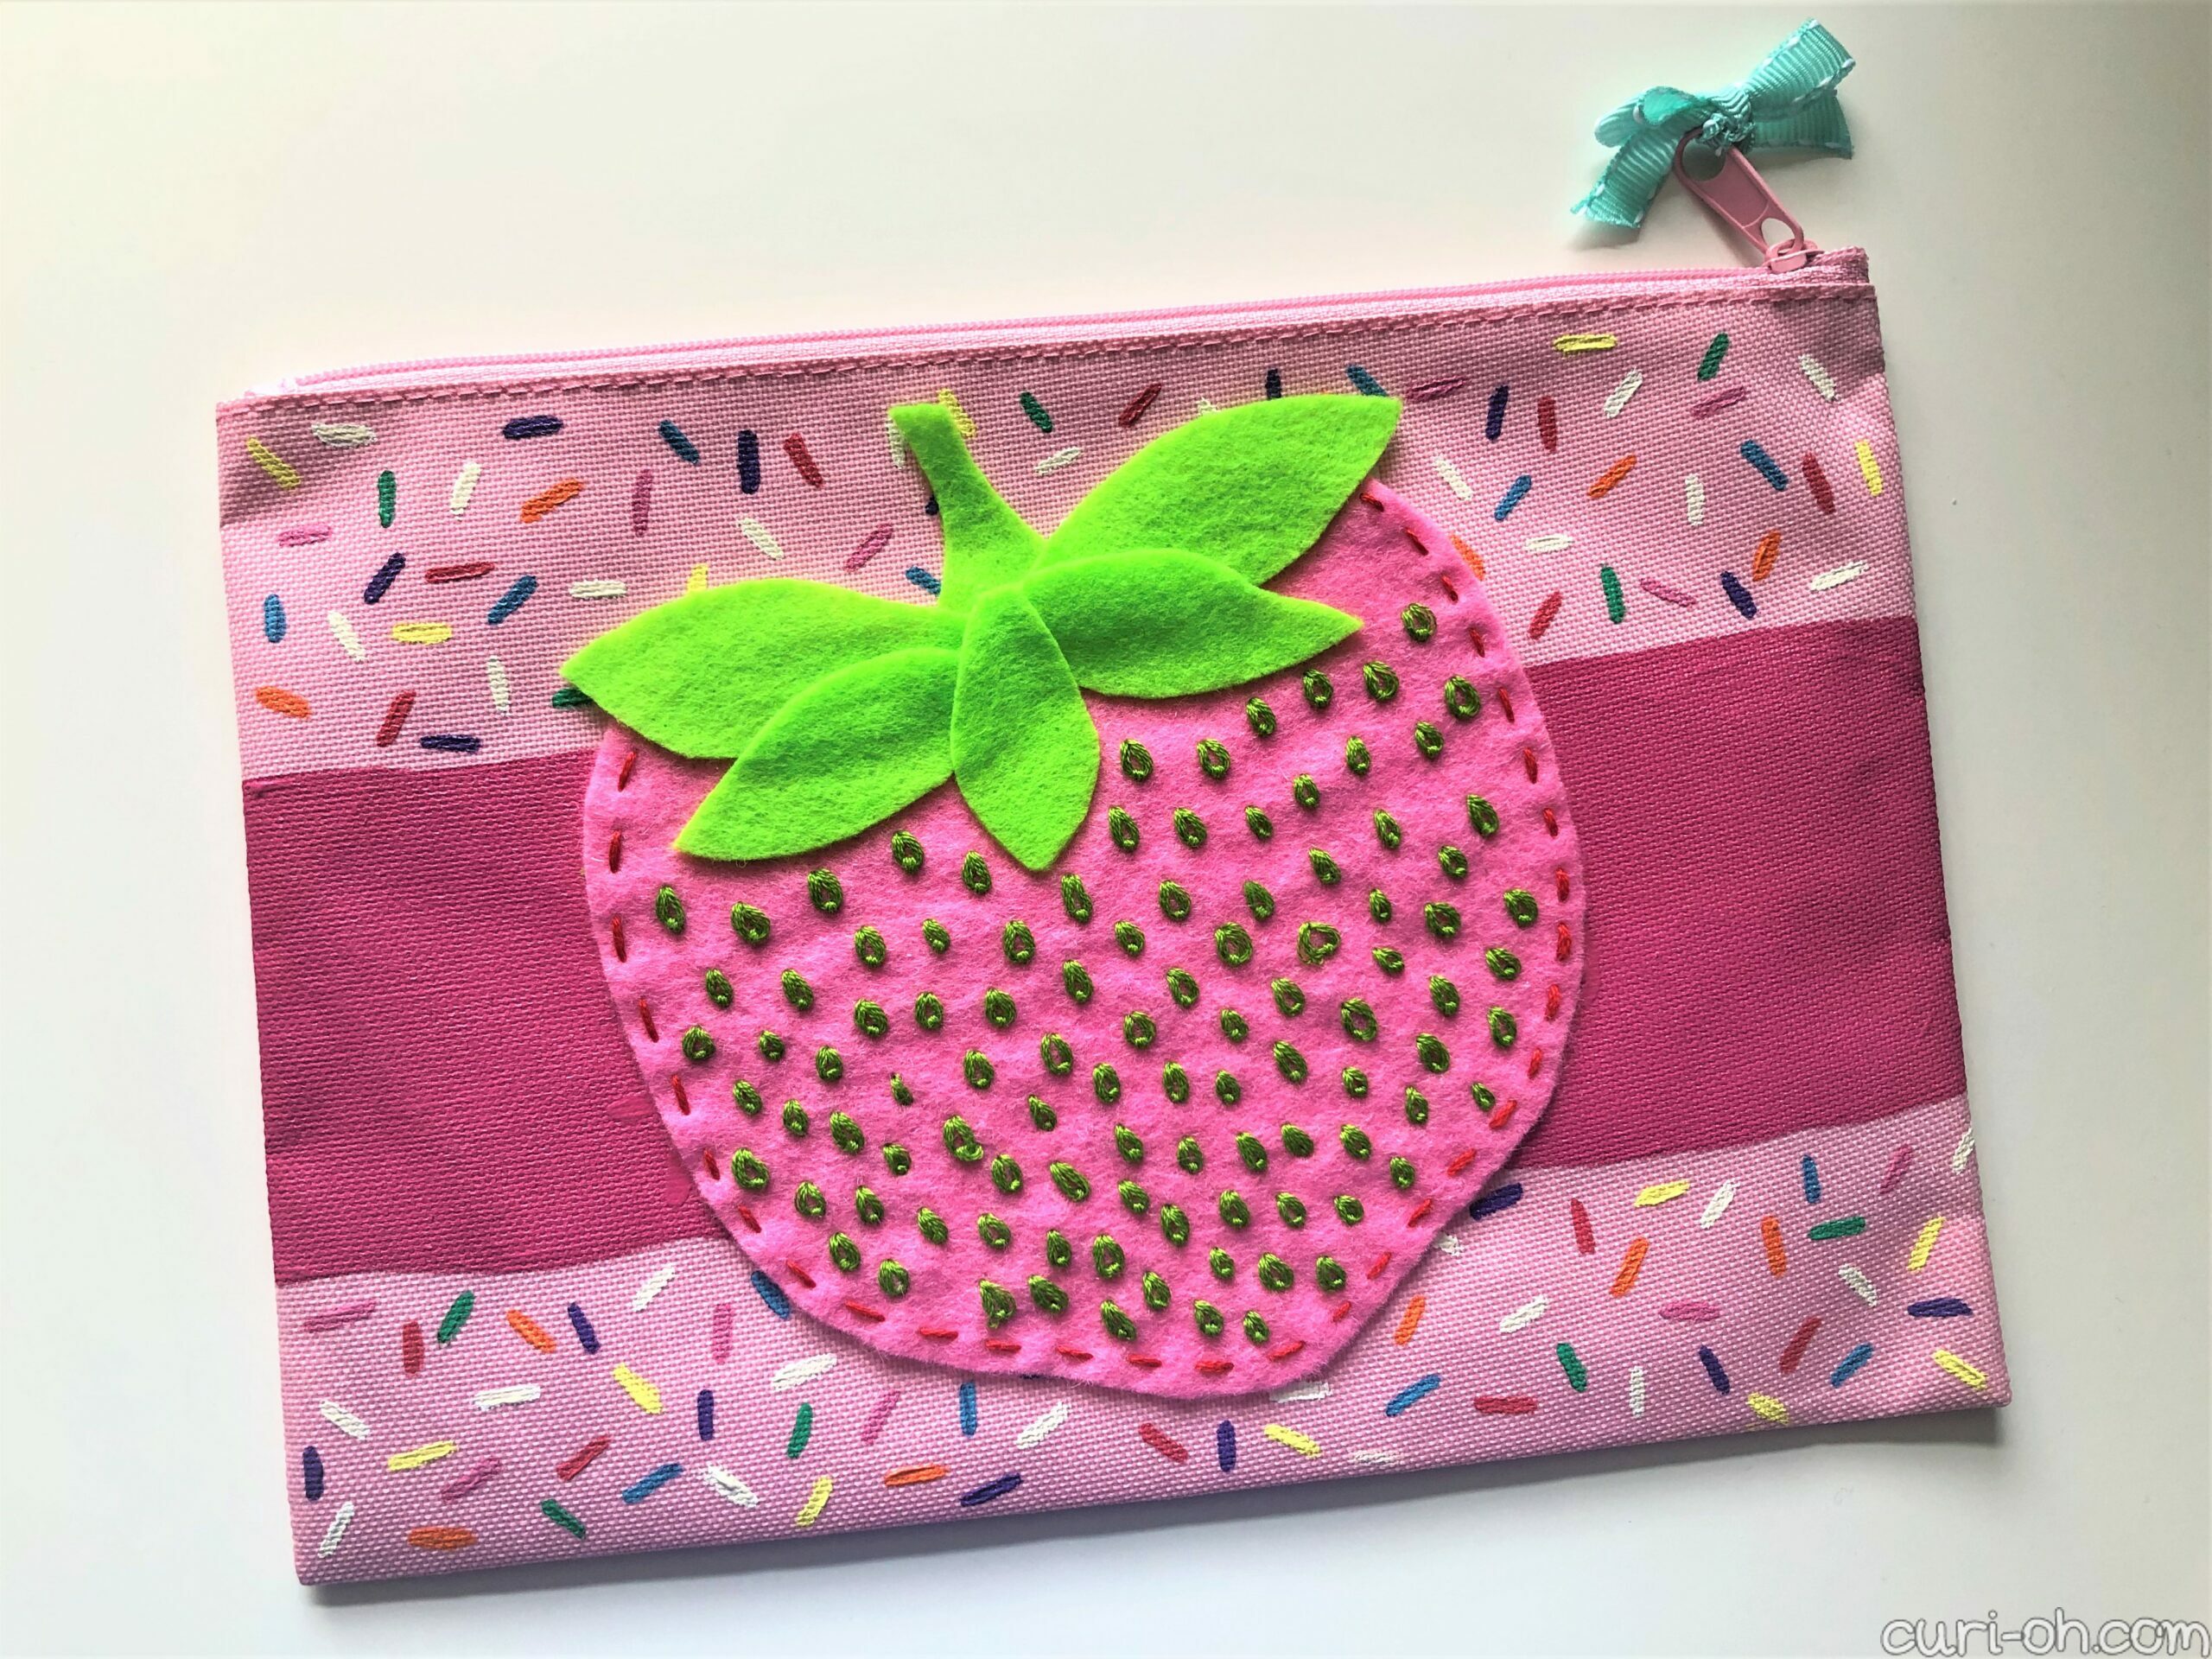
To cover the print on both sides, I thought the obvious and adorable choice would be – strawberries!


From felt I cut three strawberries for the front, of differing shapes and sizes, and one for the back which was tall and wide enough to cover the larger design. I also cut random leaf and stem shapes and stuck everything together with craft glue.
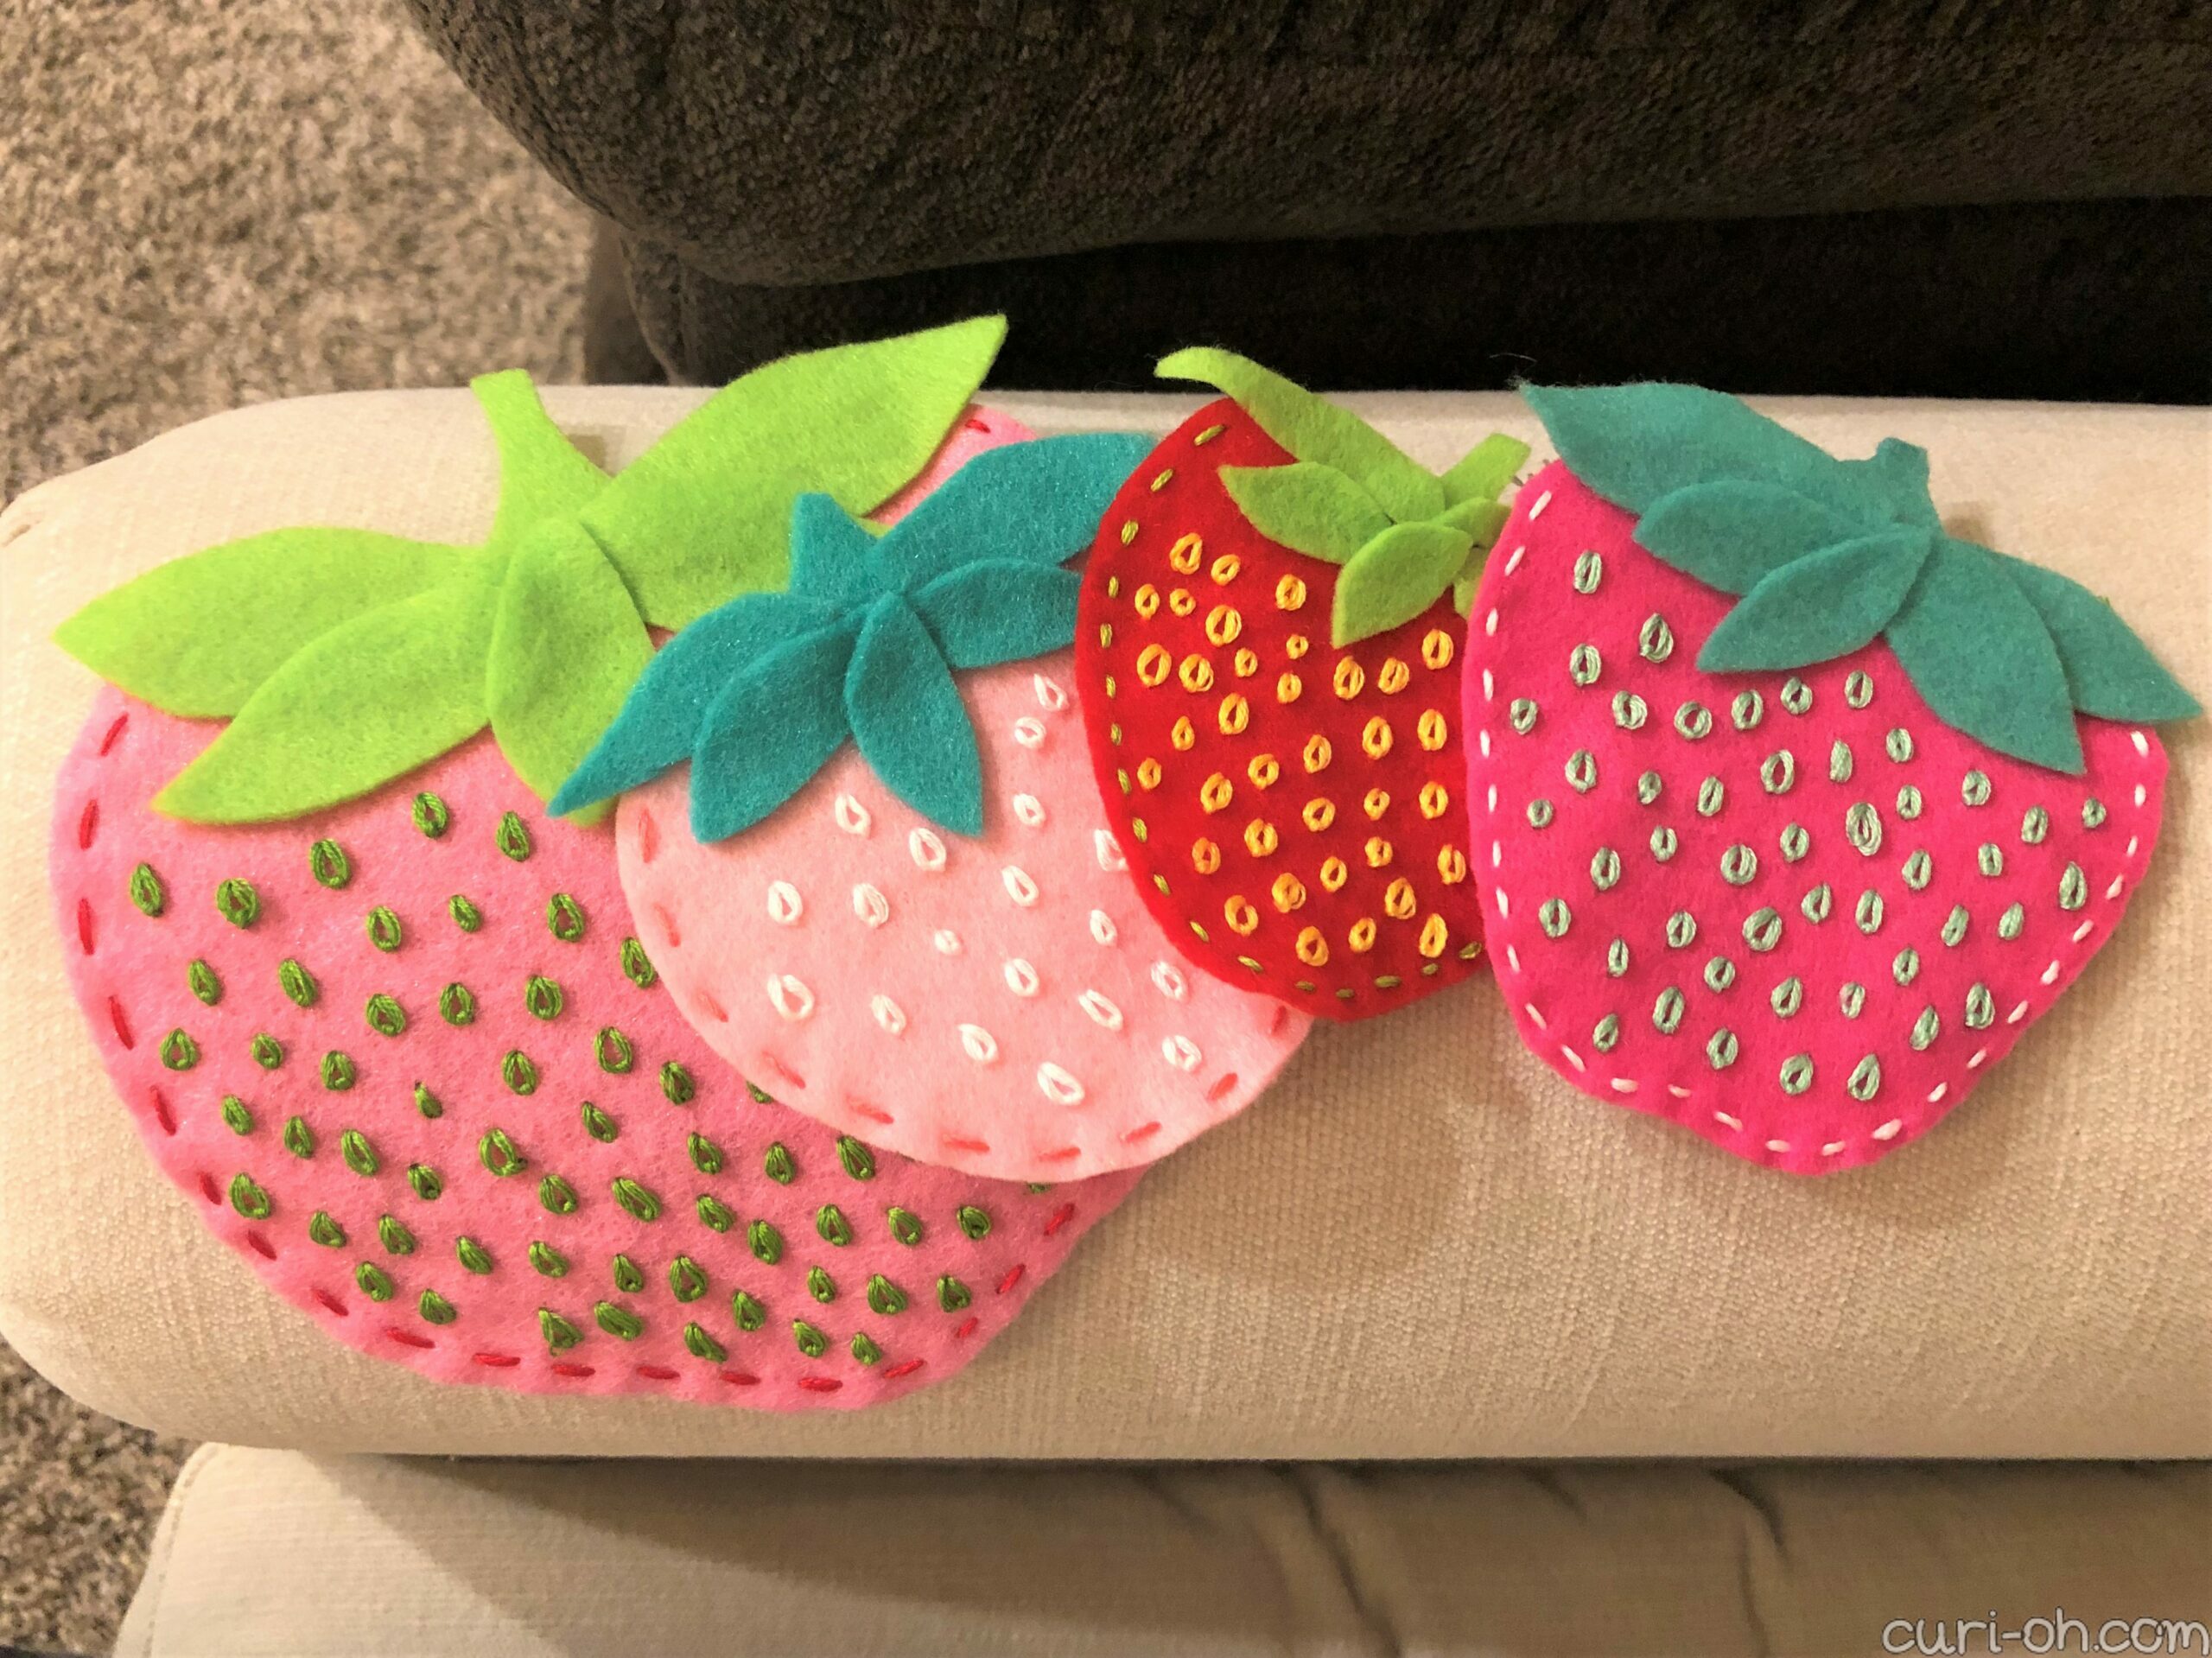
I’ve been learning embroidery stitches, so I decided to try out a couple to decorate these. I used a running stitch around the edge of each and lazy daisy stitches to make the seeds. This took a while and my stitches are hit and miss. I have a long way to go with embroidery. I’m impatient and I don’t keep an eye on the back, so I get knots all the time. I think they are pretty cute though! And I am just in love with the finished item:
And those are my three fabric paint crafts! I completed and painted a vintage coin purse kit, customized my first squishy, and transformed a free beauty bag into a cute and personalized creation. Pretty awesome for a sick person I think! I will probably just sit the dragon and dog around somewhere, but I should come up with something fun for the pouch. I can never get enough little things to organize with!
Do you have any favorite uses for fabric paint? Let me know in the comments!