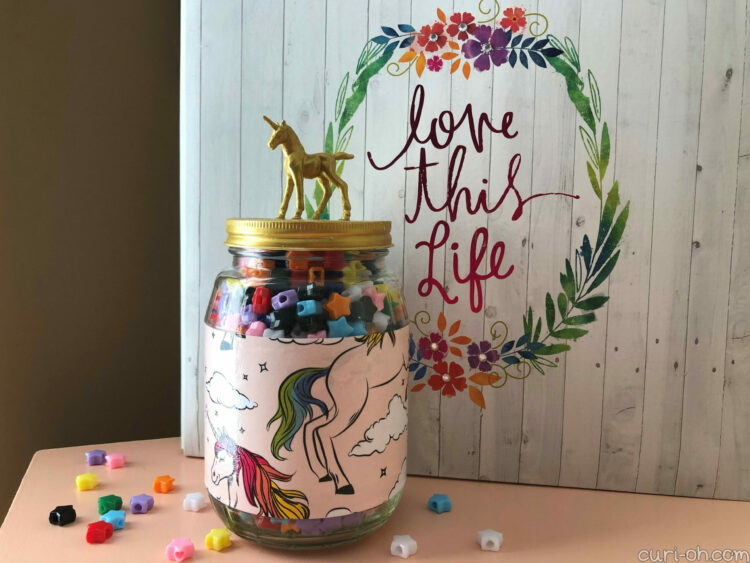
Unicorn Pony Bead Jar
I bought a giant one pound bag of star shaped pony beads for an upcoming project and I needed something to store them in. Sure, I could have just put them in almost anything I had lying around, but where’s the excitement in that?! I’m a firm believer that fun items need special containers.
Having just completed my tin can pencil cup project, repurposed recyclables were on my brain; so as I cleaned out a wonderfully large coconut oil jar for the recycling bin, I found myself drawn to its unique barrel shape. I poured my beads in to test, and it was the perfect size!
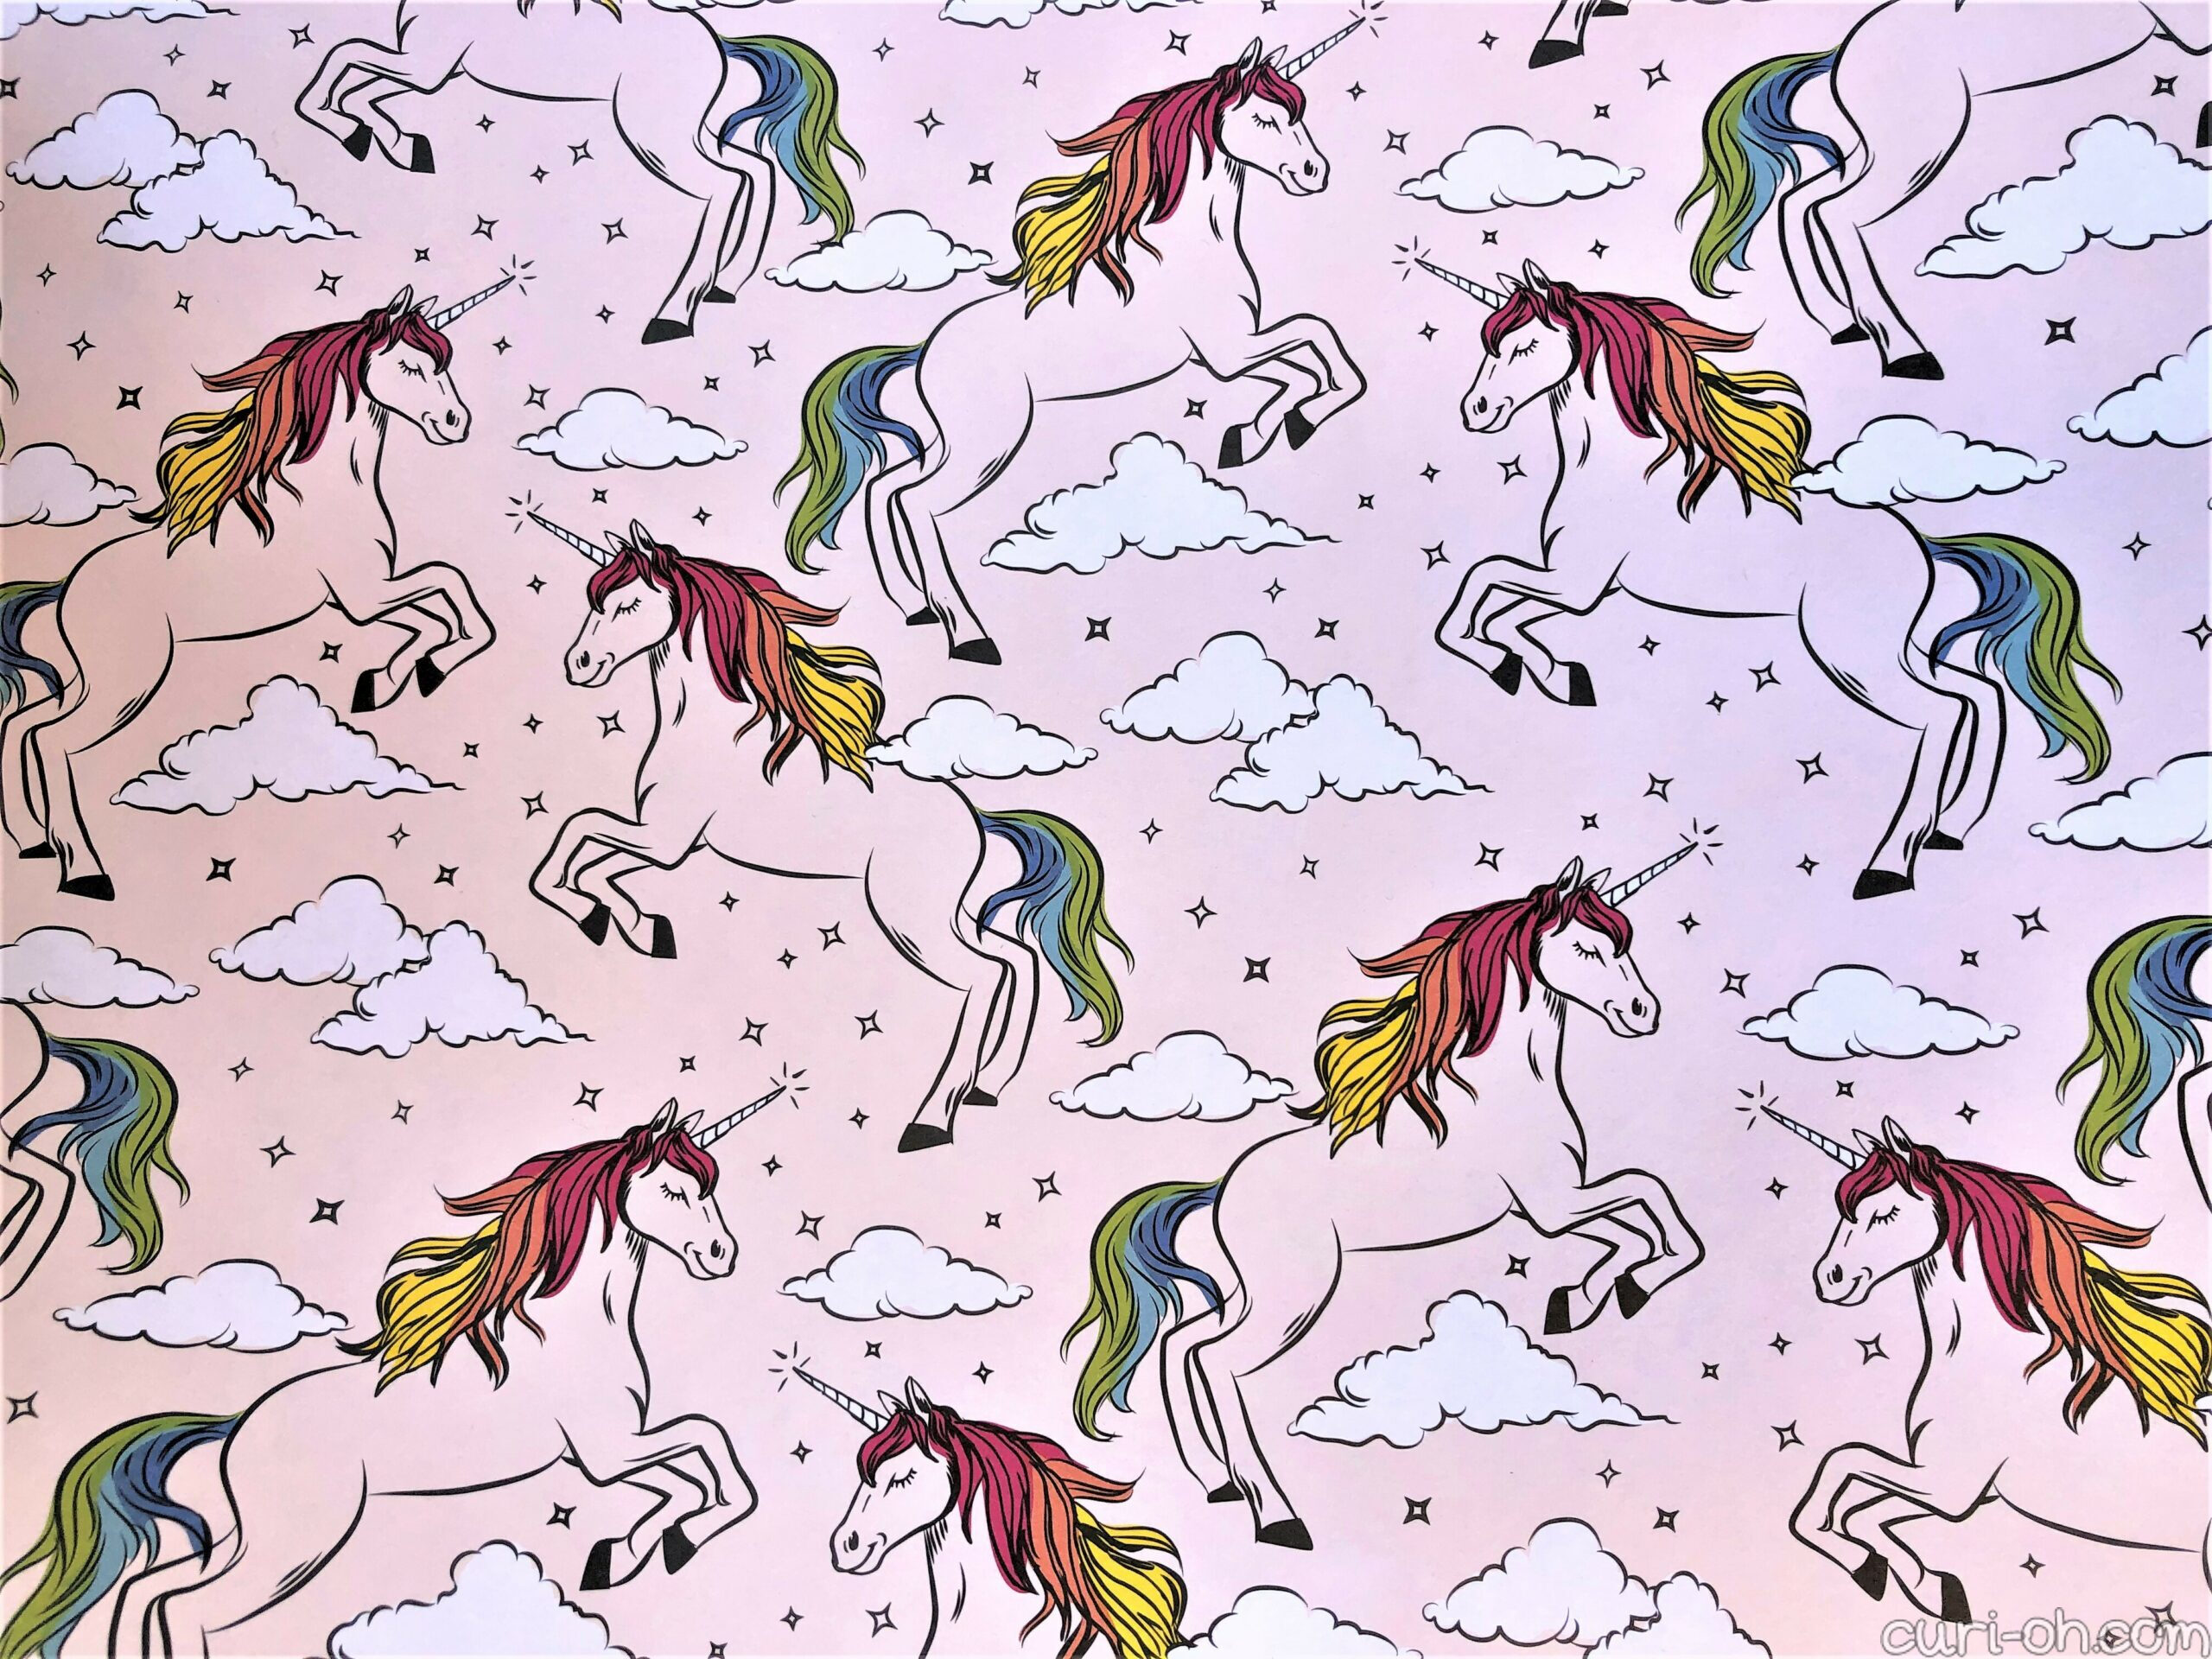
What to do next came fairly easily. Nothing could go better with multicolored pony bead stars than everyone’s favorite fantasy pony: the unicorn. I had the perfect paper for the theme too…
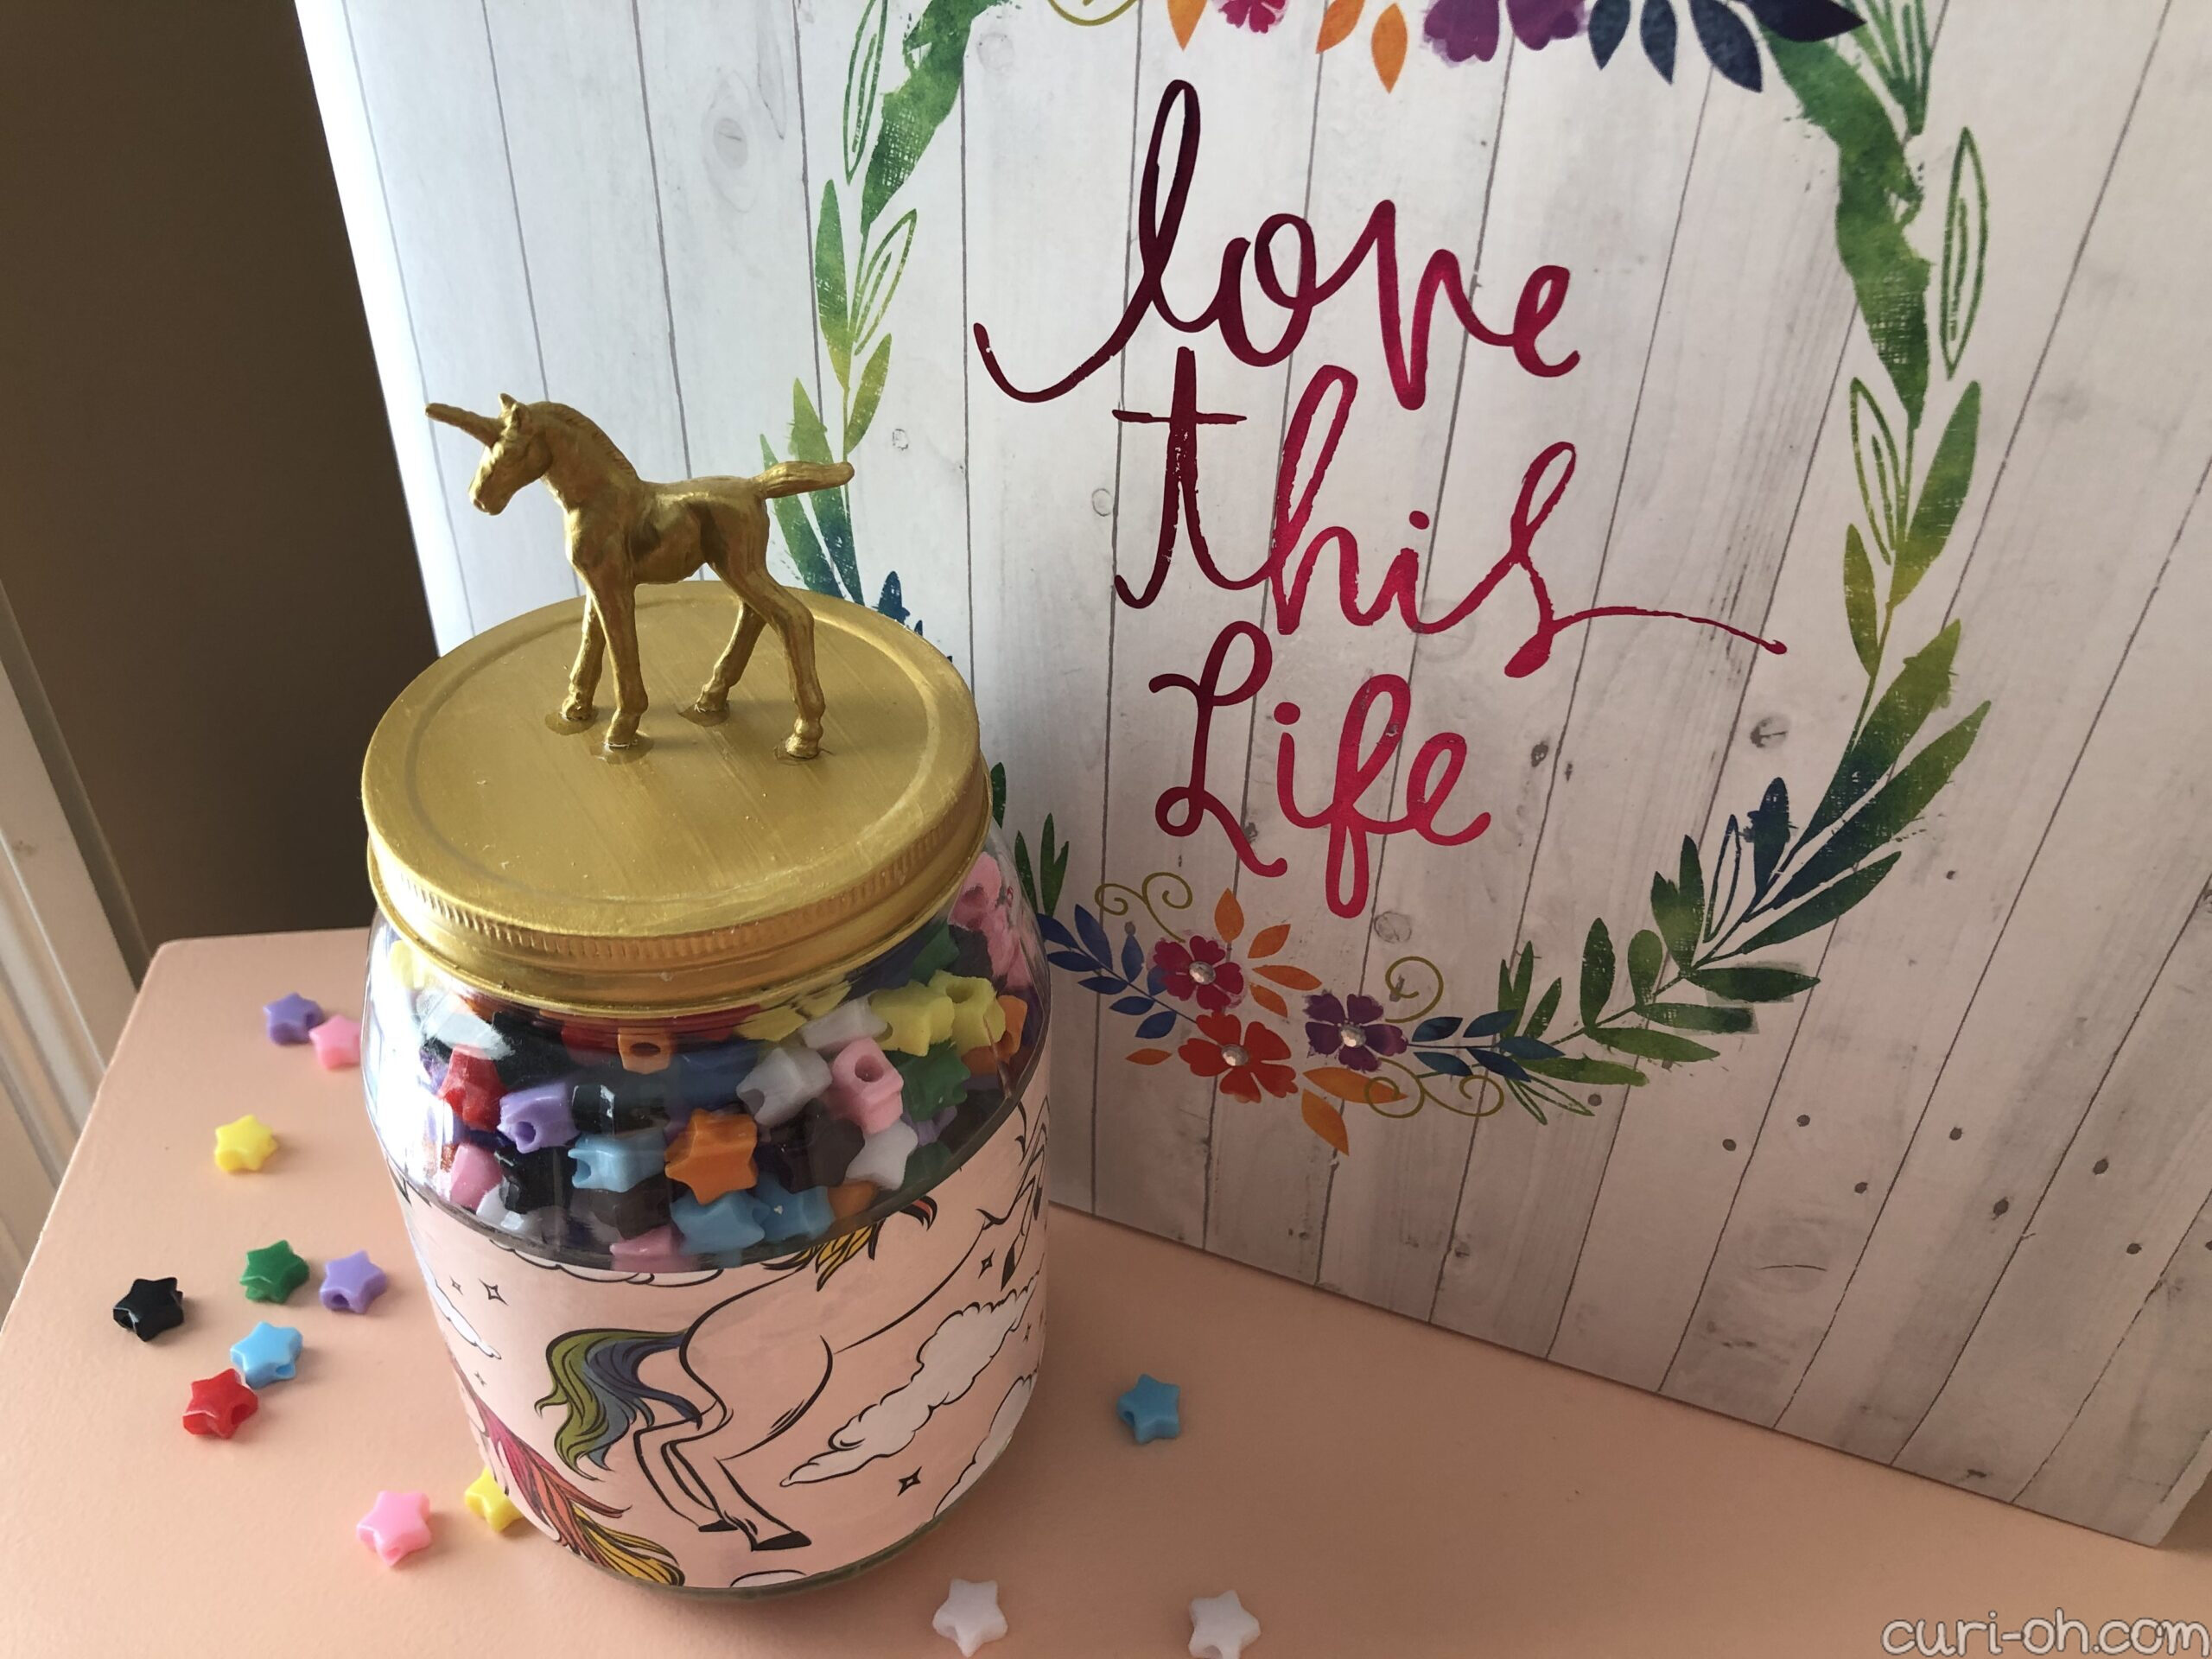
Ages ago I saw the craft idea to glue a small plastic toy on the lid of a jar for decoration. I have wanted to try it ever since and this seemed like the perfect opportunity. I dug into my stash of childhood toys and found a small plastic unicorn. With that, I had my plan in place.
To begin, I removed the label from the glass jar and cleaned it completely. Then, I used Goo-be-Gone to remove the residue left on the jar from the label, cleaned it again, and allowed it to dry.

To help the Mod Podge have something textural to stick to, I painted a strip of white acrylic paint around the center of the jar, where the label had been, and allowed that to dry.
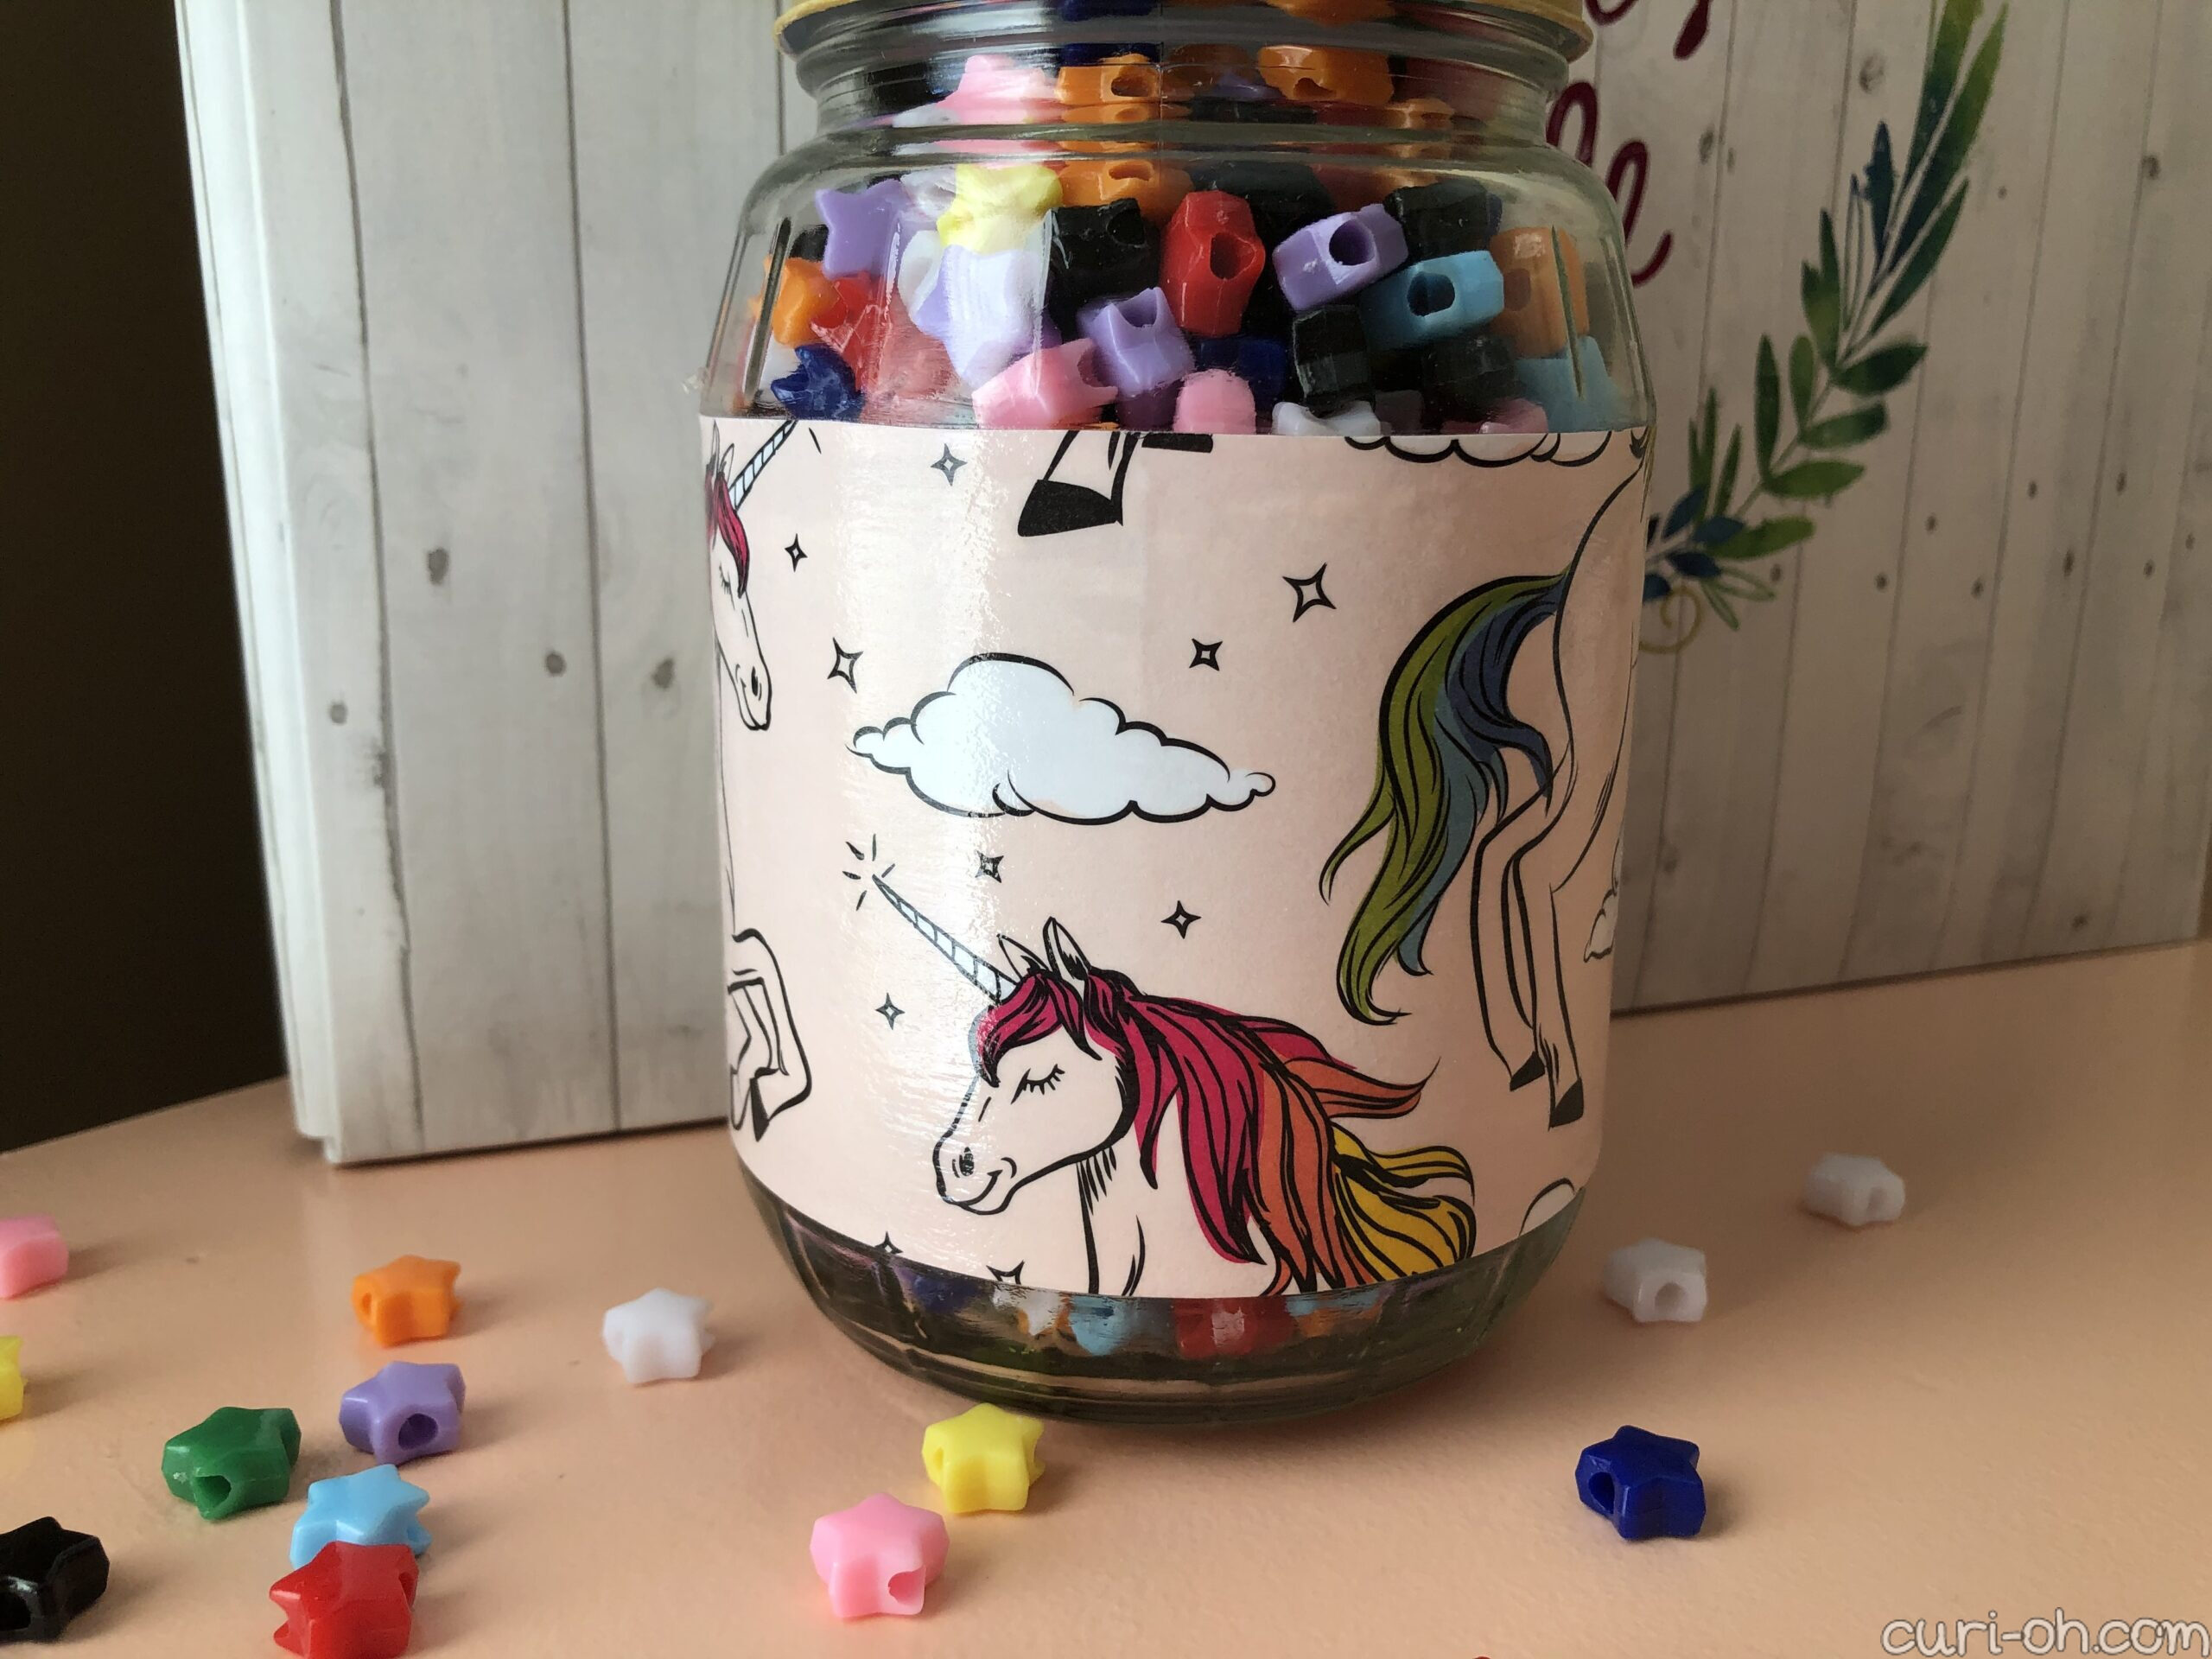
I used a ribbon measuring tape on the jar to determine what size to cut the paper. Then, I used a straight ruler to cut an appropriately sized strip of the paper. Next, I painted on a coat of gloss Mod Podge to the dry acrylic paint and applied the strip of paper. Once that was positioned correctly, I sealed it with the Mod Podge by painting a coat over the top.

I also used the white acrylic paint to apply a base coat to my lid and to the unicorn toy figure. Once that was dry, I applied gold acrylic paint to both, with dry time between coats.
I did it one way, but I would recommend another now that I’ve gone through the process: I painted the lid and the toy separately and then glued them together. The toy’s feet are so tiny though that you can see the glue now around the hooves. If you use a toy with a flat bottom you may not have that problem, but if you are concerned, it may be best to glue them together first, allow to set, and then paint both together.
I used a lot of the same supplies as I did with the tin can I Mod Podged, and as I mentioned there, I did go back and also add a couple more coats of Mod Podge to this piece later for increased durability, both to the lid and toy and to the paper.
IN SUMMARY, I USED:
- Glass jar with lid (cleaned)
- Small plastic toy
- Paper
- White acrylic paint
- Gold acrylic paint
- Mod Podge (gloss)
- Basic painting supplies
- Straight ruler, ribbon measuring tape, scissors, and pencil
- Glue
This was just a simple little project, but I love putting a happy touch on things that might go otherwise unappreciated.